Rainy Portraits in the Studio

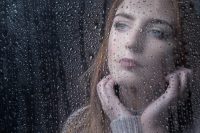
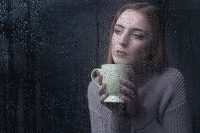
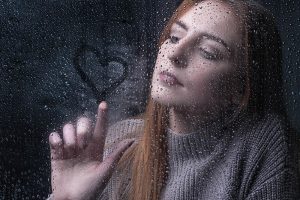
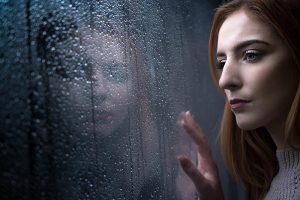
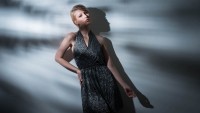
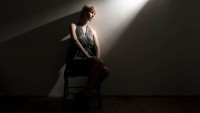
Rainy days aren’t always the easiest days to get great photos for a whole bunch of reasons but with a bit of effort and a lot of luck, you can get amazing photos.

However if getting wet isn’t your thing, it’s surprisingly simple to bring the rainy weather inside and under your control.

In the video below I’ll show you how you can create a rainy day window portrait using a couple of flashes and some simple props.

[youtube]https://www.youtube.com/watch?v=L4USUxcL49A[/youtube]

The main thing you’ll need is a “window” and although you could use a real one I opted for a sheet of clear Perspex (also called Plexiglas or clear Acrylic). I’ve had my sheet for many years and it’s very scratched but still serviceable. www.wickes.co.uk/Wickes-Durable-Acrylic-Sheet-90cmx1-8m/p/210002

The video has two ways of using the “window”, shooting looking from the outside in and shooting from the inside, out. Both have their own unique feel and if you’re set for one, doing the other is quick and easy.

If you tried the technique yourself, do leave me a comment below and share your photo if it’s online somewhere.

It’s always a pleasure to have Beth Smith model for me. Check out her portfolio at https://purpleport.com/portfolio/bethsmithmodel/
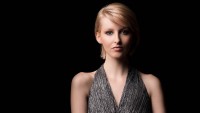
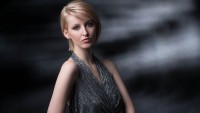
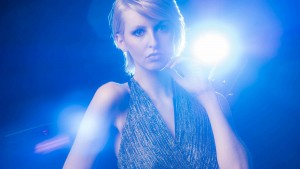
Getting Creative With Colored Gels

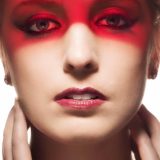
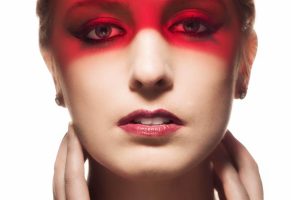
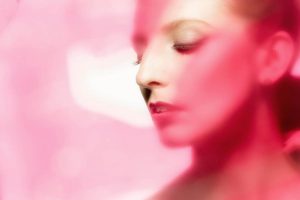
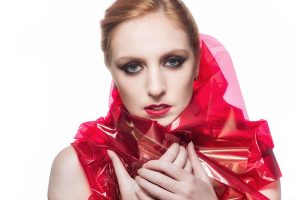
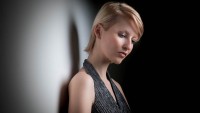
Coloured gels are one of the “must have” light modifiers in my studio. They don’t adjust the shape of the light but they modify it’s colour and with a bit of know how you can get some amazingly colourful effects.

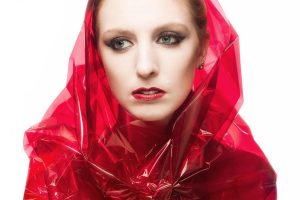
The gels I usually attach to my lights are always the heat resistant type, flashes produce loads of heat at higher powers. However if the gel is away from the light then I also have 70cm rolls of coloured cellophane which I get from my local florist and craft store.

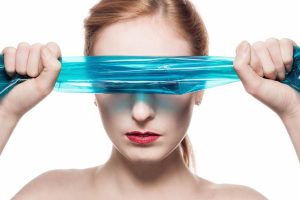
Fun as gels are, why limit their use to altering the colour of light? In the video below I’ve got some creative alternatives uses for gels.

[youtube]https://www.youtube.com/watch?v=tkG62J2tSBc&[/youtube]

As always working with a great model makes the world of difference and Beth did a great job here https://purpleport.com/portfolio/bethsmithmodel/ Similarly close head shots need great make-up and I have to thank Kate for this https://purpleport.com/portfolio/katechalkleymakeup/
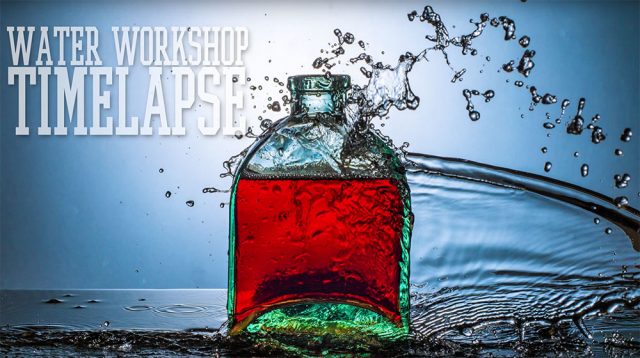
Water Workshop Timelapse

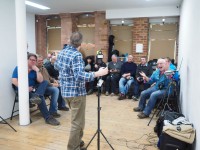
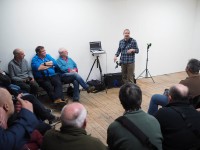
A few weeks ago I ran a slimmed down version of my water workshop at the Jessops store in London’s Oxford Street. This was an Olympus UK sponsored event but was open to any photographer whatever make of camera they owned. It was also free for the 20 photographers who were lucky enough to get a space in one of the two sessions

I love this workshop for many reasons but mostly because it’s a real “hands on” event and as you’ll see in the time-lapse below, everyone gets involved.

[youtube]https://www.youtube.com/watch?v=y9YrutvJN0s[/youtube]

Here’s a little info about the time-lapse. It was recorded on an Olympus TG Tracker action cam by Clare Harvey-May from Olympus UK. The TG Tracker has time-lapse recording built in and Clare recorded the two sessions (morning and afternoon) from two different angles, both in 4K.

I used Adobe Premiere Pro CC2015 to edit the two videos and add some of my stills from the workshop. As the final video was to be at 1080p HD, I was able to pan and zoom around the much larger 4K footage to create the motion you see in the final video.

I have to thank to Jessops and Olympus for hosting me and not complaining about the wet floor. Sam, for dragging crazy heavy bags of gear all over London. But mostly I can’t thank enough all the photographers who came along to both days and get so involved and slightly wet… you were warned!Water workshop cover

Fashion Photography Workshop Wrap-up

Last Sunday I was in London with a great bunch of photographers. I’d been asked to be part of a workshop organised by my friend Robert Pugh and hosted by Olympus UK at their Art Bermondsey Project Space.

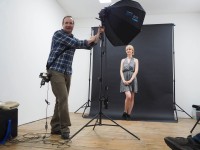
The day was themed around fashion photography with Rob running through a fashion set up with Profoto studio lights in the afternoon and me covering as many lighting tips and tricks as I could fit into the morning. Rob had secured the services or Amber Tutton as our model for the day, make-up was in the expert hands of Michelle Court and the clothes were supplied by Rob’s contacts in the fashion world… or so he told me 🙂

I kicked off the session with a single PIXAPRO speedlight in combination with either a MagMod snoot or just random house hold items used as GoBo’s

Next I moved on to a more powerful PIXAPRO flash inside a Westcott Rapidbox Duo softbox. Adding a grid to the softbox made controlling the light much easier and gave some great effects.

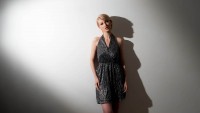
Finally I moved from the plain white walls of the gallery and on to Robs roll of black paper. The lack of background shadows makes black a great choice but a little uninteresting, that’s where background lights really help and when you throw gels into the mix, things can get really fun.

With my time up, I had one last tip. Learn the rules of photography so you can break them. My last shot did just that by pointing two speedlights right at the camera. The result was hard to predict but great fun.

You can check out Robs photos and write up of the day on his blog. Thanks to Clare Harvey-May for the behind the scenes photos

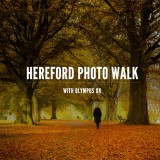
Hereford Photo Walk

On the 31st October 2015 I visited the beautiful city of Hereford for a day of photo walking. I’d been invited by Olympus UK who organised the event and we were hosted by the LCE camera store in Hereford.

Never having visited Hereford before I’d done my research and planned a route I thought would be photographically interesting and just the right distance to fill the two and a half hours I had for both the morning an afternoon walks.

You can see a selection of photo from the day and read a little more of what happened by clicking this link
https://slate.adobe.com/cp/uEg3I

Hereford-Slate

I used Adobe Slate to create that web page and it’s a brilliant free tool for telling a photo story. It’s been around on the iPad for a few months but very recently it launched on the web which is how I made mine.

I loved the high quality, full frame images and the way the pages scroll together. It looks beautiful on a computer and even better on a tablet or phone. I’m pretty sure I’ll be using it again soon.

The photo walk was a free event organised by Olympus UK but anyone with any make of camera was welcome. I saw Canon, Nikon, Fuji and Pentax cameras being used by the walkers as well lots of Olympus bodies and lenses, many of which were on loan from Olympus for the walk.

You can found out about upcoming events on the Olympus Imaging Space and if you’d like me to do a photo walk near you, don’t tell me, tell Olympus 😉


Photoshop vs Make-Up

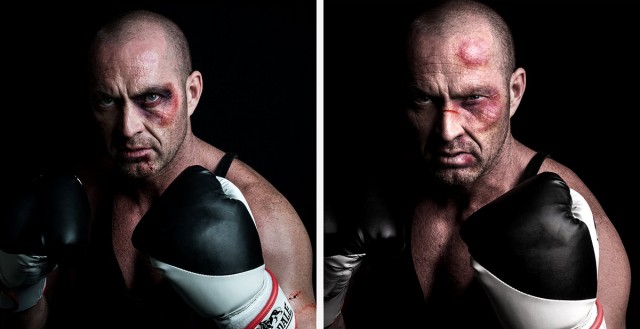
If you’re shooting any kind of portrait, the value of good quality make-up can’t be underestimated. For example, editing time can be massively reduced in family photo shoots by applying a little powder to reduce shiny skin on men. More creative photo shoots often demand more elaborate make-up and whilst I always try and get things as good as possible in camera, I do enjoy a spot of Photoshop fun.

So I decided it put make-up and Photoshop head to head in a battle to see which was better. You can see the results in the video below.
[youtube]https://www.youtube.com/watch?v=PUWY5jvCdG4[/youtube]

Photoshop
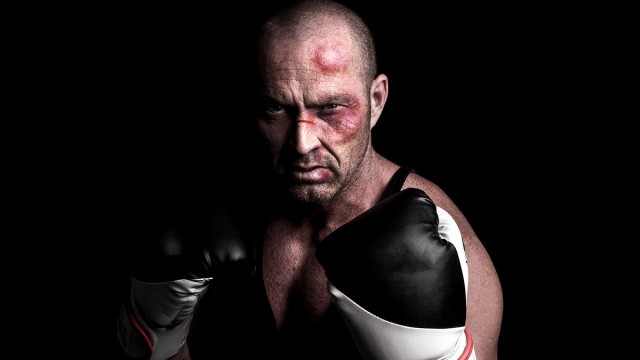
For a single photo, given enough time and skill it’s perfectly possible to create the effect of bruises. In fact using tools such as liquify I could create some pretty convincing swelling that make-up alone couldn’t do.MUA-vs-PS-2

Of course the downside is I’d need to do this to every photo and there are plenty of make-up styles that would be far harder (if not impossible) to recreate in post-production.


Make-Up

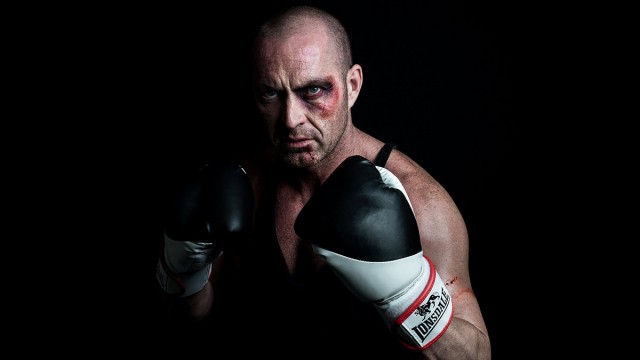
Give the choice, this is the way to go. An experienced make-up artist will be able to create amazing looks and once applied the make-up is there shot after shot, after shot.MUA-vs-PS-3

Of course there’s no reason why Photoshop and make-up can’t be combined and that has the potential to take your portrait photography to a whole new level.MUA-vs-PS-1