Three Must Have Portrait Props In My Studio

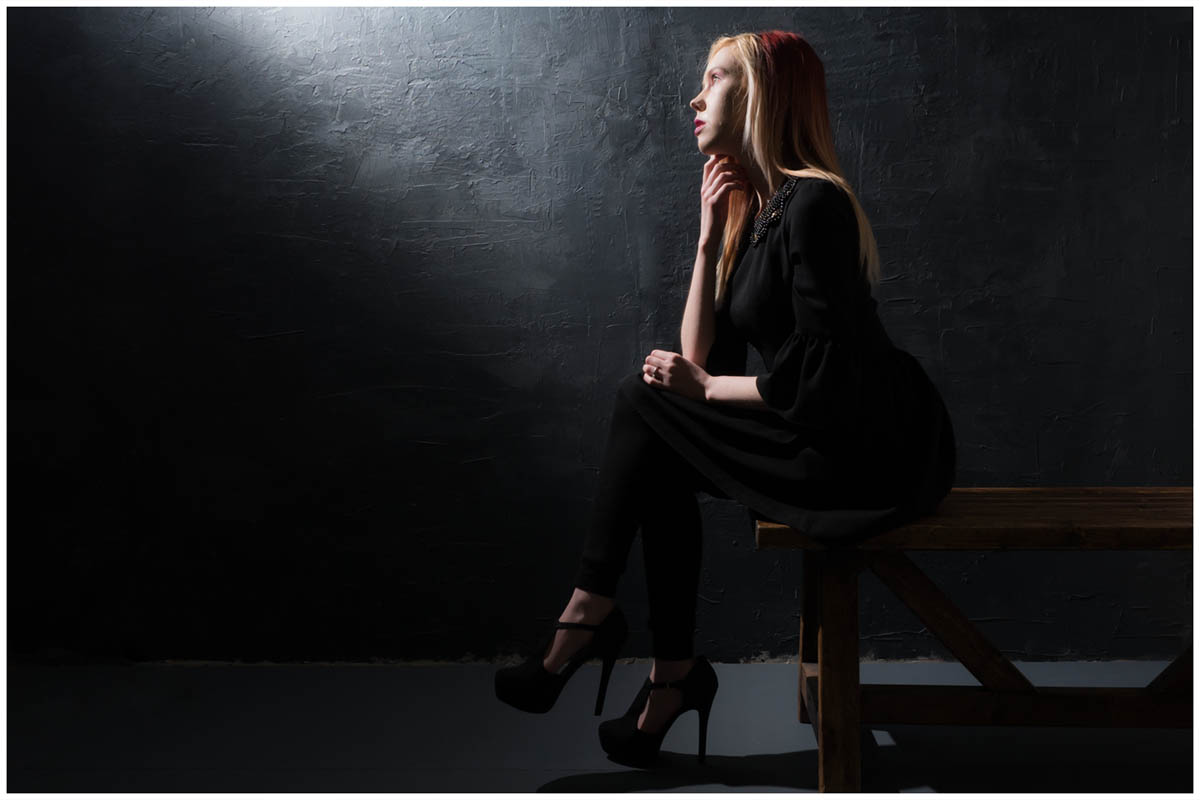
With the colder, darker weather very much with us here in the UK it’s not surprising that I’m finding the studio a much nicer place to work in then being on location. However the four walls of my small home studio can start to feel very limiting after a while so to avoid cabin fever setting in I have a selection of props to liven up my shoots.

The video below covers my three main types of prop and a few ideas on how I like to use them.

[youtube]https://www.youtube.com/watch?v=U4aPx8mbBAY[/youtube]

Sunglasses
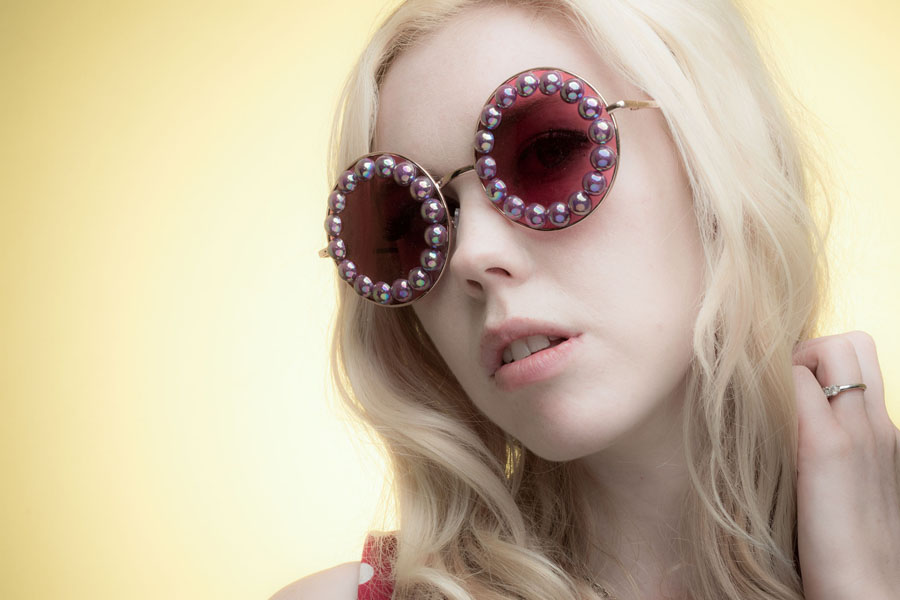
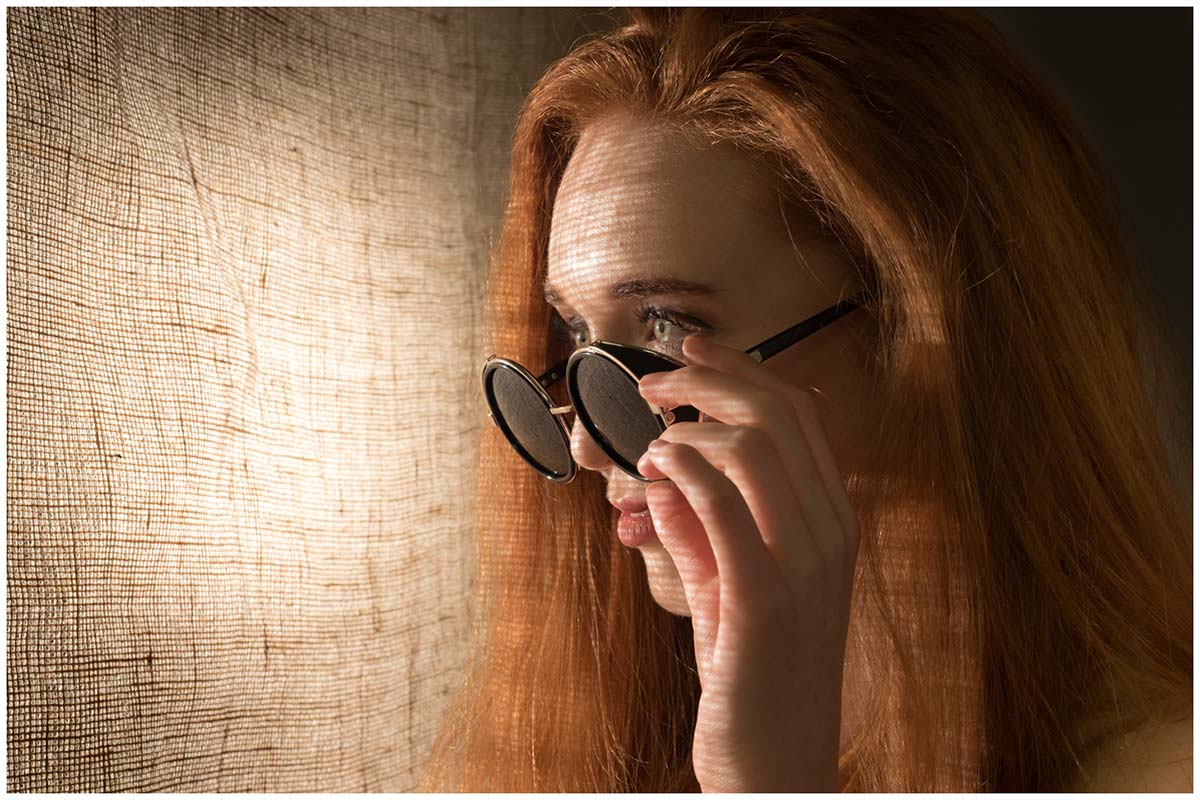
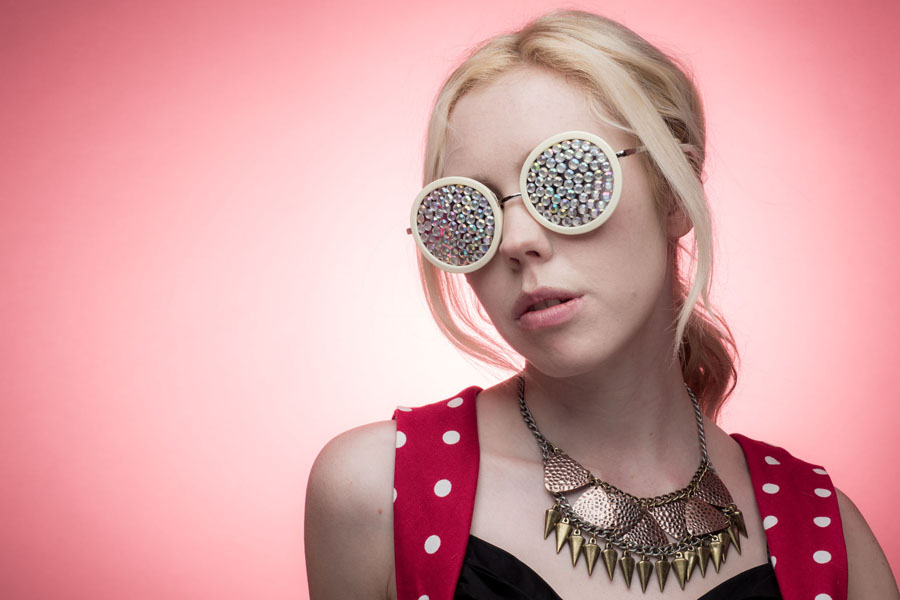
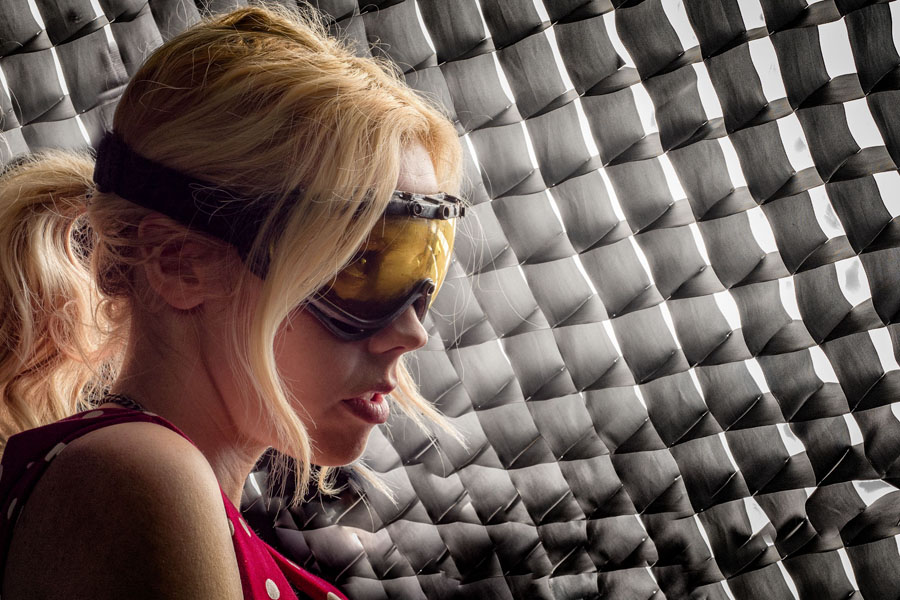
Winter might sound like the wrong time of year to be on the hunt for novelty sunglasses but I find having a selection on hand can really help. On a very simple level it gives something for your subject to interact with but sunglasses can also become part of the styling of the shoot. With a bit of craft skills you can also transform a pair of dull, basic sunglasses into a fashion item in it’s own right!
Hats
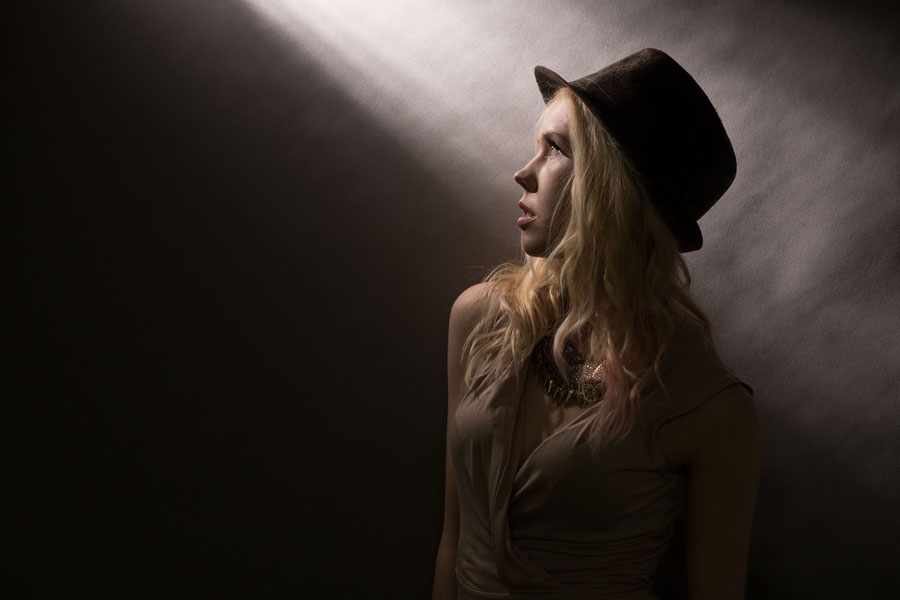
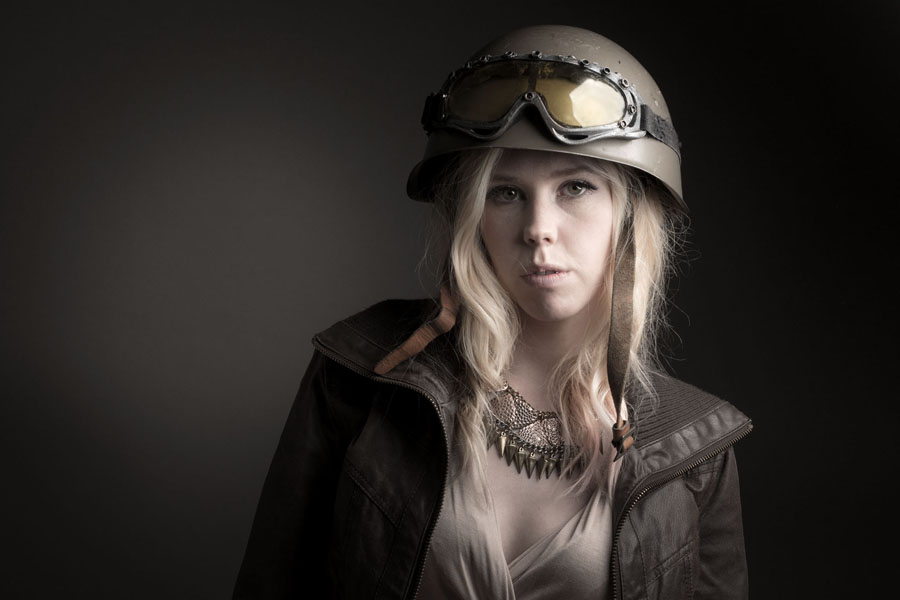
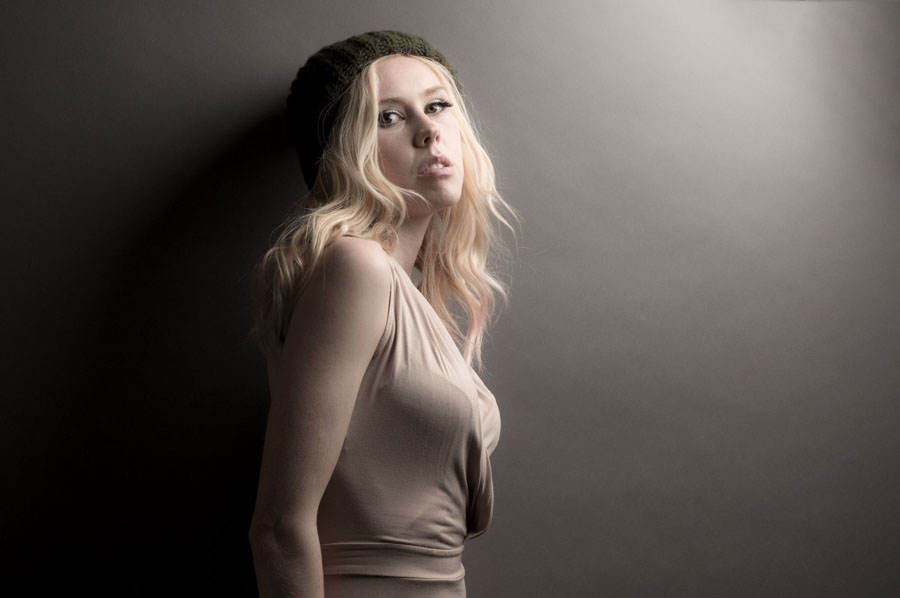
Just like sunglasses a hat can be worn or held once again giving your model something to work with. Hats can add character, hats can add mood, hats can be fun. Hats with brims can cast shadows which can cause problems as the model moves but with a bit of careful lighting that can be used to your advantage.
Fabric
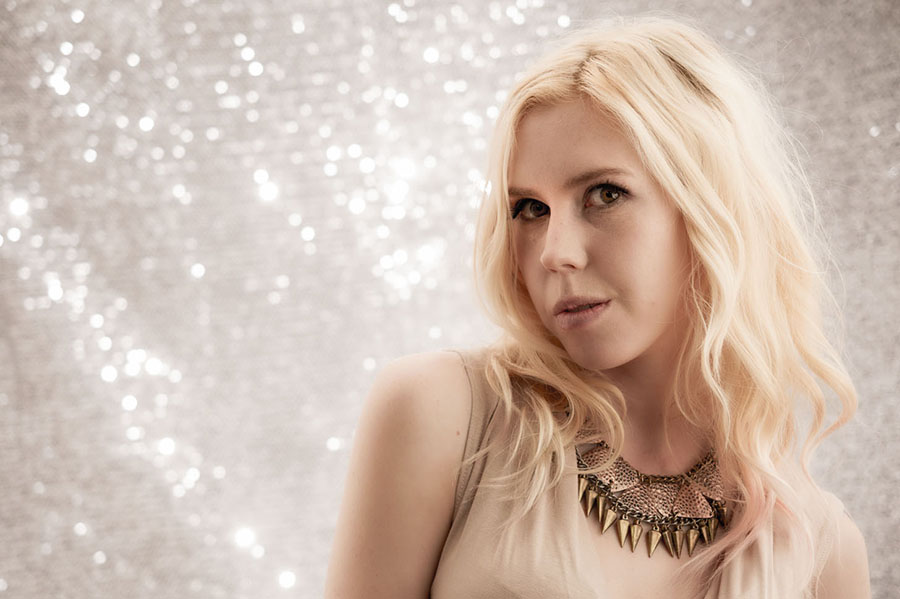
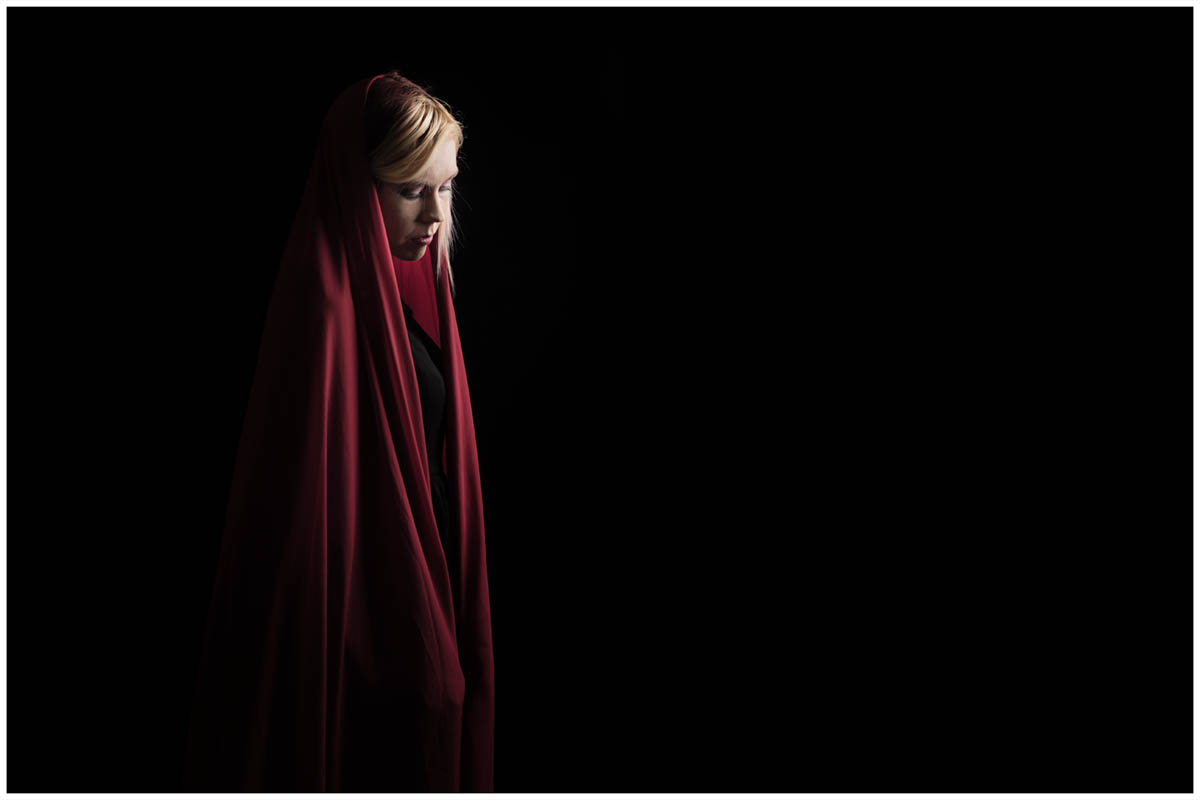
Random bits of fabric are the perfect thing to have in the studio. They can be pegged up as backgrounds or wrapped around your model as a an outfit. Sheer fabric can be placed over your subject to add mystery or moved around for a floaty feel
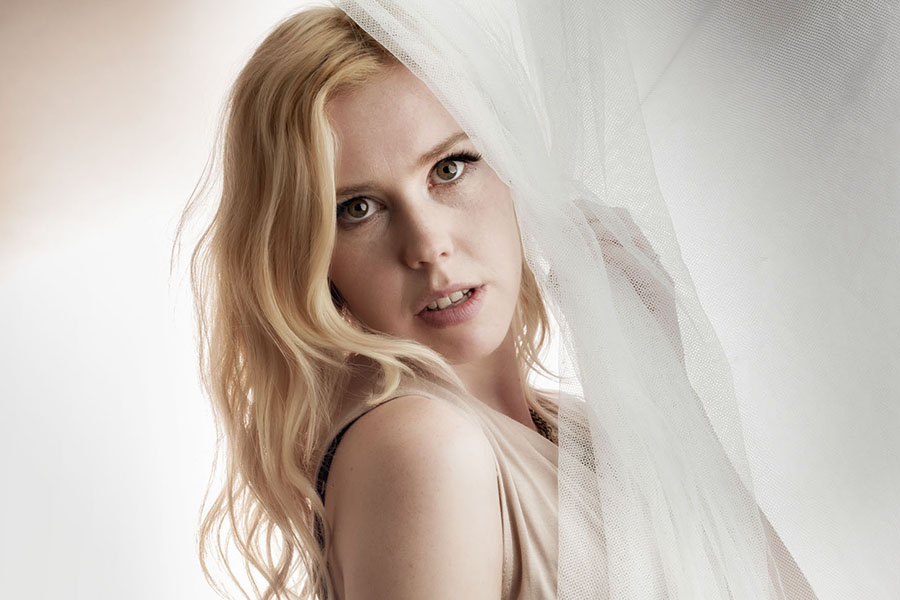
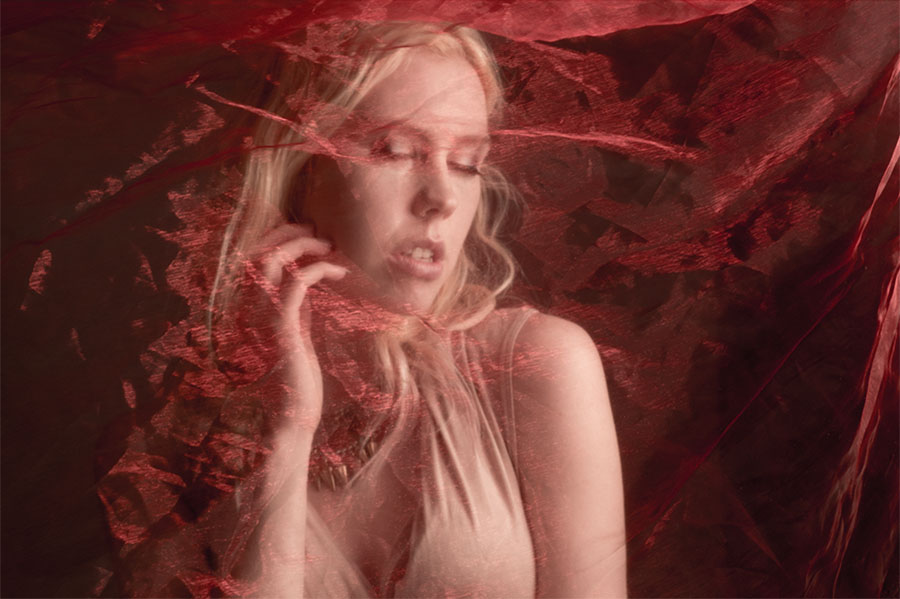
There are endless ways to add ideas to your shoots, props can really help at this is just a few ideas to get you started.
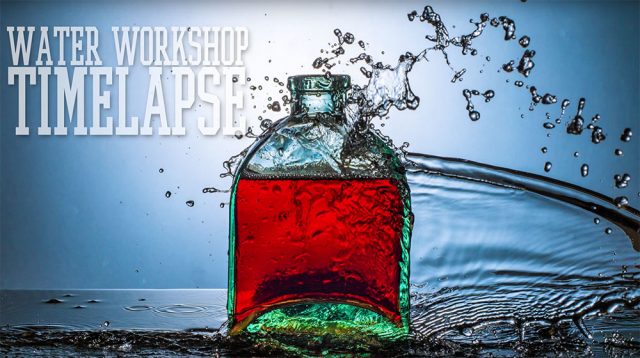
Water Workshop Timelapse

A few weeks ago I ran a slimmed down version of my water workshop at the Jessops store in London’s Oxford Street. This was an Olympus UK sponsored event but was open to any photographer whatever make of camera they owned. It was also free for the 20 photographers who were lucky enough to get a space in one of the two sessions
I love this workshop for many reasons but mostly because it’s a real “hands on” event and as you’ll see in the time-lapse below, everyone gets involved.
[youtube]https://www.youtube.com/watch?v=y9YrutvJN0s[/youtube]

Here’s a little info about the time-lapse. It was recorded on an Olympus TG Tracker action cam by Clare Harvey-May from Olympus UK. The TG Tracker has time-lapse recording built in and Clare recorded the two sessions (morning and afternoon) from two different angles, both in 4K.
I used Adobe Premiere Pro CC2015 to edit the two videos and add some of my stills from the workshop. As the final video was to be at 1080p HD, I was able to pan and zoom around the much larger 4K footage to create the motion you see in the final video.

I have to thank to Jessops and Olympus for hosting me and not complaining about the wet floor. Sam, for dragging crazy heavy bags of gear all over London. But mostly I can’t thank enough all the photographers who came along to both days and get so involved and slightly wet… you were warned!Water workshop cover

Ambient vs Flash for location portraits

When it comes to shooting portraits on location I know many photographers who love to make best use of the ambient light. I also know lots of photographers who wouldn’t dream of shooting on location without flash. Although I prefer flash, I’m very happy to work with ambient light if it does what I need. If you’re undecided about moving to flash or perfecting your ambient shooting techniques then this video should answer a few questions.

[youtube]https://www.youtube.com/watch?v=UXA-vsOm-mk[/youtube]

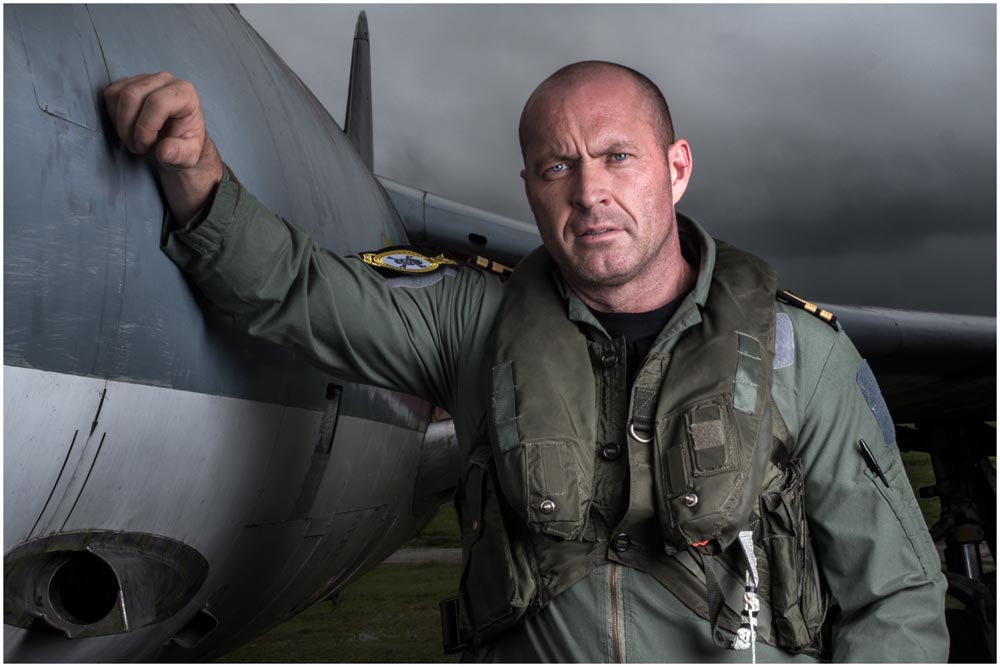
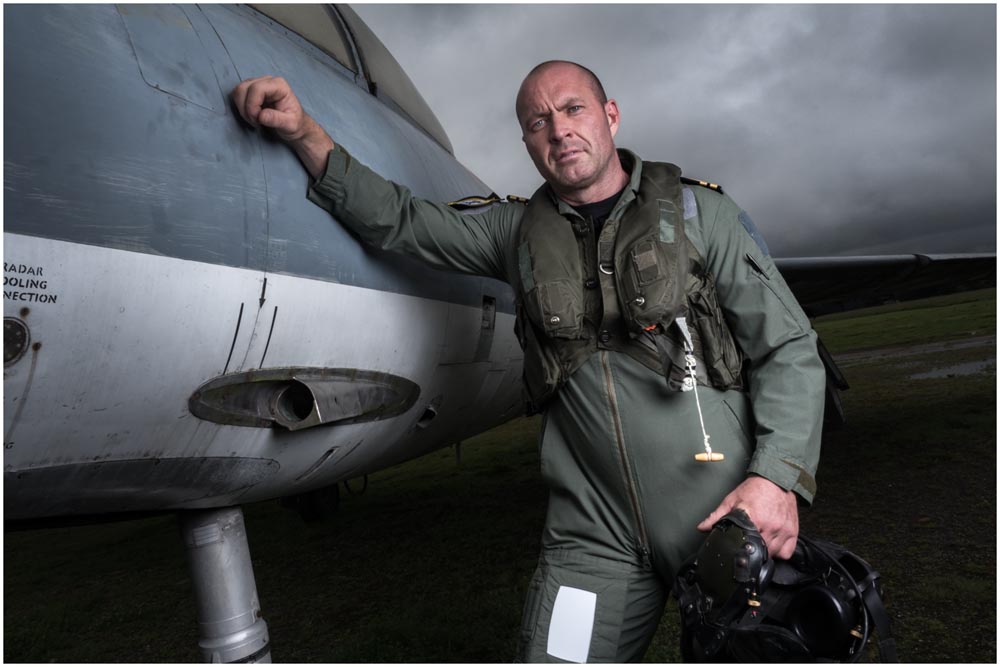
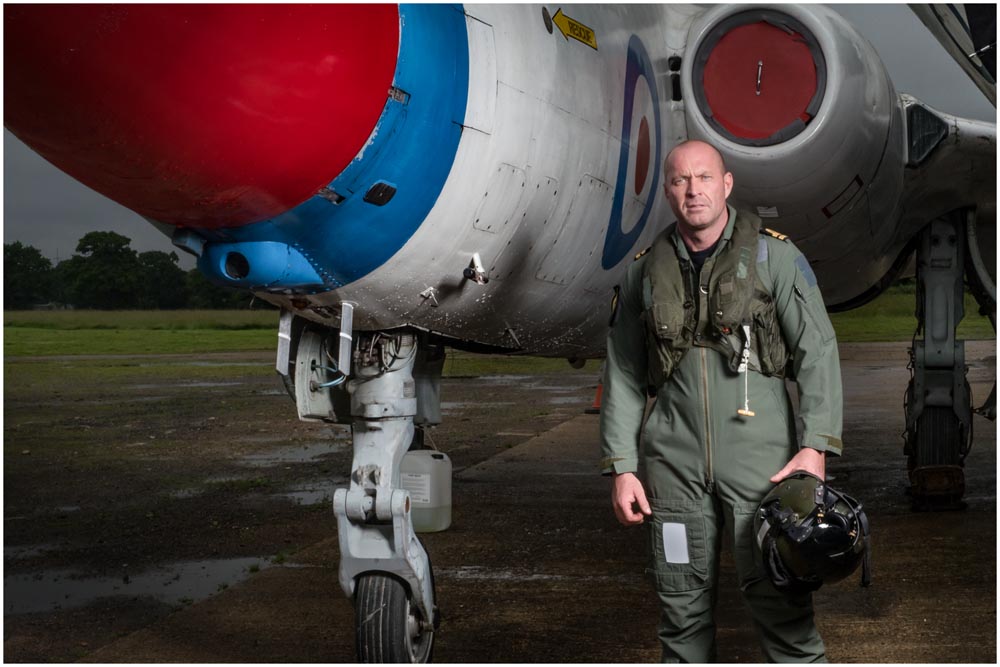
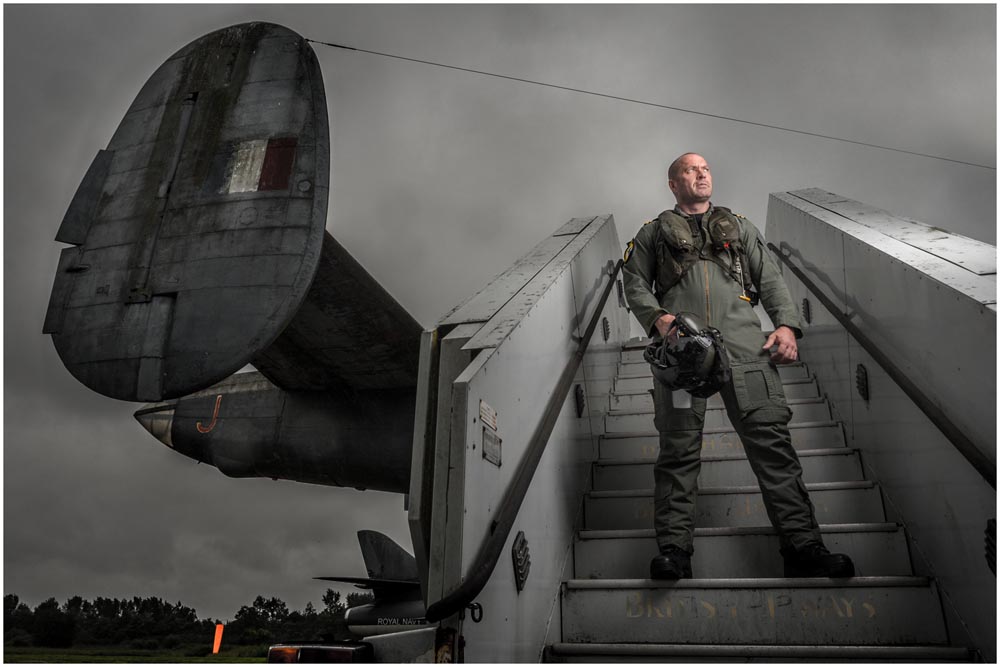
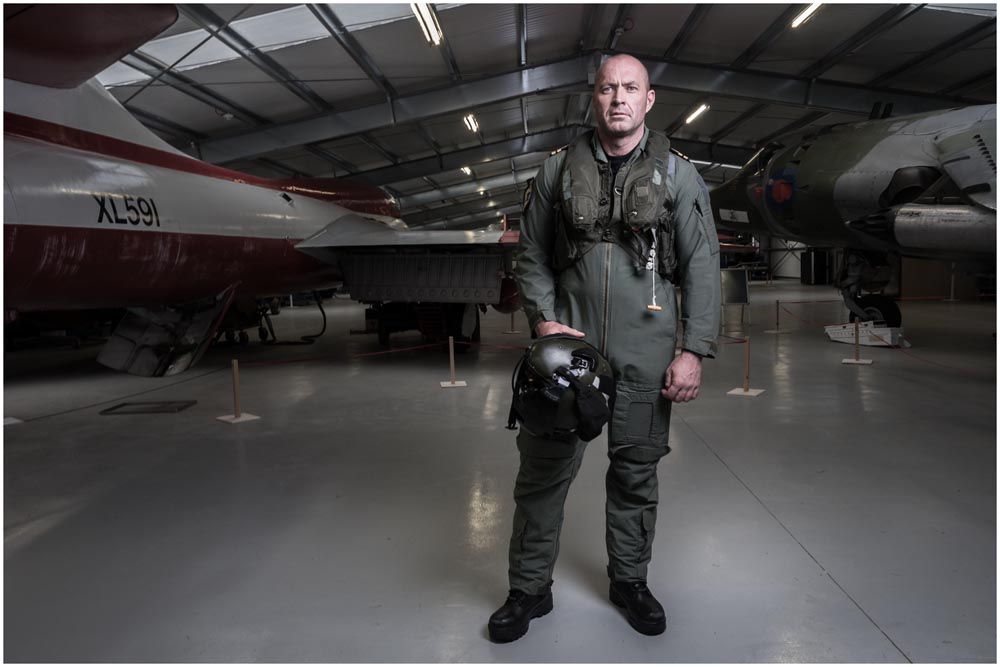
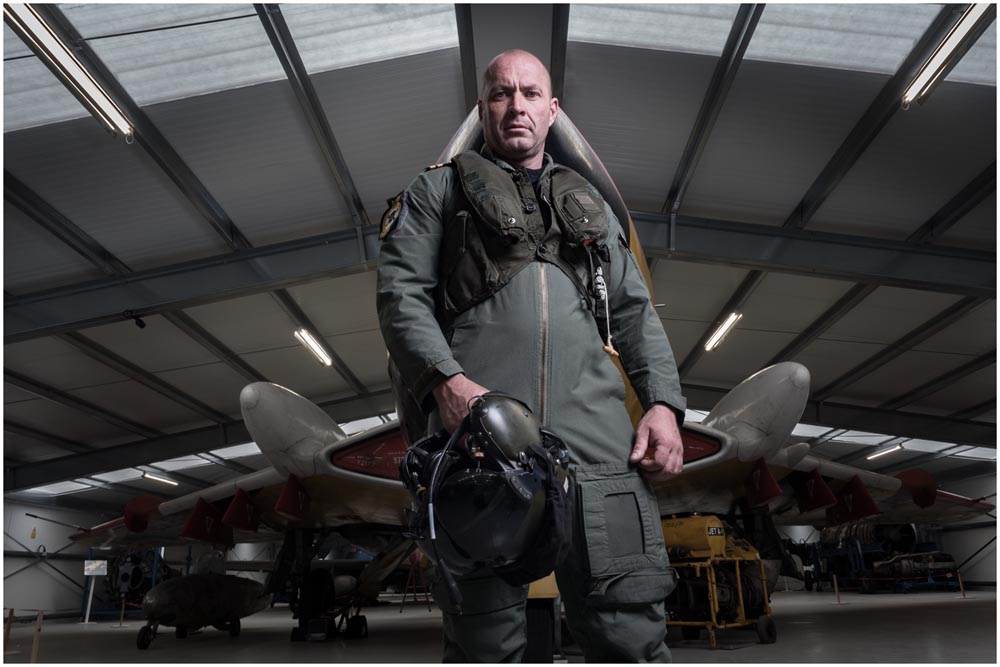
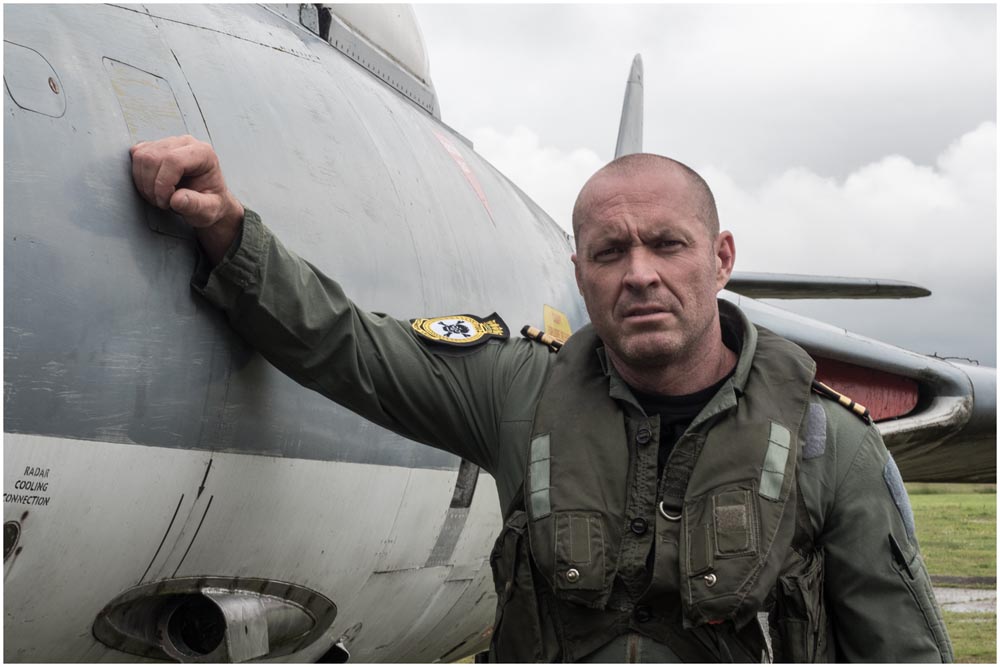
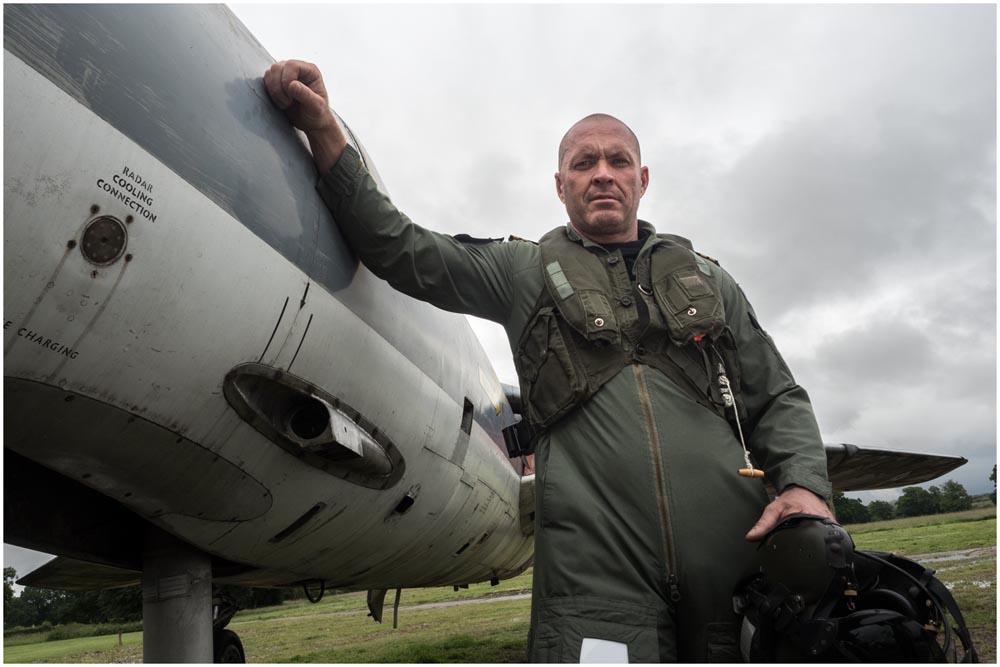
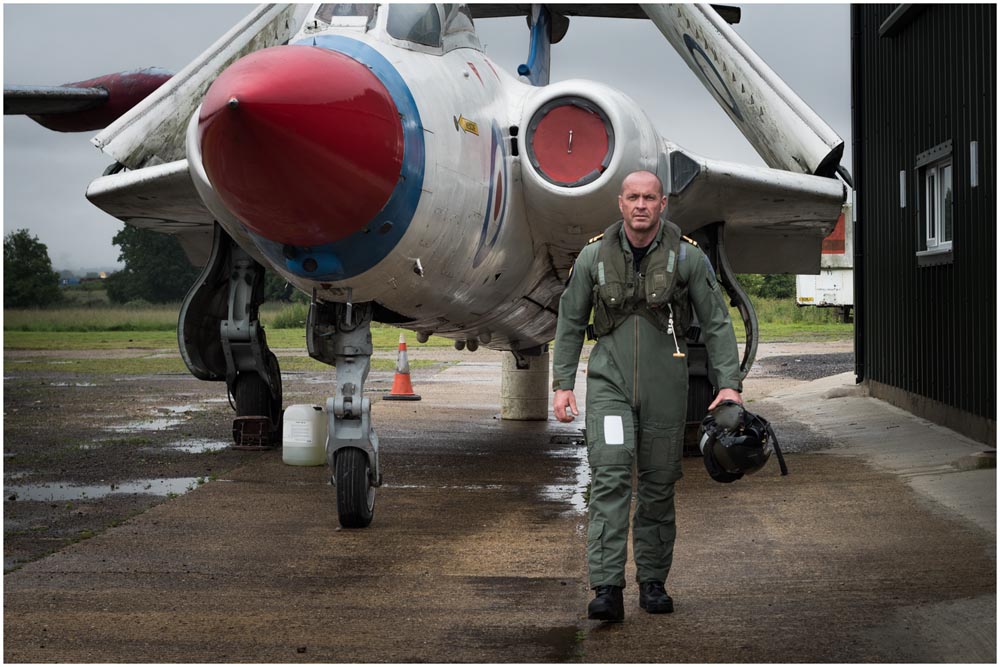
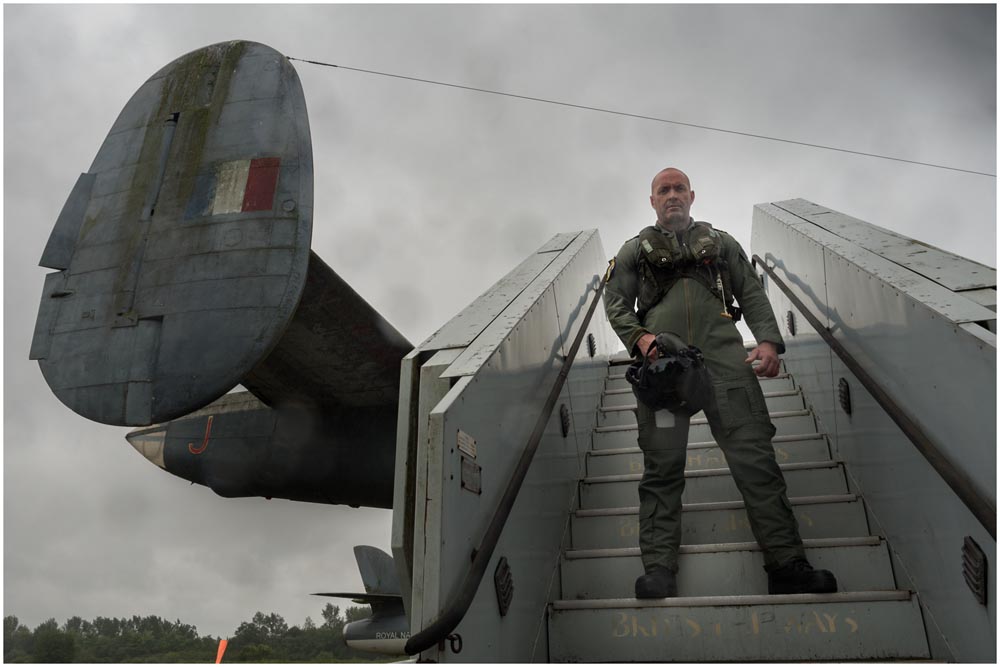
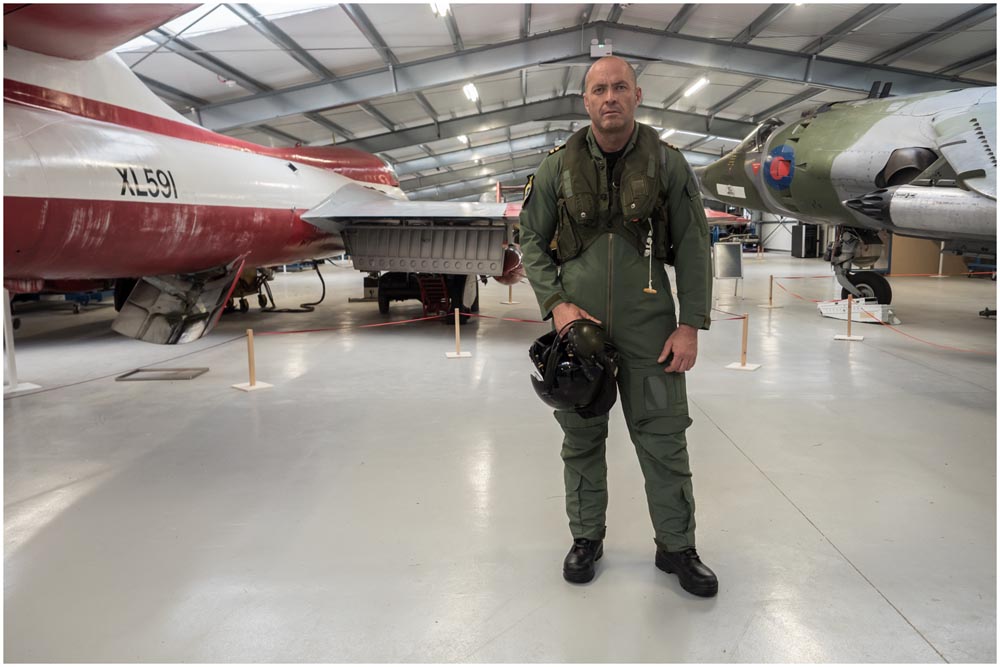
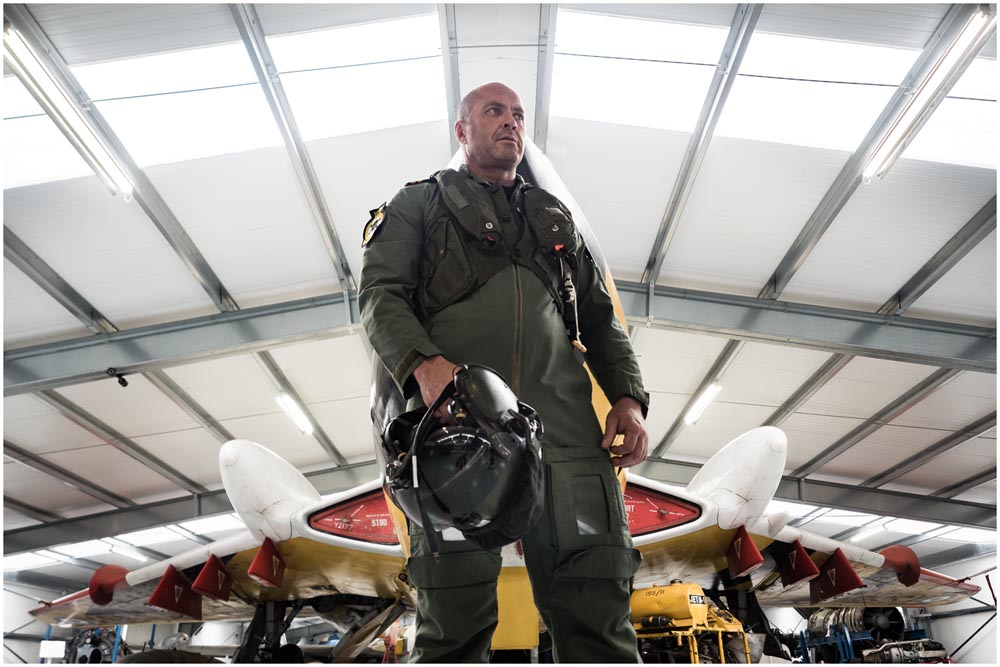
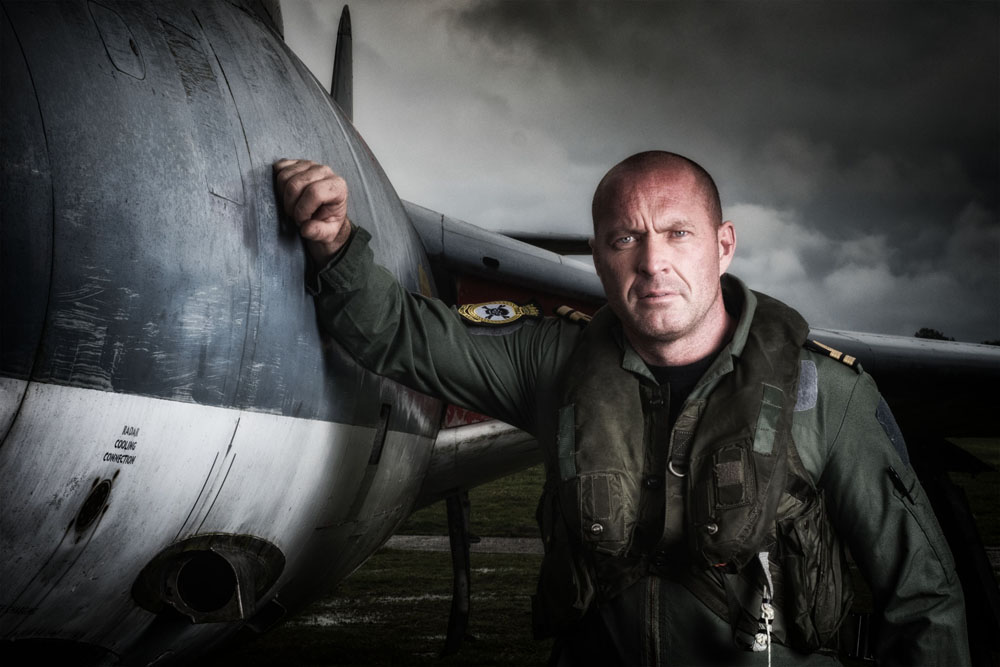
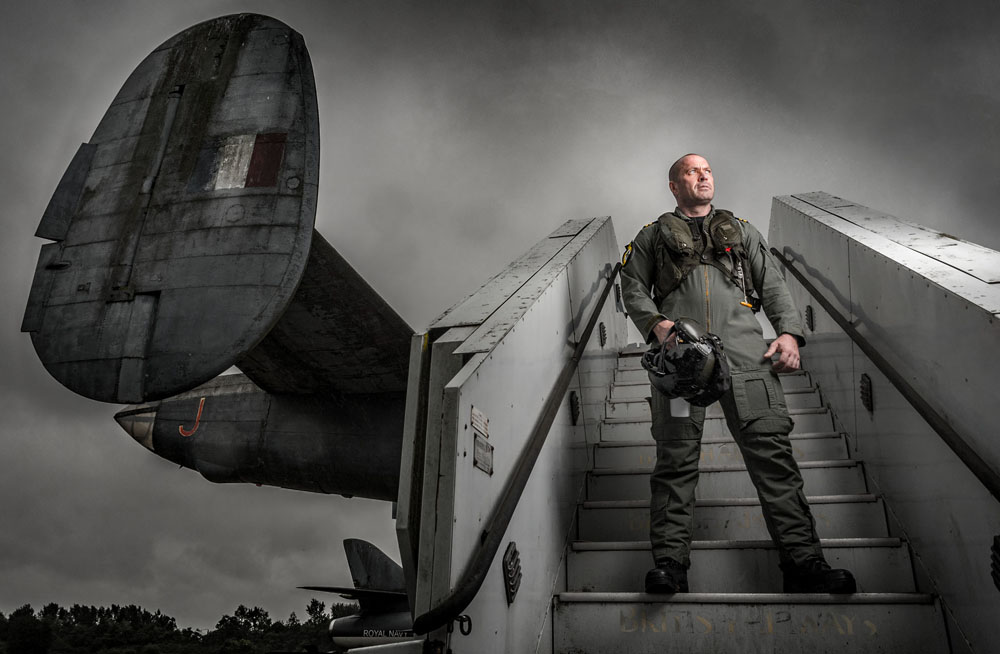
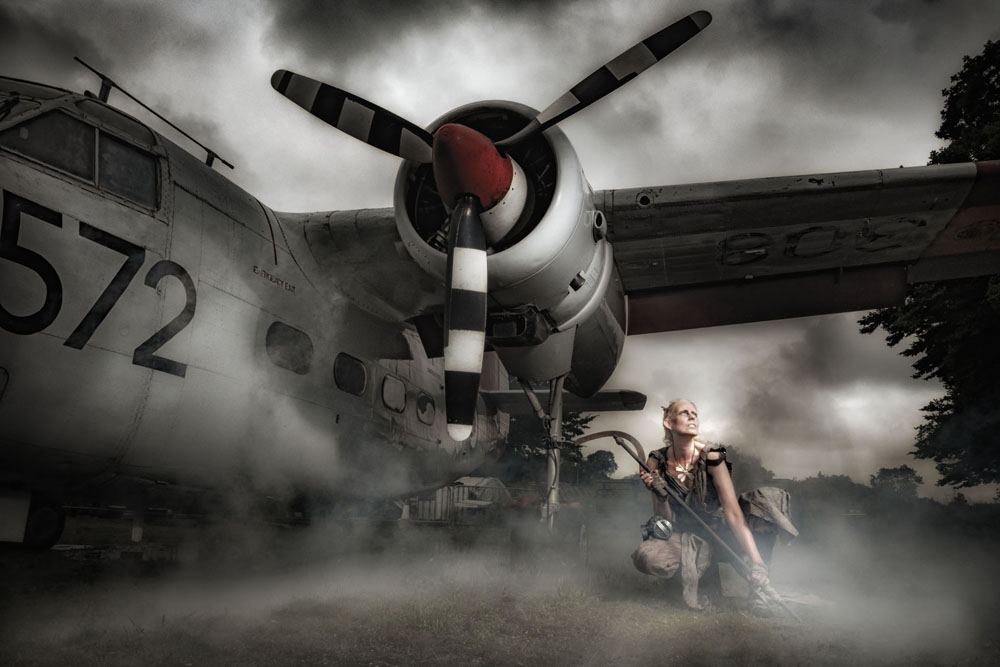
I must thank the Gatwick Aviation Museum for the use of their location and the loan of the pilots outfit. Part of the reason for the look and location in these shots was to test out the venue and one of the outfits for my big Aviation Apocalypse workshop. Judging by what we learned on this shoot, the workshops are shaping up to be very exciting!

Flash

Ambient

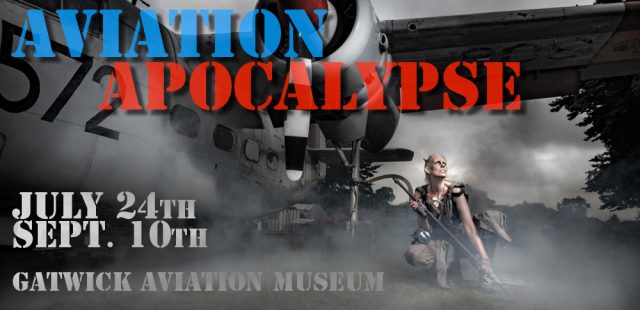
Aviation Apocalypse Workshop

What happens if you combine a visit to a newly built aviation museum and a love of all things broken and old? Welcome to the Aviation Apocalypse!

AP-poster-1000px

This summer I’m running two all day photo shoots at the Gatwick Aviation Museum in Surrey and bookings are now open if you fancy joining me. Full details are on the event page here or if you just can’t wait, you can use the book now buttons below. Places are strictly limited and must be booked in advance.


Sunday 24th July 2016
£185.00 per person


Saturday 10th Sept. 2016
£185.00 per person

This workshop is subject to our Terms and Conditions

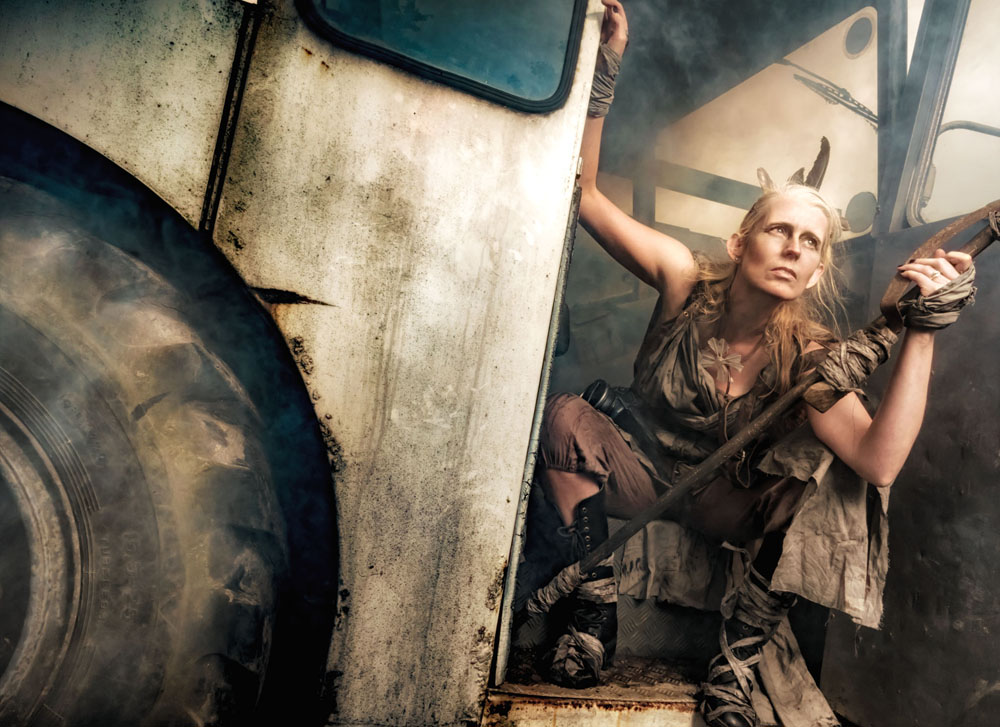
Building on the success of last year’s woodland workshops, once again I’ll be joined by two models who will each have two looks. Half the day they’ll be aviators and the rest of the day they’ll be survivors in a post apocalypse world.

You’ll be working in small groups with plenty of time to get great photos of both models in their different looks. This is a great opportunity to capture some unique portraits whatever skill level you’re at.

The photos above are from my test session at the actual location we’ll be using. Despite the rather gloomy weather that day I had a brilliant time and I’m really excited to see what suggestions, ideas and images the photographers on the day create.

Low Key Lighting

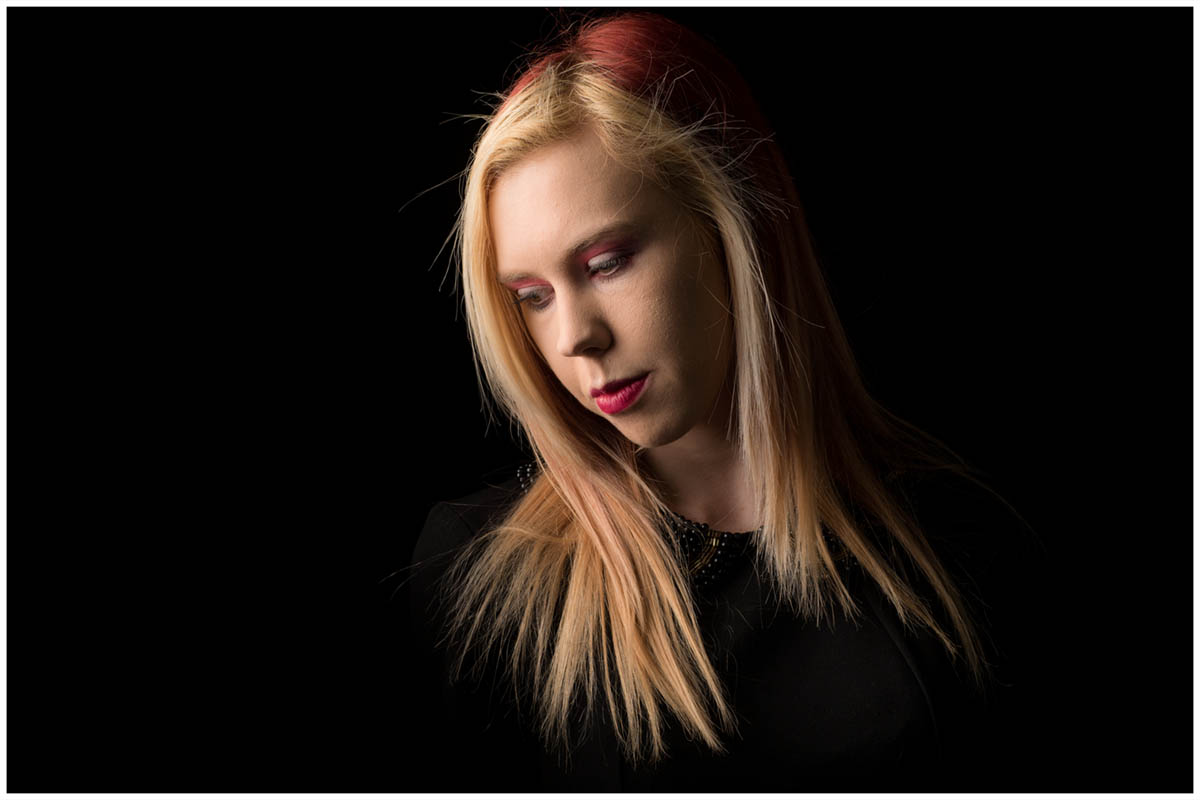
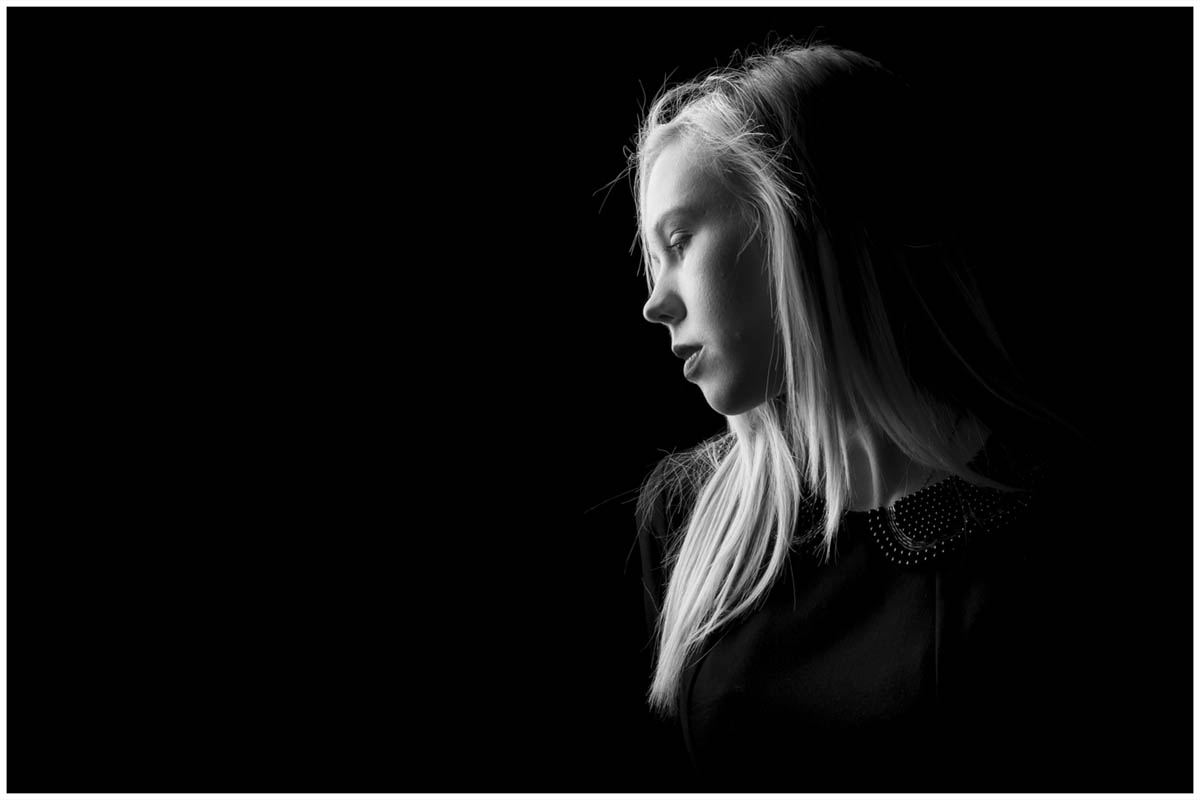
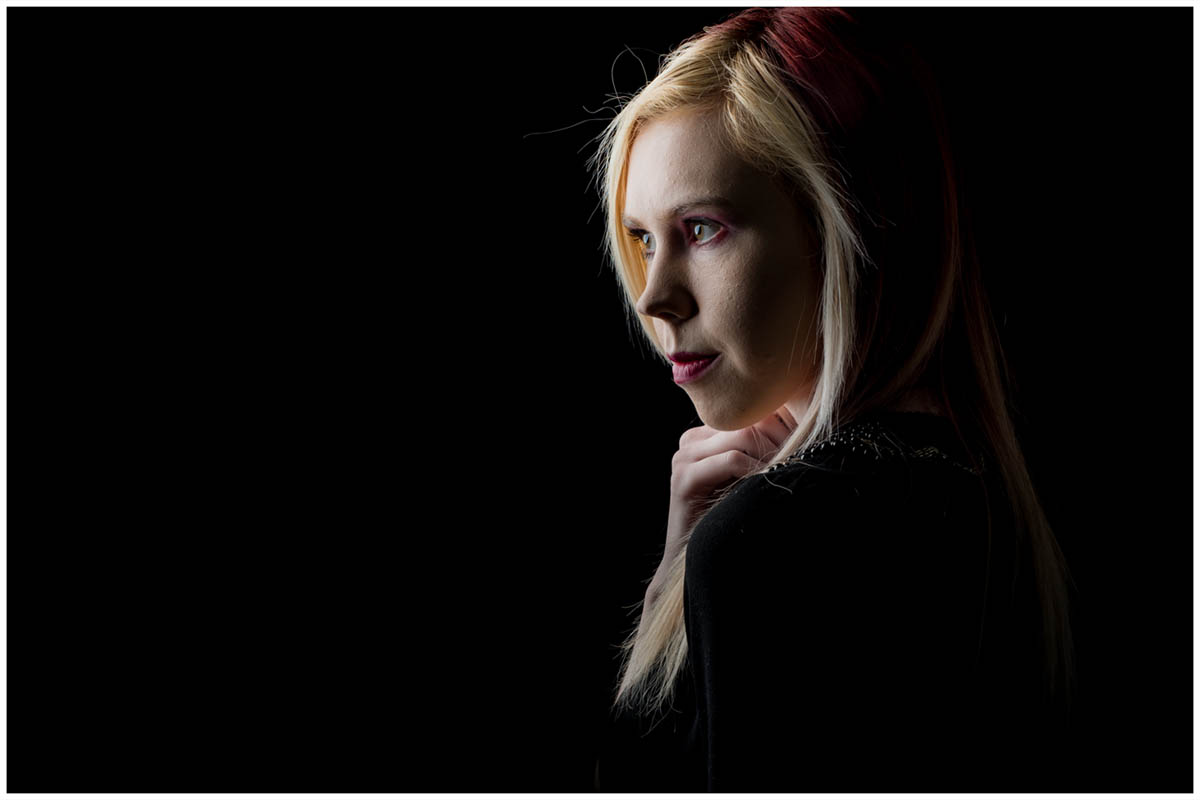
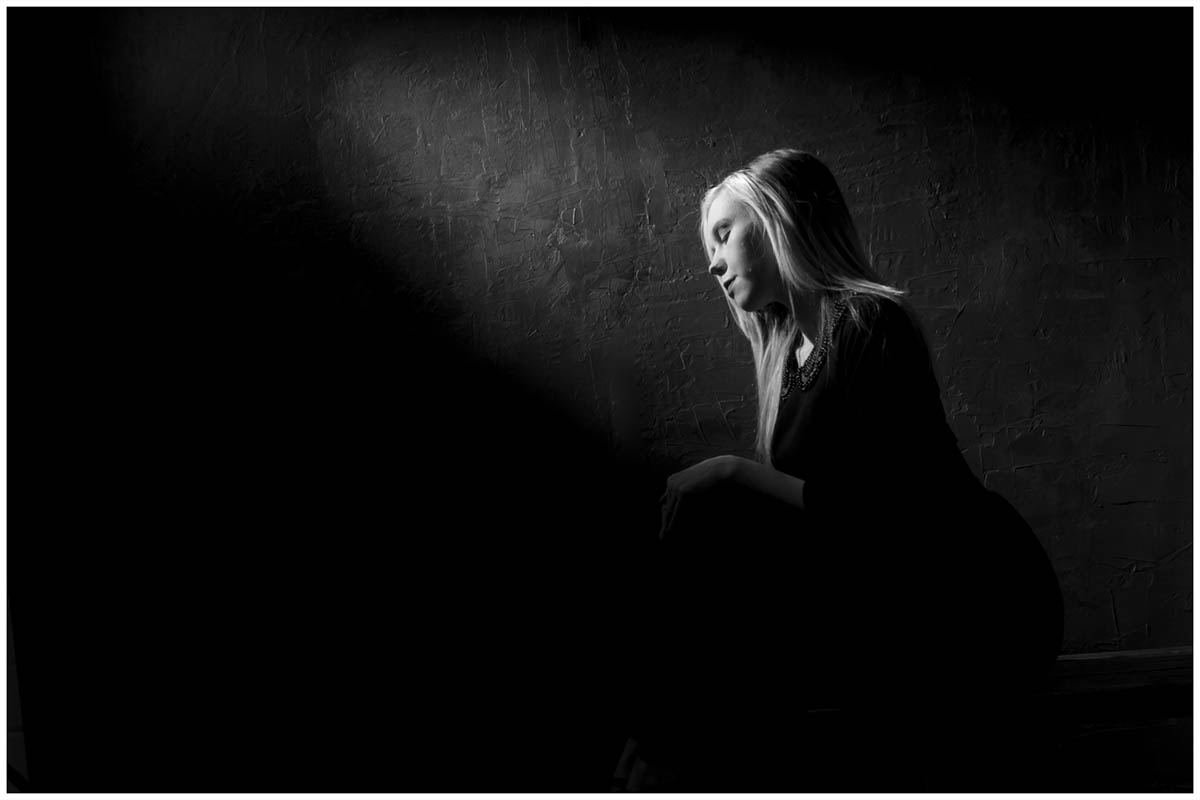
If you have a small or portable studio set up then low key portraits should be high on your list of “must have” lighting skills. Why? Apart from looking amazing, great low key lighting can be achieved with simple equipment against any dark background.

[youtube]https://www.youtube.com/watch?v=Ba1Hiq3w3kc&feature=youtu.be[/youtube]

As the video above demonstrates, black backgrounds are the obvious choice for low key shots but grey backgrounds work too. So what makes a shot low key?

An underexposed image is not the same as a low key image. Whilst a true low key shot will have the majority of it’s tones on the dark side it will also have a few areas of highlights too. Contrast is key and that needs lighting but how you get there is all part of the creative process.

Creating shadows with D.I.Y. Gobos

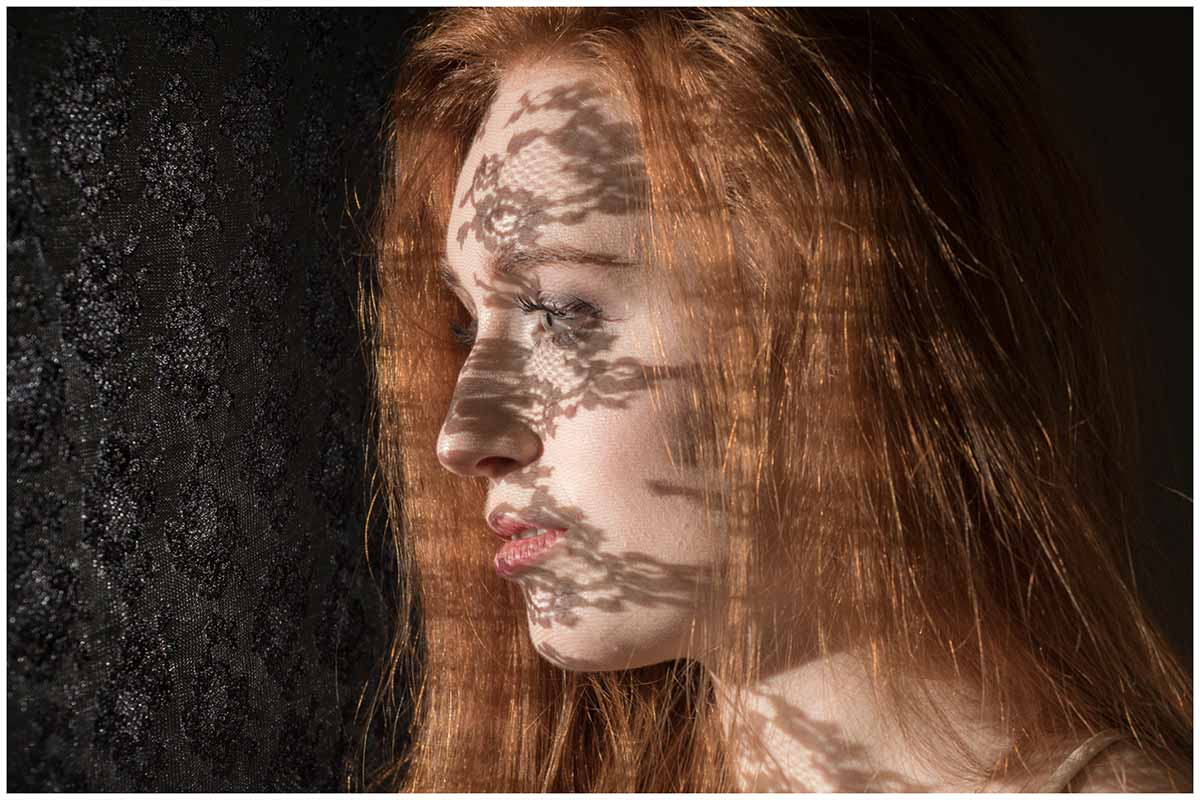
Placing an object in front of a light source will usually cast a shadow of some sort. In the studio, if the object is solid it’s known as a flag but if it’s full of gaps (or semi translucent) it’s called a GoBo and can be incredibly useful. The shadow cast by a GoBo is often used to add texture or shapes to an otherwise plain background but there’s more to GoBo’s then that.

GoBo’s can cast shadows directly on to your subject for dramatic effects or they can be used to give reflections of the light source a little more style. And you don’t need a fancy GoBo projector to do it. Fabric, glassware, twigs or even tinfoil with random holes in are just a few things you can find around the house.

[youtube]https://www.youtube.com/watch?v=_sBK4xFmF3Q&feature=youtu.be[/youtube]

One last thought. Many photographers will tell you that GoBo is short for Go Between because it’s something that goes between the light and the subject. Well, if that’s true why aren’t they called GoBe’s?

My 2016 UK Photography Show Schedule

There’s just one week to go until The Photography Show opens its doors at the N.E.C. in Birmingham and this year my free demos are bigger and better then ever. Running from the 19th – 22nd March, it’s easily the UK’s biggest and busiest photography show with 30,000 amateur and professional photographers attending. It’s packed with a great mix of stands from the major photographic suppliers to the small independent retailers.

TPS2016

But this isn’t just another trade show, there’s also loads of things to see and do. There’s a constant stream of free demos and talks on various live stages and that’s on top of all the smaller demos on many of the booths dotted around the show.

I’ll be there for the whole four days giving various talks and demos on Photoshop, portrait lighting and photography. I’ll be dashing from demo to demo (see below) but if you’re coming along it would be great to meet you.

Saturday

11.15 am PiXAPRO E91 Small Space, Big Impact Lighting
12.30 pm Adobe Theatre Photoshop CC Hidden Gems
3.15 pm PiXAPRO E91 One Flash Lighting
4.30pm Olympus E31 Losing A Mirror But Finding Focus

Sunday

11.30 am TPS Live Stage Fearless Flash Photography
12.45 pm PiXAPRO E91 Small Space, Big Impact Lighting
2.00 pm Adobe Theatre Photoshop CC Hidden Gems
3.15  pm PiXAPRO E91 One Flash Lighting
5.00 pm TPS Behind the lens Snap Happiness (Talk)

 Monday

11.00 am Adobe Theatre Photoshop CC Hidden Gems
12.15 pm PiXAPRO E91 Small Space, Big Impact Lighting
2.15 pm PiXAPRO E91 One Flash Lighting
3.30 pm Adobe Theatre Photoshop CC for Photographers
5.30 pm TPS Networking Event Mega Mess Ups! (Talk)

 Tuesday

11:00 am Adobe theatre Photoshop CC Hidden Gems
12.15 pm PiXAPRO E91 Small Space, Big Impact Lighting
2.15 pm PiXAPRO E91 One Flash Lighting
3.30 pm Adobe Theatre Photoshop CC for Photographers

All my demos are free and available on a first come first served basis. There’s no need to book but as the Adobe theatre in particular has limited seating I’d recommend getting there early!

Show tickets are free for professional photographers and the trade (if booked in advance) and £13.95 for enthusiasts (£18.00 on the door)

Make a simple LED Background

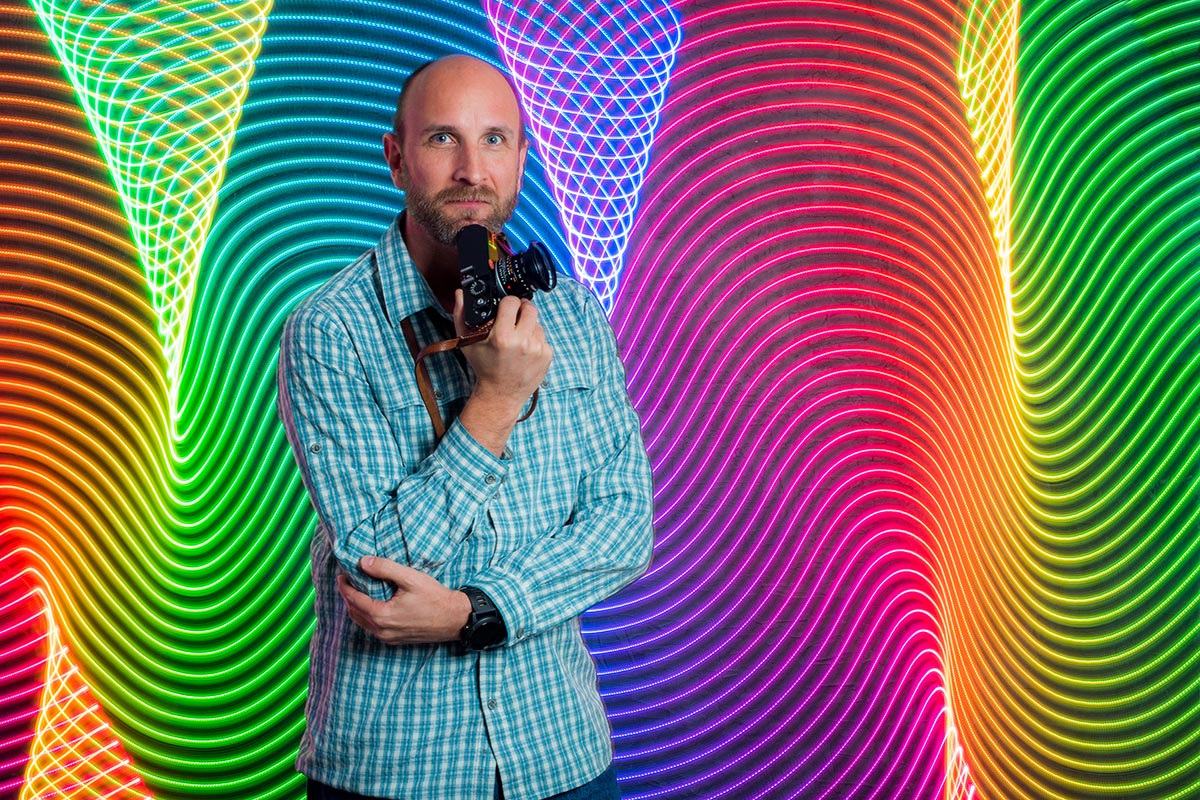
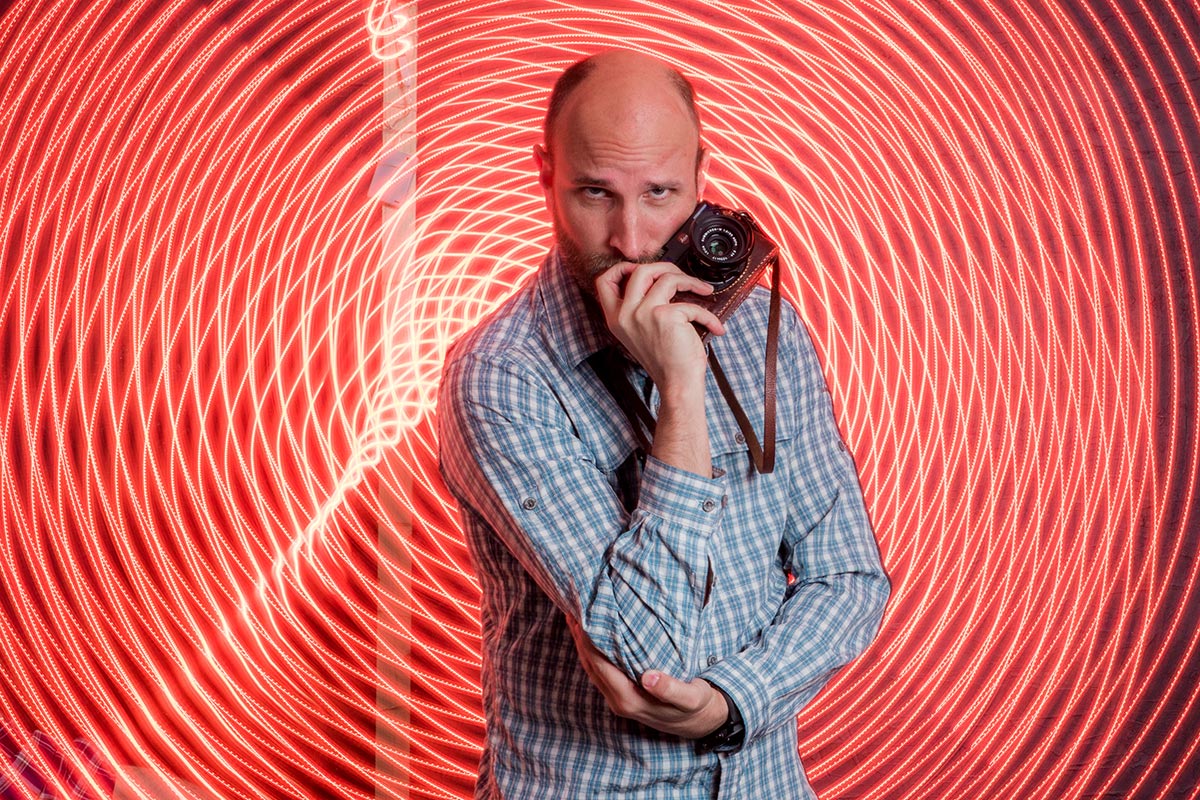
All sorts of random things can be turned into an amazing  portrait background but last year I was shown something called the Pixel Stick which looked amazing. It was a Kickstarter backed project that combined LED’s and long exposures in a way I’ve never seen before. Although the pixelstick was out of my budget the basic idea wasn’t.

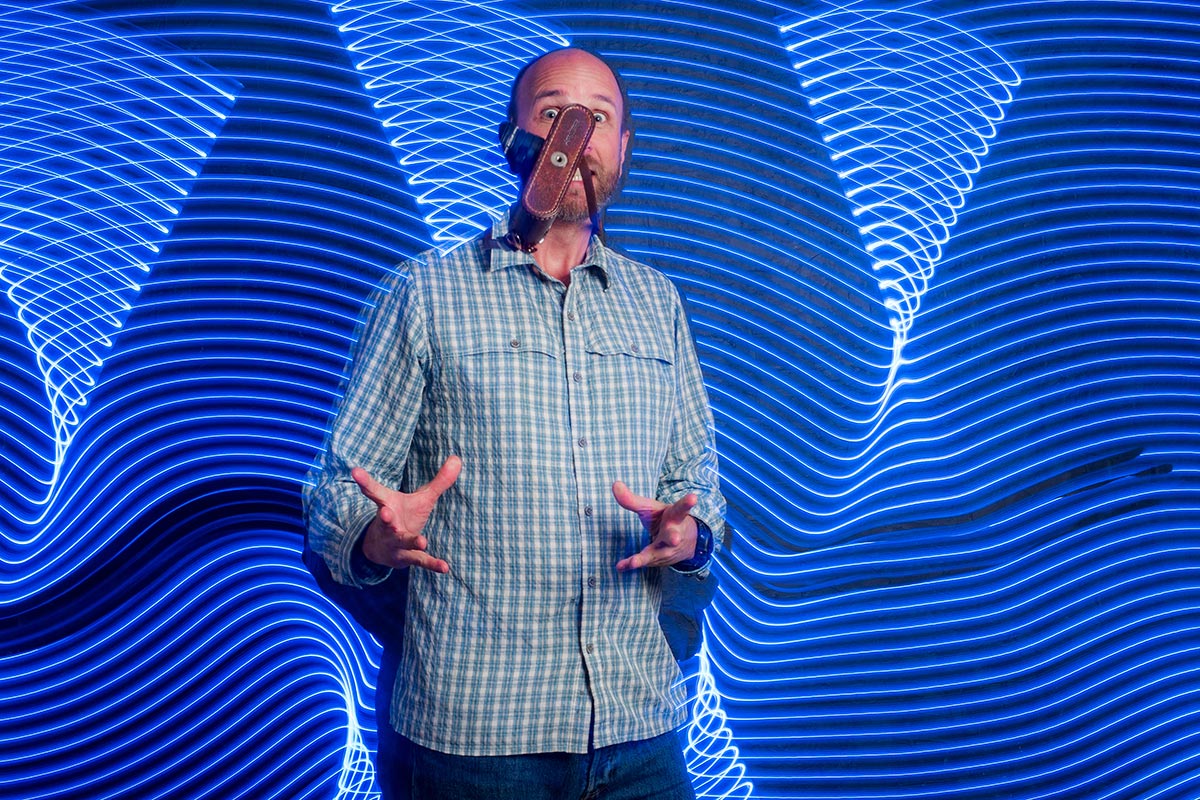
My low tech LED stick took just a few minutes to make and worked amazingly. Take a look at the Adorama TV video I made with the spectacular Mark Wallace to see for yourself.

I’ve had loads questions all asking the same thing… How do you make my LED stick?

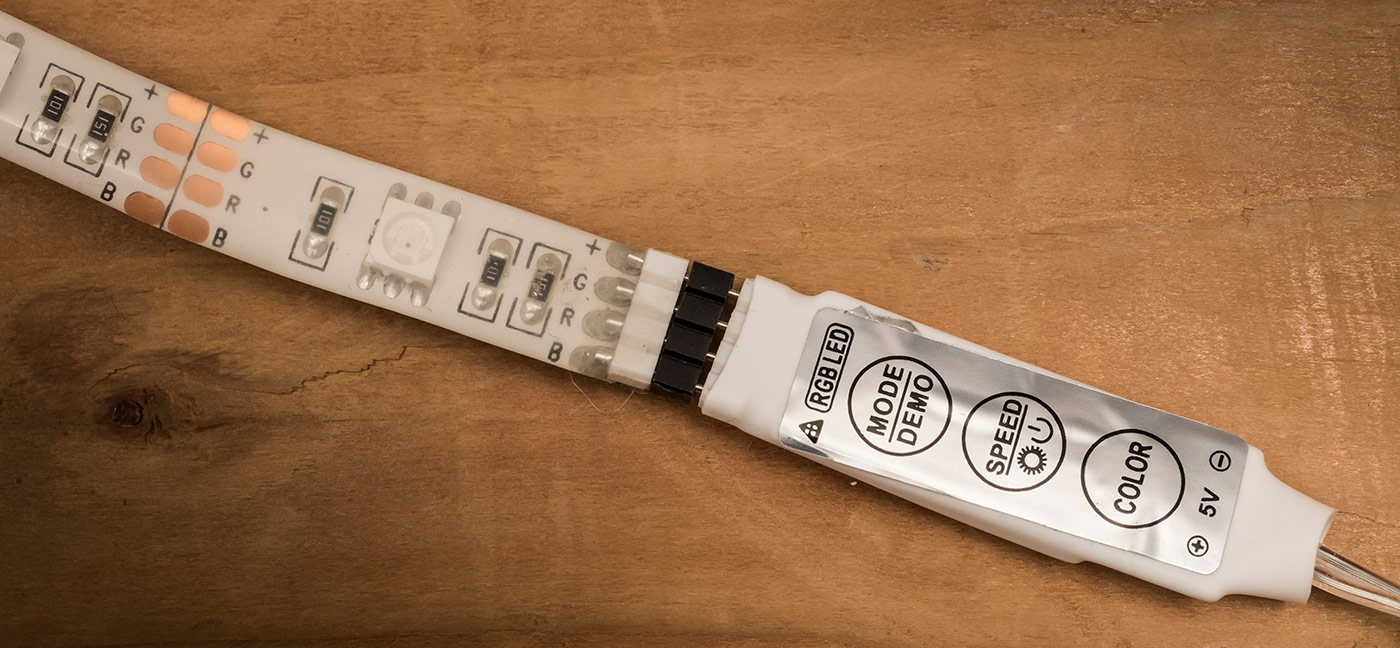
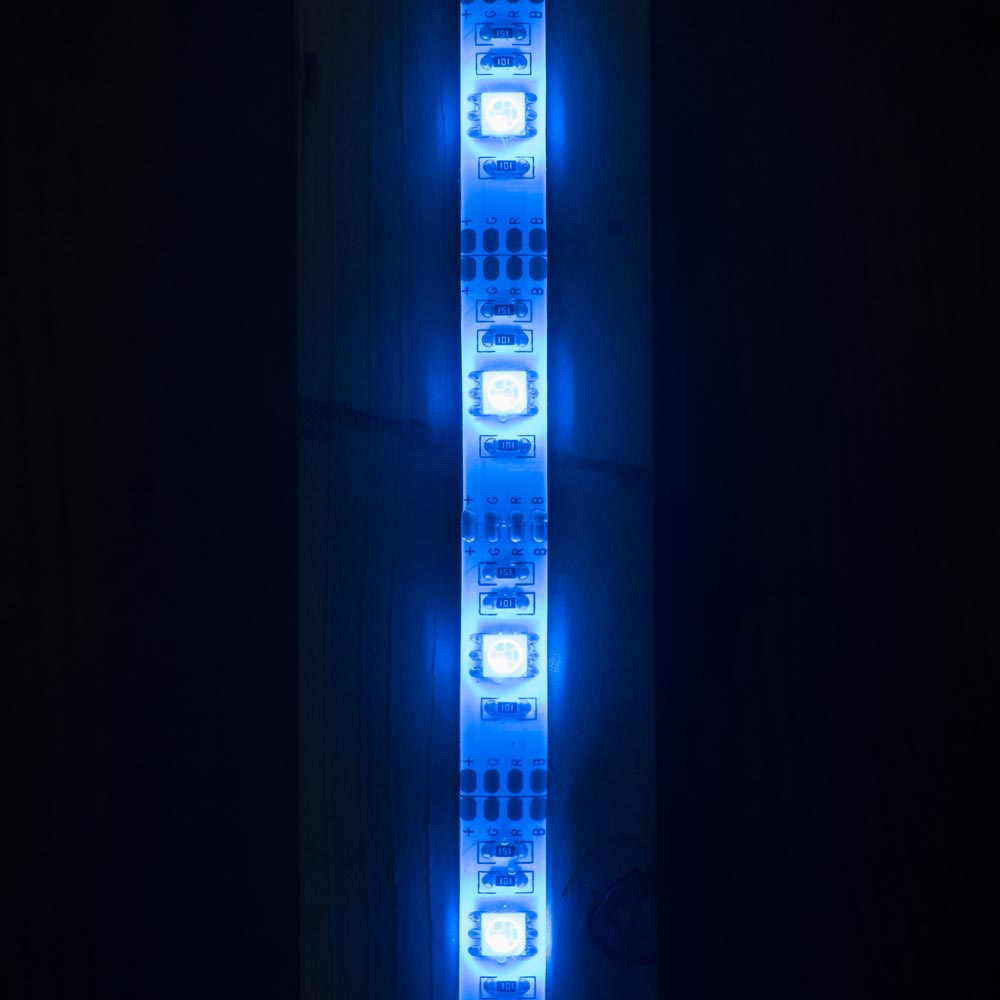
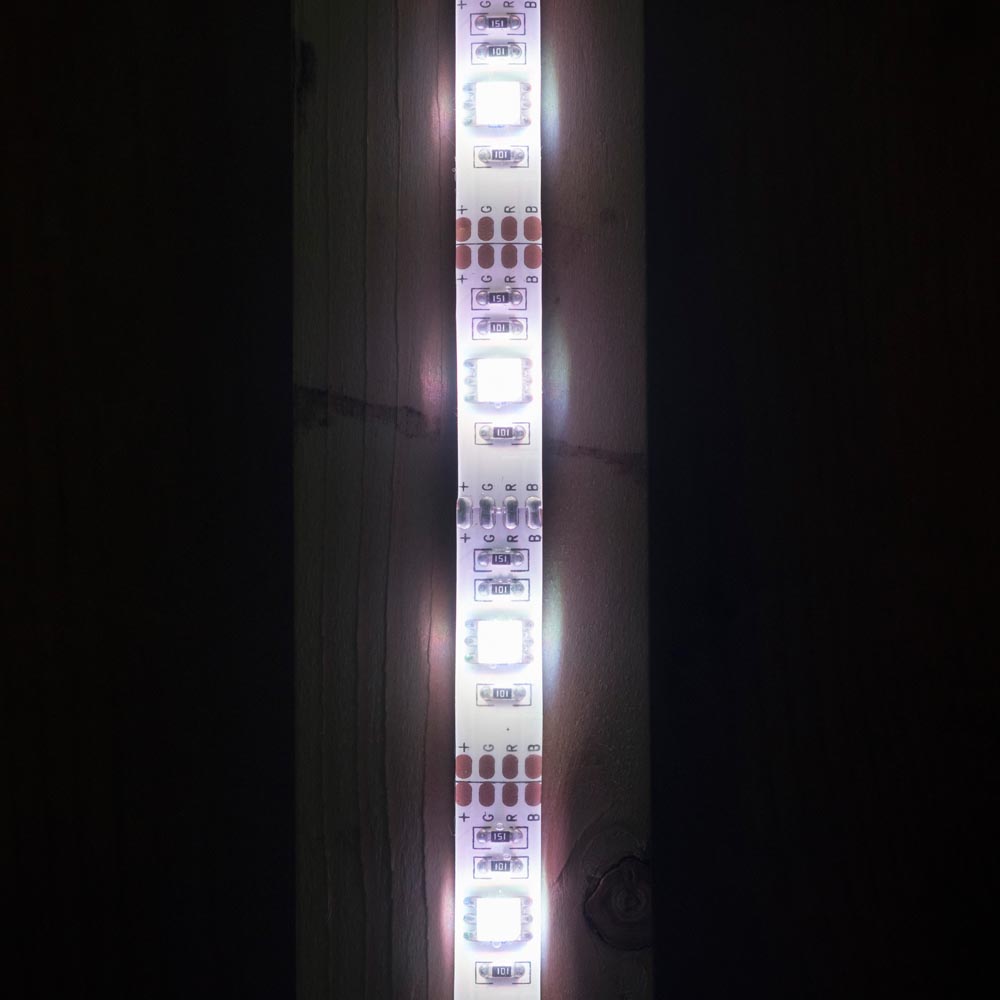
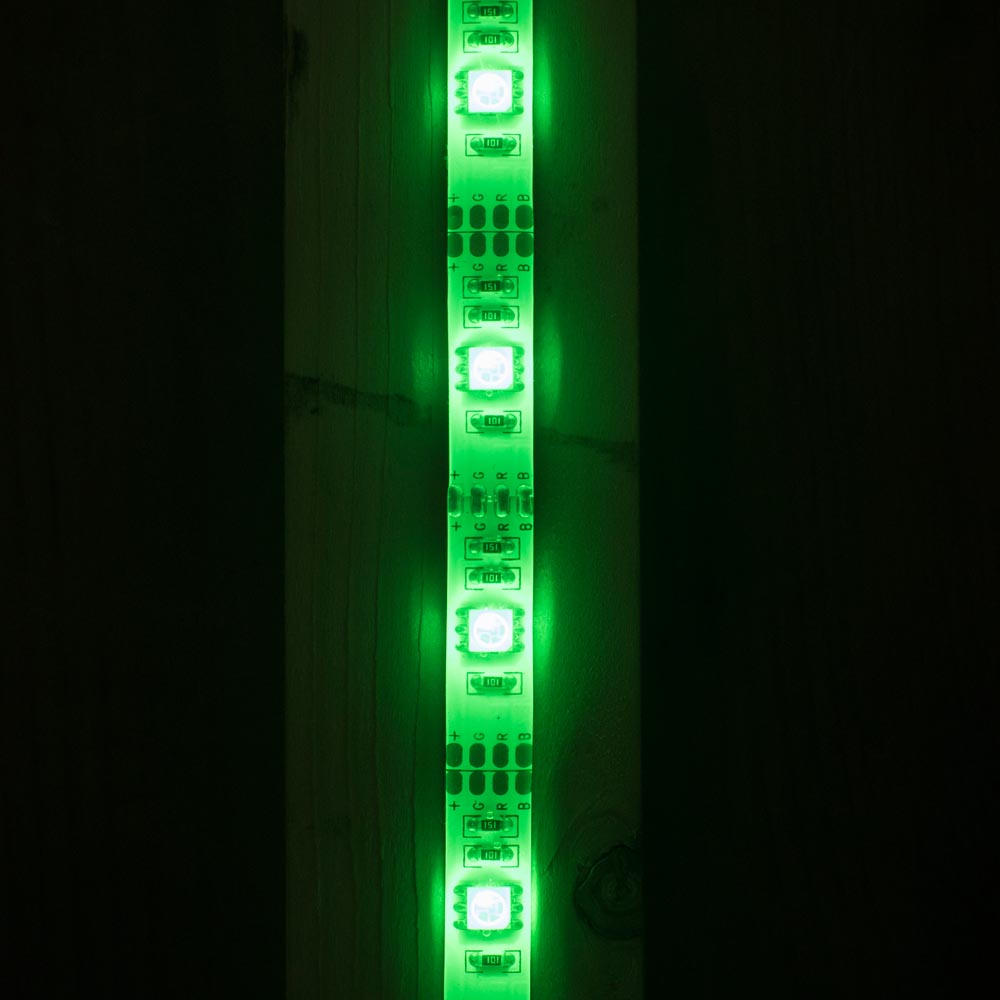
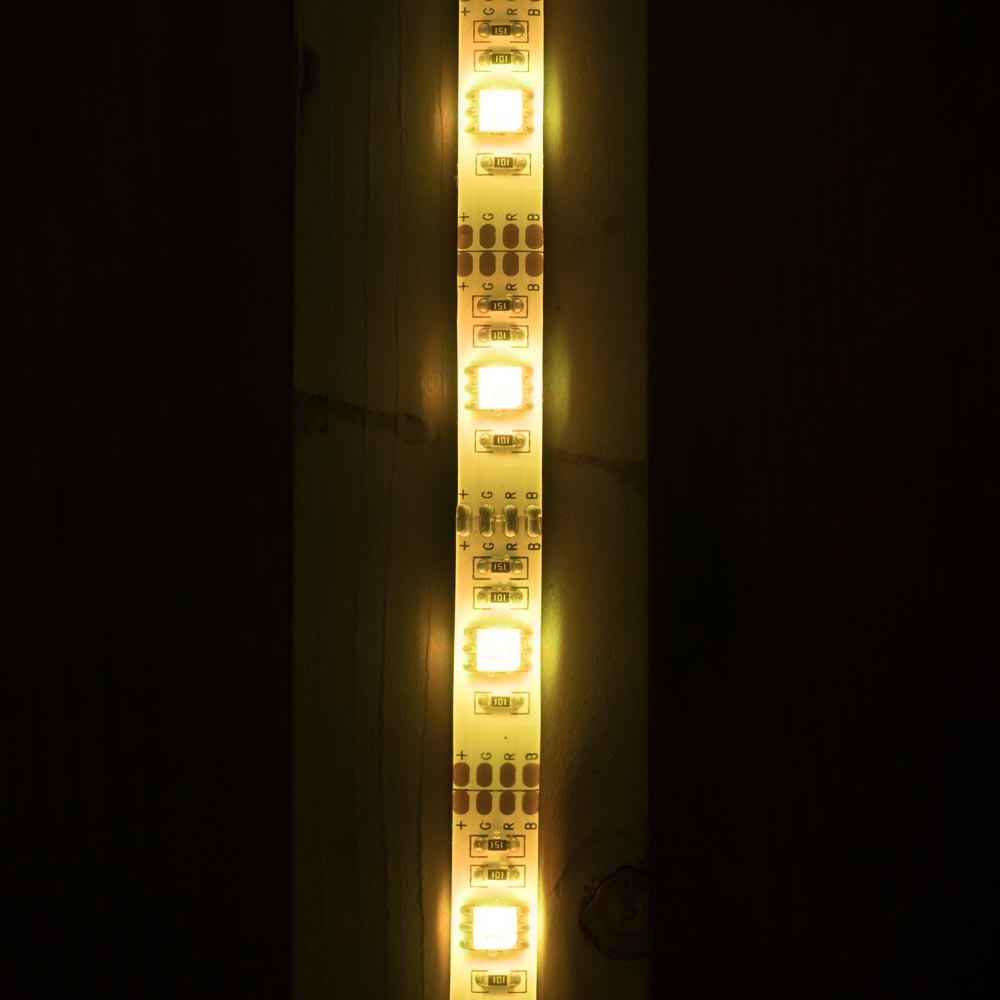
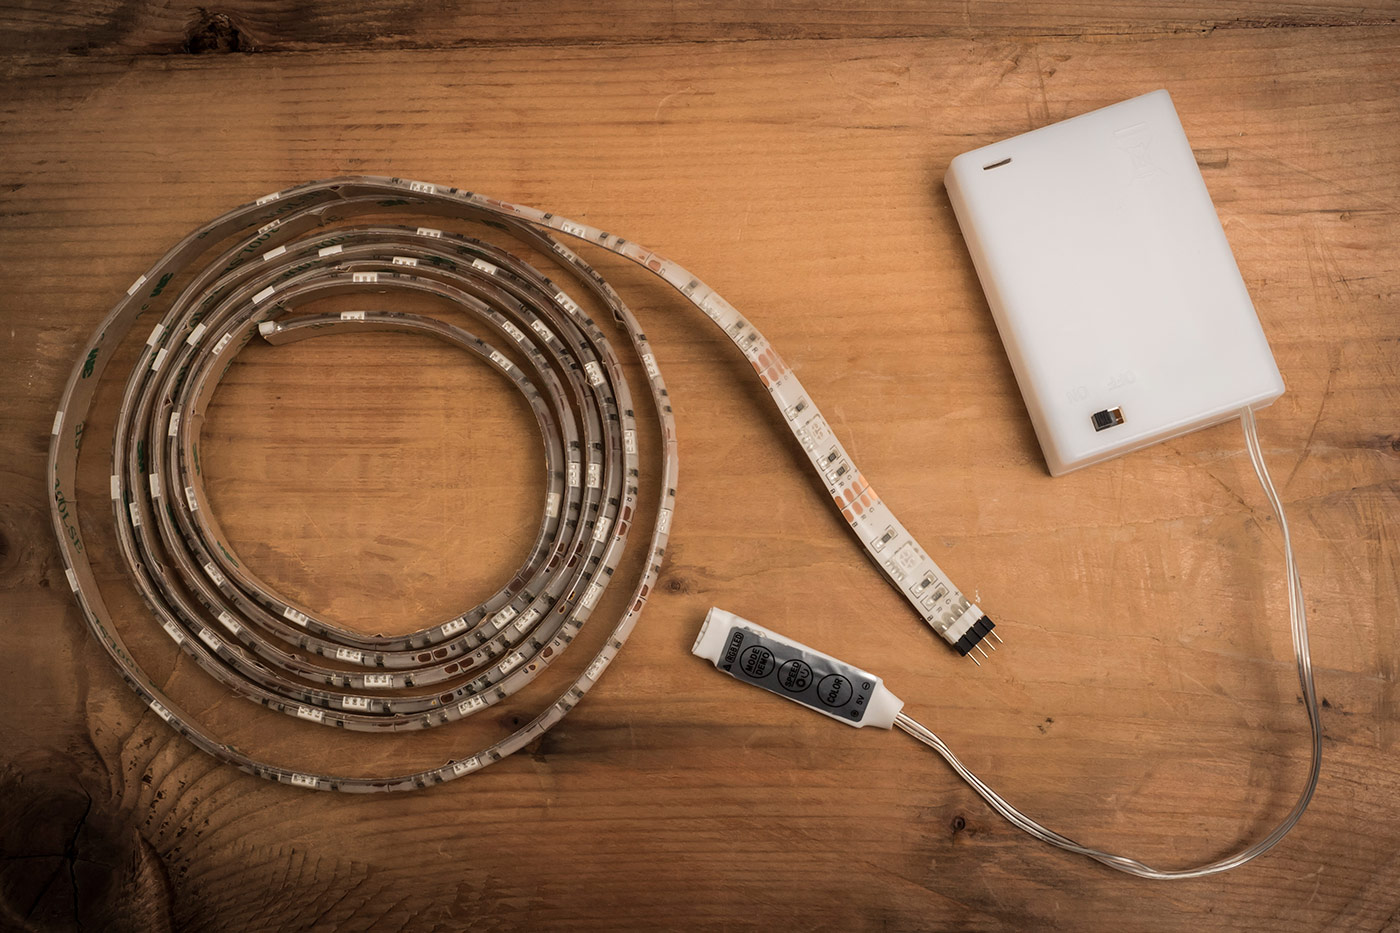
eBay proved to be the perfect place to start my search. There are loads of low cost LED’s on the market and I found a 2 meter roll of multi-coloured LED’s complete with battery box and controller for about £17.00.LED-Setup

Each LED is actually several coloured LED’s clustered together which turn on or adjust their brightness to change the colour. The controller is very basic but allows you to set the colour, brightness and any effects such as flashing or fading through the spectrum.

LED-Setup-2

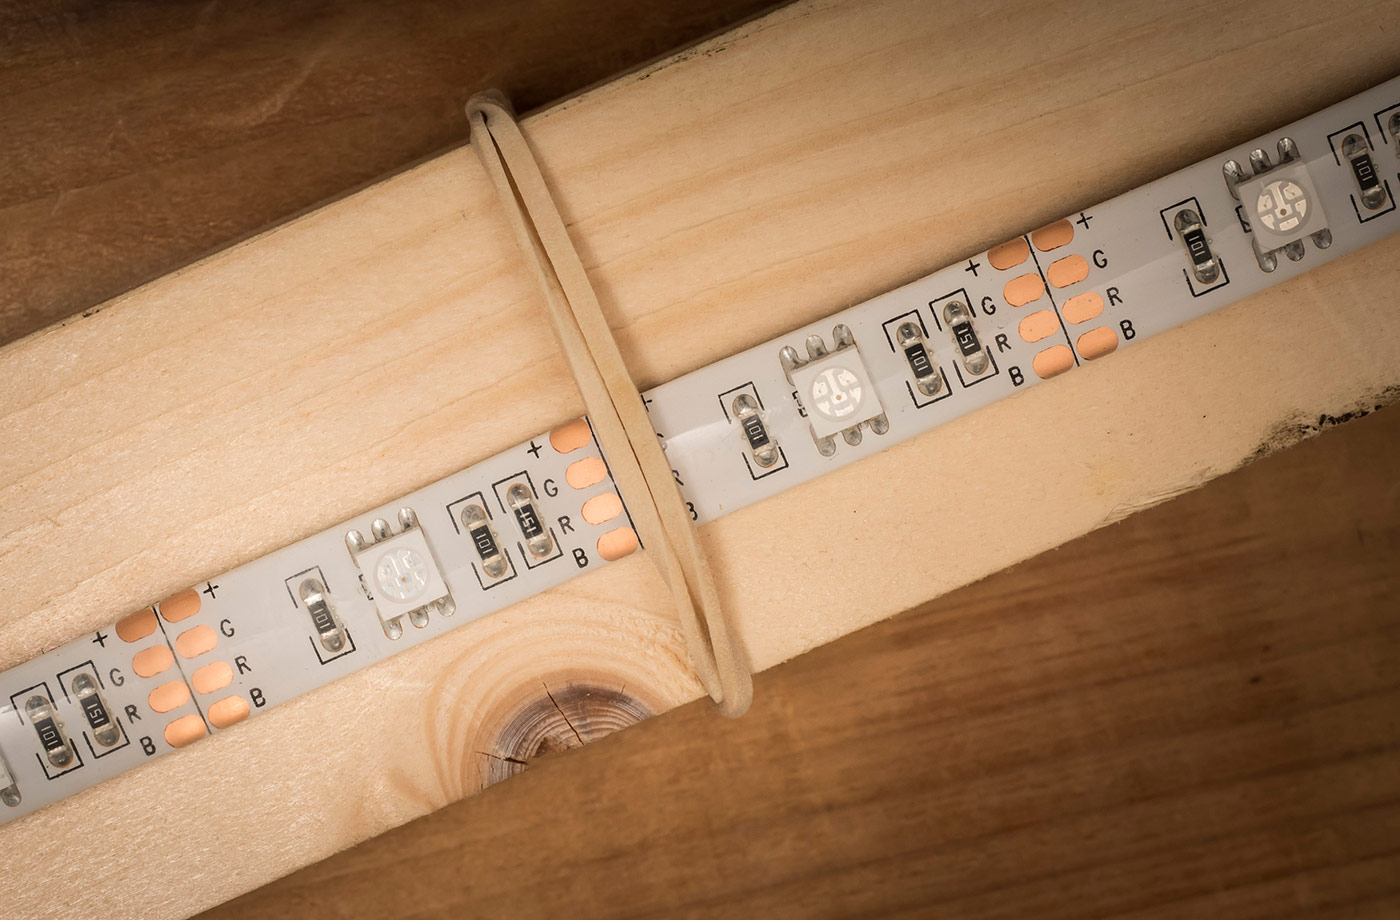
The LED strip is very flexible and sealed inside clear silicone (or something like it), so I found a spare bit of 1.8m timber and attached the LED strip to that. There’s adhesive on the back of the strip but I just used a few rubber bands to hold it place. Just make sure the bands don’t cover the LED’s!

LED-Setup-3

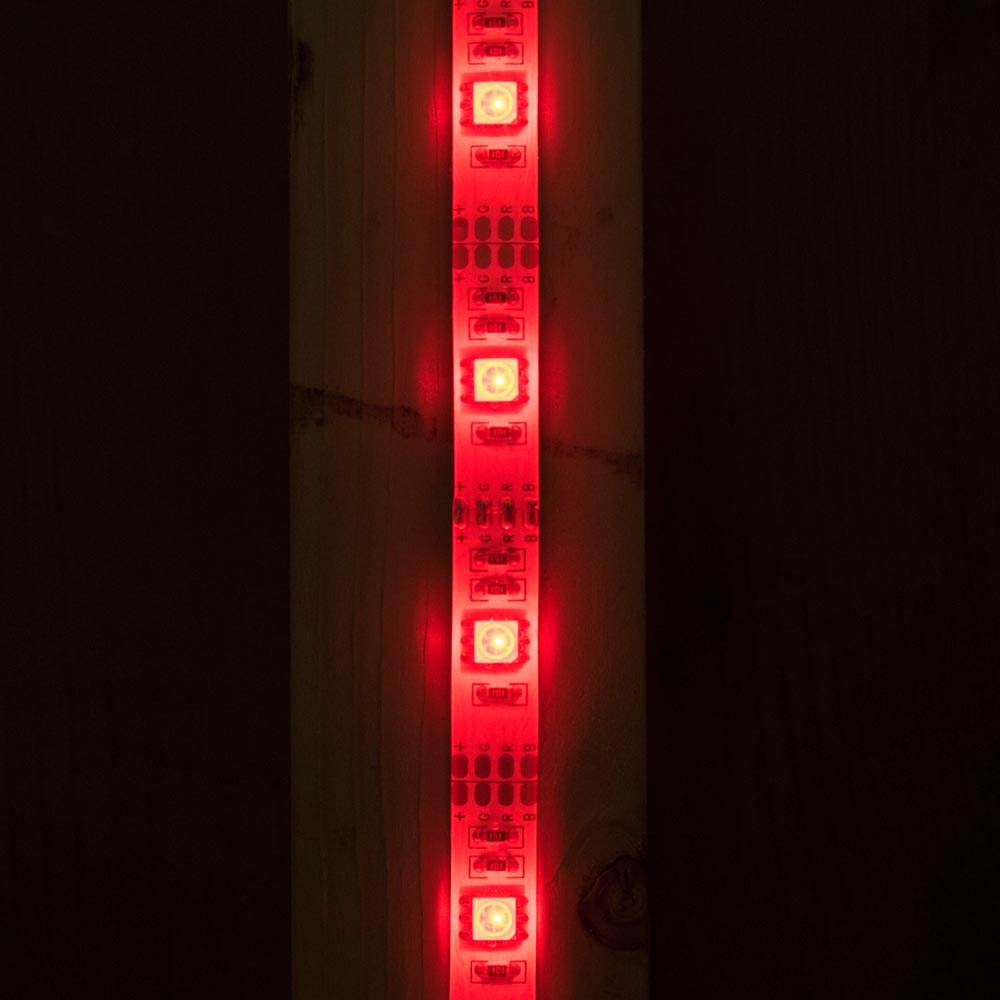
Then it’s just a matter of attaching the batteries and choosing a mode. Some colours worked better then others as did some modes. The key as always is to experiment and have some fun!

Gavin vs Mark Portrait Challenge

A few weeks back I was honored to have Mark Wallace, my friend and fellow Adorama TV host, stop off at my studio for a couple of days. Mark has been travelling the world for the past 18 months or so and this was the first time in a long time that he’s been shooting in a studio.

Now you probably already know I love a photo challenge, so when Mark suggested a studio challenge I jumped at the chance.

The rules were simple. We’d both use the same studio, same single flash and photograph the same model. We set a 20 minute time limit to include planning and filming and would see each other’s shoot until the end.

Mark went first and you can see his video below.
[youtube]https://www.youtube.com/watch?v=L2aEN6UUDYA[/youtube]

I love what Mark did with the simple lighting and subtle editing. I was also blown away by the quality for the Leica especially as Mark had been telling me it’s probably not a camera that you’d choose for studio portraits

Once Mark was through, I got my turn.
[youtube]https://www.youtube.com/watch?v=FzQr3GTUrwg[/youtube]

It was great to try out an idea I had been thinking about for a while and as you can see, my image is totally different to Marks in almost every way. I went with a contrasty light, aggressive pose and bags of drama.

The “home advantage” really can’t be underplayed. Remember I was using my gear, a model I’ve worked with before and I had the props hanging around in my studio. Even so I think it says a lot about how the photographer adds to the image when two of us can come away with such different emotions from the same subject using the same light.

Most of all it was a huge amount of fun and that’s what photography should always be about!


5 Questions about flash meters

One of the very first lighting accessories I brought was a flash meter, in fact the same meter gets used and abused almost every time I use manual flash. I’ve used my handheld flash meter with speedlights and studio flashes of all makes, I use it in the studio and on location. Honestly, I couldn’t work without it.

If you’re thinking of getting your own flash meter or already own one but are not sure how to get the best from it the video below should help answer some of the most common quesions.

[youtube]https://www.youtube.com/watch?v=UG4P-Odutr8[/youtube]

Not a video viewer? No problem, try this instead.

1 Can’t I just use my camera meter?
Nope, you’re camera meter is designed to work with continuous light and can’t react fast enough to meter flash. However you can use your cameras LCD to review the photos and adjust the flash power based on what you see. This trial and error approach is OK but does have its drawbacks… see the video for more on this.

2 Do all meters work the same?
Well, they all meter the light so at a basic level they’re all the same. In my case I simply set the meter to match my camera’s ISO and shutter speed and when the flash fires I can read off the aperture.

Of course there’s plenty of advanced flash meters around that have features that might make life a lot easier for you. Some meters can measure the amount of ambient contamination in your shot, others can figure out lighting ratios and there’s even some which have pocket wizard radio triggers built into the meter itself.

3 How do I fire the flash?
That largely depends on the flash meter. On my Sekonic L-308s I prime the meter by pressing a button on the side and then fire the flash by pressing the “test” button on either the flash or radio trigger.

Other firing options include attaching a PC Sync cable from the flash to the meter or as I previously mentioned, finding a meter that has a built in radio system (such as Pocket Wizard)

4 Where do I point the meter?
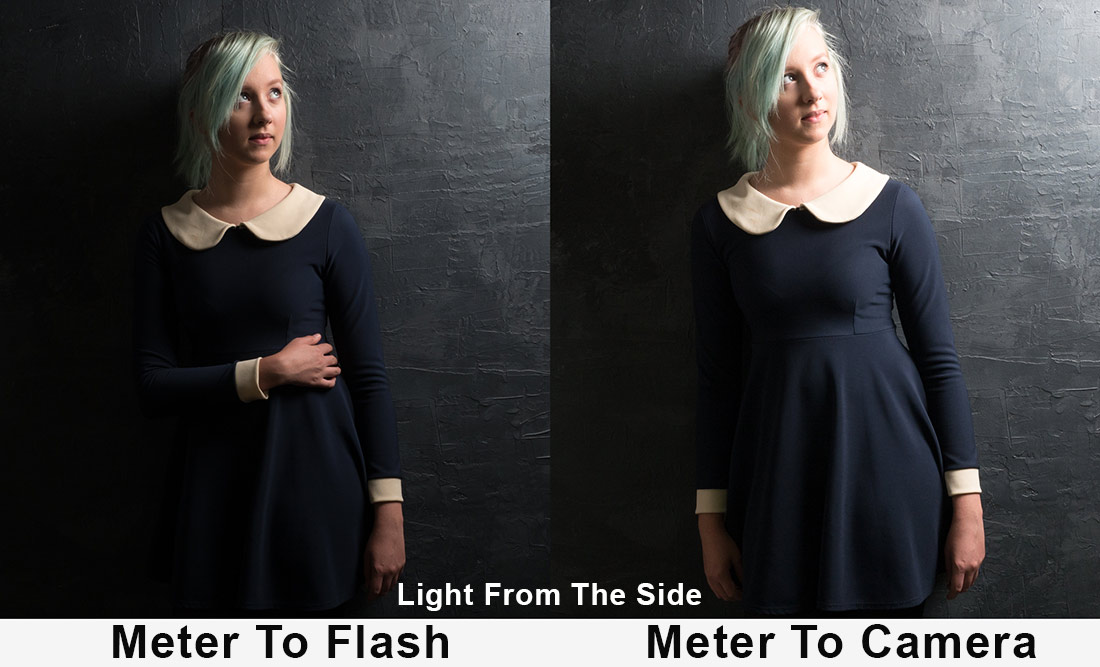
This is the question that usually sets off much debate among photographers. For me it’s always… Point the meter at the light, however as you’ll see in the video, if the light is mostly coming from the camera position, the same exposure is recorded by pointing the meter at either the flash or the camera.

Meter-Before-After

One mistake a lot of photographers make is to place the meter in the shadow cast by the chin or by the models hair etc. It’s easy done, so if the meter is telling you something that feels wrong, move the meter and try again.

5 Do I really need one?
No, you can do the trial and error way of working and get very good exposures. However if you move or modify the light you’ll need to do the same work all over again.

A flash meter saves time on a shoot and gives you extra confidence in nailing the correct exposure. However it’s always worth remembering that correct exposure isn’t the same as perfect exposure so it’s a good idea to ignore the meter from time to time and get a little experimental with your shots.

Lastly there’s one more reason for using a flash meter and it has nothing to do with how it works… Just like shooting with a big camera, the untrained eye can equate using a flash meter to knowing what you’re doing. Now, whether that’s a good or bad thing I’ll leave up to you.