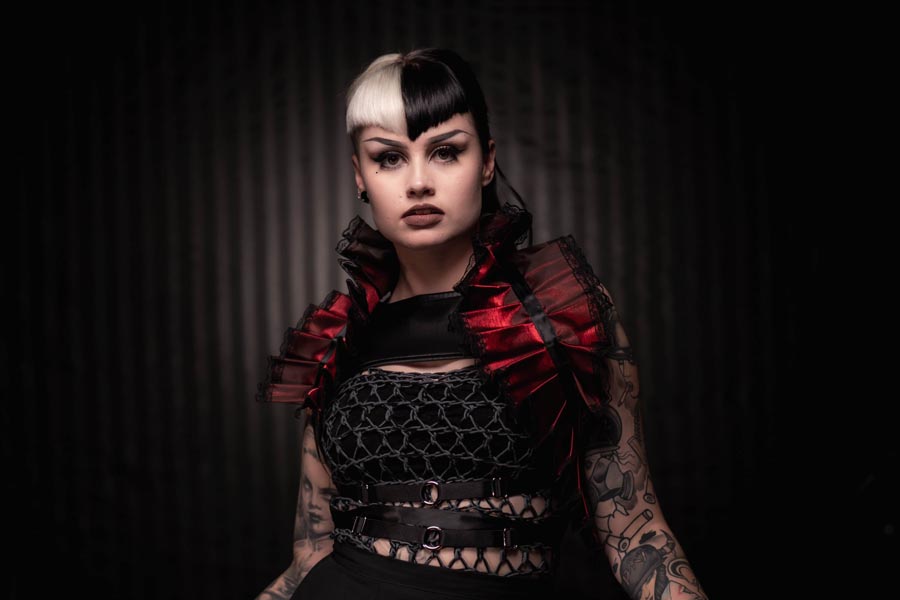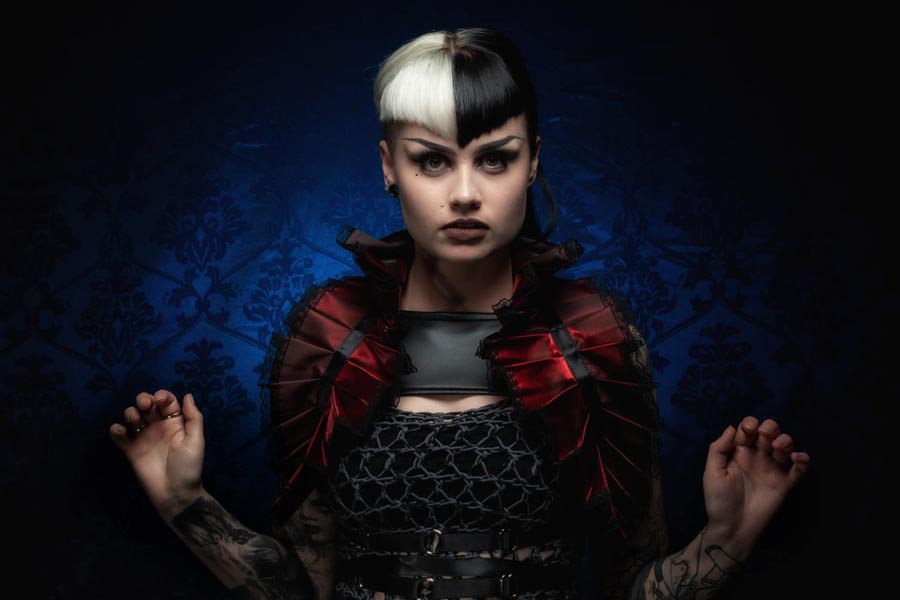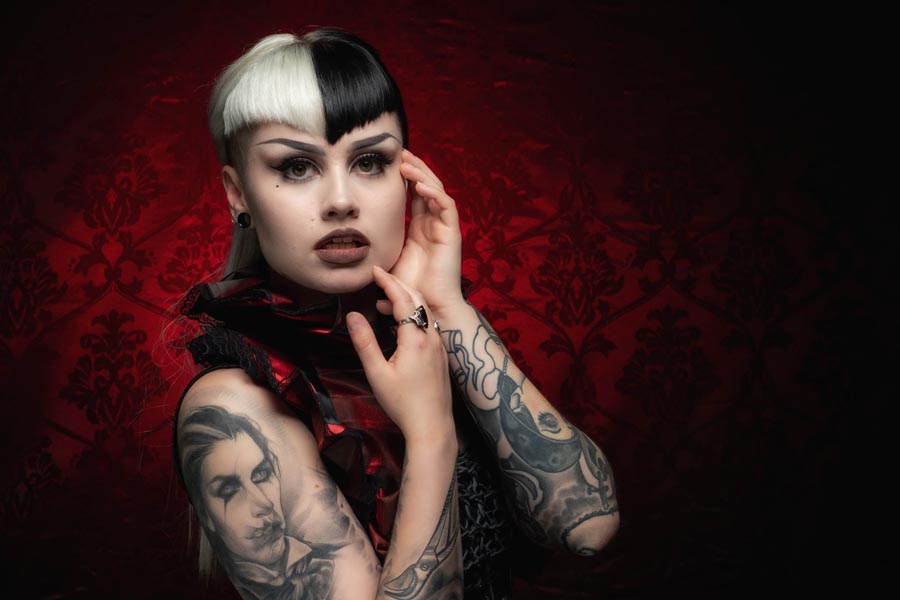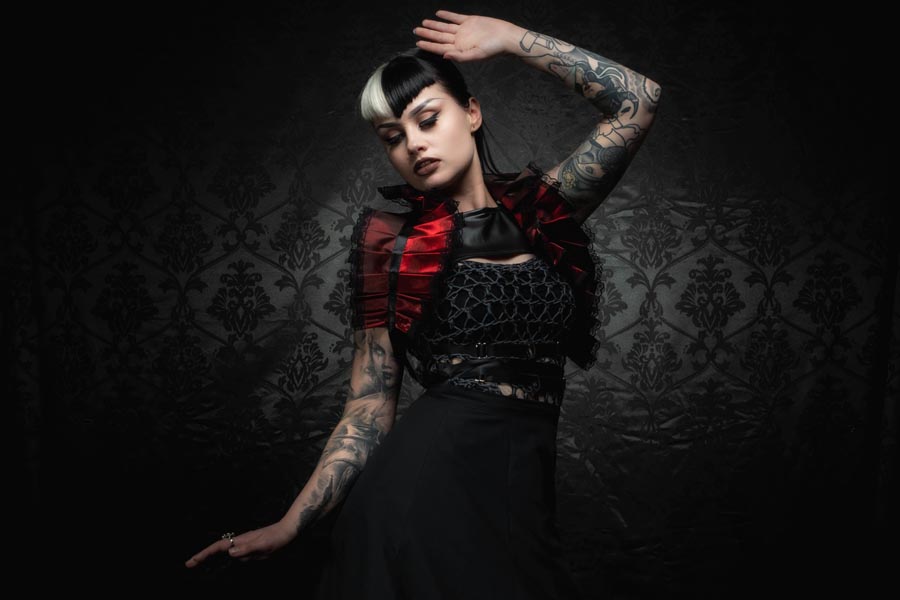
Tudor Style Flash to Candle Light

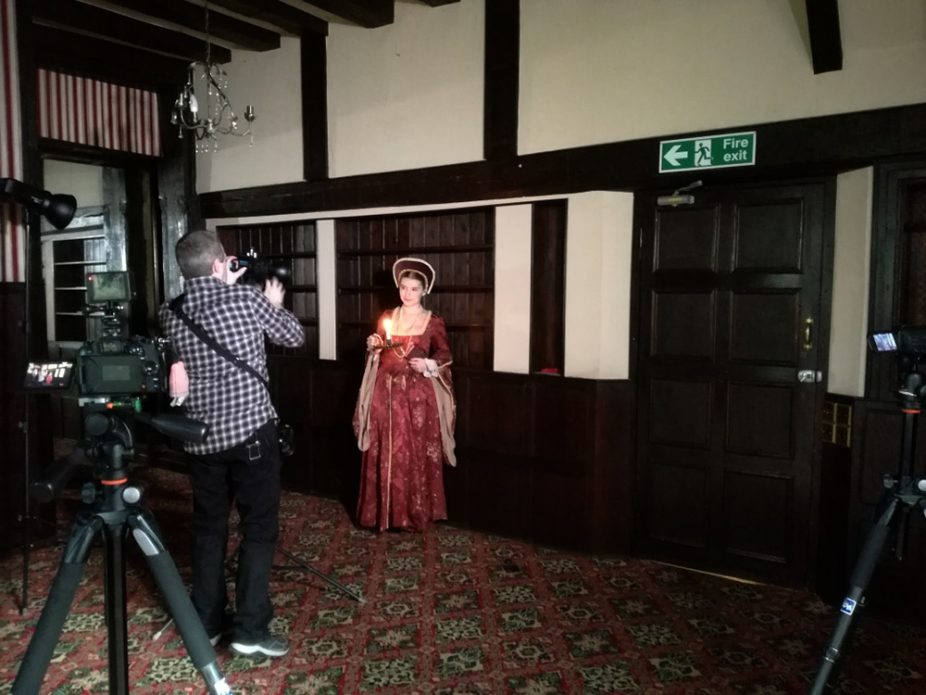
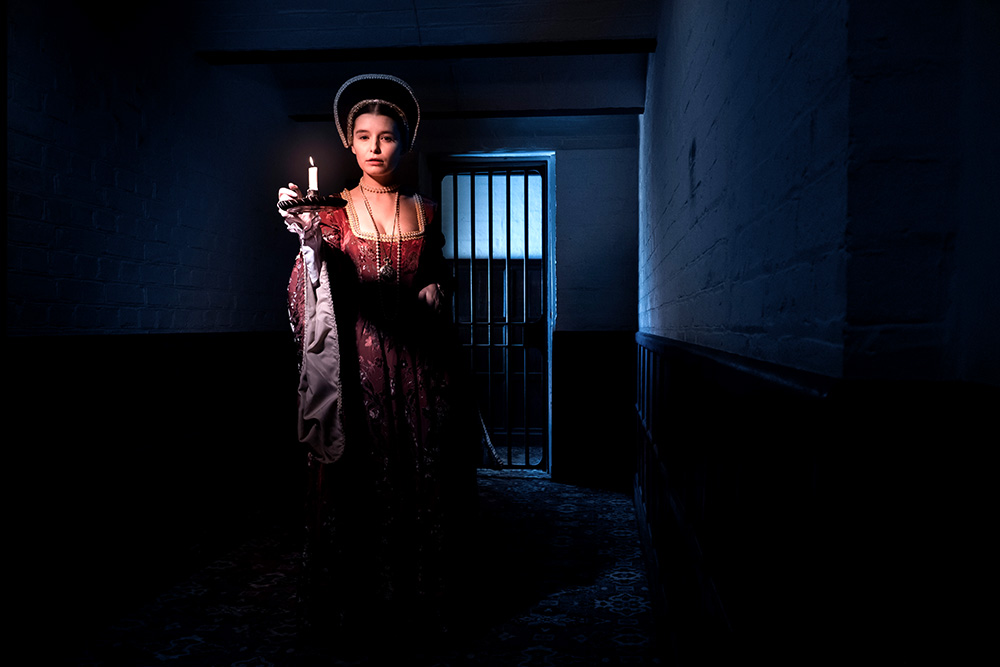
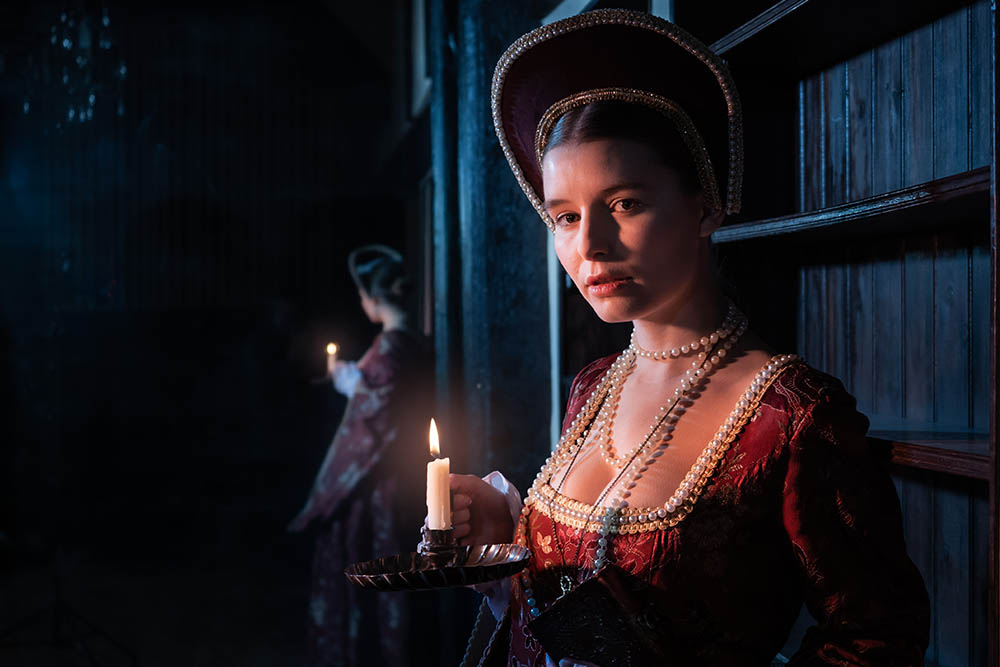
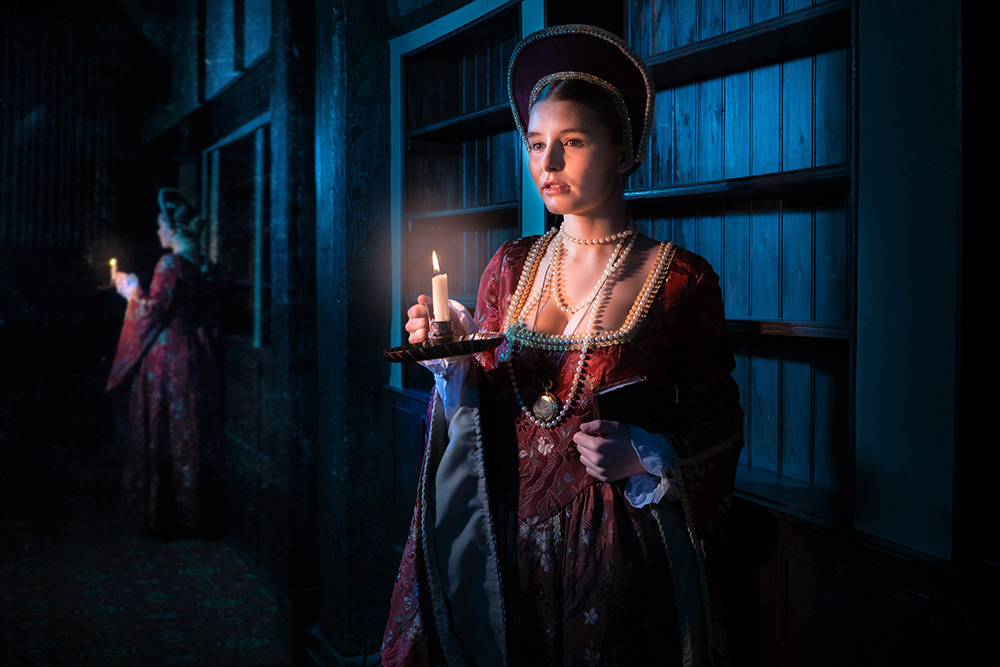
After having a recce at the amazing Rowfant House we knew that a Tudor style theme would work really well.

It also gave me a great excuse to hire a costume from a nearby theatre costume hire place based in the grounds at The Chequer Mead Theatre. The ladies running the place were super helpful and loved the prints I gave them when I returned the outfit.

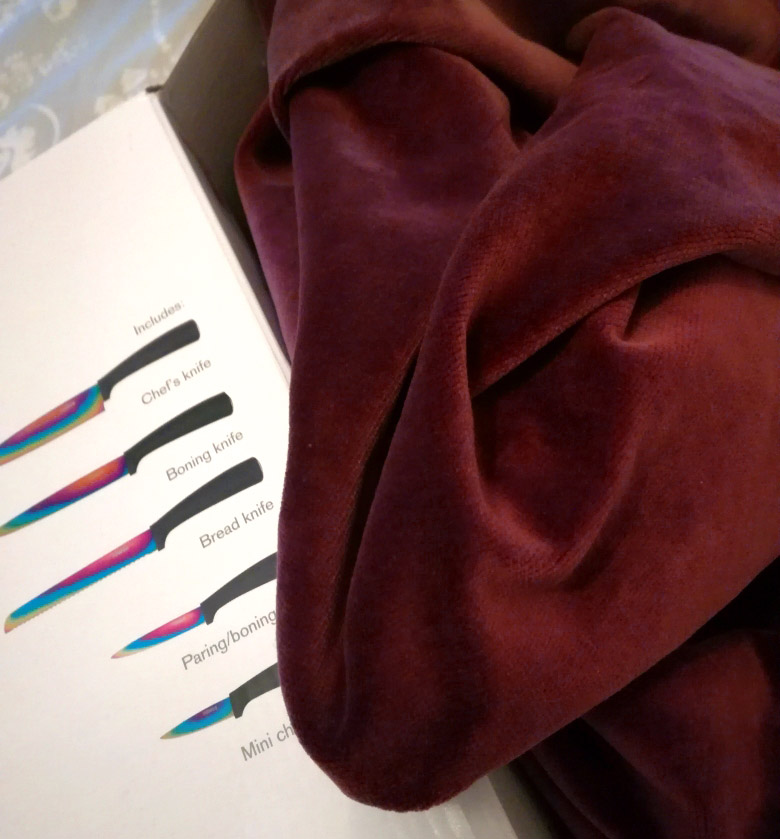
To make the headpiece I used an off cut of velvet fabric and the cardboard box my kitchen knives came in! Adding the lace and pearls really made it look the part, thank goodness for the glue gun! I also added a length of elastic which helped keep a good shape once it was in place.
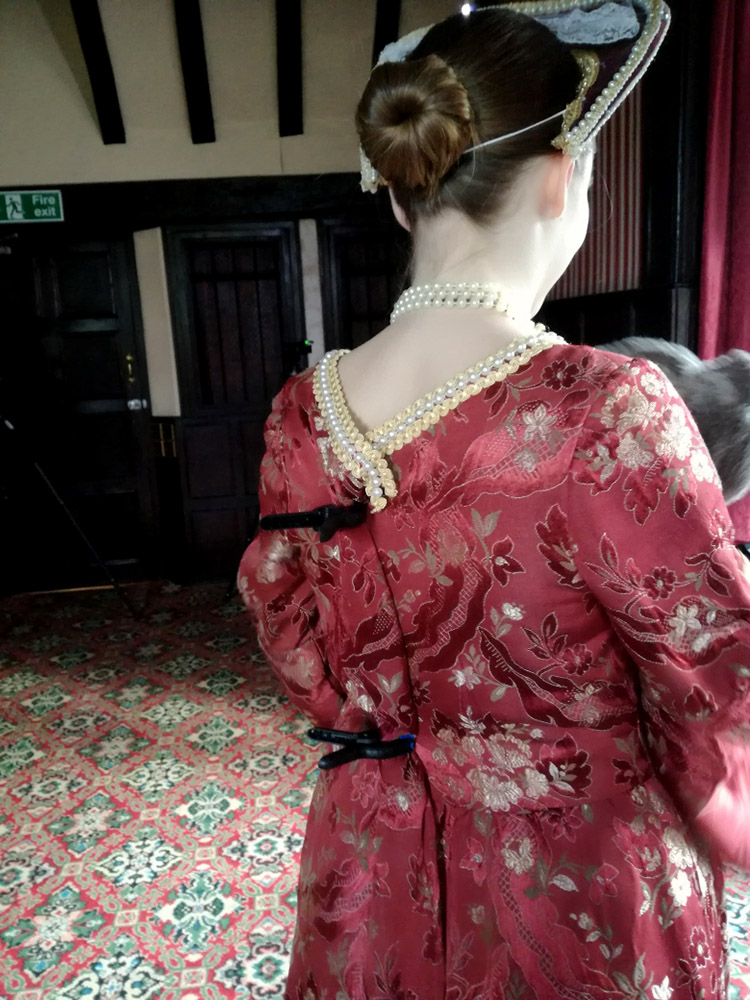
As you can see it’s not always glamorous to be a model! The dress was far too large so we adjusted the fit using clamps (a studio must have). Our fabulous model Jade is also carrying a hot water bottle (the gray thing she’s holding) as it was very cold inside the manor house. Jade was a trooper and never complained about the cold, bless her.

[youtube]https://www.youtube.com/watch?v=M1MFgB6D2aQ[/youtube]
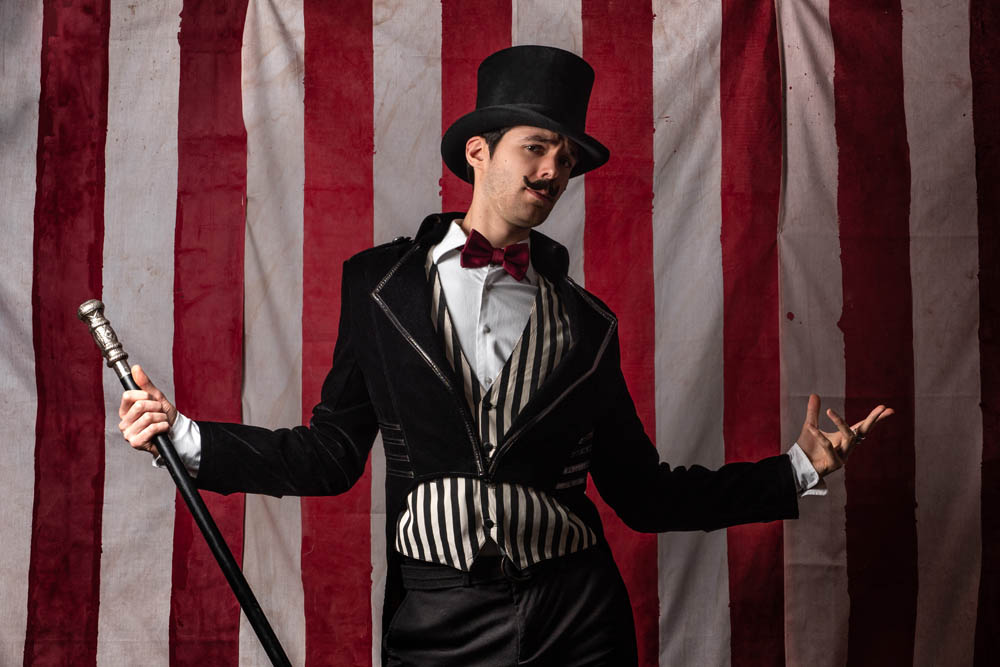
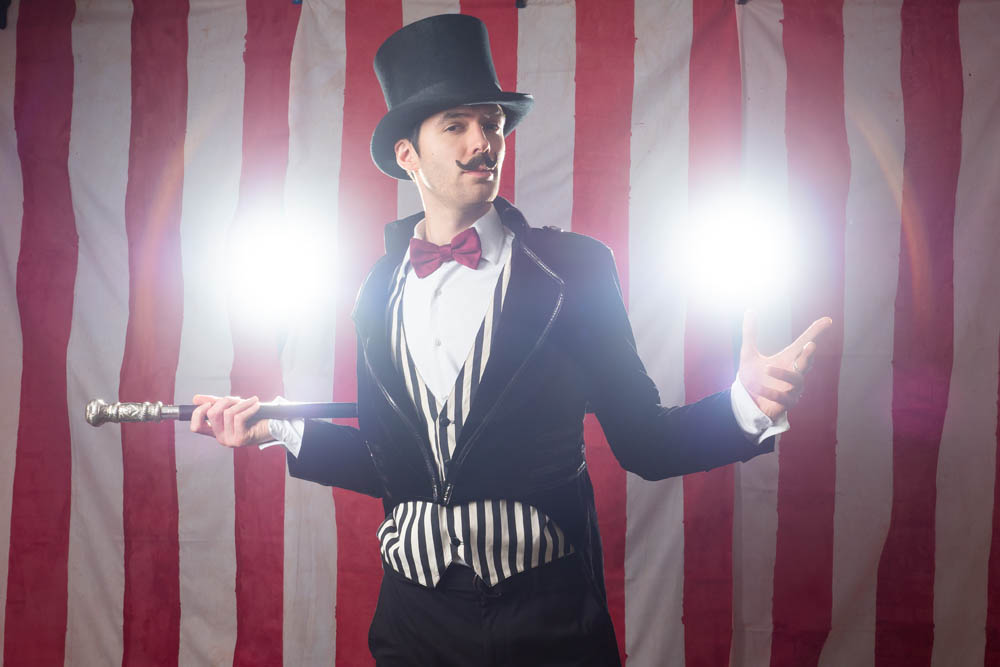
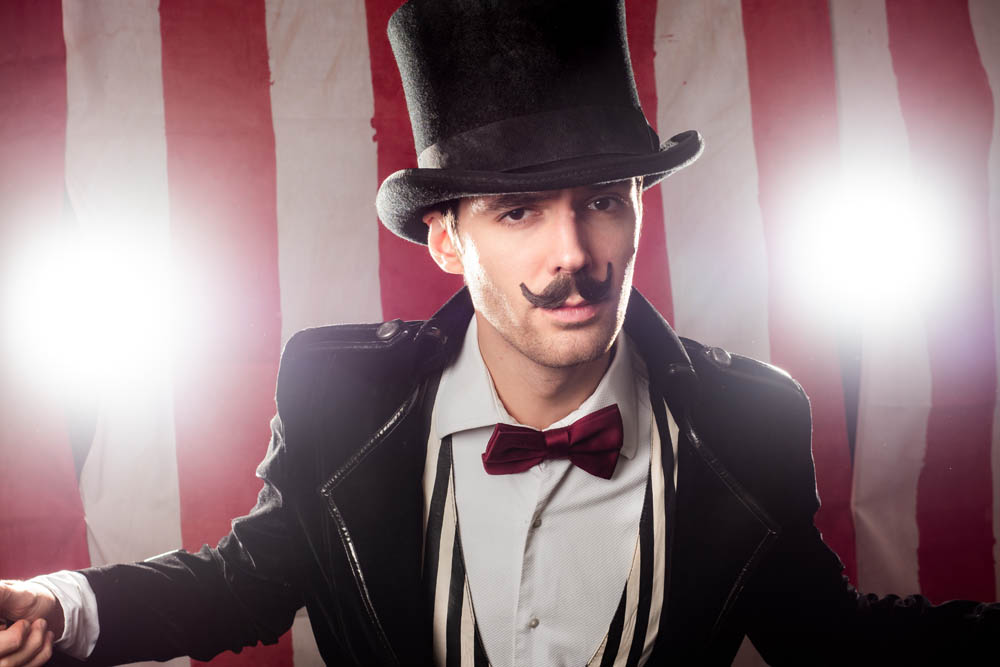
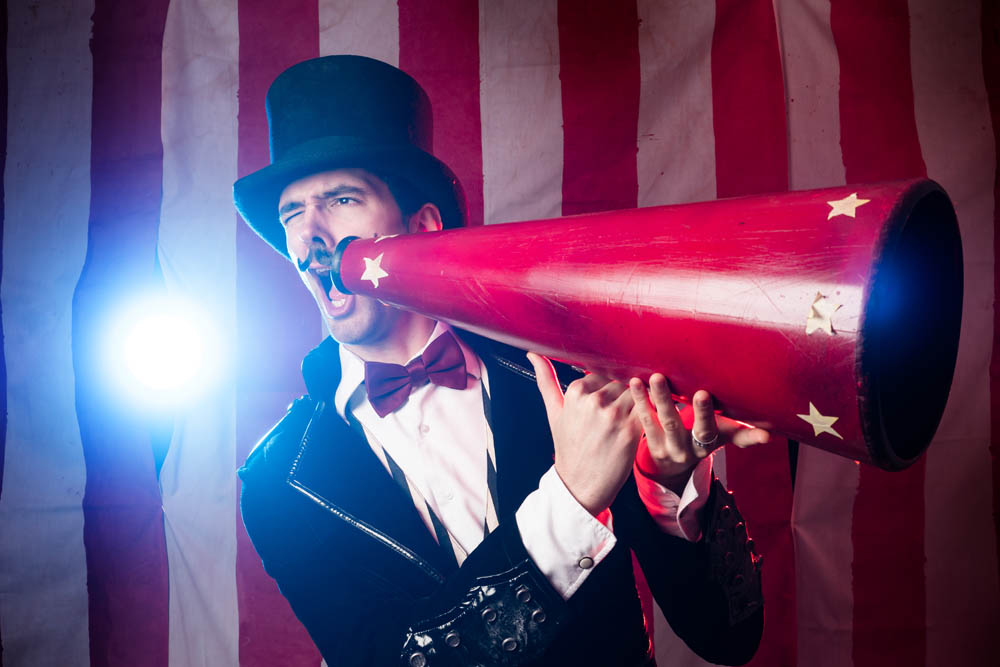
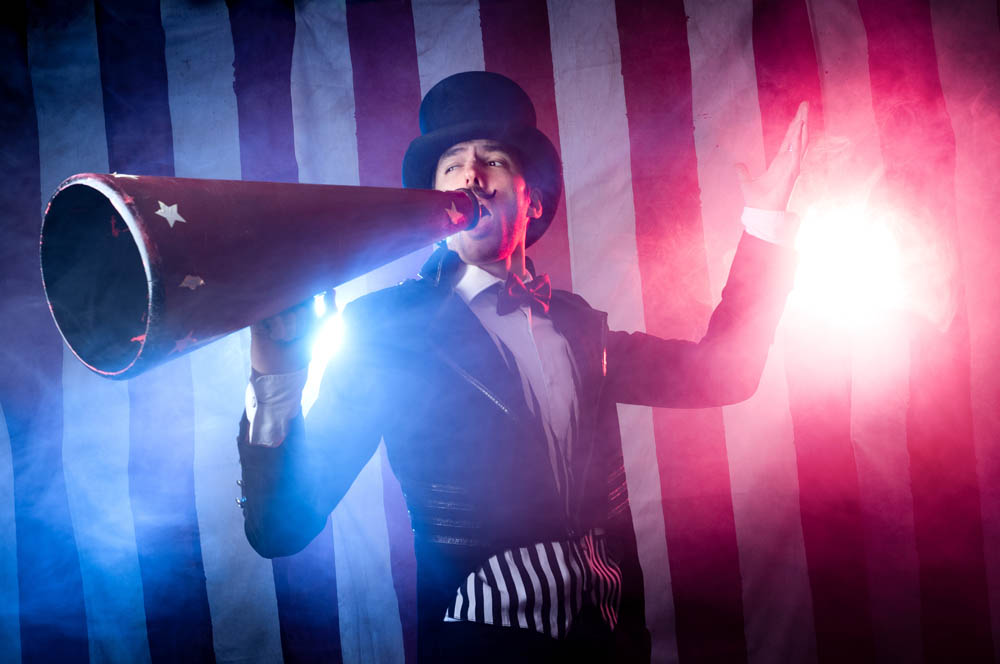
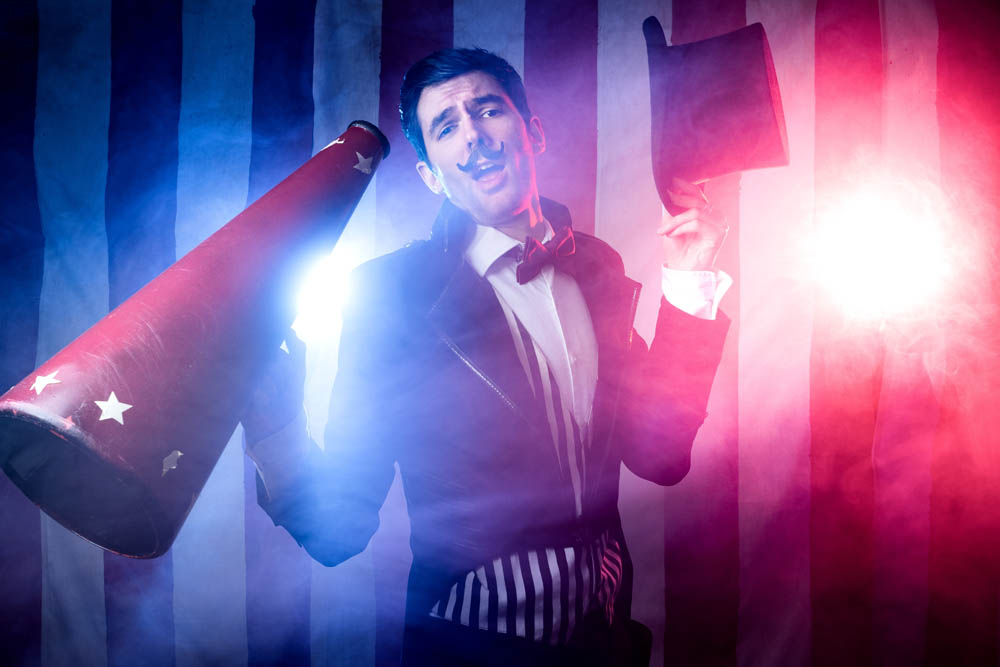
Circus in the studio shoot!

It’s easier than you may imagine to turn your shooting space in to a circus! We got the amazing Brian in the studio to show how to create something so eye catching and different.

[youtube]https://www.youtube.com/watch?v=BtxjuTPKJSo[/youtube]
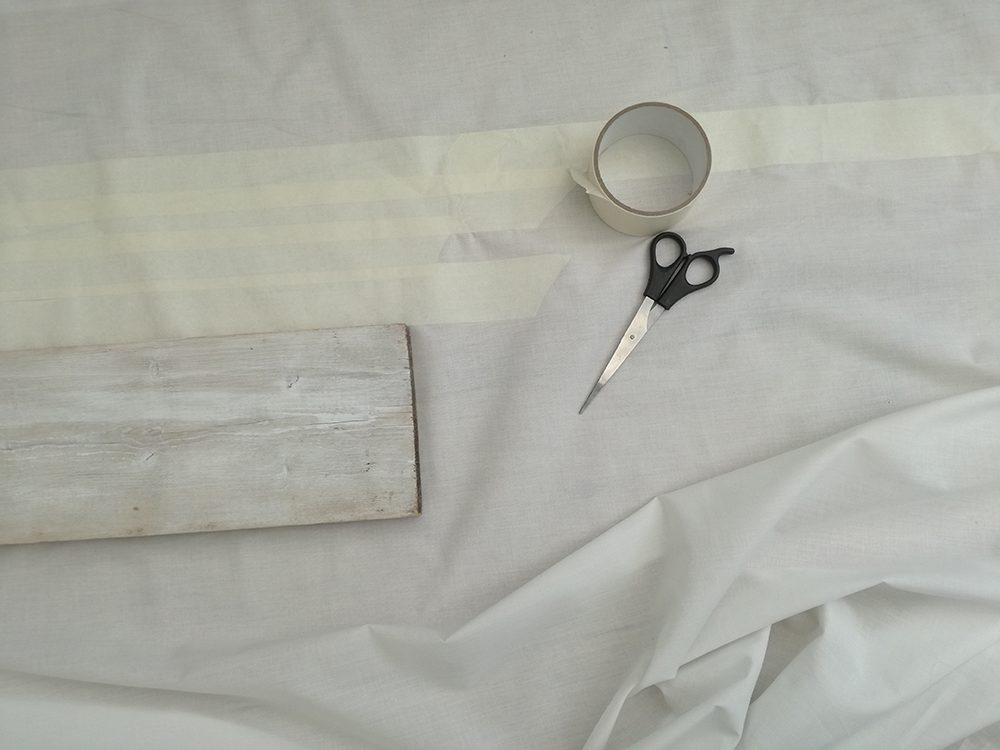
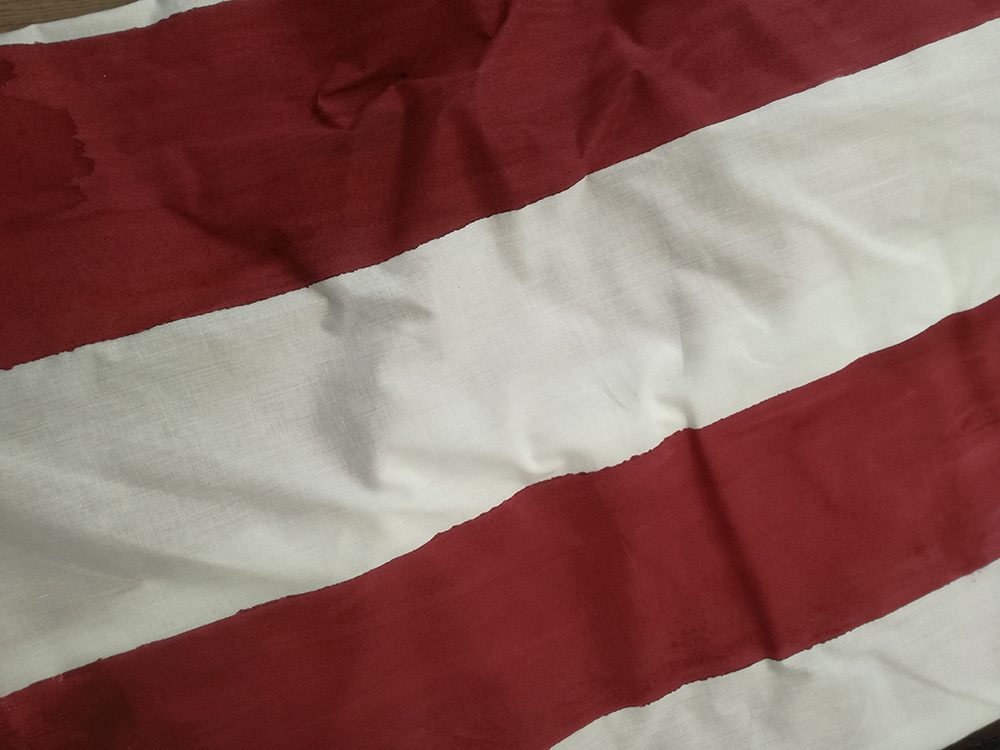
The background was just a huge length of white fabric that I masked off in stripes and painted with red acrylic paint. It was a very messy job which I tackled outside. I made 4 long length because we ran a workshop and needed more than 1.

If you go to the trouble of making your own circus background, you might want to check out this video of another way of using it.

[youtube]https://www.youtube.com/watch?v=pUGcQsk7CrY[/youtube]
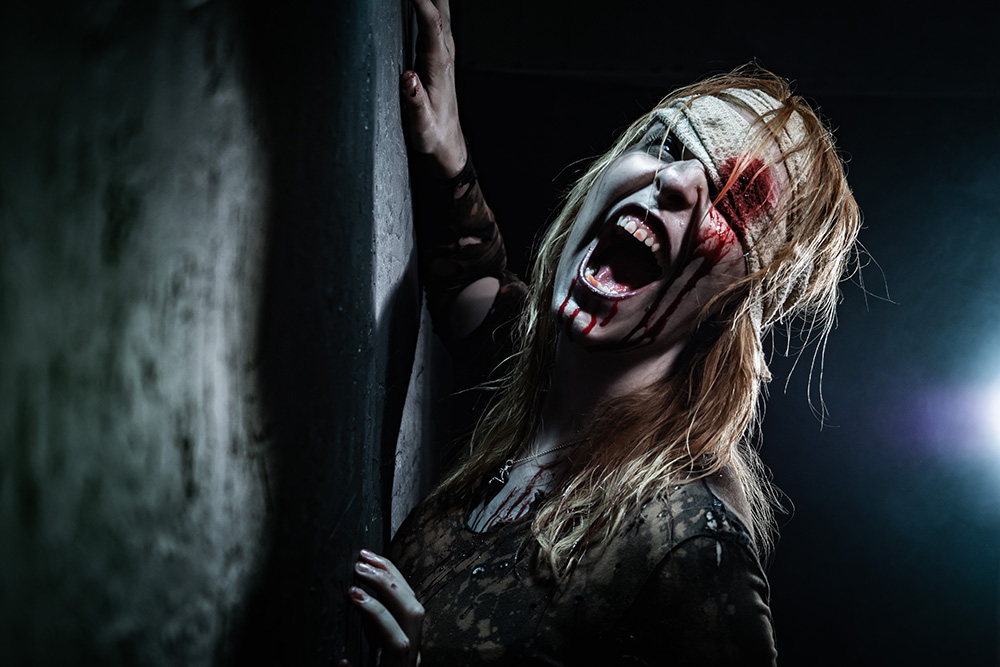
Best Position for your Softbox

It’s really easy to get stuck in a rut of setting up exactly the same lighting for every shoot. It’s a comfort, you know what result you get.

Check out Gavin’s video to show the difference a shift in the softbox can make to your images.

It’s good to try something new!

[youtube]https://www.youtube.com/watch?v=IiDcuKhnao0[/youtube]
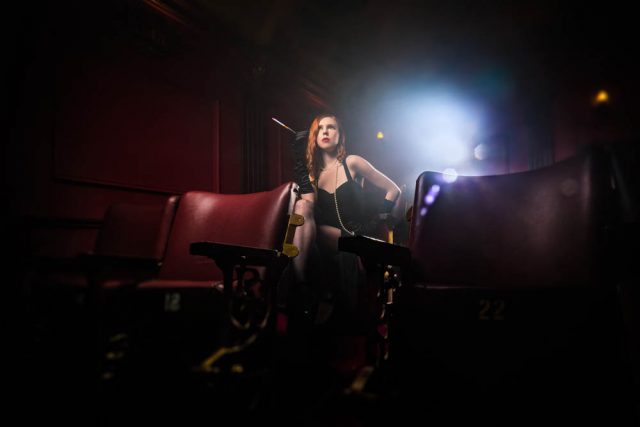
Secret Portrait Shoot Picture Palace

Sam here and we’re back with another Secret shoot!!! If you don’t know what that is let me explain. I  arrange a shoot that Gavin knows nothing about, he will just turn up to shoot. No planning, no research, a real challenge, as he is someone who is organised and likes to plan as much as possible beforehand.

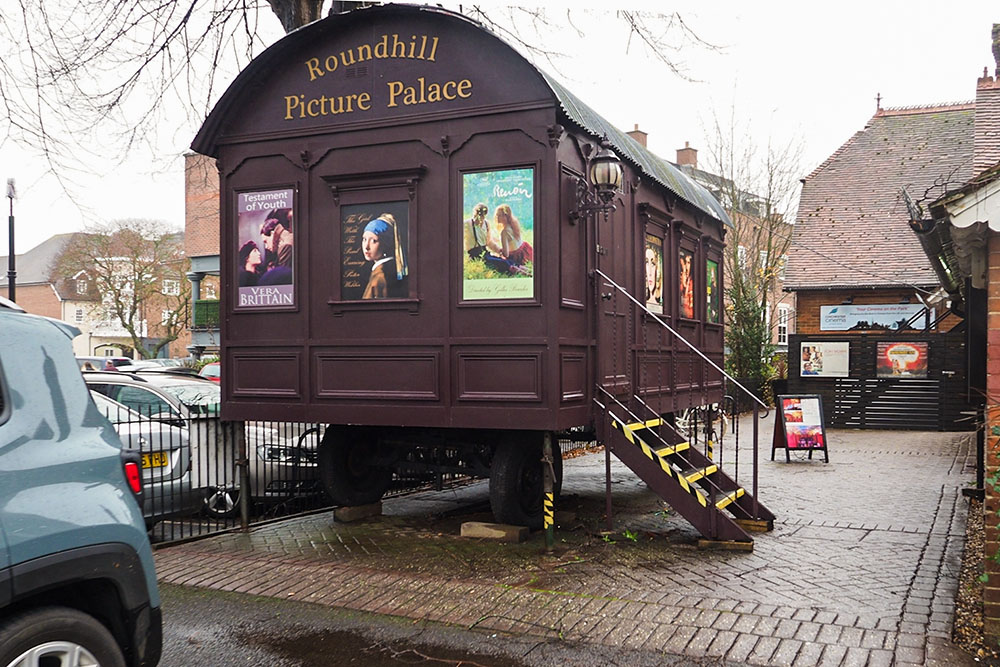
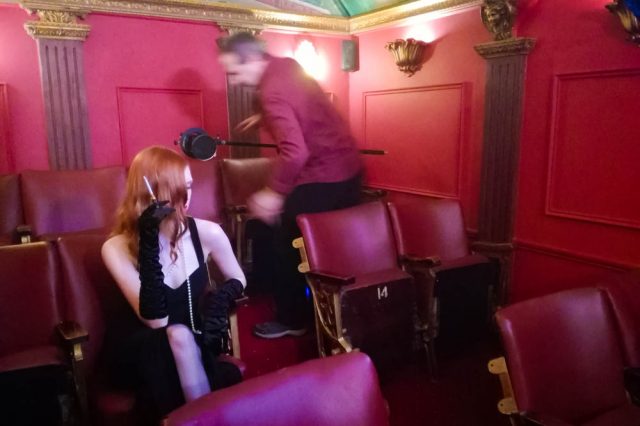
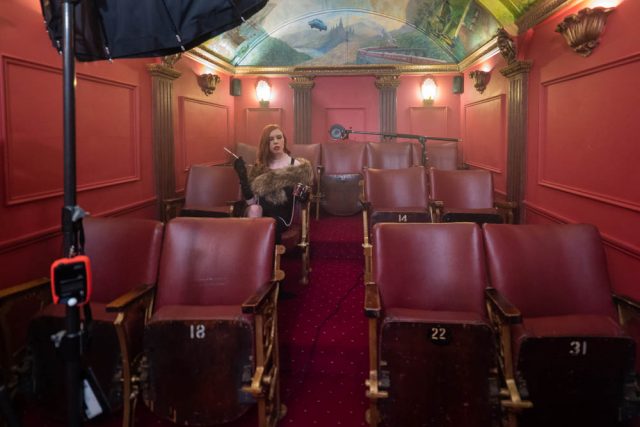
I booked a unique cinema in a shepherds hut in Chichester called The Picture Palace

The venue had been recommended to me by one of our photographer workshop attendees Andrew. In fact he helped out on the day, just so happens we both managed to stay mostly out of shot!

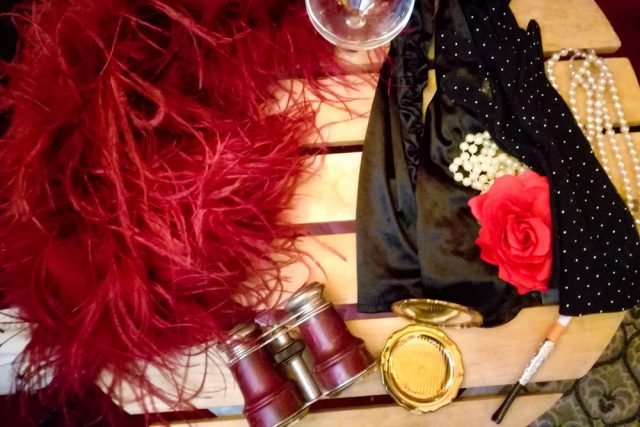
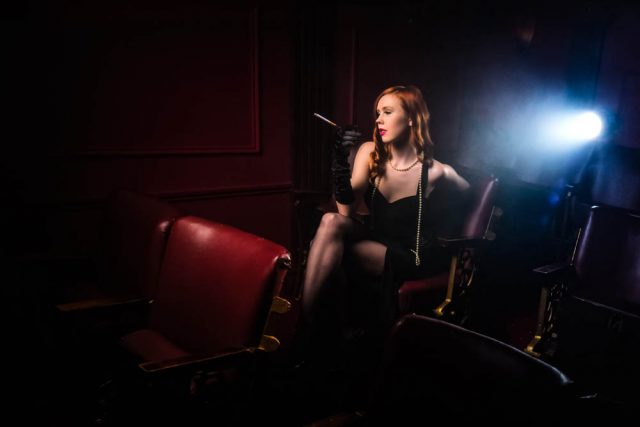
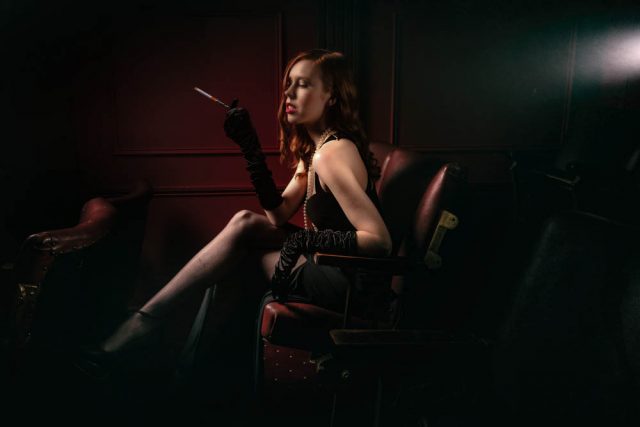
I booked Fern as our model, I knew she would be perfect for a sassy vintage screen goddess look. She totally got it straight away. I thoroughly enjoyed getting the outfit together, it’s the little touches that can really matter. By the way that dress is amazing, perks of the job as I wore it Christmas day! (didn’t look quite the same with a pinny on too….)

Gavin had to get his creative mind working fast to bag some awesome shots before our booked time slot was up. The space was very limited and with gear (remember we also have all the video gear too) and the seats in place the challenge was very real. I loved the shots, they were what I had imagined and more.

Check out the video here.
[youtube]https://www.youtube.com/watch?v=OUJvQ54v2z4[/youtube]
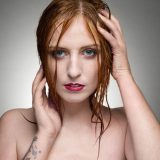
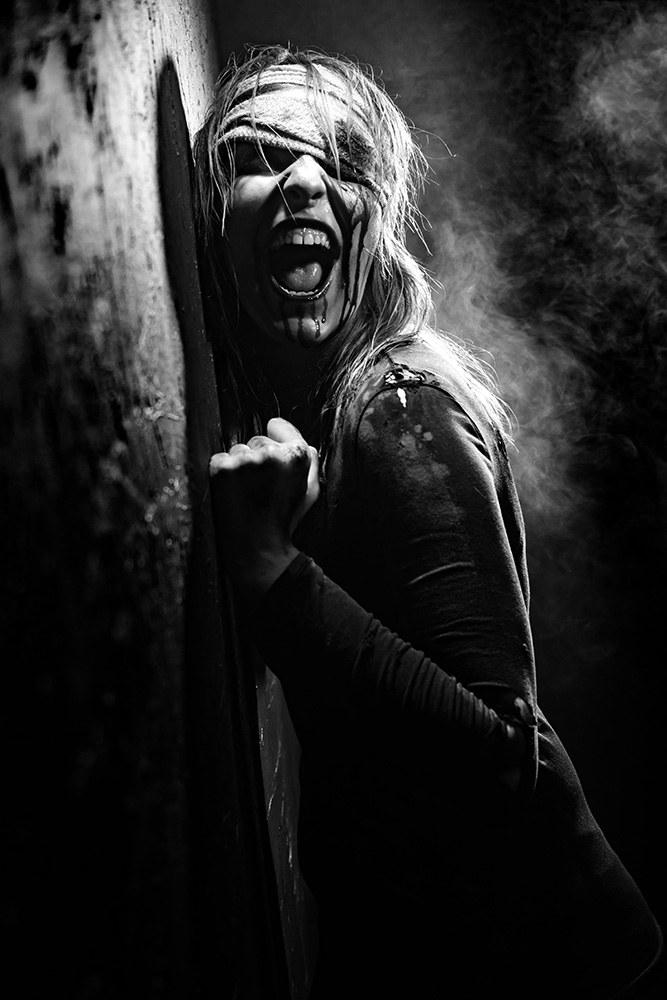
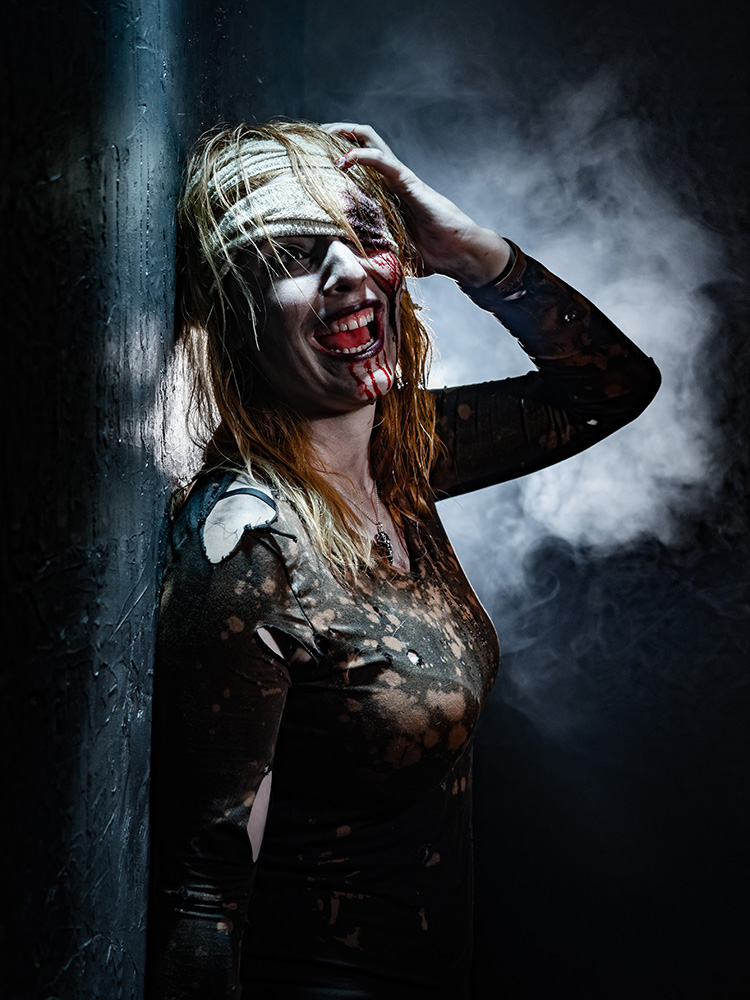
Scary Halloween Basement Shoot

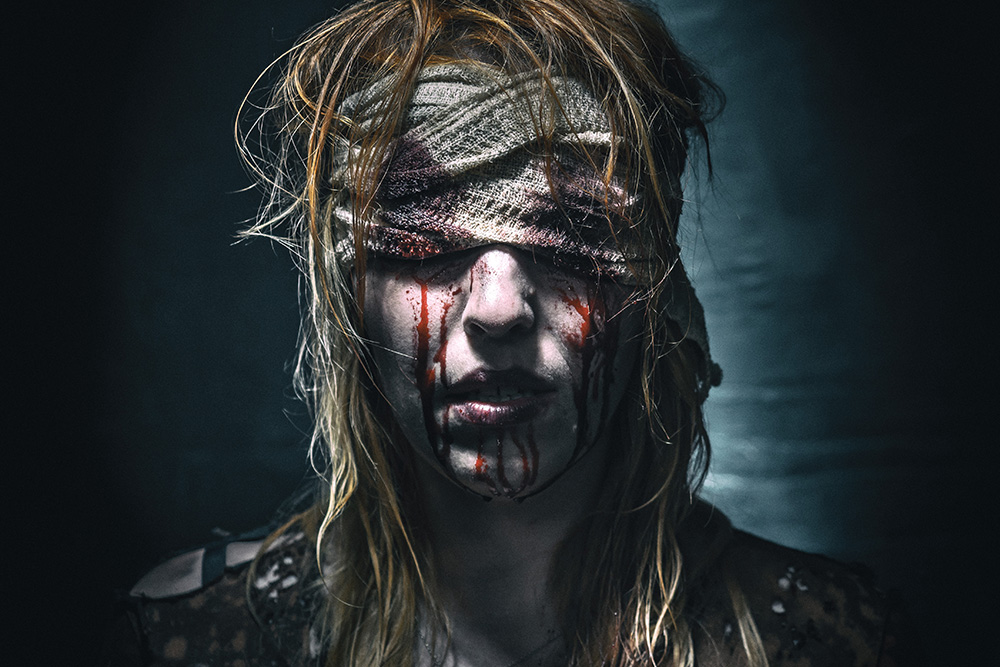
When Kerry said she was available for a shoot, even though it was only August, we knew it should be a Halloween shoot. Not sure why but most of the models, make up artists and quite a lot of photographers love this theme!

Despite the scary look, this was such a fun shoot. Also the first time I’ve had to clear up blood drops and splatters from the studio walls and floor, thank goodness all fake!!

[youtube]https://youtu.be/ScVEJfBzOJ4[/youtube]
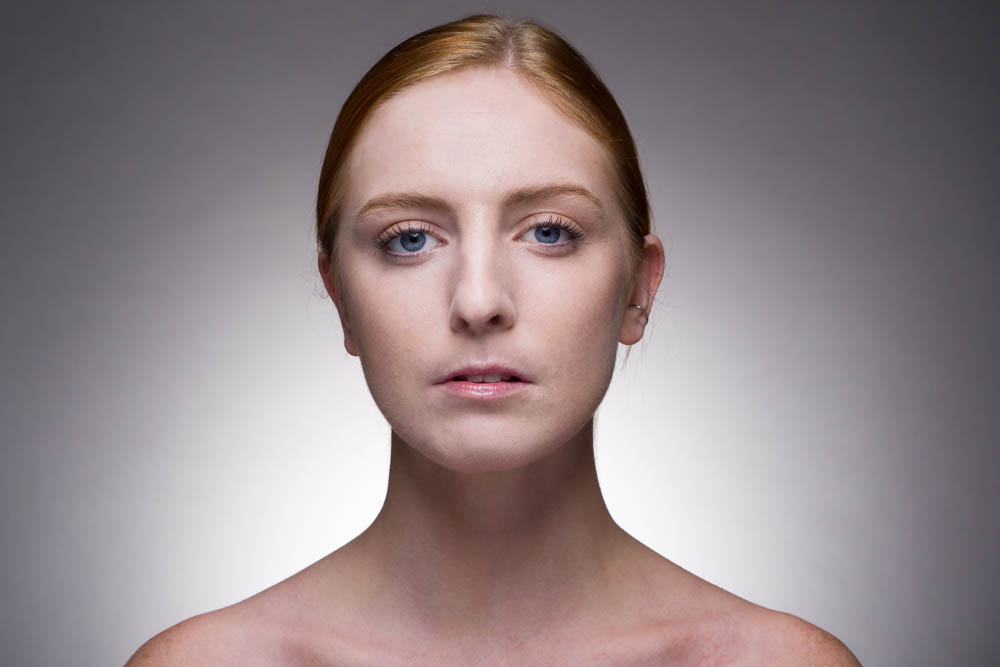
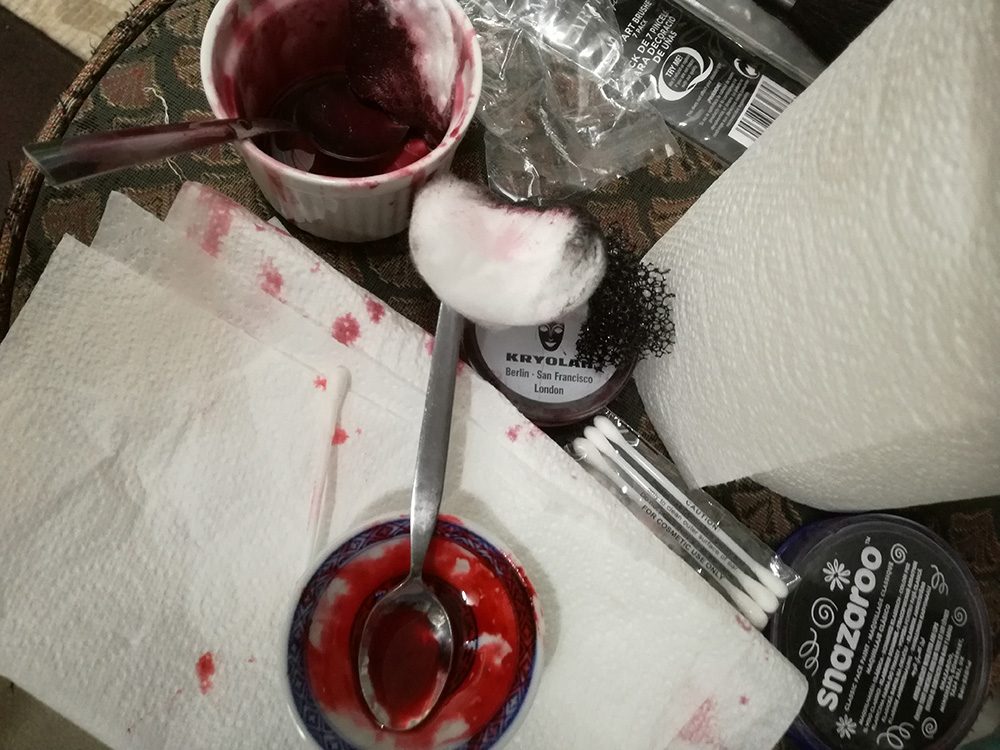
As you’ll see in the video, the blood used was tried out first. The one used for the closest skin contact, especially on the bandages close to Kerry’s eye, was homemade. I used a mix of runny honey, a little cornflour and some red food colour gel. As it was edible and Kerry likes honey!


Make Up, Quick vs Quality

We started working with make up artists several years ago for our portrait shoots. It really opened our eyes to how much make up can change the look of your shots.

Some themes and styled shoots can benefit dramatically from the services of a good make up artist. In this video Gavin takes shots firstly with a quick make up coverage and then repeats the shoot after a more stylised make up look has been applied.

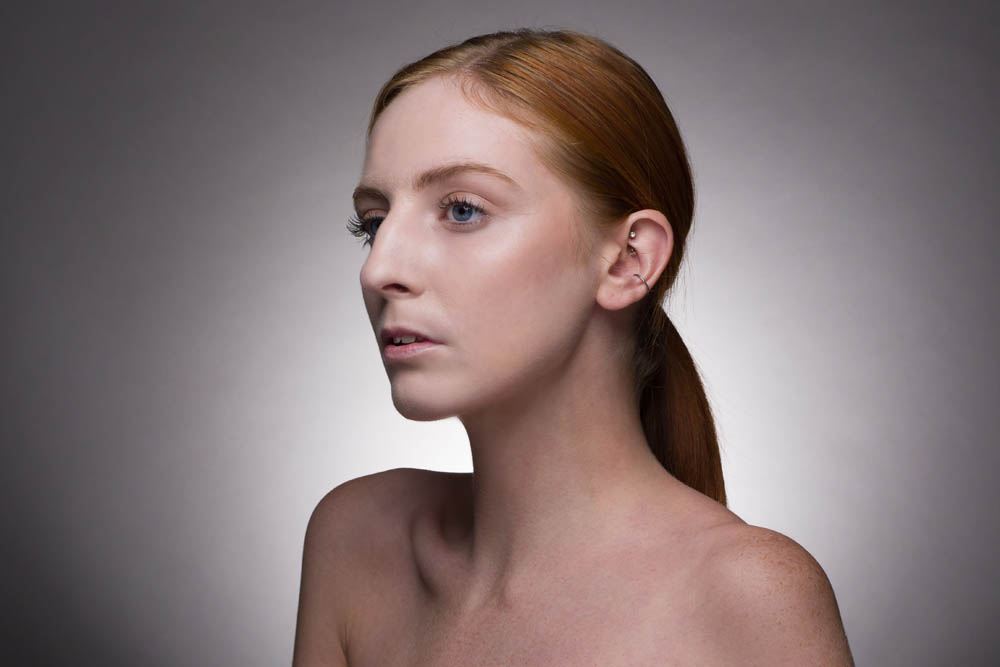
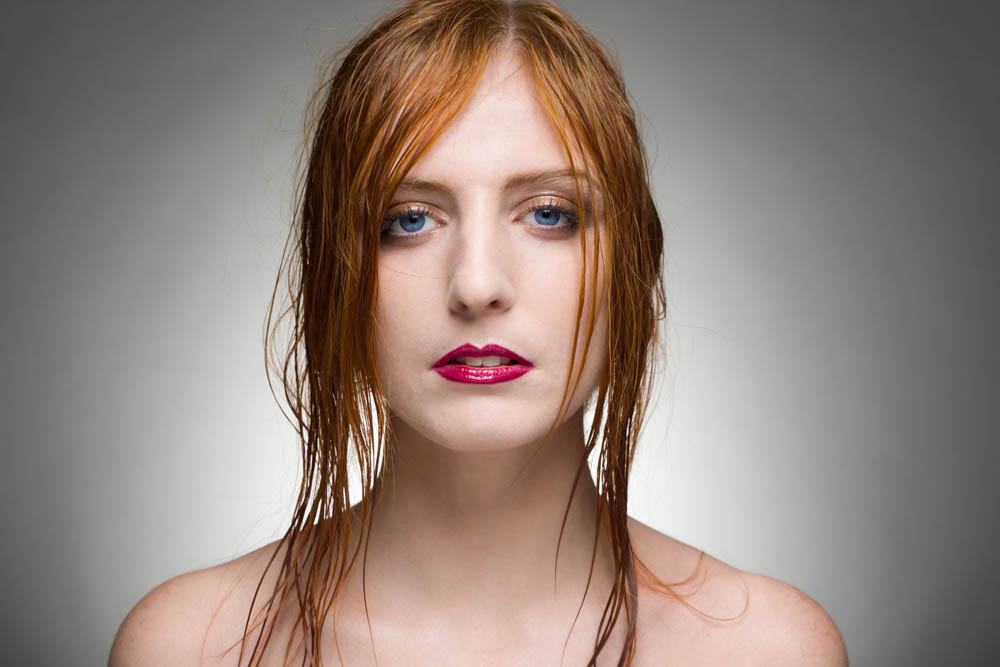
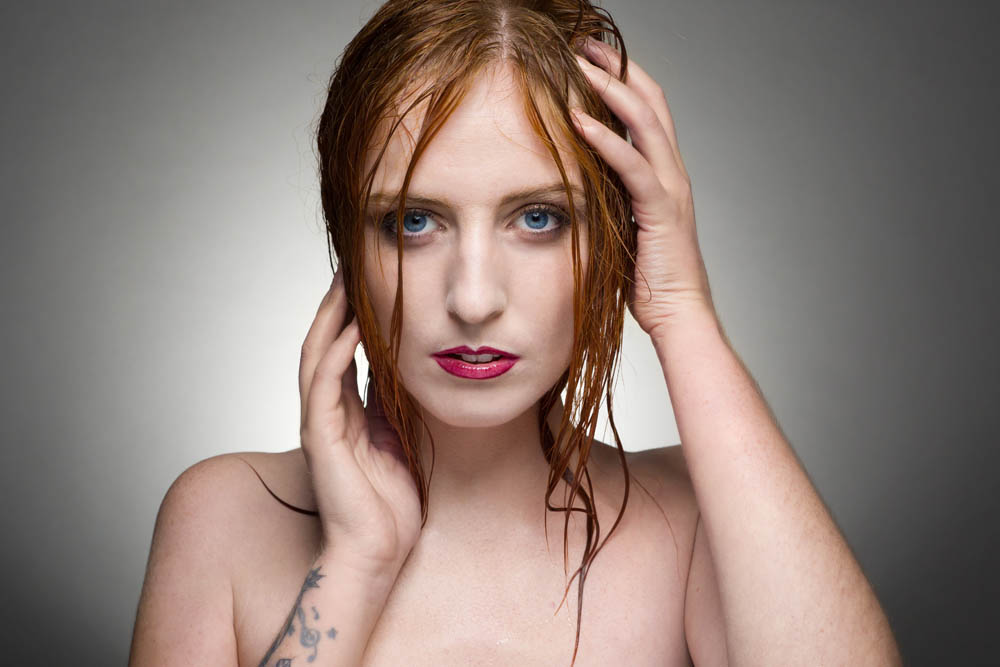
Our model, Beth Smith and make up artist, Sophie Daly help to show the difference achieved. Gavin gives hints and tips on how to get the most from working with a great make up artist.

[youtube]https://youtu.be/kVFcQ5mGgdY[/youtube]
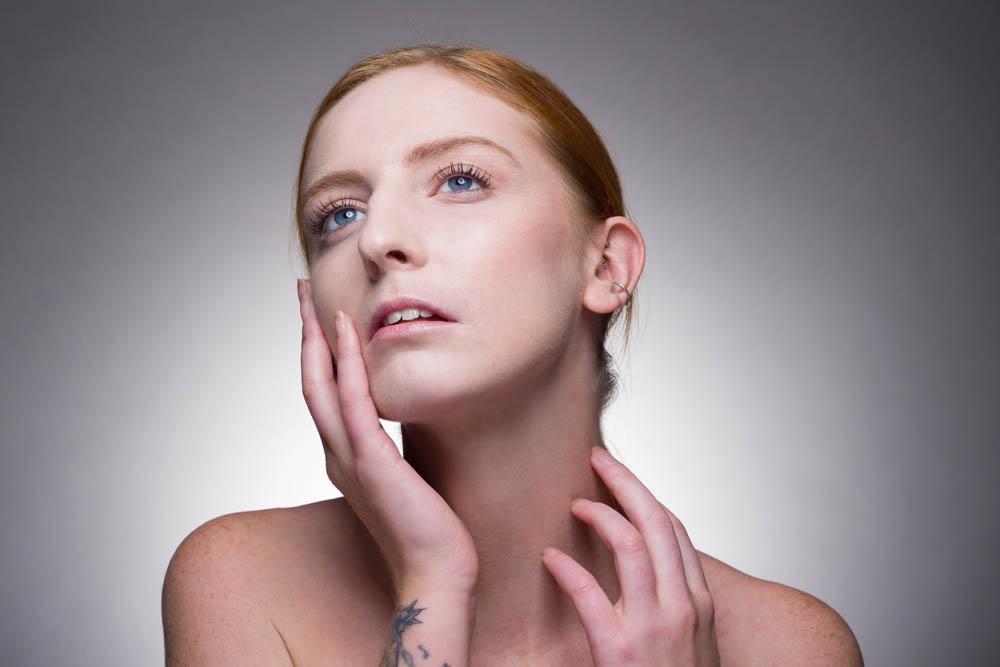
Here’s some of the basic coverage make up shots.

A few of the shots after the more dramatic make up was applied.


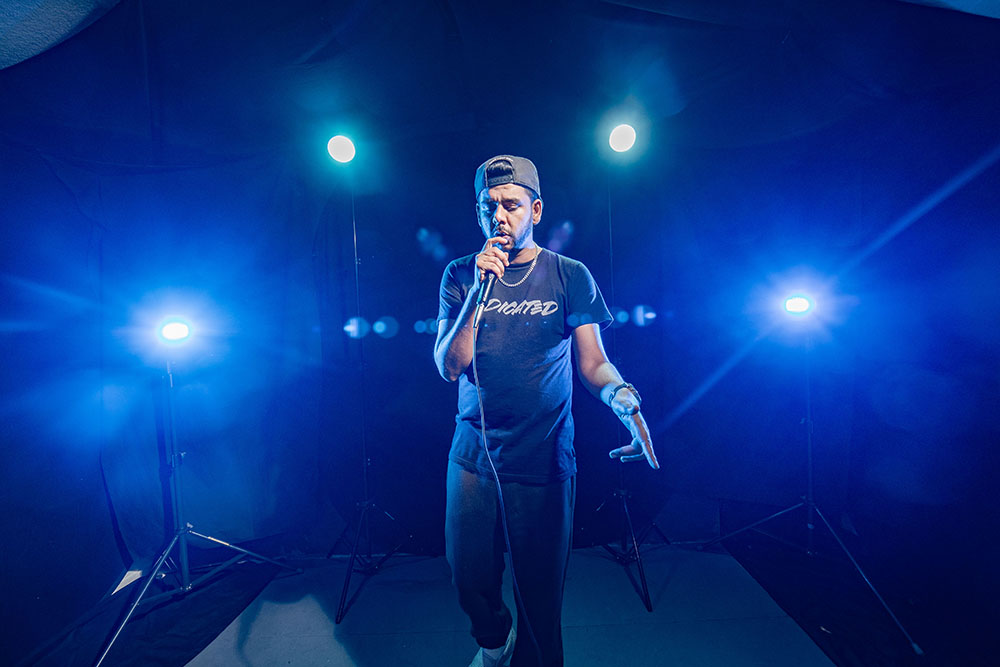
Home Studio to Mini Music Venue

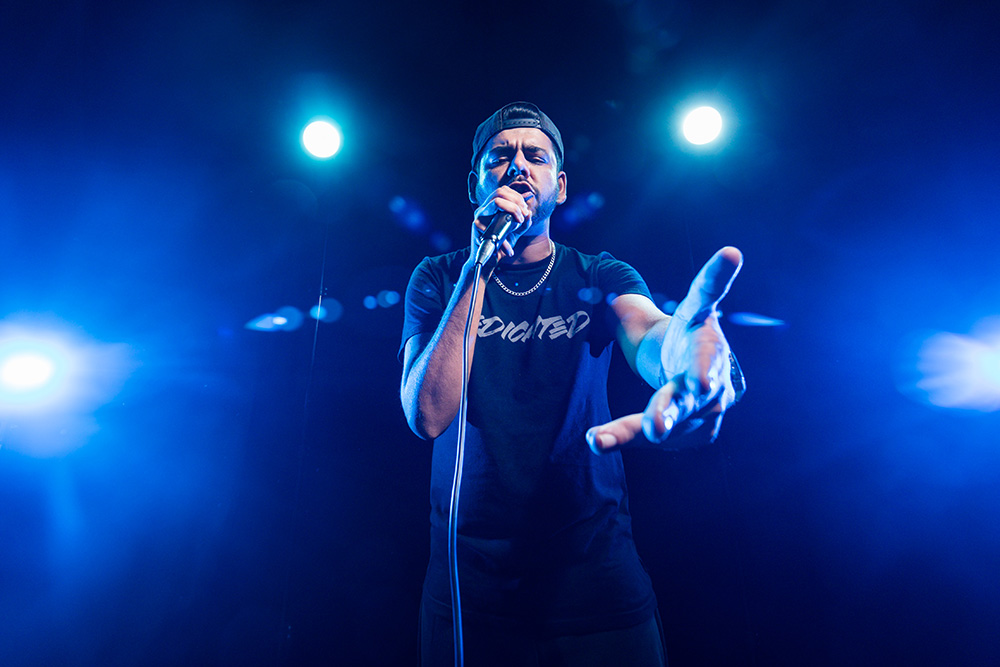
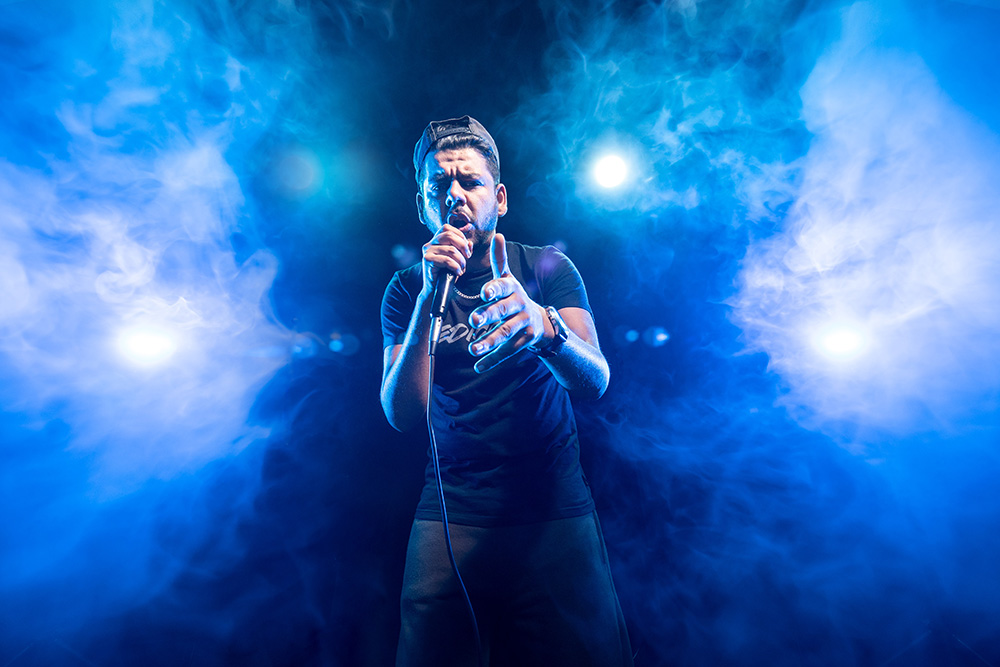
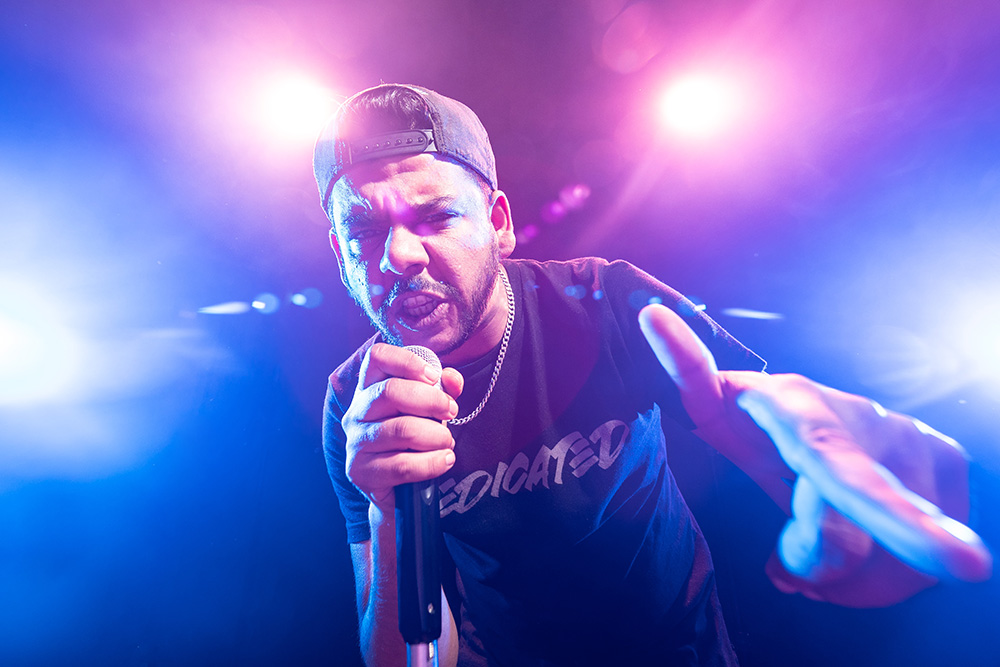
It’s always fun when we get IF-E in the studio and this video was no exception. Gavin likes to push the boundaries and overcome the limitations of working in the same small space and this was another cracking example.

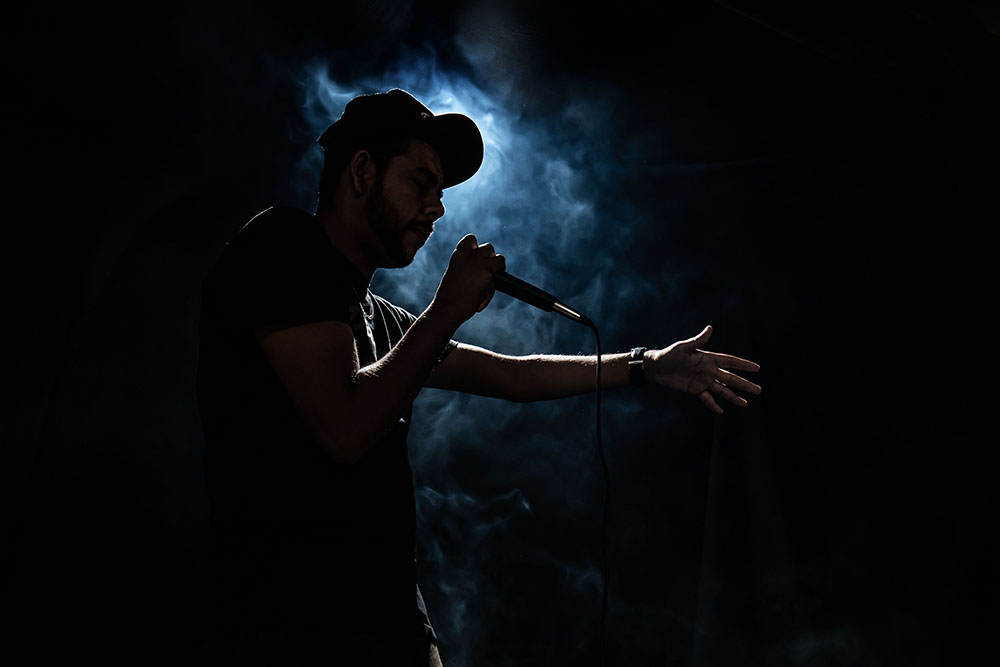
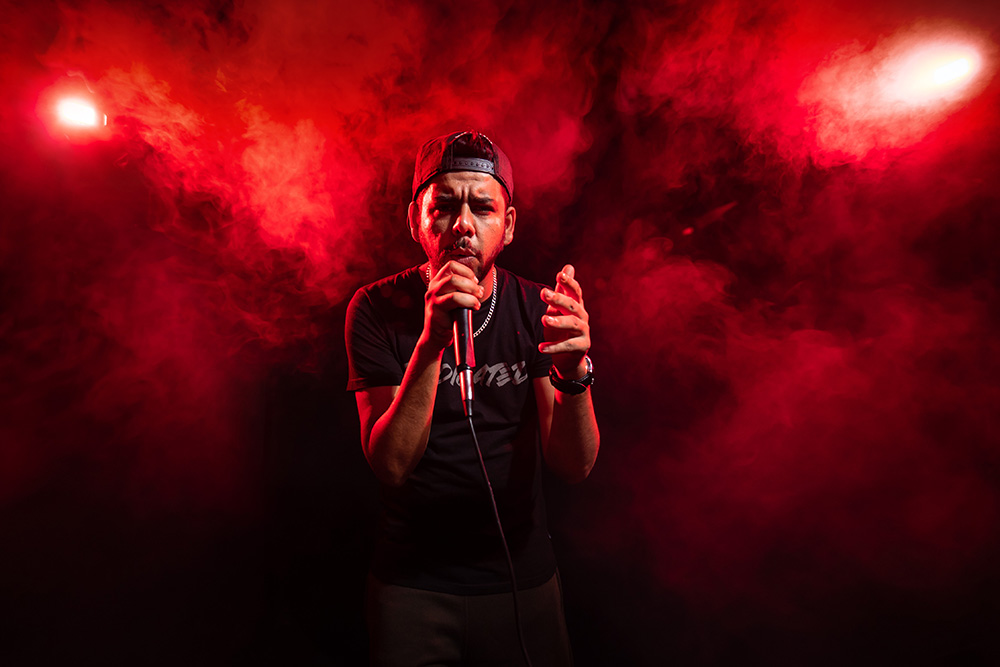
Some great lighting and obviously the smoke machine provide the right vibe for IF-E to bang out some lyrics and attitude (he’s great at that!).

The set up started with just one light progressing through to adding further lights for a variety of looks. The addition of smoke gives a different mood to the shots, as the smoke moves and dissipates the look changes.

Check out the video to see the entire shoot.

[youtube]https://youtu.be/yTnaLcGhZhg[/youtube]
 

Here’s a Behind The Scenes of the final set up.

Here’s a few of my favourites from the set.


Bed Sheets As Backgrounds

When I first started shooting portraits, I made do with some very basic gear. My studio was my garage, my second light was a reflector and my backgrounds were sheets of fabric.

Fortunately I’ve added one or two more lights to my gear over the years and I have my own, permanent small home studio. My backgrounds have evolved a bit too but one of the most challenging parts of being in a studio is the limited choice of backgrounds. So in the video below I revisited my early days by buying three cheap bed sheets for use as backgrounds.

I love dark and moody studio shots, so my three bed sheets (technically they’re duvet covers) were a basic black, stripy black and damask patterned black. Each gave a very different result, as you’ll see in the video below.

[youtube]https://www.youtube.com/watch?v=9pv_LX319uU[/youtube]
So what did I discover? First off, king sized duvet’s are amazing value (I limited myself to £20 max per sheet) and because they open up, adding some timber inside helps them hang well. However the creases were a real pain and took an age to steam out.

If all you want is a basic black background, a bed sheet is cheap and works perfectly. If you want a pattern, look for sheets that are advertised as crease resistant or ironing free but be aware that those terms aren’t really accurate from a photographic point of view.

As a bonus each duvet set comes with two pillow cases. So what should I do with those? Ideas below please.

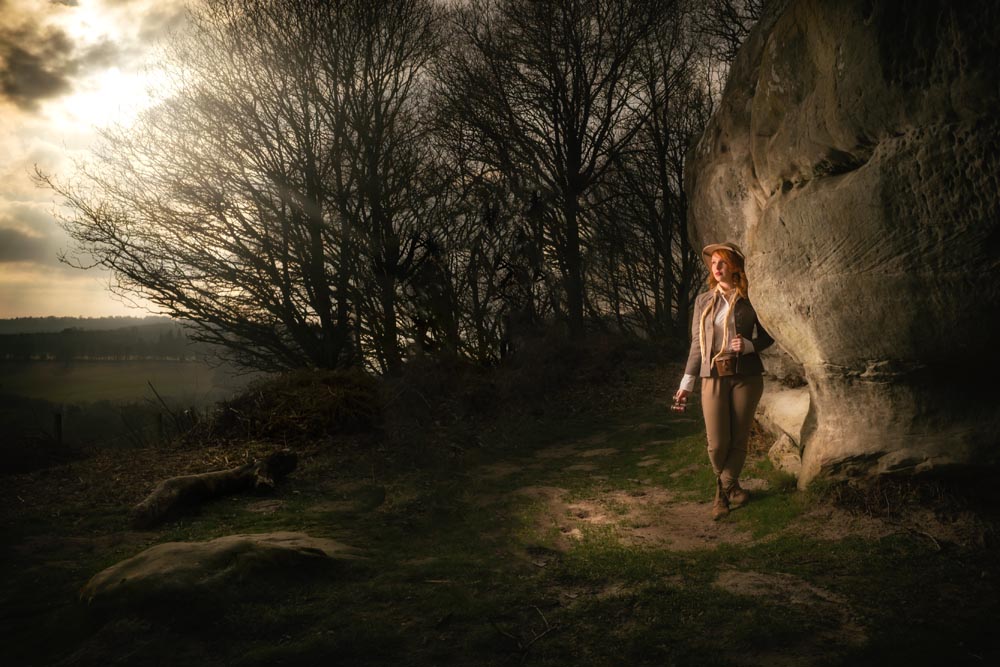
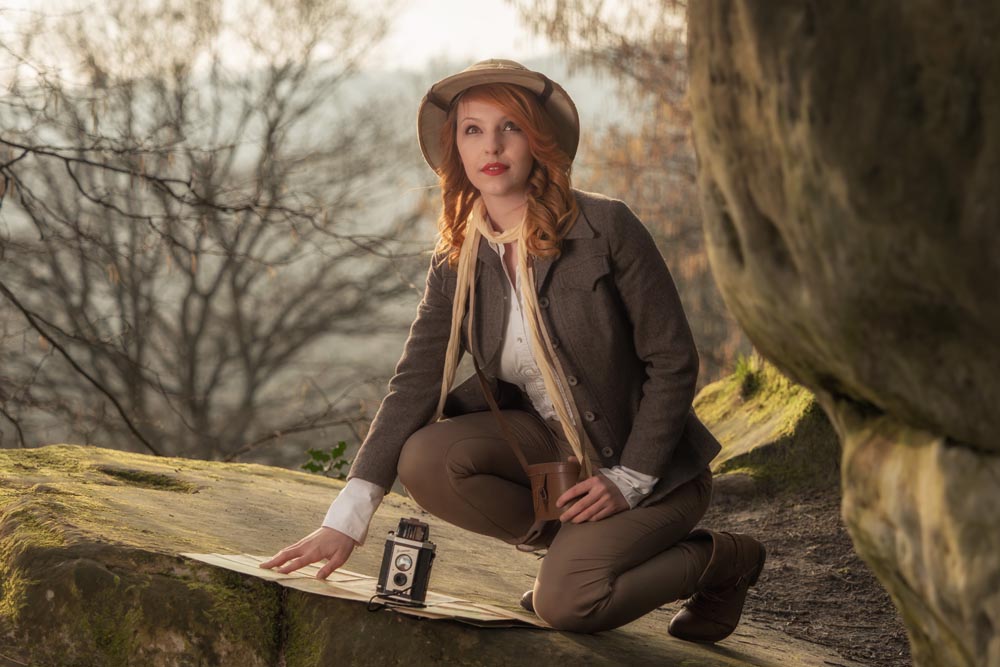
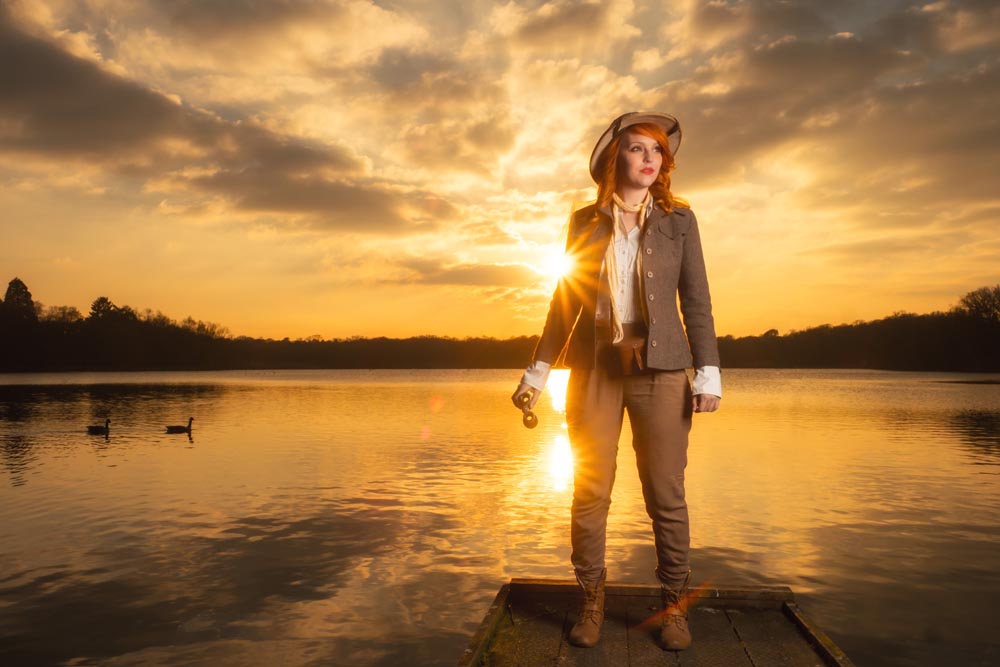
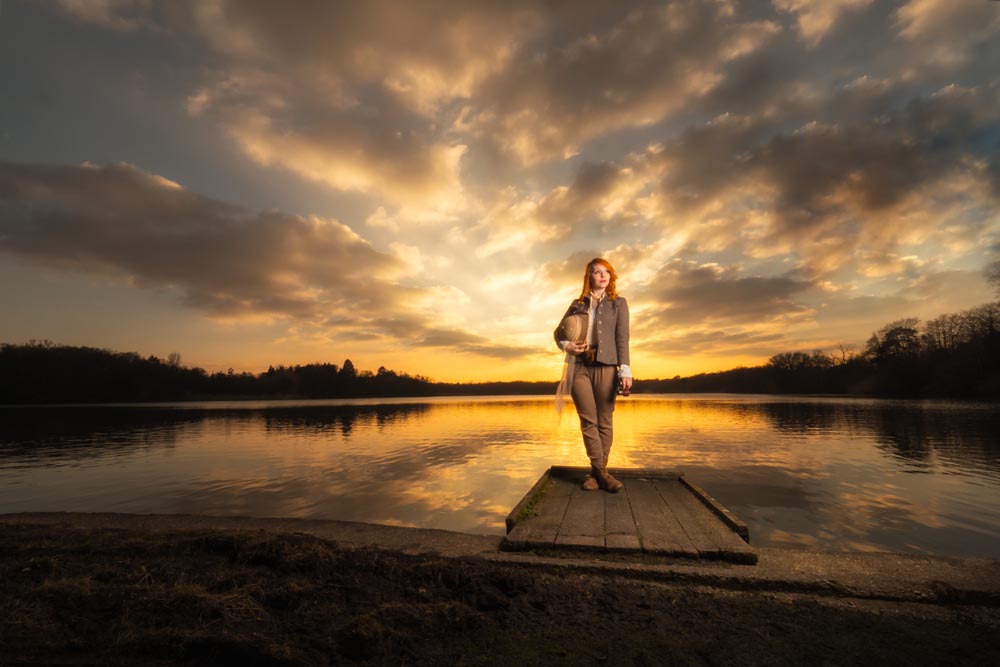
Vintage Explorer – Plan It, Shoot It, Edit

This is the first of a new series where I take you behind the scenes on one of my shoots. You get to come along for the ride as I plan the shoot, do the shoot and edit the photos.

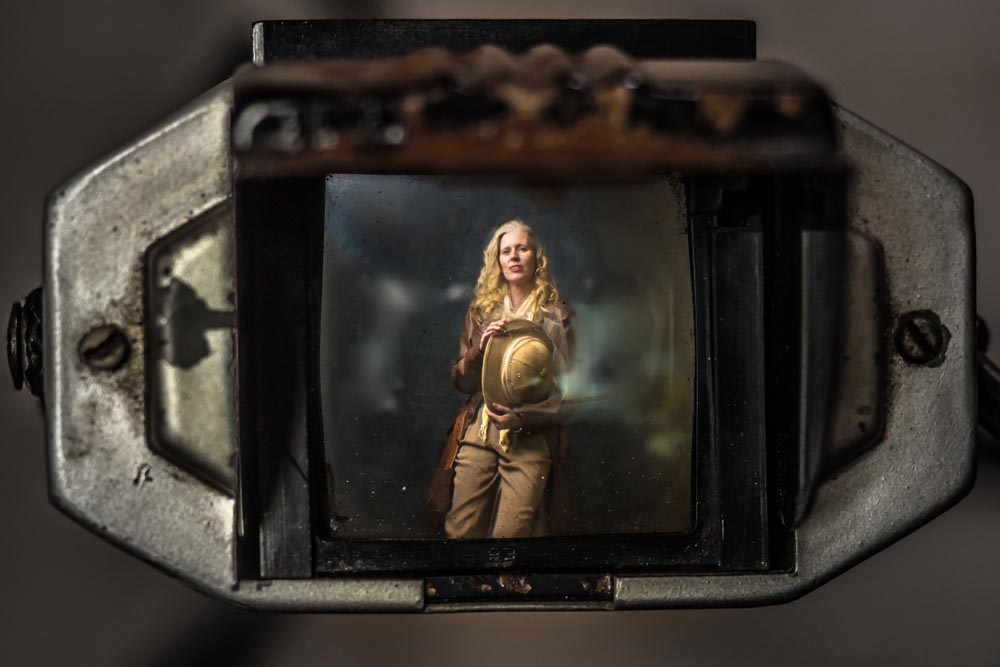
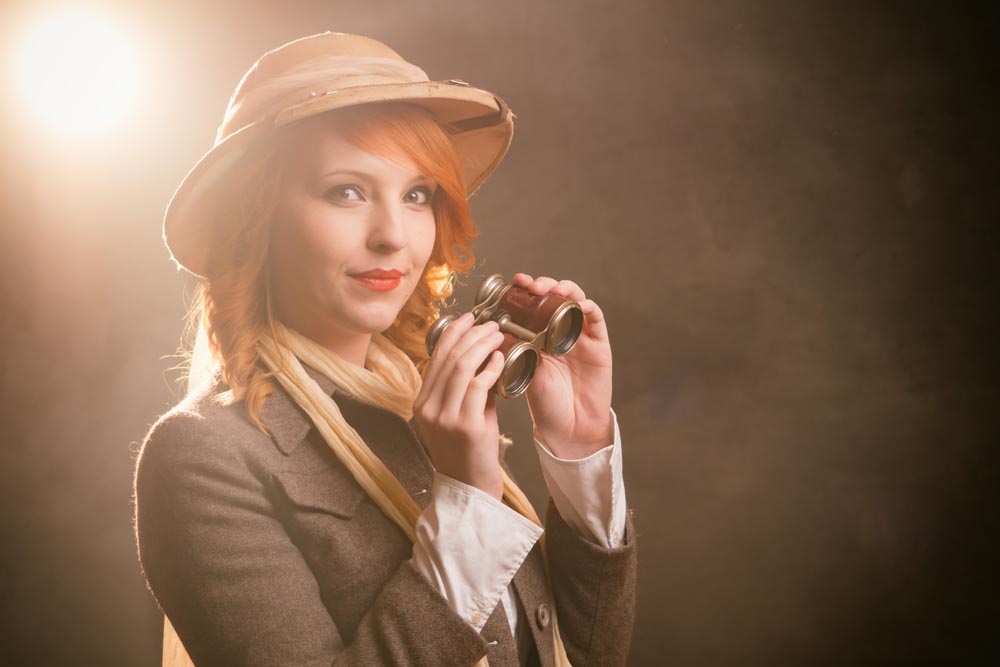
The theme for the first “Plan It, Shoot It, Edit” is Vintage Explorer.

Plan It
It all starts with an idea, then there’s the preparation and planning. A location has to be found, props need making and finally there’s a test shoot to do. Of course not everything goes to plan, as you’ll see.

[youtube]https://www.youtube.com/watch?v=ri5f29WqWqs[/youtube]
Shoot It
Now for the fun bit… the shoot itself. The weather was cold, so I decided to get some banker shots in my studio before heading out on location. Sometimes you just get lucky and on the way home I stop off to shoot against a spectacular sunset.

[youtube]https://www.youtube.com/watch?v=3dNqKYBZNus[/youtube]
Edit
Here’s where the photos come alive. Adding colour and contrast is all that most of the shots needed but if you want to shoot wide shots and light the model with a softbox, there’s bound to be a bit of Photoshop needed.

[youtube]https://www.youtube.com/watch?v=2onA5CUF2uk[/youtube]

Limited Color Palette Portraits

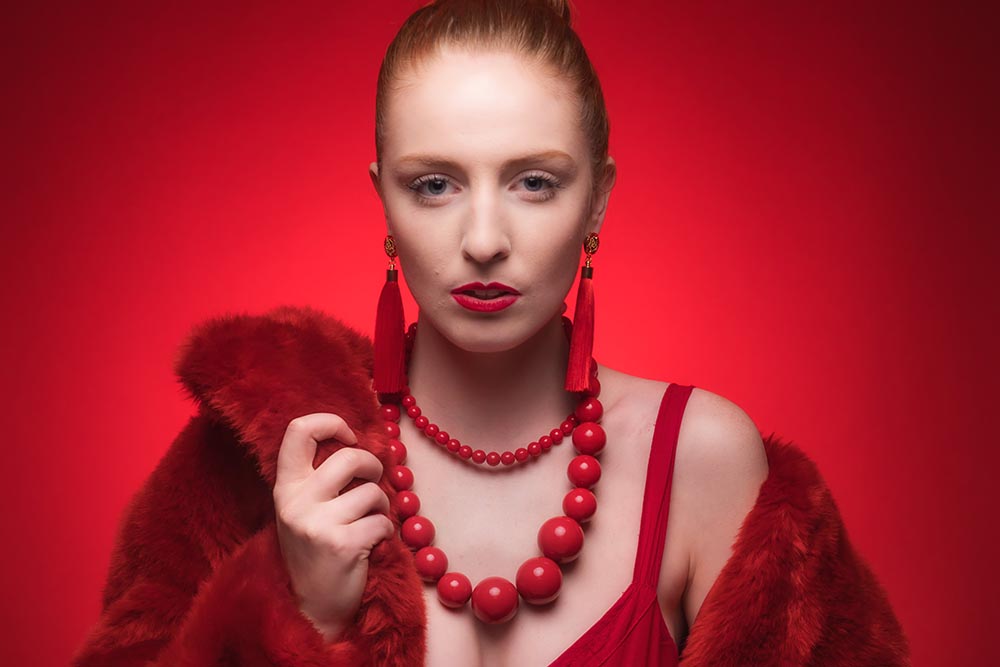
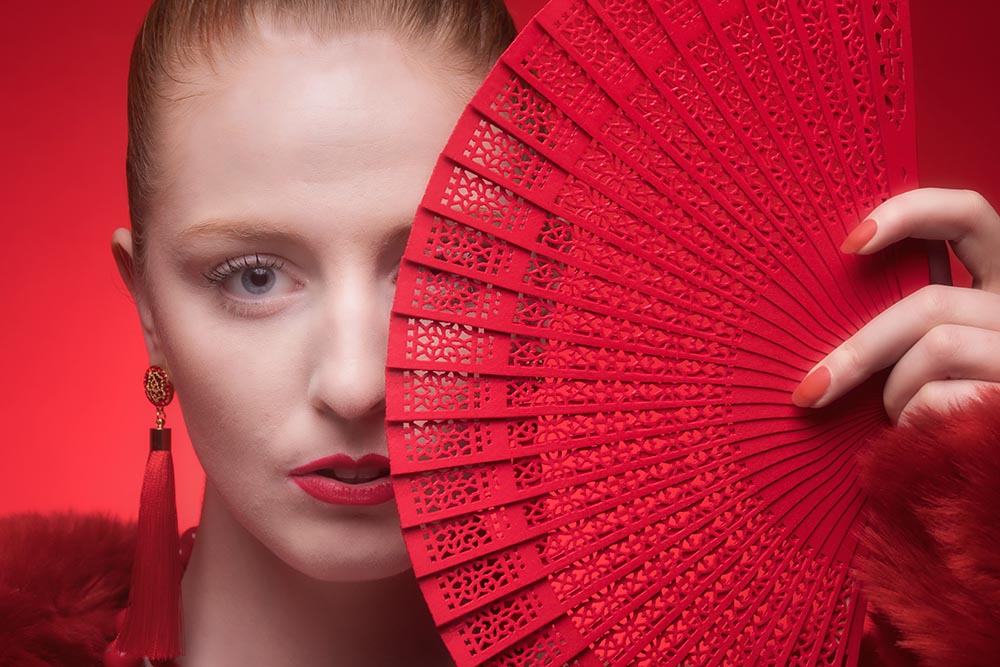
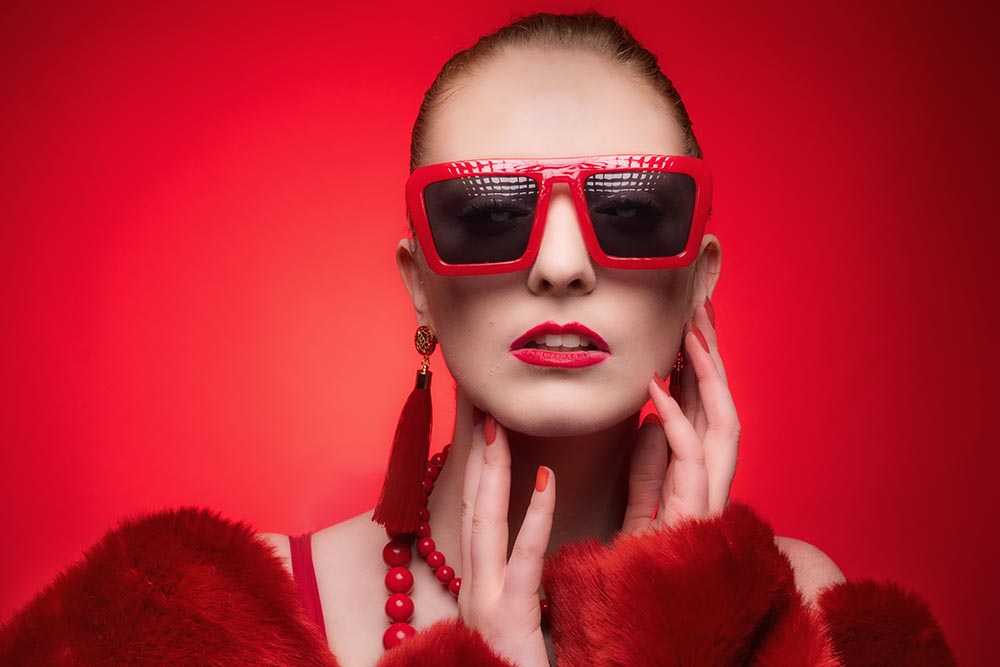
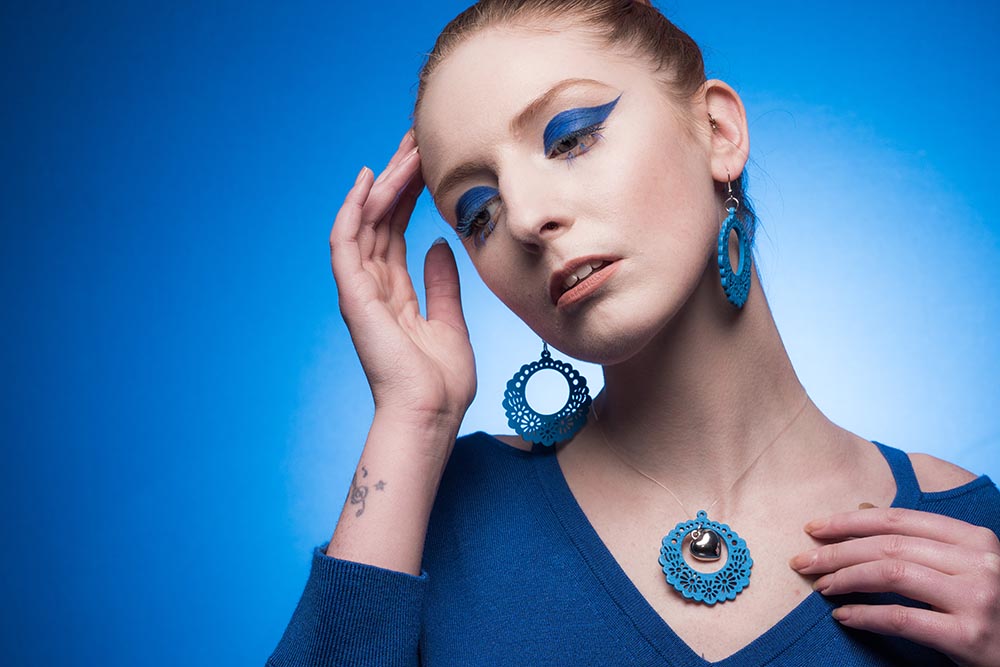
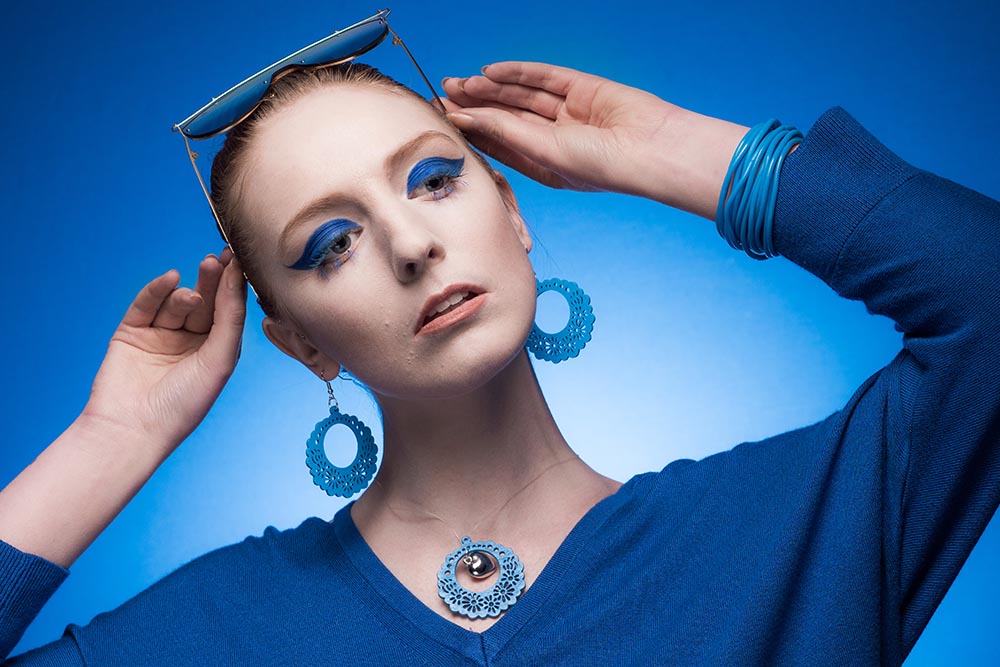
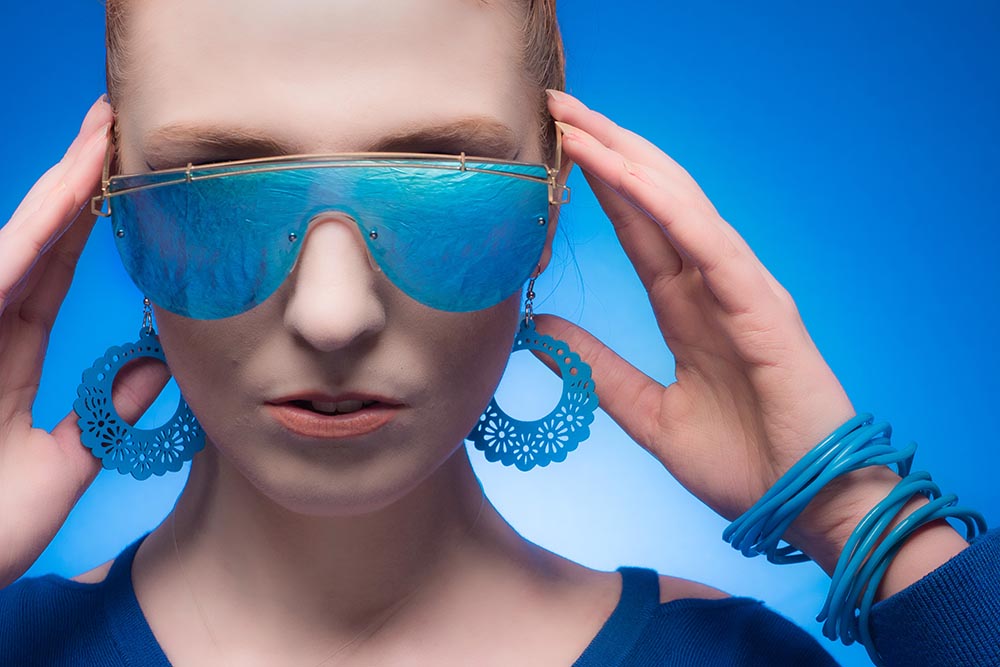
Colour can really make an image pop and catch the eye and that’s something I wanted to experiment with in my small home studio. Using some colour themed props can help give the photo’s a high fashion feel and also gives your model something to use in poses. Make up can play an important part in creating the atmosphere, especially for close shots.

In this video we look at how punchy using one strong colour can be. Don’t think that you’ll need awhole rainbow of backdrops either!

[youtube]https://www.youtube.com/watch?v=ilnJCCmprLs[/youtube]