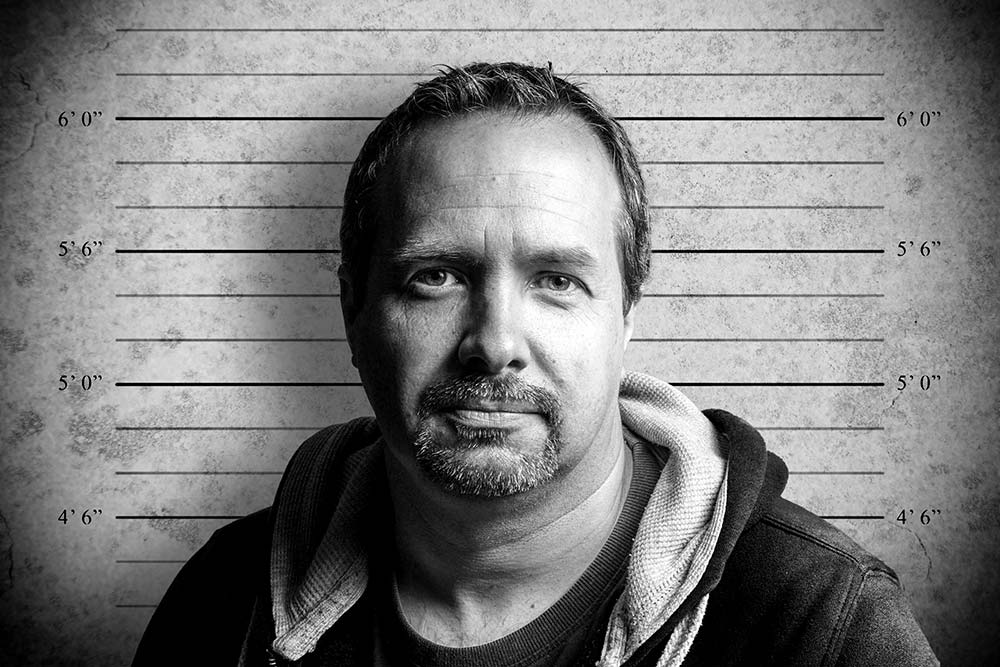
2 Self-Portraits with 1 light

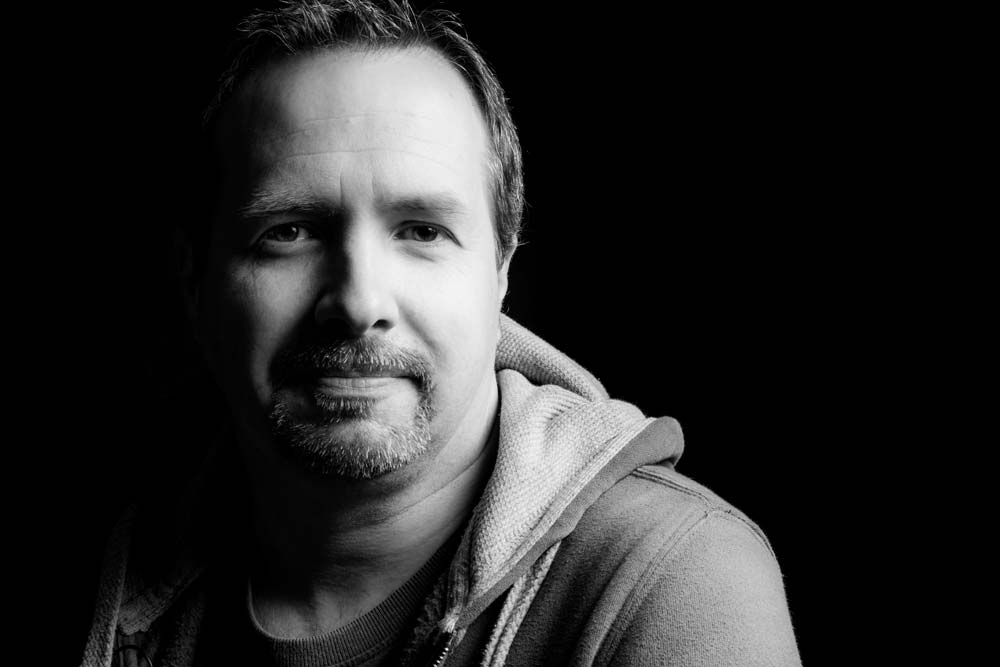
Self-portrait-1When I first started to learn about lighting I focused all attention on the complexities of flashes first and foremost. Of course whilst lighting is the cornerstone of great portraits, so is an ability to get the best from your model and trust me on this, that can be a lot harder to master.

One way to practice portraiture is shooting a self-portrait project. It’s a great way to practice and perfect various lighting arrangements without the need of a model, subject or assistant. 

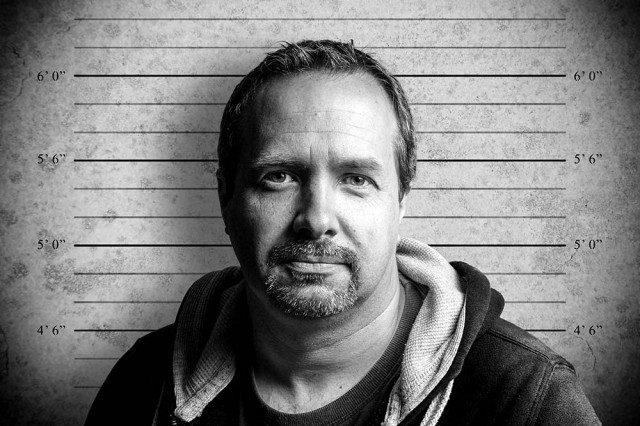
In this video I’ll show you how to shoot two very different self portraits but remarkably, the lighting will be identical for both. The only thing that will change is the background. 

Why change the background, you may ask. Well, the first shot has a black, low key background and the second set of photos has a grey background, which is much simpler to remove and replace with a new background in Photoshop, as you’ll see in the video.
[youtube]http://youtu.be/C2b61bZ-J44[/youtube]
If you can’t see the video Click Here

Self-portrait-2

Gear used in this video 

Interfit Collapsible Double Sided Background, Black / White

 Canon 60D

Canon 24-105mm L f/4 IS

Vanguard Alta Pro 263AT Tripod

Vanguard GH-100 Grip Head

Adobe Photoshop CS6

Canon 580 EX II Flash

Flash bracket

Interfit air cushioned light stand

Silver reflective umbrella

(All links go to Adorama, who sponsor all my videos)

5 Things Top photographers do & the rest of us don’t

At some time or another we’ve all looked at the work of top photographers and wondered… What makes their photos better then mine? Is it because they use the best camera gear, work with the best models or get access to locations that mere mortals like us can only dream of? Well perhaps but here are five things top photographers do that may be you and I don’t.

1 Fill the frame
From landscape photographers to portrait photographers there’s one thing that all top photographers know and that’s to fill the frame with your subject. Now I’m not talking about simply zooming or cropping in closer, although that can be one solution. I’m talking realising what’s important to your photo as you’re looking through the viewfinder and pressing the shutter when the composition is exactly what you want
Top Tip: If it’s not part of the story, don’t have it in your photo.
5-Pro-1

2 Revisit a location/subject
Like all photographers I look at the work of my peers and wish I could shoot an image even half as good. From time to time I’ve even gone to the same location to try and recreate the photo. Sadly it’s never quite the same.

So how do top photographers get great photos? They return to the shot again and again and again until they get it right. Each time they learn a little more about where to shoot, when to photograph and what makes a good image. You may have to visit the same location a dozen times before you get the perfect light, or shoot at the same sporting venue many times to discover the best vantage points.
Top Tip: If at first you don’t succeed… go back and do it again5-Pro-2
3 Specialise on a subject
Many photographers flit from one type of photography to another. One day they’re trying to master landscape photography the next they’re trying their hand at shooting weddings. There’s absolutely nothing wrong with mixing it up but try to specialise in one area more then any other.

The fact is top photographers tend to become well known for not for shooting one area of photography but for being the best at a small niche of one area in photography. For example great fashion photographers don’t make great wedding photographers. Motor sports photographers may be rubbish at shooting football.
Top Tip: You only need to be the best in one area of photography 5-Pro-3
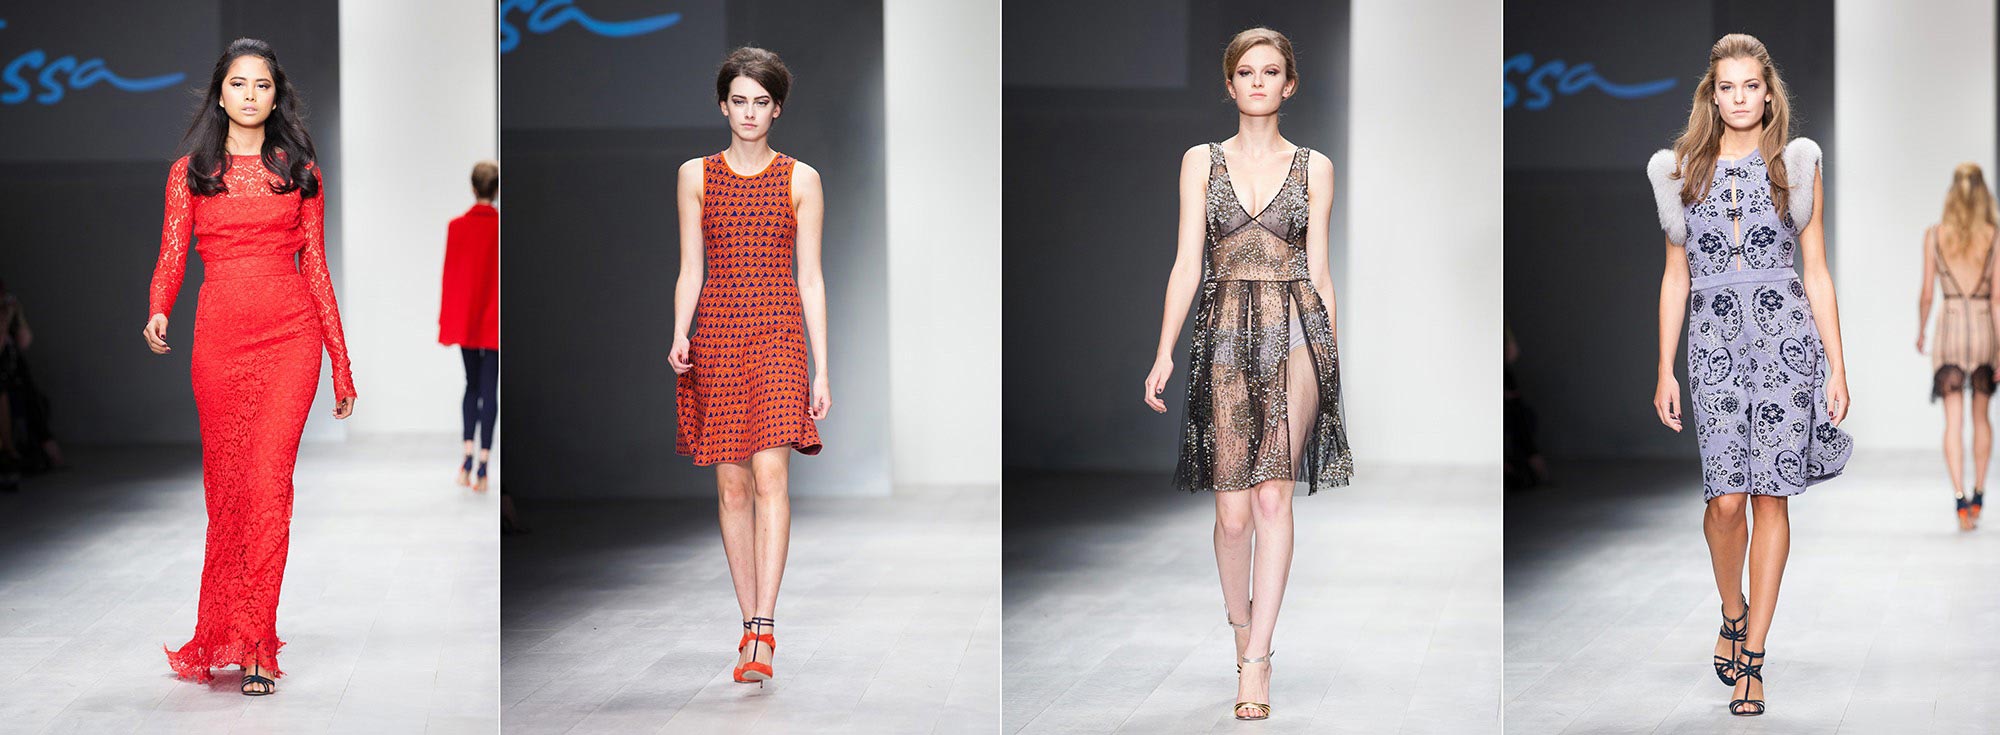
4 Learn from failure
All photographers have bad days and most of us have bad weeks too. Sometimes nothing goes your way. Maybe the weather doesn’t play ball or you accidentally shoot with the wrong exposure or perhaps you just run out of ideas.

When that happens, it’s natural to feel down hearted, frustrated and ready to throw in the towel. Top photographers will quickly get over the initial disappointment and the best photographers will embrace failure as all part of learning.

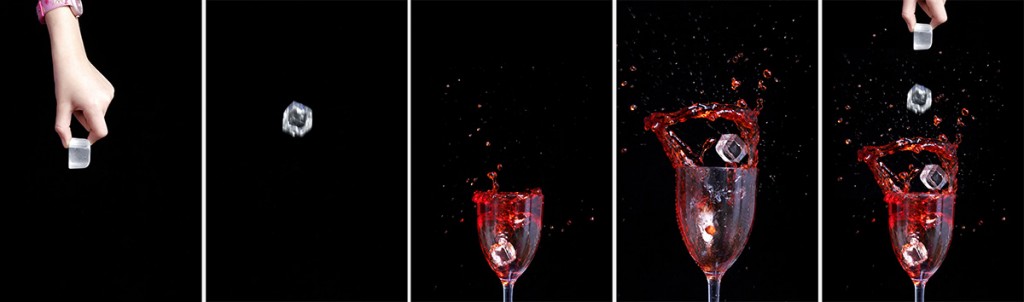
Going further, top photographer will expect to mess up and they’ll plan accordingly. Things like taking more then one photo, moving the view point, bracketing exposure and experimenting with lens choice are all part of the secret of success.
Top Tip: You’re the only one who will ever see your bad shots. 
5-Pro4

5 Think about post processing whilst taking photos
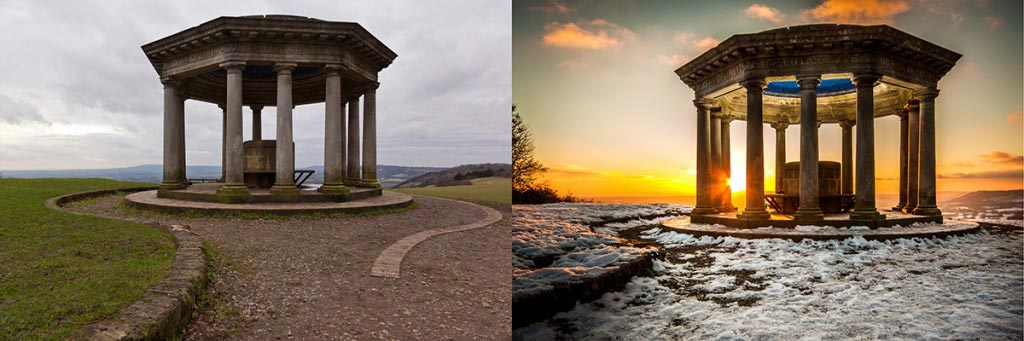
Let’s be honest, every photographer aims to get the photo right in the camera most of the time. We all know that Photoshop can do amazing things to help to fix photos and enhance photos but top photographers are thinking about post processing whilst holding the camera.

Let’s be clear, they’ll not think “I’ll fix that in Photoshop” they’re thinking this might work best with a square crop or this scene would look better in black and white.

Being aware of what can be done in post processing and you’re skills at doing it, should be in your mind whenever the camera is in your hand.
Top Tip: Clicking the shutter is the start of the photo and rarely the end.5-Pro-5
Instant Snow Action

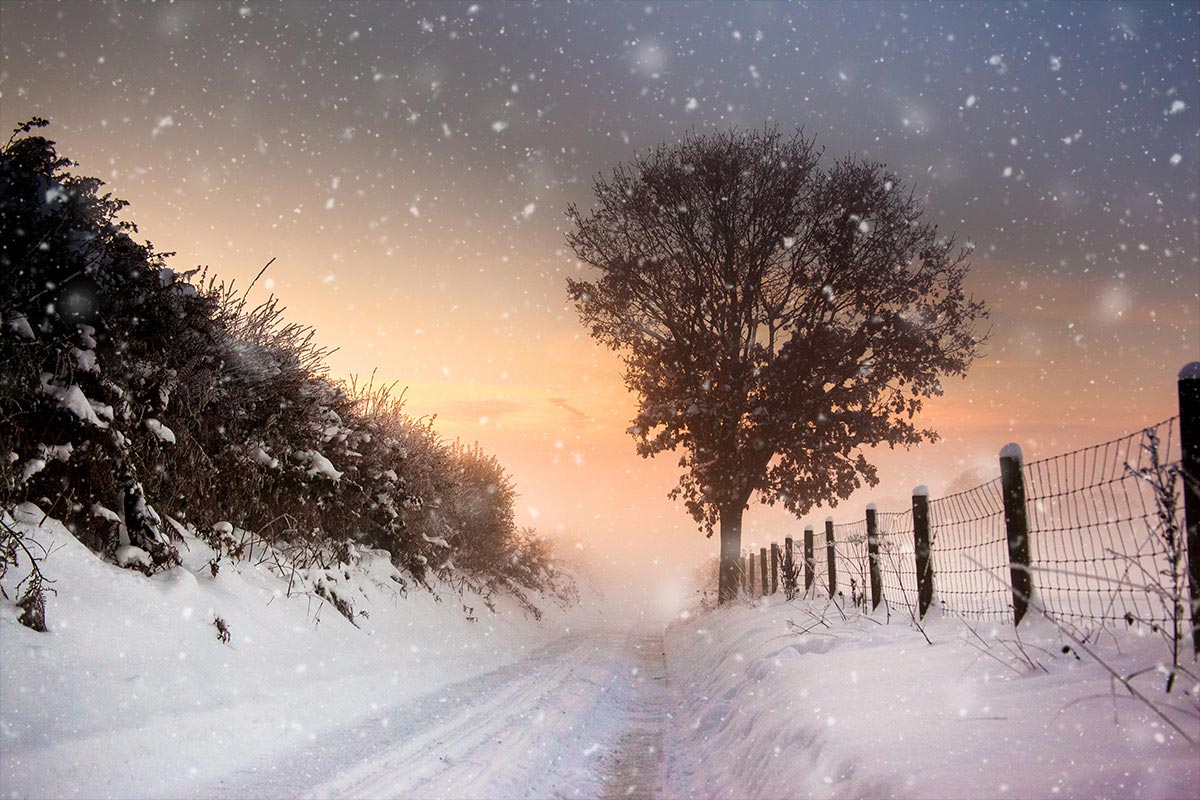
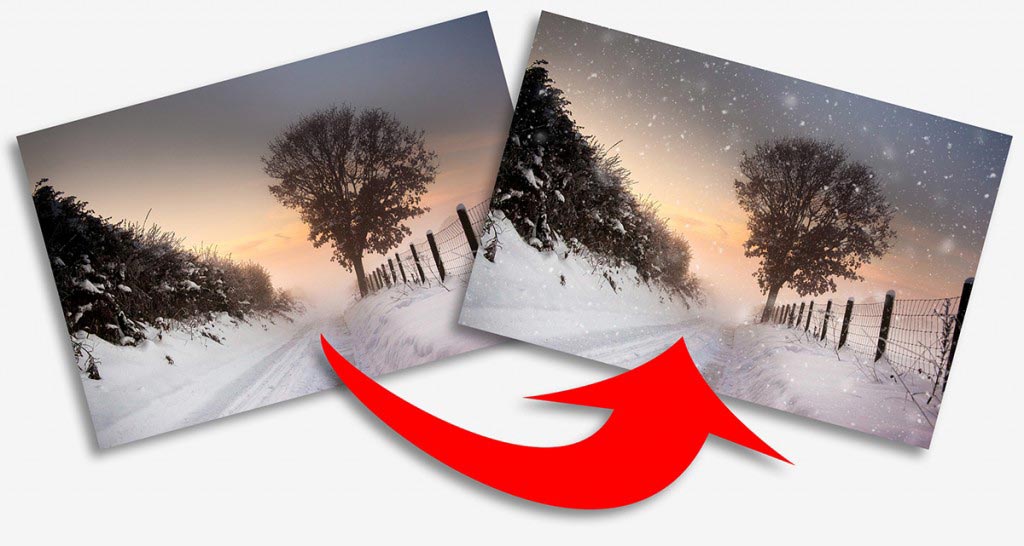
Here in the UK snow is something we get once or twice a year, which makes it a fairly rare event round these parts. So whenever snow arrives, everyone rushes out to build snowmen, go sledging and record the event with their cameras.

Instant Snow-1Now I realise some of you get snow all the time and some of you never see snow from one year to the next, but don’t let that stop you enjoying this weeks Friday Freebie.

You can download the action here: instant-snow

This is a one click action, so once you’ve unzipped it and installed it, you only need to hit the play button. The first thing the action will do is to make a copy of your photo and it’s the copy that gets the effect, leaving your original photo untouched.

The action will make three layers of snow and I’ve left all three layers active at the end of the action. That means you’re free to alter, adjust and tweak the snow in numerous different ways. Another nice feature of the action is the random nature of the snow. Put simply if you don’t like the snow the first time you run the action, just close the image down and run the action again and the snow will be different.

Usual rules apply:
The action is copyright Gavin Hoey 2013. You may use it for personal, non-commercial purposes only and please do not redistribute without permission. There is no support offered with this action and you use it at your own risk. Thank you and enjoy.

Instant Snow-2


Photo Realistic HDR

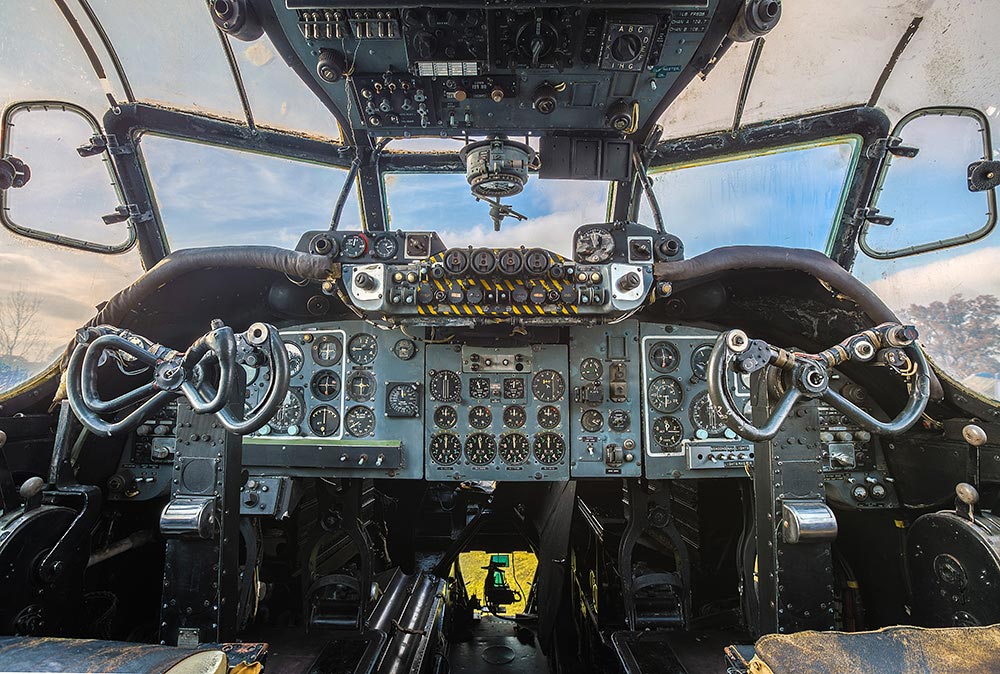
HDR-Gatwick AviationOver the past couple of years the letters HDR have become synonymous with heavily processed images, garish colours and unreal contrast. Don’t get me wrong, when done with skill that kind of processing can look amazing… on the right subject. The trouble is, of course, that it’s very easy to get carried away with the effect and go too far.

As a result many photographers now hear HDR and instantly dismiss it as gimmicky when in fact HDR (High Dynamic Range) is a technique that’s as old as photography itself. Dodging and burning in the darkroom, pulling out the highlight and shadow detail in RAW processing are all forms of HDR.

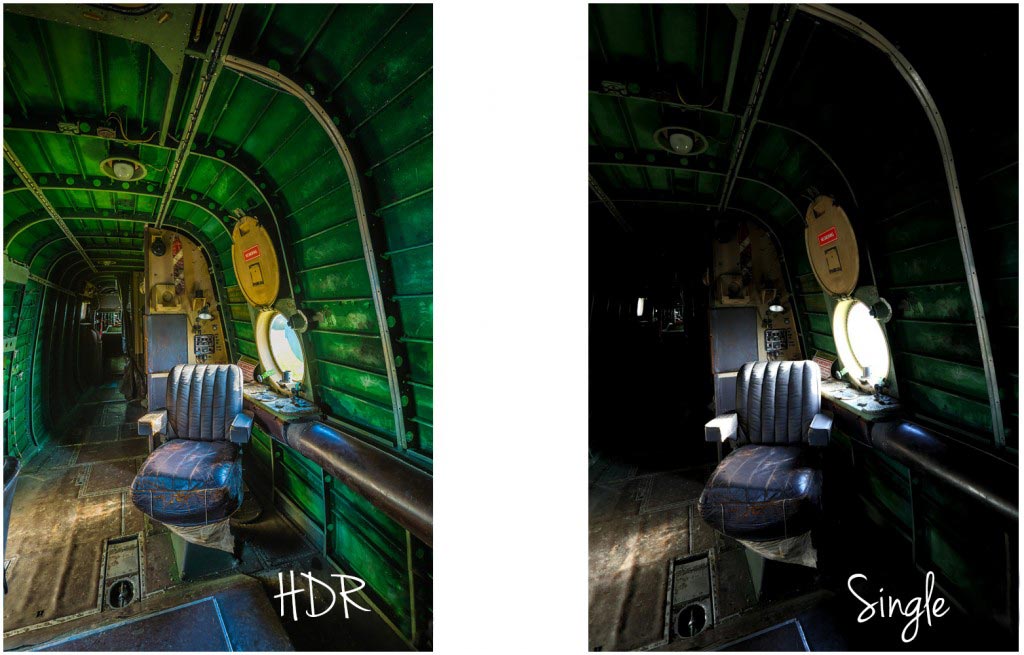
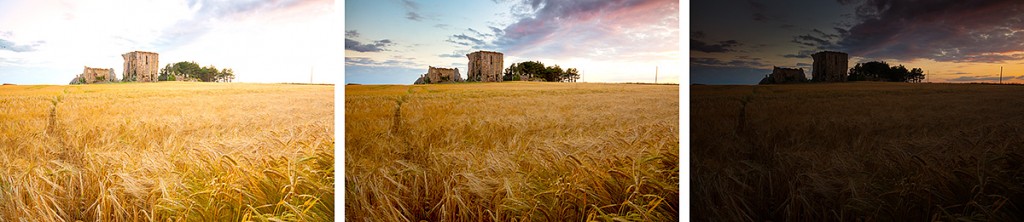
However, there are plenty of times when a single image doesn’t have all the detail you want in the highlights and shadows, no matter how much processing you do to it. That’s when multi photo HDR’s come in to their own.

In the video below I’ll show you a couple of ways to shoot multi image HDR photos and then I’ll skip over to Photoshop CS6 to make a photo real HDR image. Photo real means my goal is to make the photo look like a photo… not a painting.
[youtube]https://www.youtube.com/watch?v=hOLh76QhZkY[/youtube]
If you can’t see the video click here

It’s worth pointing out that you must have Photoshop CS6 and have updated its RAW processor to at least 7.1. An alternative work flow would be Photoshop CS4 or CS5 and Lightroom 4

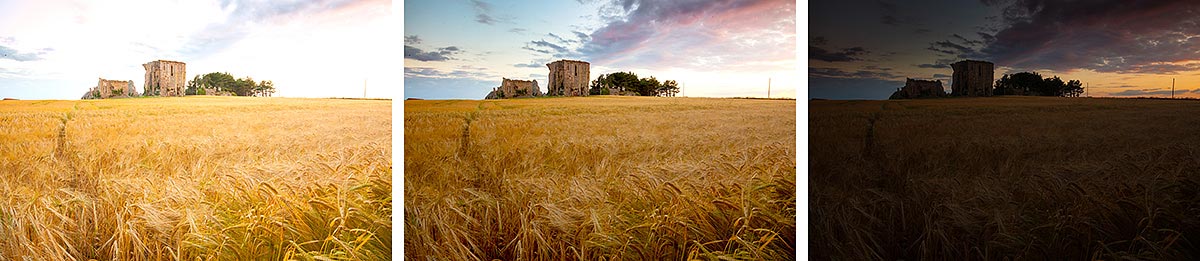
The bigger the difference between the lightest and darkest part of you scene the more photos you’ll need to take. Often three photos are enough to make a good HDR, such as in the image below but it’s always better to have more photos even if you don’t end up using them.HDR1

Gear used in this video:

Canon 5D Mark 3 http://www.adorama.com/ICA5DM3.html?KBID=67338

Canon 16-35mm f/2.8 Mk2 http://www.adoramacom/CA2470.html?KBID=67338

Adobe Photoshop CS6 http://www.adorama.com/ABPSCS6M.html?KBID=67338

Manfrotto 055 Pro Tripod http://www.adorama.com/BG055XPROB.html?KBID=67338

Canon RS-80N3 cable release http://www.adorama.com/CARS80N3.html?KBID=67338

Many thanks to the Gatwick Avaiation Museum for allowing me to film in their Shackleton aircraft.
http://www.gatwick-aviation-museum.co.uk

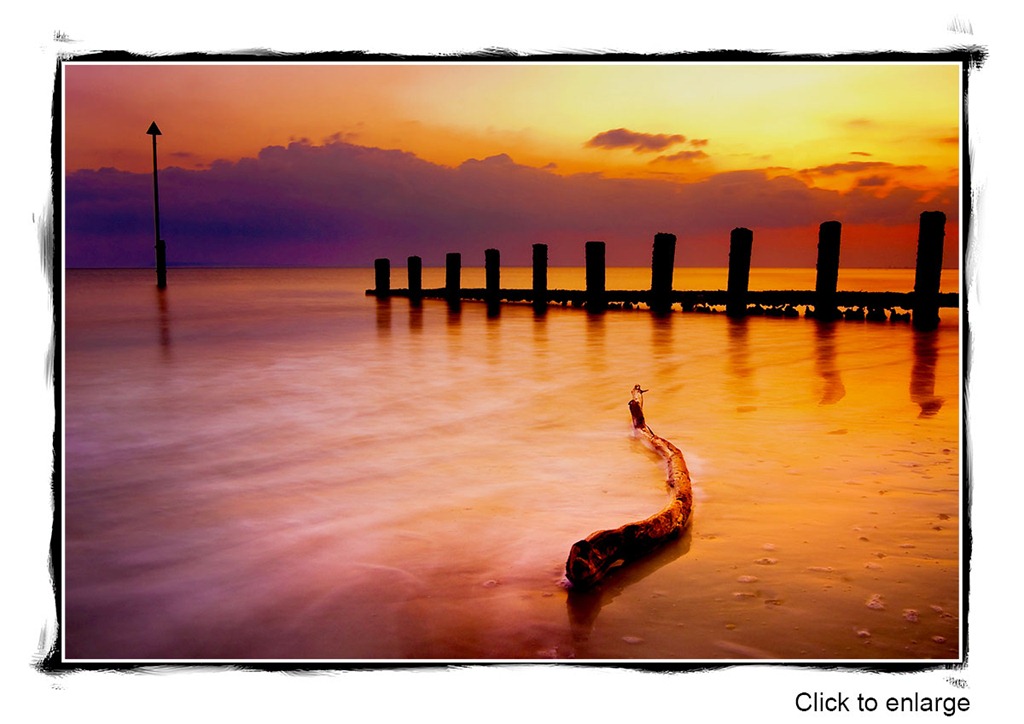
Free brushed border

Last week I made a tutorial for my friends over at Tip Squirrel on how to use the mixer brush to create three borders with a painterly feel. You can read the article and watch the video by clicking here to visit tipsquirrel.com

FF-Mixer-Border-finalGreat as the effect is, there is a problem. You’ll need access to the Mixer Brush to make the borders but the Mixer Brush is only available in Photoshop CS5 and CS6. So what happens if you have an older version of Photoshop or for that matter, any version of Photoshop Elements?

The short answer is you’re out of luck but that doesn’t sound 100% fair to me, so I thought I’d share one of my ready made brushed borders in a way that anyone can use.

You can download the border from here:
https://www.gavtrain.com/free/FF-Mixer-Border.zip

It’s a zipped file of around 300kb in size so shouldn’t take too long to download. You can then unzip it and open the jpg border image in either Photoshop or Elements.
Please read the terms of use at the bottom of this post.

How to use the border
To add your own photo, first open the photo you want to add. Then select all (CTRL+A) and copy (CTRL+C) . Now jump over to the border image, select a grey rectangle with the Magic Wand tool and choose Edit – Paste Into (Edit – Paste Special – Paste Into in Photoshop CS5 & CS6)

You can then resize the photo before pressing Enter to committing to the changes.

The space for each photo is just under 4000 pixels on the longest edge, so if you’re using smaller images you might want to resize the border or photo before starting.

Usual rules apply.
The action is copyright Gavin Hoey 2012. You may use it for personal, non-commercial purposes only and please do not redistribute without permission.
Thank you and enjoy.

Amazing Christmas bokeh

Happy Christmas!

BOKEH-xmasWhat did you find wrapped up under the Christmas tree? If you got a shiny new tripod or a lovely new lens then here’s a great photo technique that’s absolutely perfect for today.

Bokeh or background blur as it’s also known, is a simple technique to achieve and the results can me amazing. In the video I go in to plenty of detail so you’ll get a thorough understanding of how it all works and what camera setting work best.

As you can see from the final photo, you can get very creative with bokeh. To give you some inspiration, check out the bokeh group on Flickr http://www.flickr.com/groups/88081697@N00/

I’d love to know if you use this technique and get a great photo, especially if you’ve never tried it before. Upload your photo to Flickr or Facebook (or wherever you post your photos) and leave your link in the comments below.

If you can’t see the video click here

Gear used in the video (links back to Adorama, who sponsor all my videos)
Canon 5D Mark 2
Canon 24-105mm L f/4 USM
Vanguard Alta Pro 263AT Tripod
Vanguard GH-100 Grip Head
Kingston 32GB CompactFlash Ultimate 600x
Adobe Photoshop CS6

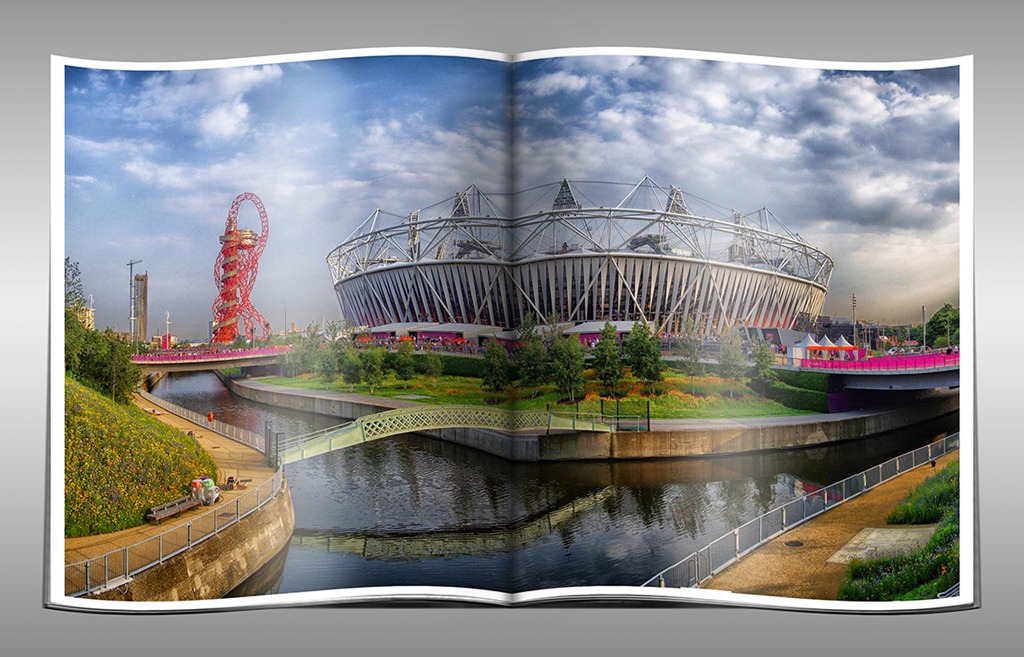
Magazine Page Action ~ Friday Freebie

Ever fancied seeing your work featured in a magazine? Silly question. Every photographer I know would be flattered, honoured or excited to see their photos in print. Well sadly I can’t make that happen for you but here’s the next best thing.

Magazine-PageAs with all actions the strength of the effect will vary according to the number of pixels in the image but this one gives great results with pretty much any sized photo. You’ll need a copy of Photoshop (CS3 or later). This action makes use of warping in Free Transform. It’s a powerful tool but sadly it’s not part of Elements and as a result this action will not work for Elements users.

The action is fully self contained which means you don’t need to do anything other then click the play button. It also makes a copy of your photo (called Magazine Page) so your original image will remain untouched.

You can download the action from here www.gavtrain.com/free/magazine-effect.zip

Usual rules apply. The action is copyright Gavin Hoey 2012. You may use it for personal, non-commercial purposes only and please do not redistribute without permission. Thank you and enjoy Smile

Shooting textures in the landscape

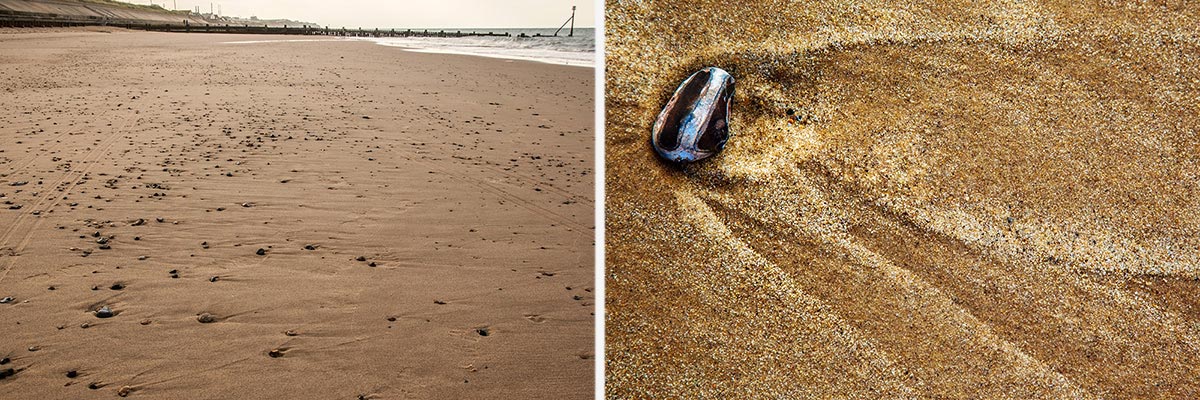
What do you do when the thing you wanted to photograph has disappeared under water? Well that was the dilemma I faced a few weeks back when I went to the beach.

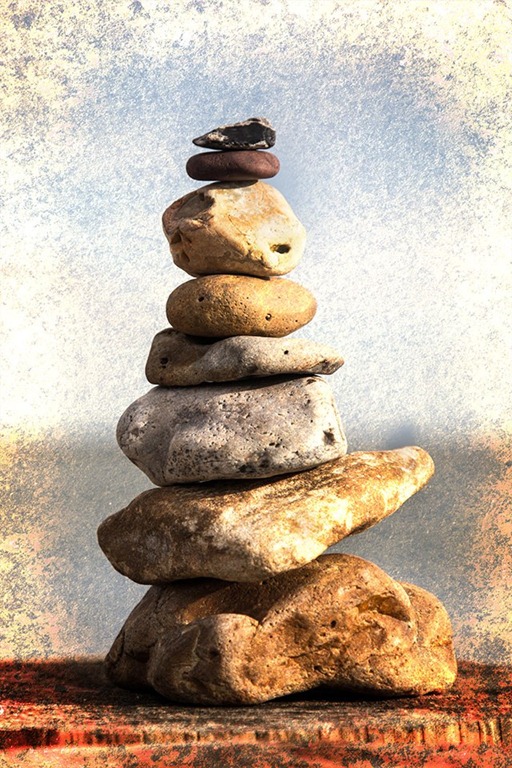
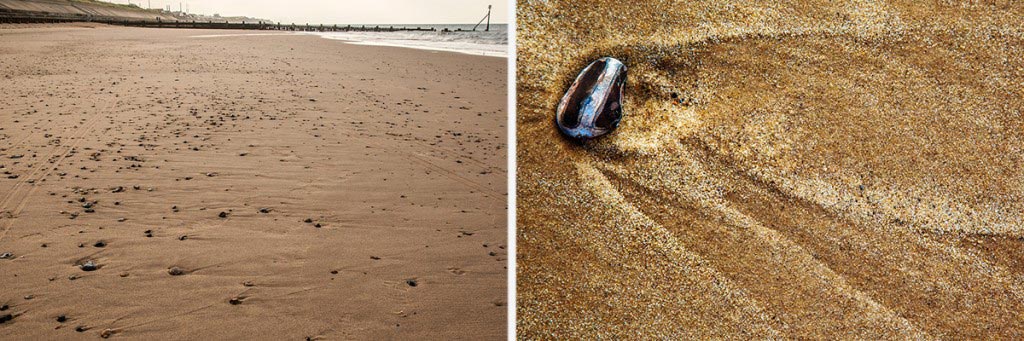
Adorama PebblesTo make matters worse it wasn’t a stunningly beautiful beach and the lighting was pretty flat and lifeless. However I wasn’t going to go away empty handed so I created a photo from nothing.

First I did something I do a lot when I’m on a pebble beach, I grab some stones and started stacking. Photographing the pebbles was a simple enough affair but it needed something more and I thought the best thing to do was to add a background texture.

The beach may not have been a good spot for shooting amazing seascapes but with its collection of beach huts, it was the perfect place to bag a great selection of textures. In five minutes I had photographed textures from wood, paint, rusty metal and concrete.

All I had to do then was combine the photo together to create the final photo you see here. You can watch both the shoot and the post processing on the video below.

If you can’t see the video click here

Gear used in the video (links back to Adorama, who sponsor all my videos)
Canon 60D
Canon 24-105mm L f/4 USM
Carry Speed Strap
Adobe Photoshop CS6

Your Comfort Zone

What’s your style of photography? Are you a landscape photographer, someone who thinks nothing about walking miles over hills or along the coast in order to get your perfect photo. Perhaps you’re a studio based photographer who loves to be in total control of everything from the lighting to the subject or your photo.

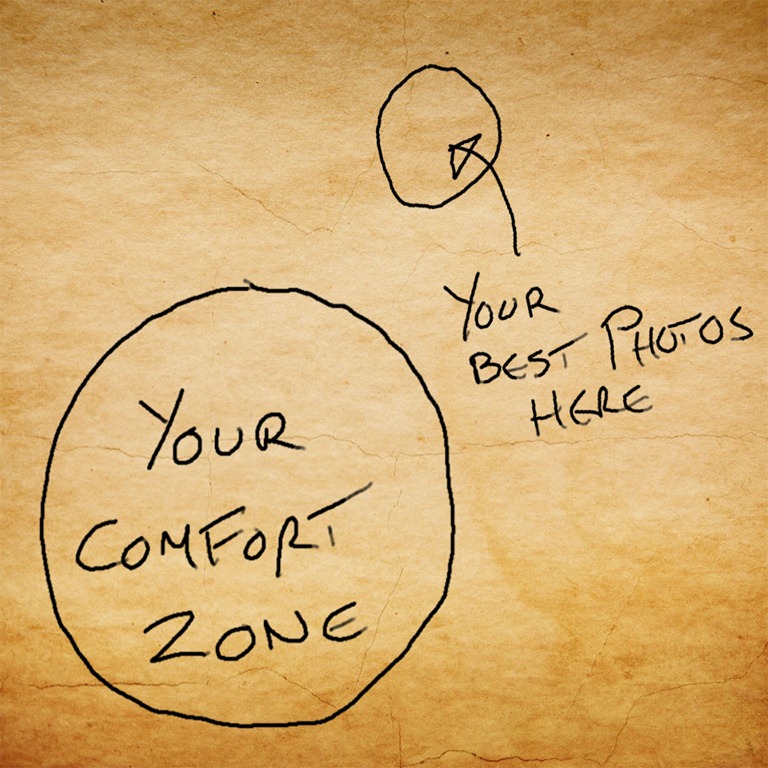
confort-zoneWhatever your photography passion it’s very easy to get stuck in a rut and for your photography to stagnate. You may be the best sports photographer on the planet but if you lose your creativity your work will suffer. Every now and then you need to move outside your comfort zone, try something that challenges your photography and in doing so you’ll give your creativity a boost

This year I’ve been outside my comfort zone on several occasions. For example earlier this year I visited Norway to teach Photoshop to a large group of Photographers who don’t speak English as their first language (I don’t speak Norwegian either). After my presentation there was a wonderful talk by a Norwegian photographer. Although I didn’t understand what he was saying, he showed this image (or something like it) and it really stuck a chord.

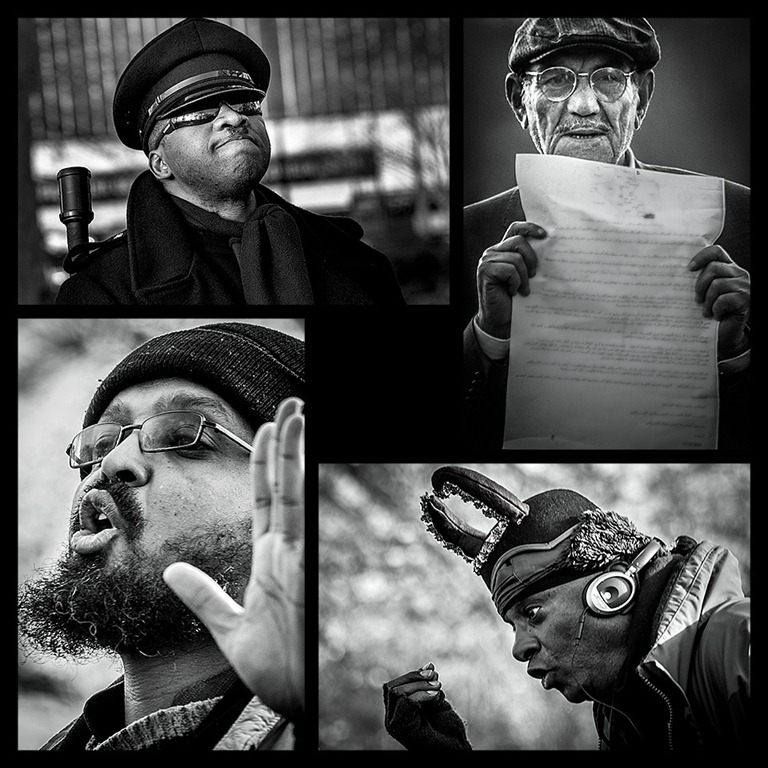
One of the areas of Photography I usually shy away from is street photography. It’s not that I don’t enjoy that kind of photo, far from it, it’s more the feeling of being self conscious photographing strangers. So last Sunday I took myself out of my comfort zone by visiting London’s Speakers corner. There were plenty of people to photograph but it was a challenge. Most people were too wrapped up in their heated debates to notice me taking photos but a few people were less happy to be photographed which is all part of the experience of course. You can see a few of the photos below

So what are you going to photograph that’s outside your comfort zone? The best advice I can give you is if and when you venture outside of your comfort zone go with a friend or a group of photographers. The more of you that share the experience the more fun it is. Alternatively you can do what I did and join a photographic workshop. This one was organised by Welshot Imaging.

Speakers Corner

Camera: Canon 60D

Lens: Canon 70-300mm IS

Aperture: f/5.6   ISO:800  Shutter Speed: Various

Christmas Template ~ Friday Freebie

It’s that time of year when people all round the world are sending out Christmas cards to their friends and family. If you’re looking to make your own festive card for the holiday season then this weeks Friday freebie is right up your street.

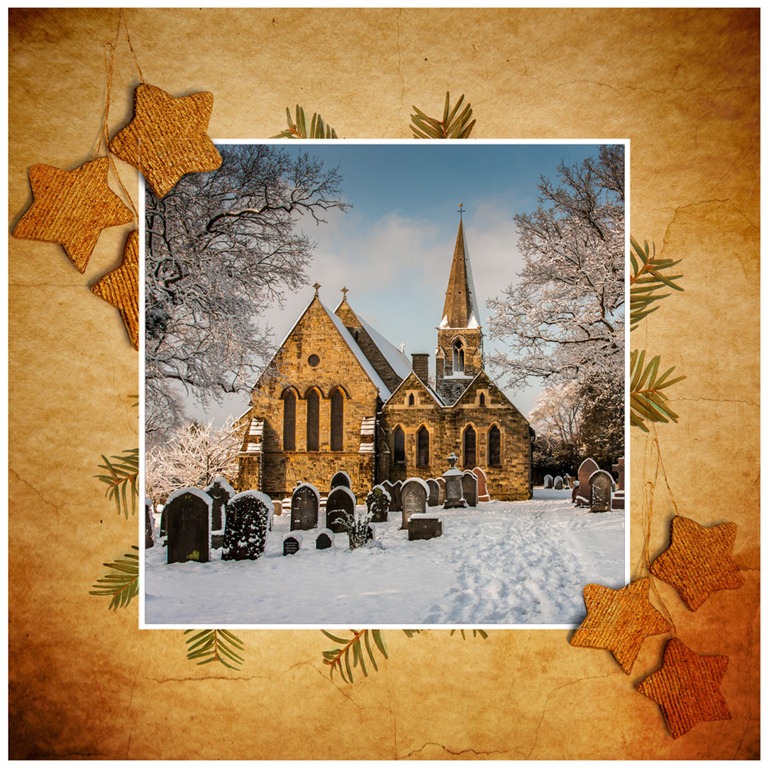
FF-xmas-finalAs you can see from the example here, the template is a festive border into which you’ll need to add your own Christmas or winter scene. Download instructions are below and once again I’m sharing the full PSD file through my creative cloud page. No sign up is required to get a copy of the template so you’re free to jump in and make your own Christmas card.

Download the Christmas card template by clicking this link 

The photo that goes in the middle I’m leaving down to you.

It’s sized to print at A4, just remember to increase the canvas size by 100% so the card has a back side too. Alternatively you can save the final image as a JPG and turn it into an eCard instead.

Download instructions
Click the link https://drive.google.com/file/d/0B_Mmmm3K1utNd2VLbzZSNzdKMUk/view?usp=sharing

1. Click the Download button download_icon

2. The download should start automatically

How to use the template
To add your own photo, first select and copy the photo you want to add. Then jump over to the template, Click inside the grey square with the magic wand tool and choose Edit – Paste Into (Edit – Paste Special – Paste Into in Photoshop CS5 & CS6)

You can then resize the photo before pressing enter to committing to the change.

If you’d rather not have the two stars that cut into the edge of your photo you can simply switch off the top layer.

Usage rules
Usual rules apply. The action is copyright Gavin Hoey 2012. You may use it for personal, non-commercial purposes only and please do not redistribute without permission. Thank you and enjoy Smile