Photo Realistic HDR

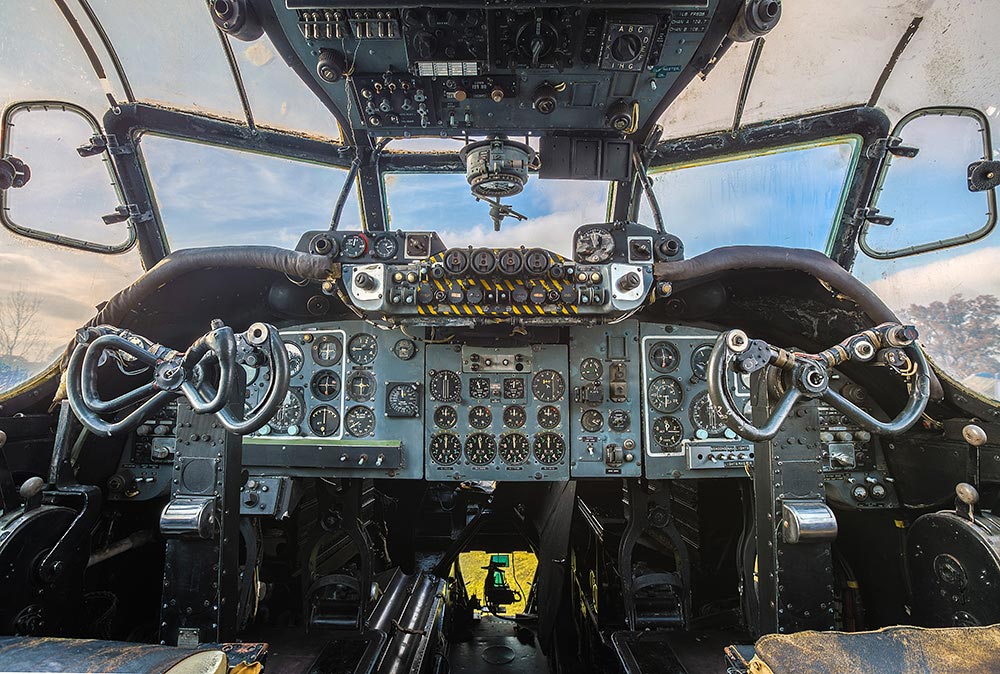
HDR-Gatwick AviationOver the past couple of years the letters HDR have become synonymous with heavily processed images, garish colours and unreal contrast. Don’t get me wrong, when done with skill that kind of processing can look amazing… on the right subject. The trouble is, of course, that it’s very easy to get carried away with the effect and go too far.

As a result many photographers now hear HDR and instantly dismiss it as gimmicky when in fact HDR (High Dynamic Range) is a technique that’s as old as photography itself. Dodging and burning in the darkroom, pulling out the highlight and shadow detail in RAW processing are all forms of HDR.

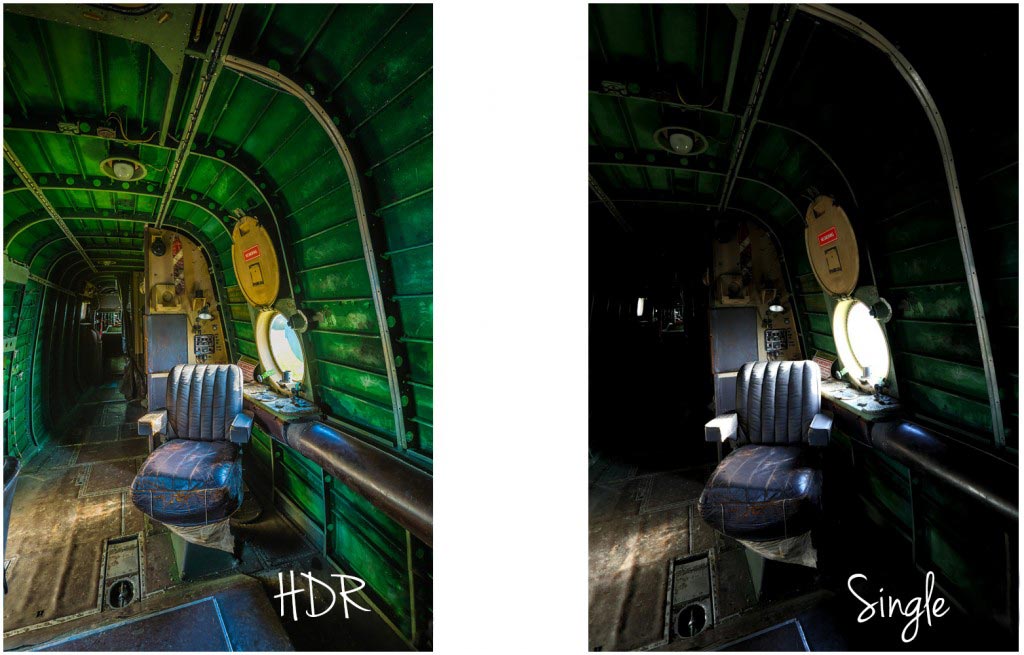
However, there are plenty of times when a single image doesn’t have all the detail you want in the highlights and shadows, no matter how much processing you do to it. That’s when multi photo HDR’s come in to their own.

In the video below I’ll show you a couple of ways to shoot multi image HDR photos and then I’ll skip over to Photoshop CS6 to make a photo real HDR image. Photo real means my goal is to make the photo look like a photo… not a painting.
[youtube]https://www.youtube.com/watch?v=hOLh76QhZkY[/youtube]
If you can’t see the video click here

It’s worth pointing out that you must have Photoshop CS6 and have updated its RAW processor to at least 7.1. An alternative work flow would be Photoshop CS4 or CS5 and Lightroom 4

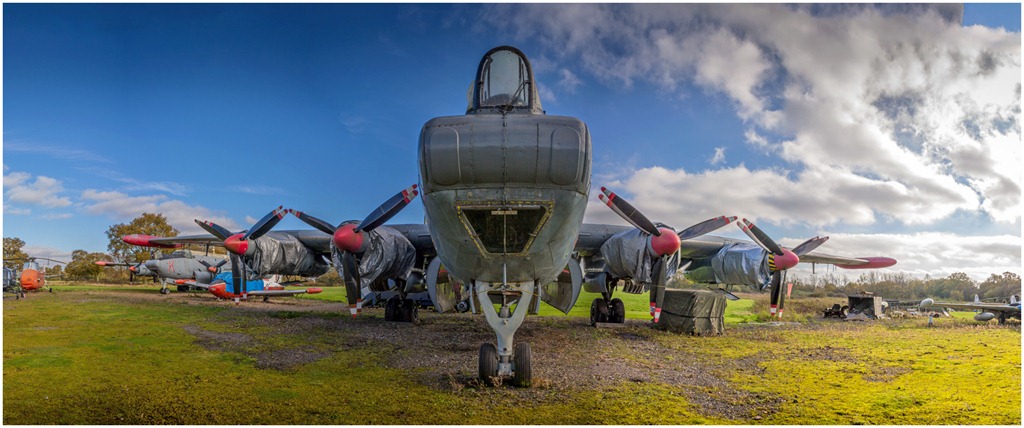
The bigger the difference between the lightest and darkest part of you scene the more photos you’ll need to take. Often three photos are enough to make a good HDR, such as in the image below but it’s always better to have more photos even if you don’t end up using them.HDR1

Gear used in this video:

Canon 5D Mark 3 http://www.adorama.com/ICA5DM3.html?KBID=67338

Canon 16-35mm f/2.8 Mk2 http://www.adoramacom/CA2470.html?KBID=67338

Adobe Photoshop CS6 http://www.adorama.com/ABPSCS6M.html?KBID=67338

Manfrotto 055 Pro Tripod http://www.adorama.com/BG055XPROB.html?KBID=67338

Canon RS-80N3 cable release http://www.adorama.com/CARS80N3.html?KBID=67338

Many thanks to the Gatwick Avaiation Museum for allowing me to film in their Shackleton aircraft.
http://www.gatwick-aviation-museum.co.uk

Amazing Christmas bokeh

Happy Christmas!

BOKEH-xmasWhat did you find wrapped up under the Christmas tree? If you got a shiny new tripod or a lovely new lens then here’s a great photo technique that’s absolutely perfect for today.

Bokeh or background blur as it’s also known, is a simple technique to achieve and the results can me amazing. In the video I go in to plenty of detail so you’ll get a thorough understanding of how it all works and what camera setting work best.

As you can see from the final photo, you can get very creative with bokeh. To give you some inspiration, check out the bokeh group on Flickr http://www.flickr.com/groups/88081697@N00/

I’d love to know if you use this technique and get a great photo, especially if you’ve never tried it before. Upload your photo to Flickr or Facebook (or wherever you post your photos) and leave your link in the comments below.

If you can’t see the video click here

Gear used in the video (links back to Adorama, who sponsor all my videos)
Canon 5D Mark 2
Canon 24-105mm L f/4 USM
Vanguard Alta Pro 263AT Tripod
Vanguard GH-100 Grip Head
Kingston 32GB CompactFlash Ultimate 600x
Adobe Photoshop CS6

Shooting textures in the landscape

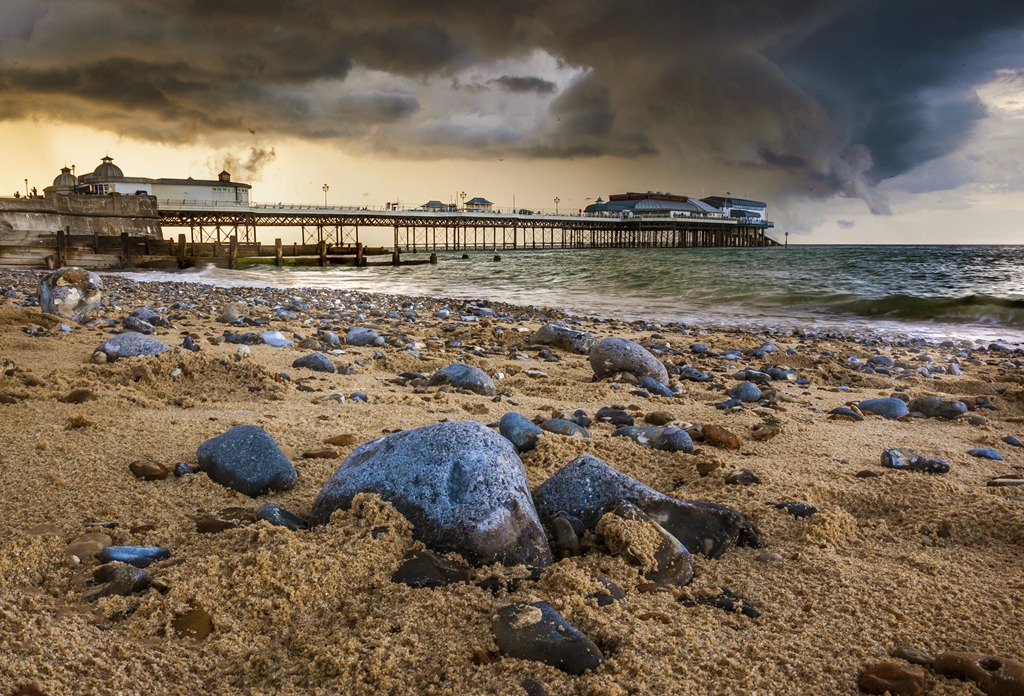
What do you do when the thing you wanted to photograph has disappeared under water? Well that was the dilemma I faced a few weeks back when I went to the beach.

Adorama PebblesTo make matters worse it wasn’t a stunningly beautiful beach and the lighting was pretty flat and lifeless. However I wasn’t going to go away empty handed so I created a photo from nothing.

First I did something I do a lot when I’m on a pebble beach, I grab some stones and started stacking. Photographing the pebbles was a simple enough affair but it needed something more and I thought the best thing to do was to add a background texture.

The beach may not have been a good spot for shooting amazing seascapes but with its collection of beach huts, it was the perfect place to bag a great selection of textures. In five minutes I had photographed textures from wood, paint, rusty metal and concrete.

All I had to do then was combine the photo together to create the final photo you see here. You can watch both the shoot and the post processing on the video below.

If you can’t see the video click here

Gear used in the video (links back to Adorama, who sponsor all my videos)
Canon 60D
Canon 24-105mm L f/4 USM
Carry Speed Strap
Adobe Photoshop CS6

15 Minute Photo Challenge ~ Gatwick Revisited

It’s the return of the 15 minute photo challenge. One camera, one location, and only 15 minutes to find great photos!

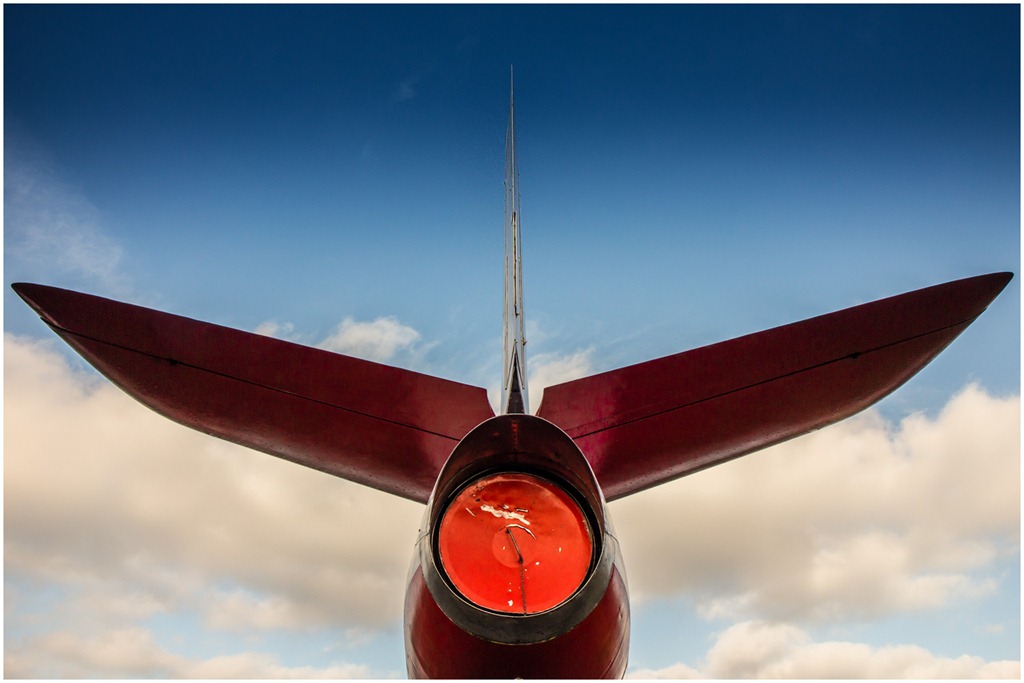
15-min-Gatwick-FinalThis time I get to return to one of my favourite photo locations as I try out Canon’s all new EOS M camera and then follow me into Photoshop CS6 where I’ll show you a quick technique for making stunning black and white images.

For this challenge I borrowed the mirrorless Canon EOS-M. A more in depth review is coming soon but for now I can tell you I won’t be ditching my usual DSLR gear any time soon. Having said that it was great fun to shoot a familiar location with a new camera and sticking to the 18-55mm kit lens made me look much harder to find the photos.

Visit the Gatwick Aviation Museum http://www.gatwick-aviation-museum.co.uk

Equipment used in this video (with links to Adorama for more info)
Canon EOS-M with 18-55mm lens http://www.adorama.com/ICAMK2.html
Photoshop CS6 PC and Mac versions

Create "Art Paper" in Photoshop

Isn’t it always the way… You really want to add an art paper texture to your photos but you just don’t have the right image to hand. So what do you do?

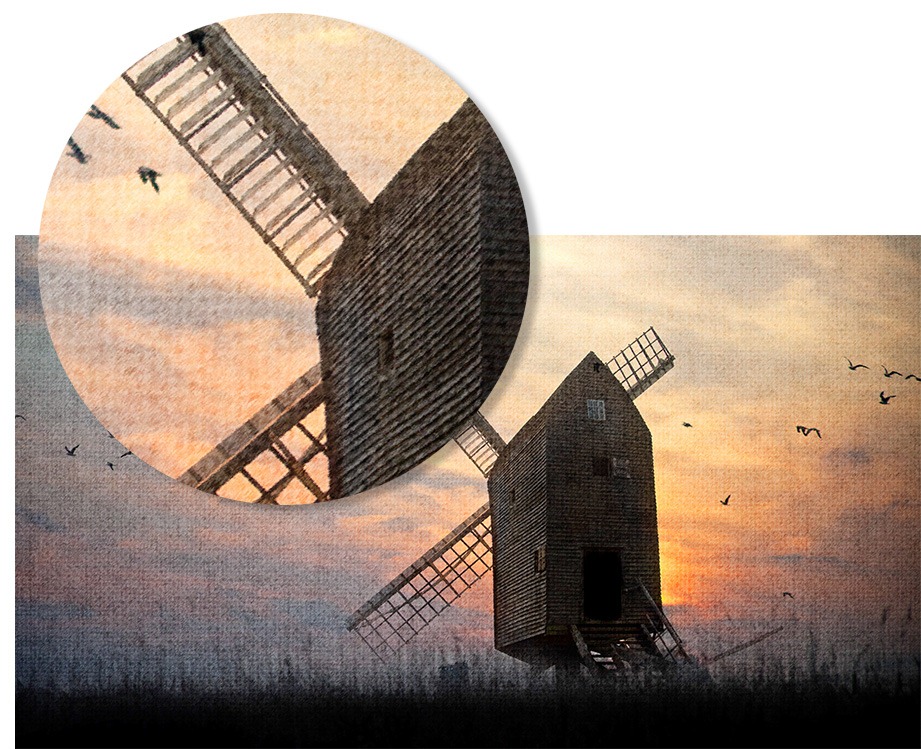
Art PaperWell, in this video I’ll show you how to create you own art paper texture completely from scratch using nothing more then the standard filters found in Photoshop or Photoshop Elements. I’ll then show you how to blend the texture and the photo together to create a couple of different looks.

You’ll notice in the video I access the filters Halftone, Water Paper and Sprayed Strokes from the Filter Gallery rather then directly from the filter menu. If you use Photoshop CS6 (as I do in this video) that’s the only way you can access these supposedly less useful filters. Photoshop CS5 and earlier can either use the filter gallery or the usual filter menu, the effect will be the same.

Paint Splash Photography

I’ve photographed water drops on many occasions and I’m always amazed by the stunning images that something as hum drum as a drip of water can create. The only problem with water is it’s transparent nature. That’s fine if you want a dark background but a real problem if you’re after a white background.

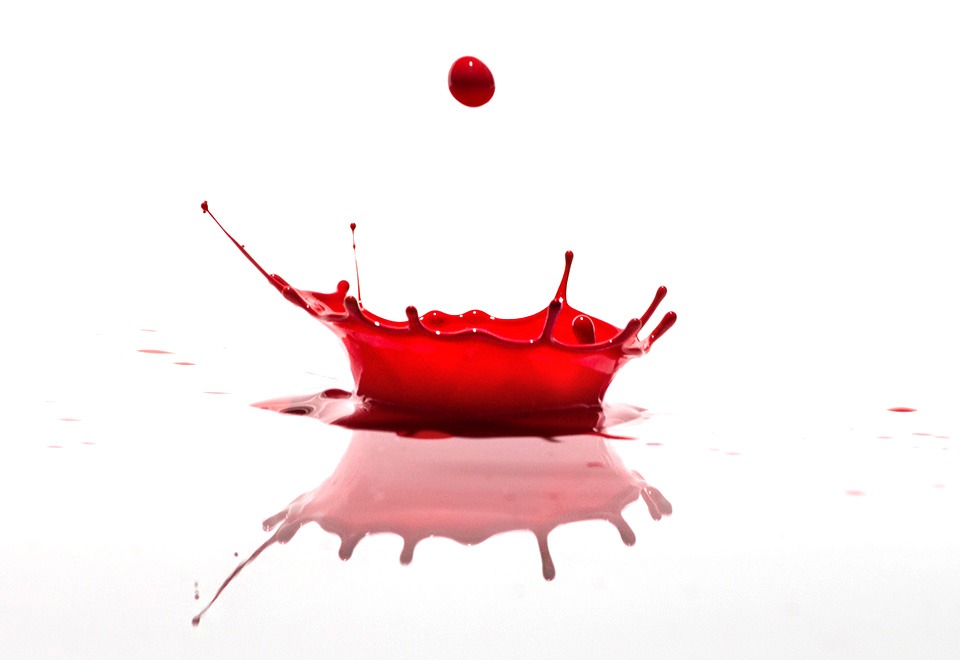
Paint-Adorama-FinalFor a white background you’ll need an opaque liquid to photograph and after a bit of trial and error I found the best thing to use was paint.

If you fancy having a go yourself, there’s a couple of extra tips I can pass on as well as the video below.

Water and paint
The paint I used was a ready mixed water based paint that’s made for children. That’s important as it really does go everywhere, fortunately water based paints can be cleaned up with a damp cloth even when its dried. I also watered the paint down a lot. It was roughly 10 parts water to one part paint. That created big splashes but maintained the all important opaque property of the liquid.

Burst Mode
I used the camera’s pop up flash to trigger the main flash. It worked well but I had to wait for the pop up to recycle before I could take the next shot. However if you have a set of Pocket Wizard radio triggers (or any other make for that matter) then you can shoot in continuous shooting or burst mode making bagging the perfect splash much MUCH easier.

Here’s a list of the equipment I used in the video.
Canon 60D
Canon 70-300m USM
Light stand + Boom Arm
Canon 580 EX II Flash
Flash bracket
Canon Remote Switch
Manfrotto 190 pro Tripod
Adobe Photoshop CS6

Teaser ~ 15 Minute Photo Challenge

I keep getting asked to make more 15 minute photo challenge videos and I keep promising that I will. So here’s a short teaser clip from a brand new 15 Minute Photo Challenge video that will we filmed last week at one of my favourite places to visit.

This video was made possible by the kind assistance of Canon, who loaned me a new EOS M camera for the day (full review is coming soon) and Adorama who are my video sponsors.

But the biggest thanks has to go to Gatwick Aviation Museum who were kind enough to let me loose at their museum once again. It’s a fabulous place to visit and every time I go there’s something new to photograph.

The full Video will be released later this month but as you can see from the teaser video and the photos below, it’s going to be worth the wait!

Gatwik-2

Gatwik-1

Shooting Zombies (with a camera)

It’s Halloween and that means lots of people are dressing up in scary costumes, which in turn makes Halloween a great photo opportunity.

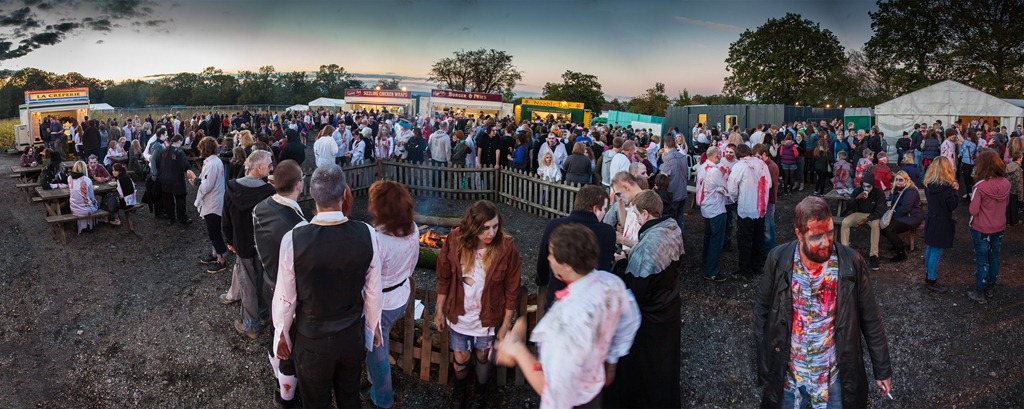
A few weeks back I was lucky enough to be invited to photograph a world record attempt to gather the most Zombies in one place ever. It was held at Tulleys Farm in Sussex where their Shocktoberfest has become one of the biggest Halloween attractions in the UK.

This video was originally planned as a new 15 minute photo challenge but I got carried away with the photography and didn’t stick to time… well that’s what happens when you’re shooting zombies!

[youtube]http://www.youtube.com/watch?v=Q3mP-OrBIgc[/youtube]

As you can see from the video, the place was packed full of zombies and the more effort they’d put into their costume the happier they were to be photographed.

Here are a few of the images I shot at Shocktoberfest.

IMG_9667

IMG_9630

IMG_9627

IMG_9552

IMG_9559

IMG_9565

Untitled_Panorama1

Focus Stacking ~ T+MGP 07

Depth of field is one of those fundamental skills that photographers learn. If you’re new to photography then the principle behind depth of field can be simplified to a choice of aperture. A small f number gives a smaller depth of field and a bigger f number gives a bigger depth of field.

Final-stackedOf course in the real world there’s more to depth of field then simply the aperture used. You also need to take into account the focal length of the lens and the size of the cameras sensor.

But no matter what combination of focal length, aperture and sensor size used there will always be a limit to the depth of field that’s achievable. So if you want a truly massive depth of field then a single photo isn’t going to cut it. No, what you need is a series of photos of the same scene, all taken at different focal points. These can then be joined together using a technique known as focus stacking.

Focus stacking is a clever Photoshop trick which combines together the sharpest parts of a number of photos to create one image that has amazing depth of field. It’s quick, simple and if you have Photoshop CS4, CS5 or CS6 you can do it right now.

Equipment used in the video:
Canon 5D Mark II http://www.adorama.com/ICA5DM2.html?KBID=67338
Canon 24-105mm L f/4 IS http://www.adorama.com/CA24105AFU.html?KBID=67338
Gorillapod SLR Zoom Pro http://www.adorama.com/TPGPSLRZBC.html?KBID=67338

Kingston HyperX SSD Upgrade

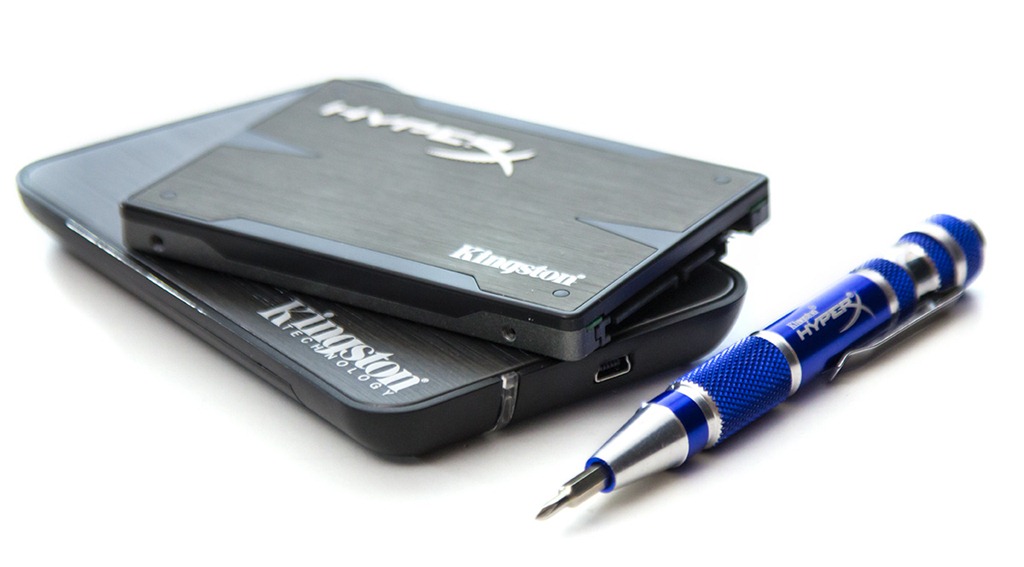
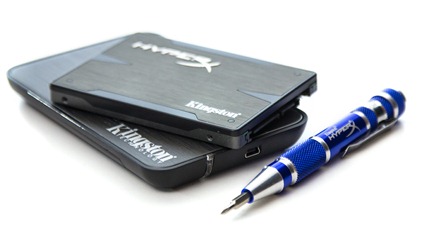
HyperXSSD1Recently I wrote about my two year old laptop which, compared to my main PC, is painfully slow when it comes to Photoshop. With maxed out RAM and Photoshop CS6 installed I thought my laptop was at the end of its life. However the people at Kingston Technology had other ideas and sent me one of their super fast, state of the art SSD upgrade kits to test.

If you’re new to the world of SSD’s (Solid State Drive) think of them as a giant camera memory card. With no moving parts they’re faster, use less power and are more durable then a traditional mechanical hard drive. All in all it sounds like a great idea, just so long as I can fit it.

How to upgrade
If the thought of upgrading a computer hard drive yourself fills you with dread than the Kingston SSD upgrade kit is worth a look. Everything needed to do the job is in the box as you can see in this video or read below.

What’s in the box?
You get a Kingston 256GB SSD Extreme X drive, a USB enclosure for cloning purposes and a CD with all the cloning software and instructions. The thoughtful people at Kingston even throw in a nifty little small screwdriver and you’ll be glad they did.

Although I’m using the kit to upgrade a laptop, the Kingston kit also includes all the cables, screws and adaptors you’d need to mount the SSD in a desktop case if you’d prefer.

It’s worth noting that the instructions are a PDF file on the CD so you’ll either need to print them out, put them on a second PC or memorise them before you begin. Fortunately the whole upgrade process can be summed up in three steps.

Check the space
The Kingston Extreme X SSD is 256GB in size but it’s replacing a 500GB drive. Now it doesn’t take a genius to realise that they don’t fit. Fortunately I’ve used less then 200GB of space which is lucky as otherwise I’d have had to move some data off the drive and on to a back up disc of some sort.

HyperXSSD2Replace the hard drive
After unplugging the power cable and removing the battery, I flipped open the cover that hides the laptops hard drive and removed the retaining screws. I then screwed in the new, empty Kingston SSD, replaced the screws and cover and reattached the power.

The old hard drive is then placed into the Kingston supplied hard drive housing and connected to the computer via the supplied USB cable.

Cloning the disc
The final step is the longest to do but also the easiest. Kingston supply a CD which has cloning software from Acronis which simplifies the disc cloning process to a couple of clicks. All I had to do was start the computer with the CD in the drive and it launches the Acronis software. There is an “Advanced” option but as suggested by Kingston, I selected the automatic option and away it went.

The cloning process took a little over 90 minutes to complete and once done I removed the CD, unplugged the USB cable and restarted the computer.

The results
From the very first time I started the laptop with the SSD installed I could see the improvement in speed. Where before I would have to wait a few minutes for windows to boot and “calm down” before I could do anything, now it’s ready to go within 60 seconds. Photoshop launches in 2 seconds flat and everything feels so much snappier.

Of course what I wanted was hard facts so I repeated my Photoshop speed test and the results were impressive.

With Kingston SSD: Photoshop CS5 = 105.5 sec      Photoshop CS6 = 95.5 sec

With Original HDD: Photoshop CS5 =157.5 sec       Photoshop CS6 = 139.5 sec

That means I’ve increased the performance of Photoshop by 1/3rd simply by changing the old hard drive for a new SSD. Now that’s impressive!

Geeky bit
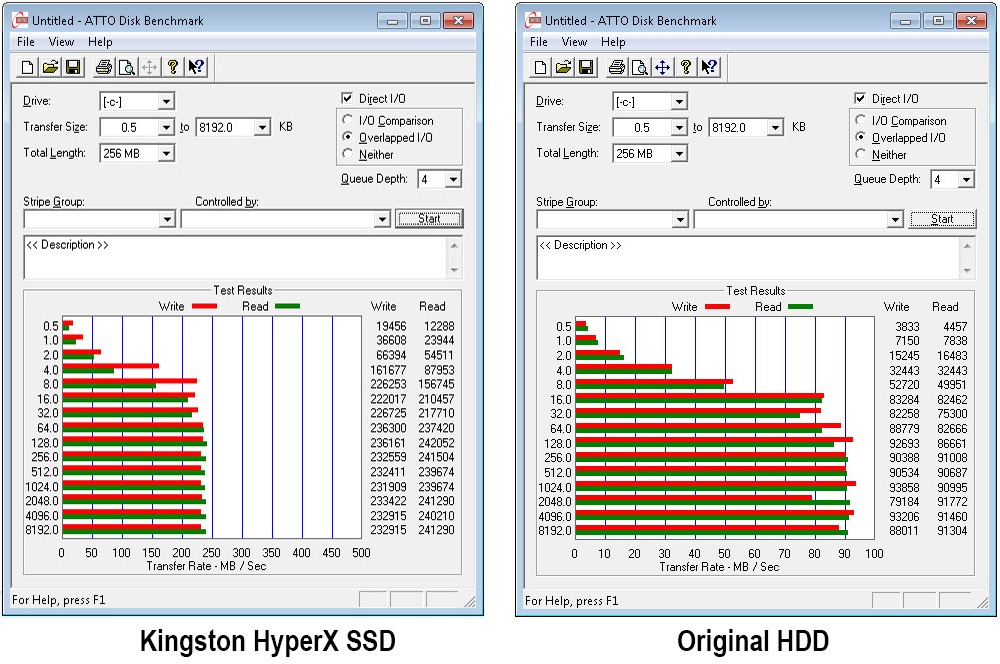
OK if you’ve made it down this far then lets talk about the technical stuff. The speed tests below show the Kingston HyperX SSD out performs the original hard drive in both read and write speeds by more then double.
HDD-speed test results-bothYes SSD’s are fast and in theory the Kingston Hyper X is about as fast as they come but to make use of that speed I need a SATA3 6GB/s interface. Not surprisingly my two year old laptop isn’t SATA3 compatible it may not even be the older and slower SATA2 but none the less it’s still faster then the stock HDD which had a spin speed of 5600K

Of course I’m also getting the advantage of longer battery life and the risk of HDD head failure has gone.

Critics of SSD’s will point out their theoretical limited life expectancy and high cost compared to a mechanical HDD but others will tell you the limited life issue has largely been solved and I’ll tell you that my laptop feels like new.

Final Thoughts
The Kingston HyperX SSD upgrade kit may cost a little more then a bare drive but that higher price tag brings with it the confidence of a successful upgrade.

I’ve been thinking about doing a SSD upgrade of a while but have always been put off as I thought it would be time consuming and probably cause more problems then it solved… I was wrong.

The Kingston Hyper X upgrade kit had everything that I needed and more. The instructions were easy to understand although I’d have preferred a printed “quick start guide” over a PDF.

The 33% improvement in Photoshop speed is great but that’s only half the story because of course EVERYTHING is faster.

If you’re sitting on the SSD fence the Kingston kit makes a great choice and I highly recommend it.