Eroded Edge Texture

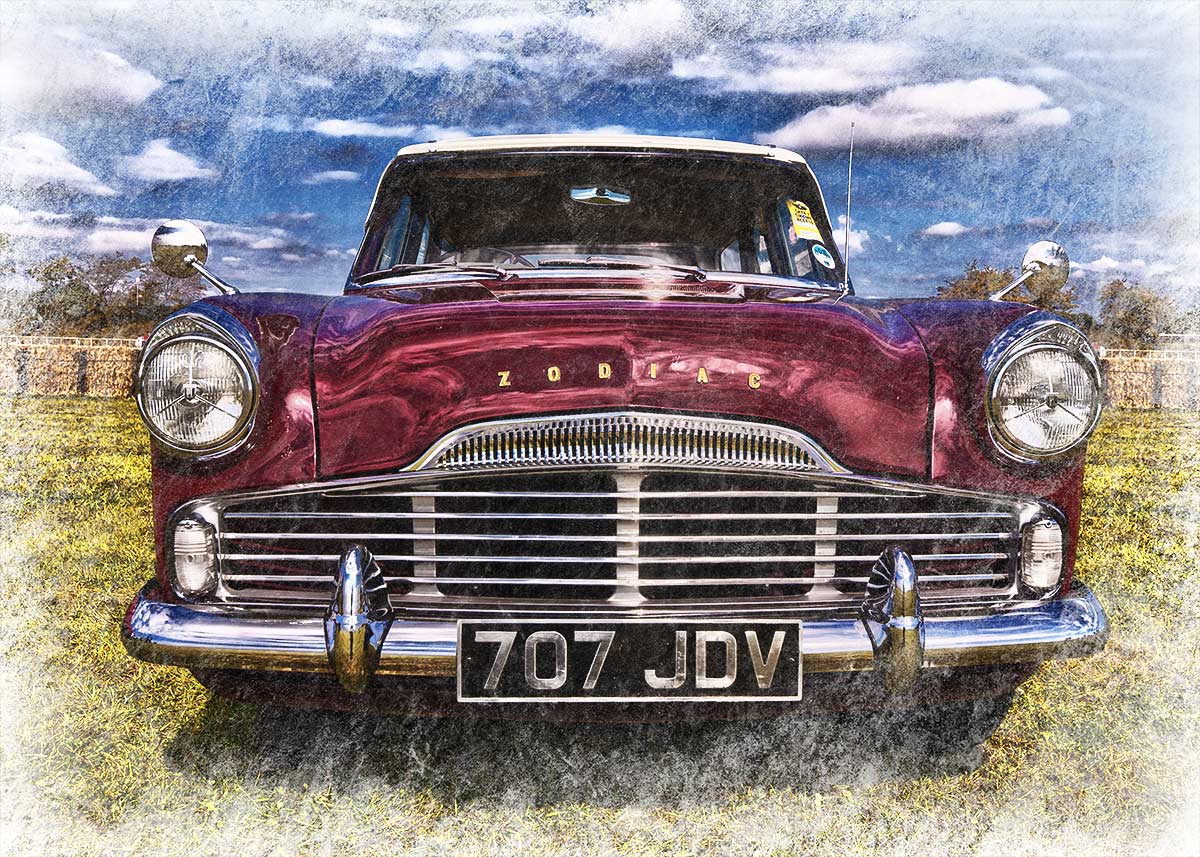
Erode-textureThis weeks Friday Freebie is an eroded texture which is simple to use and gives amazing results. It’s a black and white texture that has a dark mottled centre, fading to a lighter edge.

Full download instructions are below but you can also
Click Here To Download the Eroded Edge Texture

Unlike most textures, the eroded edge effect works best with photos that have large areas of darker tones. All you need to do is paste the texture over your photo and set the layer blending mode. There are loads of different layer blending modes to choose from and they’ll all give a different look, with this texture Screen blending mode worked well as did Overlay and Soft Light.

If you create a photo using the Friday Freebie then let me (and everyone else) know by leaving the link in the comments below.

Usage rules
The texture image is copyright Gavin Hoey 2013. Use is limited to any personal, non-commercial purposes. Please share the Friday Freebie by linking back to this page. Do not redistribute the original texture without my permission.

Download instructions
Click the link https://drive.google.com/file/d/0B_Mmmm3K1utNc2tESjJKYTNIUUk/view?usp=sharing
1. Click the Download button download_icon

2. The download should start automatically



Paint Drip Brushes

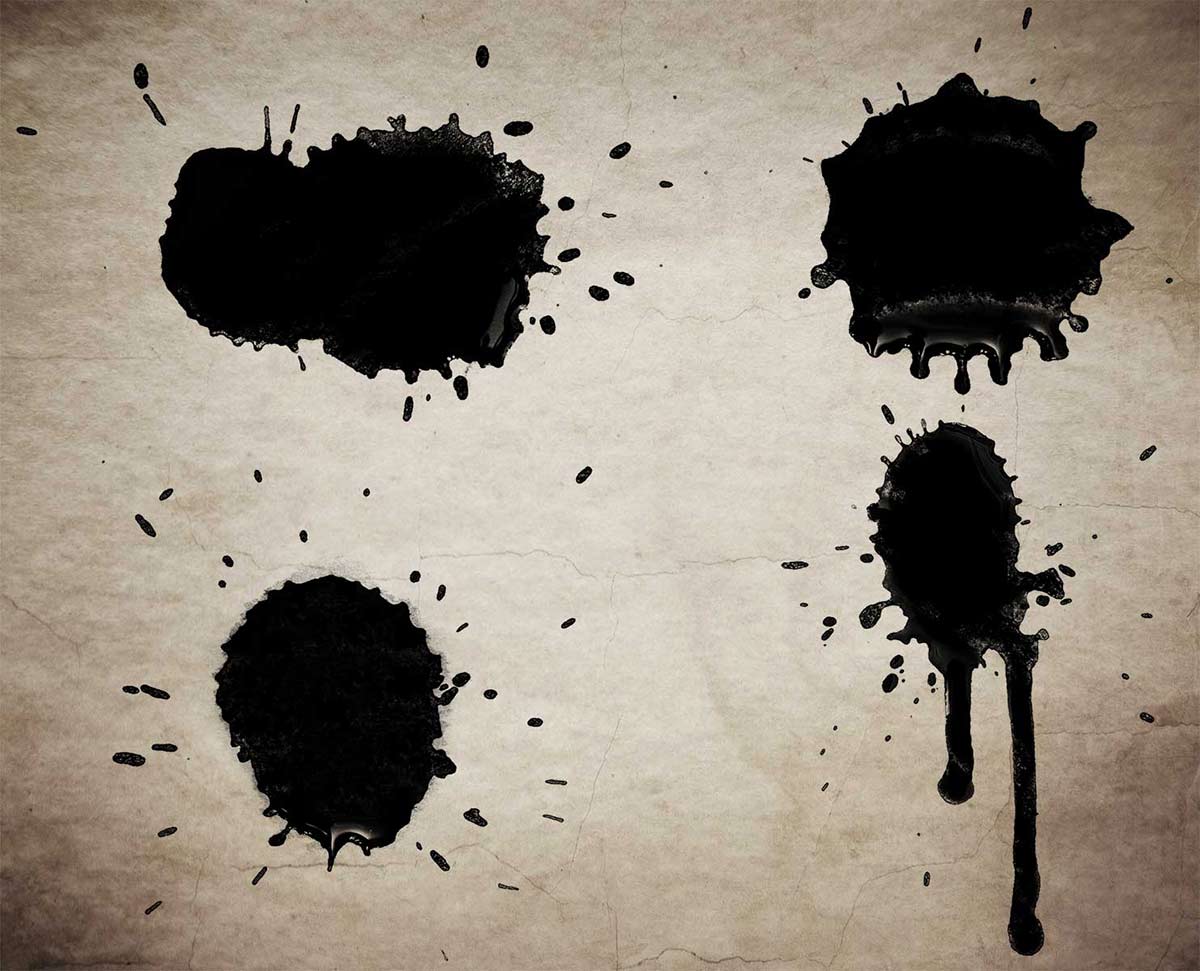
Paint-brushes-ffThis weeks Friday Freebie is a set of four high resolution Photoshop brushes. Following on from the coffee ring brushes I shared a few weeks back, these brushes can be made to look like drips and drops of liquid such as paint or in my case, tea.

Click Here To Download the Drip Brushes

These brushes were hand crafted in my studio by dropping splats of paint onto white paper. Once I had a few good ones I photographed the results and then defined them as a brush. It’s a great wet weather project that you can try yourself.

Once downloaded, the brushes will need to be unzipped before they are installed. The brush set is compatible with all versions of Photoshop and Photoshop Elements. If you need help installing them then remember to search on Google and YouTube for the answers.

If you create a photo using the Friday Freebie then let me (and everyone else) know by leaving the link in the comments below.

Usage rules
The brushes are copyright Gavin Hoey 2013. Use is limited to any personal, non-commercial purposes. Please share the Friday Freebie by linking back to this page. Do not redistribute the original image without my permission

Squared edged border action

Square-Edge-LargeThis weeks Friday Freebie is a work in progress from my next action set. The new set won’t be ready just yet but once completed it will be the successor to my hugely popular Amazing Borders Set 1.  A good border can really set off a photo but making an action that adds a reasonably border to pretty much any photo you can find is tougher then you might image!

You can download the action here:
Squared edged border action

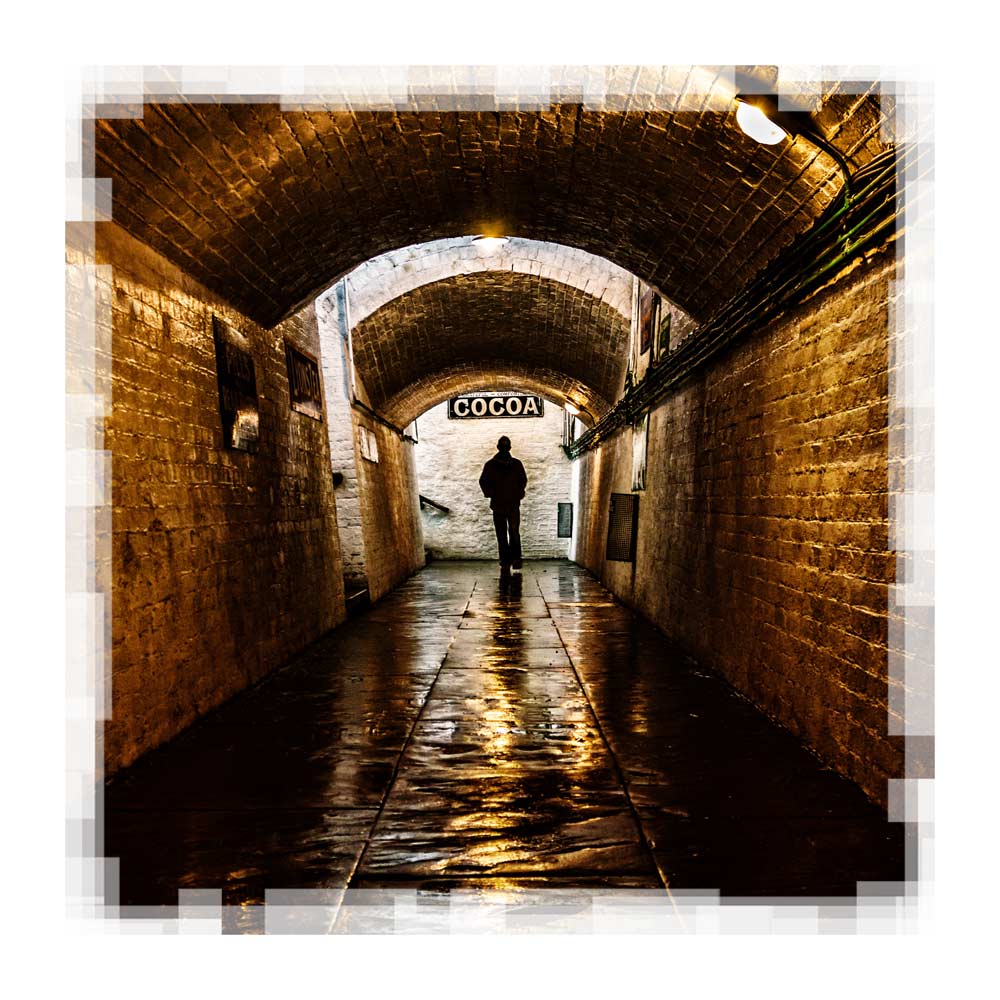
This action makes a eroded edge border that has a blocky, square edge feel. Personally I blame Minecraft for making blocks fashionable once again 😉 The Action makes a copy of your photo so the original will be untouched. It also flattens the photo at the end, so if you wish to modify the border press CTRL+Z to undo that step.

The action will work with Photoshop CC, CS6, CS4, CS4, CS3, CS2 etc and will work with Elements11 and older versions, if you can jump through the hoops that older Elements put in place to add actions.

If you create a great photo with my action then feel free to link to it by leaving a comment below.

Usage rules
The action is copyright Gavin Hoey 2013. Use is limited to any personal, non-commercial purposes. Please share the Friday Freebie by linking back to this page. Do not redistribute the original action without my permission.

Download instructions
The direct link to download the actions is https://www.gavtrain.com/free/square-border-gavtrain.zip

No support is provided with the Friday Freebies. If you need help Google or YouTube the question and you’ll almost certainly find the answer 🙂

Coffee Stain Photoshop Brushes

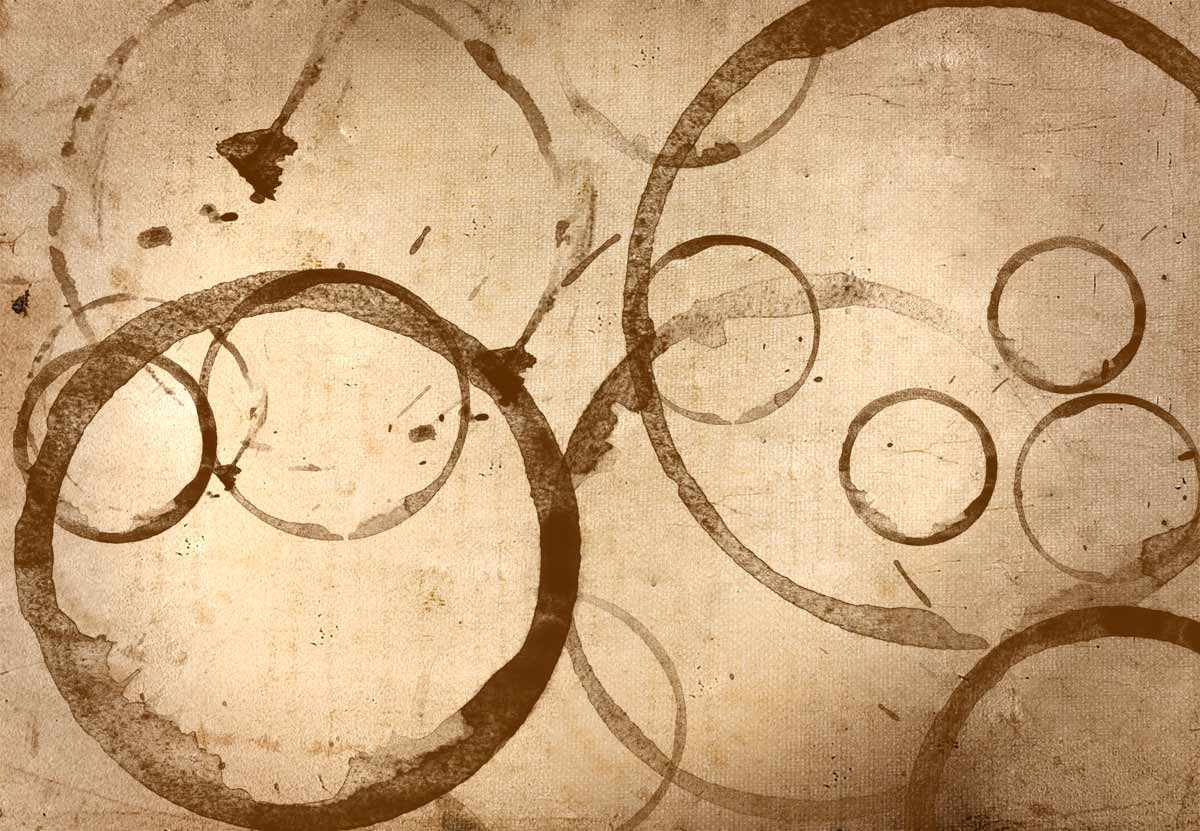
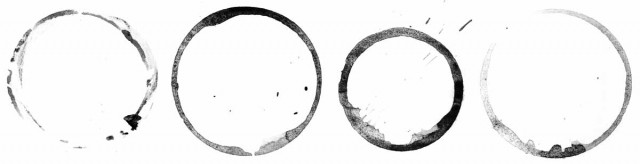
FF-Coffee-brush-1This weeks Friday Freebie is a set of four high resolution Photoshop brushes. What they do is probably pretty obvious but if you can’t see the photo then the words coffee cup rings should explain everything.

 Click Here To Download the Coffee ring brushes

These brushes were hand crafted in my studio using only the finest tea stains (I’m not a coffee drinker) which I photographed and turned into very high resolution brushes. They are the perfect compliment to your grungy images and add some instant aging to your retro images. They work brilliantly with the ageing texture that I ran as the Friday Freebie a few weeks back. It’s also the same texture I used on the photo opposite.

Once downloaded, the brushes will need to be unzipped before they are installed. The brush set is  compatible with all versions of Photoshop and Photoshop Elements. If you need help installing them then remember to search on Google and YouTube for the answers.

If you create a photo using the Friday Freebie then let me (and everyone else) know by leaving the link in the comments below.

FF-Coffee-brush-2

Usage rules
The brushes are copyright Gavin Hoey 2013. Use is limited to any personal, non-commercial purposes. Please share the Friday Freebie by linking back to this page. Do not redistribute the original image without my permission

Industrial Template

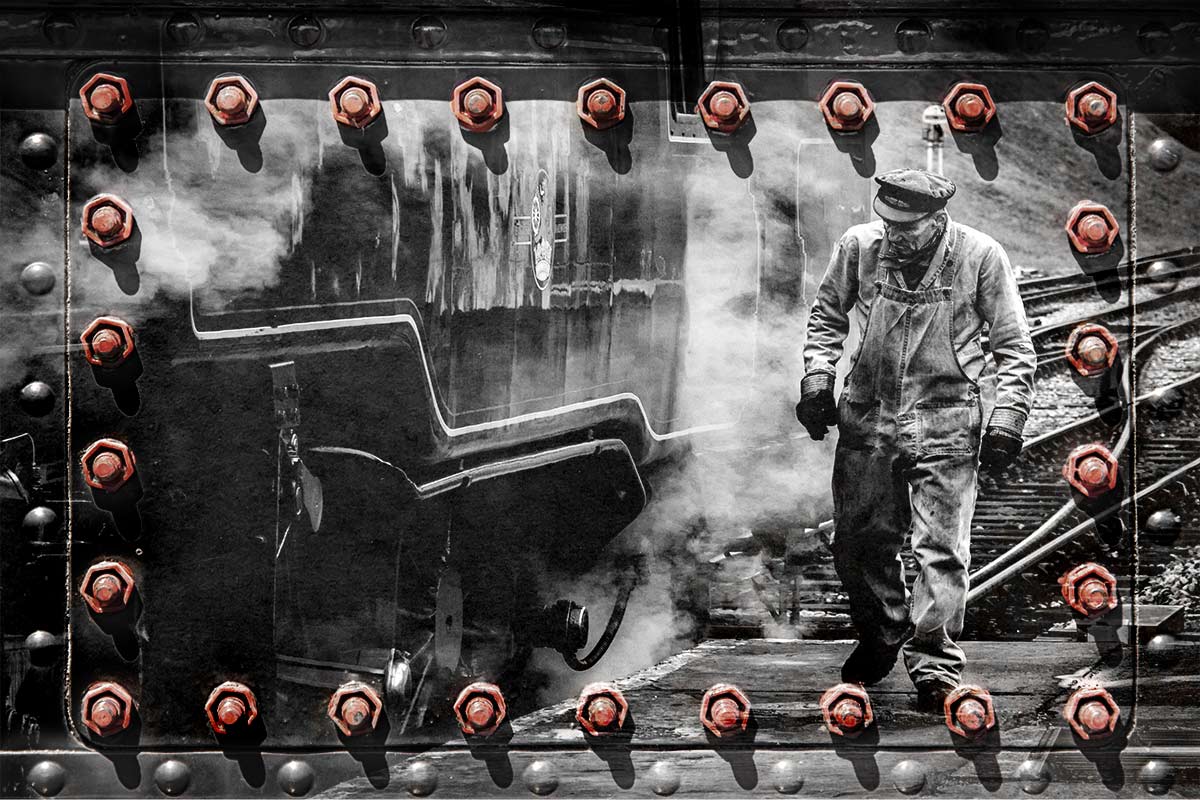
Red-Bolts-FF-FinalThis weeks Friday Freebie is an industrial style border and texture which has a wonderful 3D feel. The standout feature must be the rectangle of red bolts. There’s no Photoshop here’s that’s exactly as I found them.

Click Here To Download the industrial template

With those bright red bolts and the metal texture the sort of photo that’s likely to work best is something with an industrial feel. I found mono images worked well but don’t let that limit your imagination. If the red bolts are a bit too bright then reduce the templates saturation value to suit your taste.

The sample image here was simply placed above the template, resized to fit and the layer blending mode was changed to Overlay. Other blending modes will also work so experiment away.

If you create a photo using the Friday Freebie then let me (and everyone else) know by leaving the link in the comments below.

Usage rules
The template is copyright Gavin Hoey 2013. Use is limited to any personal, non-commercial purposes. Please share the Friday Freebie by linking back to this page. Do not redistribute the original image without my permission

Instant Extra Confetti

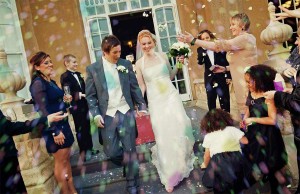
Instant-ConfettiThis weeks Friday Freebie is perfect for wedding photographers who are looking to enhance thier conffeti photos with a burst of extra confetti.

You can download the action here: Instant Confetti

The confetti shot at a wedding is a one off event, get it right and it can be a fanstatic photo but the combination of over eager wedding guests and restrictions on confetti throwing some venues impose can make it a challenging photo too.

The action makes three layers of coloured confetti with just one click. You can then dive in to the layers and change the colour saturation, the size of the confetti and erase any stay flakes that are in the wrong place for your photo.

The action will work with Photoshop CC, CS6, CS4, CS4, CS3.

If you create a great photo with my action then feel free to link to it by leaving a comment below.

Usage rules
The action is copyright Gavin Hoey 2013. Use is limited to any personal, non-commercial purposes. Please share the Friday Freebie by linking back to this page. Do not redistribute the original action without my permission.

Download instructions
The direct link to download the actions is https://www.gavtrain.com/free/instant-confetti-gavtrain.zip

No support is provided with the Friday Freebies. If you need help Google or YouTube the question and you’ll almost certainly find the answer 🙂

Vintage Texture

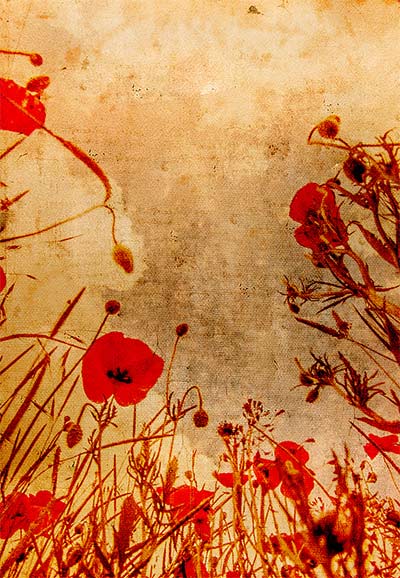
FF-vintagesThis weeks Friday Freebie is a vintage texture which is simple to use and gives amazing results. It’s a warm tone texture that combines patchy tones, a light weave texture and a hint of writing.

Full download instructions are below but you can also
Click Here To Download the vintage texture

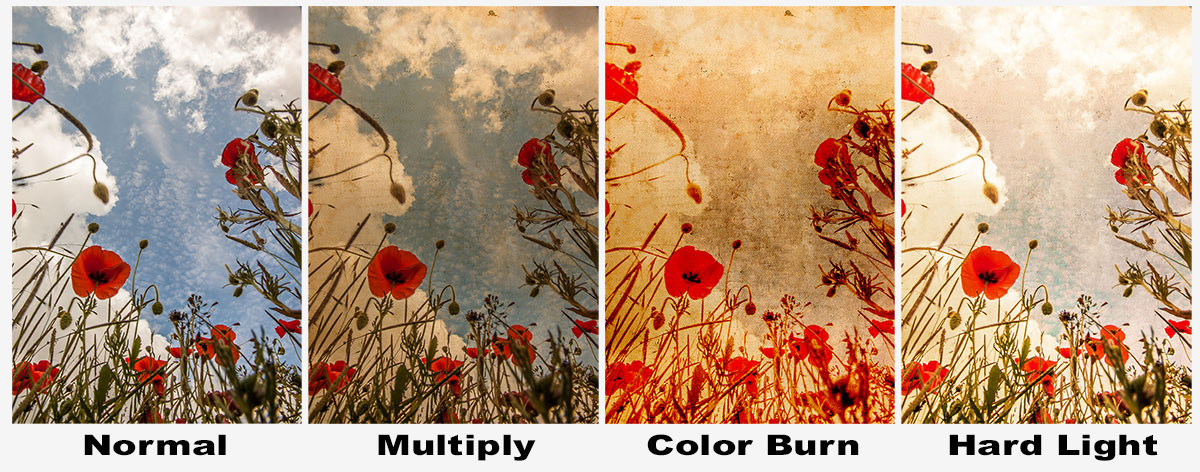
As with all textures it works best with photos that have large areas of bright tones such as this one which has loads of bright sky. All you need to do is paste your photo above the texture and set the blending mode. There are loads of different layer blending modes and they’ll all give a different look, some you’ll like and others less so but experimentation is the key to success.

Jump down to the end of this post to see three different looks for the same image.

If you create a photo using the Friday Freebie then let me (and everyone else) know by leaving the link in the comments below.

Usage rules
The image is copyright Gavin Hoey 2013. Use is limited to any personal, non-commercial purposes. Please share the Friday Freebie by linking back to this page. Do not redistribute the original image without my permission.

Download instructions
Click the link https://drive.google.com/file/d/0B_Mmmm3K1utNRHZqZzdYMmFrODg/view?usp=sharing

1. Click the Download button download_icon

2. The download should start automatically


FF-vintage-modes


Instant Triptych Action

Basic - Landscape

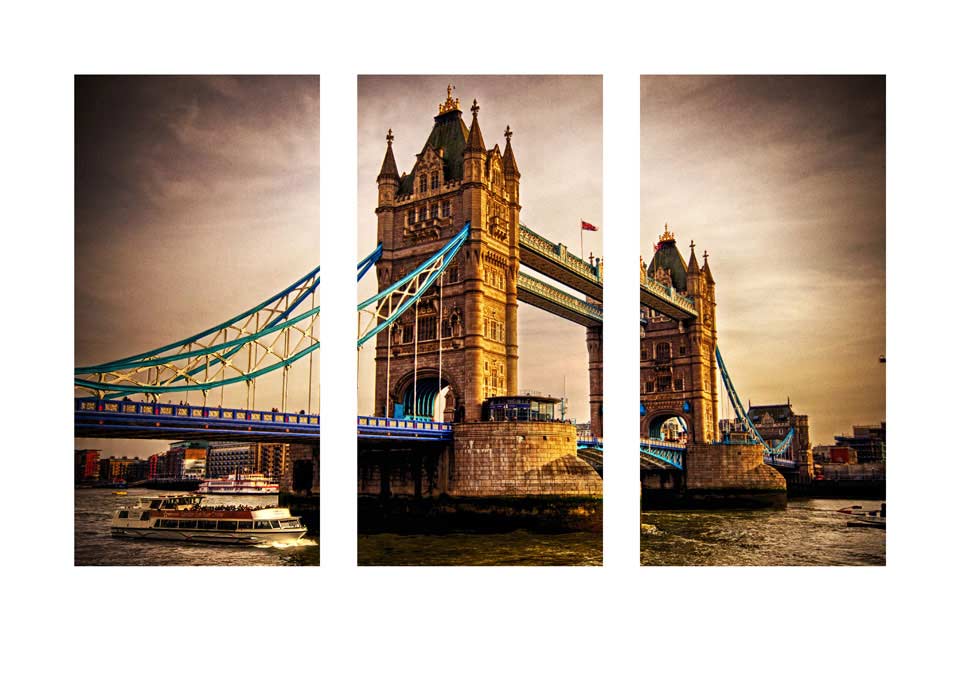
This weeks Friday Freebie is a Triptych Photoshop action.  If you’re new to the art of the triptych, it’s simply three images in one picture and this action will make one with a single click.

You can download the action here: Triptych Sample

The action I’m sharing today takes an open photo in Photoshop and makes the basic triptych effect.

The action will split your photo into three panels and add a wide border. You’ll need a landscape format (wide) image to get the best from the action. I’ve left all three panels as layers at the end of the action, which means you’re free to alter, adjust and tweak the effect to your hearts content.

The action will work with Photoshop CC, CS6, CS4, CS4, CS3 but sadly not with Elements.

If you create a great photo with my action then feel free to link to it by leaving a comment below.

Usage rules
The action is copyright Gavin Hoey 2013. Use is limited to any personal, non-commercial purposes. Please share the Friday Freebie by linking back to this page. Do not redistribute the original action without my permission.

Download instructions
The direct link to download the actions is www.gavtrain.com/free/triptych-sample-gavtrain.zip

No support is provided with the Friday Freebies. If you need help Google or YouTube the question and you’ll almost certainly find the answer 🙂

Watercolour PSD template

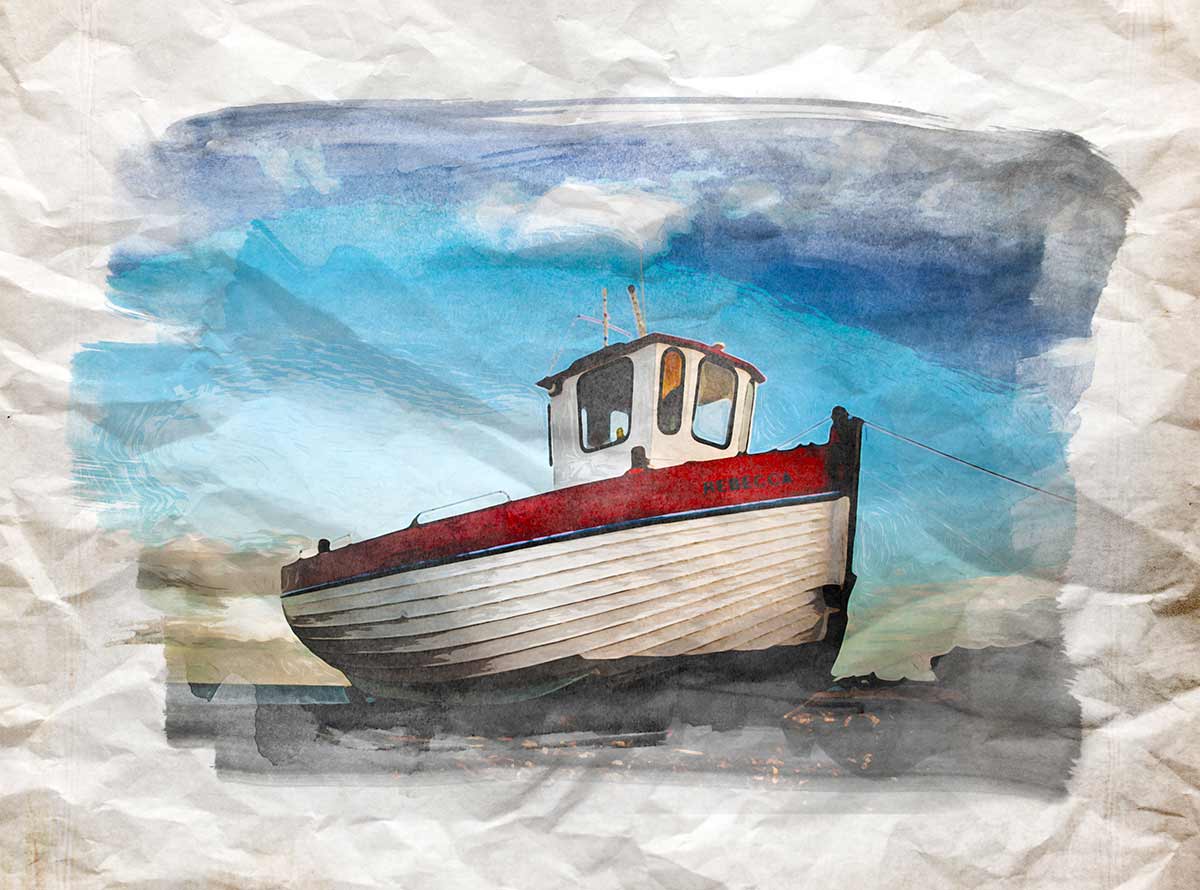
Watercolour-Friday-FreebieThis weeks Friday Freebie is a spin off from an article I wrote for Digital Photo Magazine a while back in which I created a bunch of images which, when combined together, create a great watercolour effect. Well I’ve made things easy by creating one of my templates in PSD format and sharing it with everyone for free.

Full download instructions are below but you can also
Click Here To Watercolour PSD template

If you’re wondering what a Photoshop PSD template is, then the answer is simple. It’s a Photoshop file with all the layers intact allowing you to tweak the end result as you see fit. There’s even a layer called “Your photo here” which is where your photo needs to be added.

With several layers and lots of fine textured detail, this weeks Friday Freebie PSD template comes in at around 81mb. If you’re not on a fast internet connection if might take a few minutes to download.

As always, if you create a photo using the Friday Freebie then let me (and everyone else) know by leaving the link in the comments below.

Usage rules
The template is copyright Gavin Hoey 2013. Use is limited to any personal, non-commercial purposes. Please share the Friday Freebie by linking back to this page. Do not redistribute the original image/template without my permission.

Download instructions
Click the link https://drive.google.com/file/d/0B_Mmmm3K1utNMnJoVEtKeUxMVDA/view?usp=sharing

1. Click the Download button download_icon

2. The download should start automatically
3. Save the template to your hard drive

4. Open in Photoshop or Photoshop Elements

5. Paste your photo BELOW the “Your Photo Here” layer

6. Hide or delete the the “Your Photo Here” layer

7. Use Free Transform (CTRL+T) to adjust the size of your photo

8. Adjust the Levels (CTRL+L)of the “paint” layer to change the look.


Mist & Fog Brushes

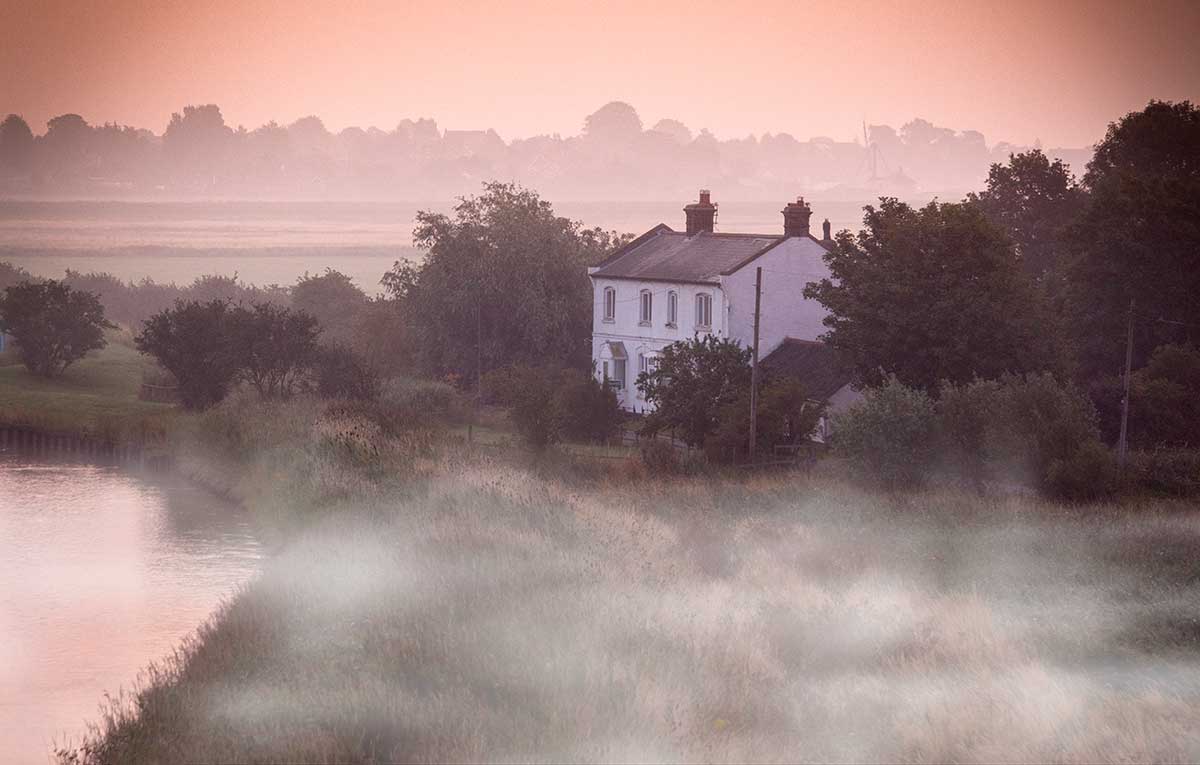
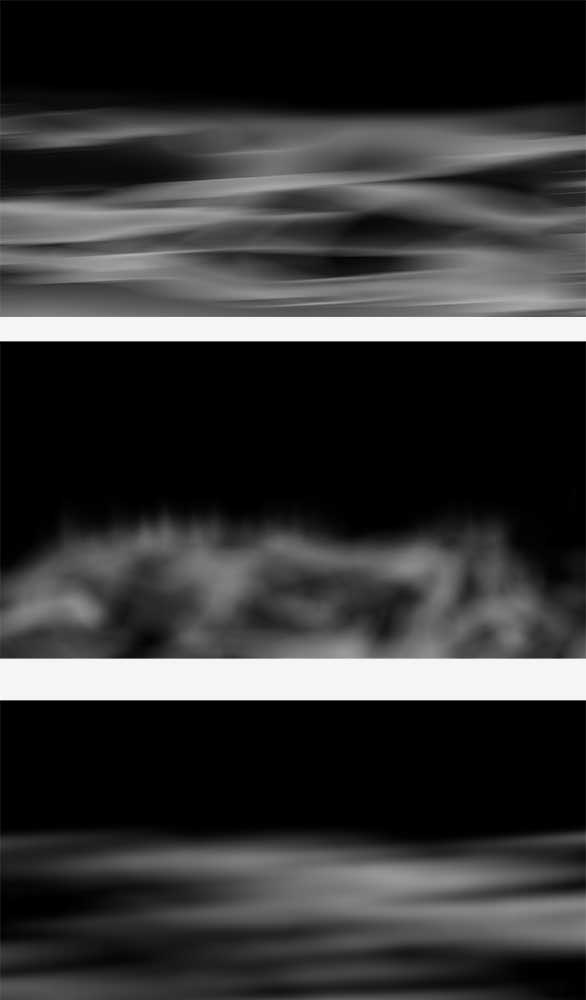
Fog-Final-1This weeks Friday Freebie is a set of Photoshop Brushes that add beautiful mist and fog in just one click.

Full download instructions are below but you can also
Download the brushes for
Photoshop CS6 and beyond

Download the brushes for
Photoshop CS5 and earlier
(Also works with Elements)

Fog-Final-1cIf you’re wondering why there are two versions, maximum brush sizes in Photoshop CS6 (and in Photoshop CC) are twice as big as CS5 and earlier. To take advantage of this I’ve created two sizes of brush… be sure and download the correct one.

Once you’ve downloaded and unzipped the brushes they’ll need to be installed. The easiest way to do that is by opening the Brush panel and clicking the flyout menu in the top right corner. Click Load Brushes… and navigate to the light ray brushes that you downloaded and unzipped. Click here see a copy of the menu and information on where to click

To get the best from these brushes make a blank layer above your photo and set your foreground colour to white. Choose which brush you’d like to use and click once. You can then adjust the layer opacity and use free transform to resize and reposition the fog as you see fit. I found that using two or even all three mist brushes on separate layers often gave more realistic results the just using one but it all depends on the photo you’re using and the look you’re after.

If you create a photo using the Friday Freebie then let me (and everyone else) know by leaving the link in the comments below.

Usage rules
The brushes are copyright Gavin Hoey 2013. Use is limited to any personal, non-commercial purposes. Please share the Friday Freebie by linking back to this page. Do not redistribute the original image without my permission.

Download instructions
Click on the correct download link 
Download the brushes for Photoshop CS6, CC, CC2014 and beyond

Download the brushes for  Photoshop CS5 and earlier  (Also works with Elements)

1. On the download page, click the Download button download_icon

2. The download should start automatically
3. Unzip the file and install into Photoshop

No support is provided with the Friday Freebies. If you need help Google or YouTube the question and you’ll almost certainly find the answer :-)