 This weeks Friday Freebie is a work in progress from my next action set. The new set won’t be ready just yet but once completed it will be the successor to my hugely popular Amazing Borders Set 1. A good border can really set off a photo but making an action that adds a reasonably border to pretty much any photo you can find is tougher then you might image!
You can download the action here:
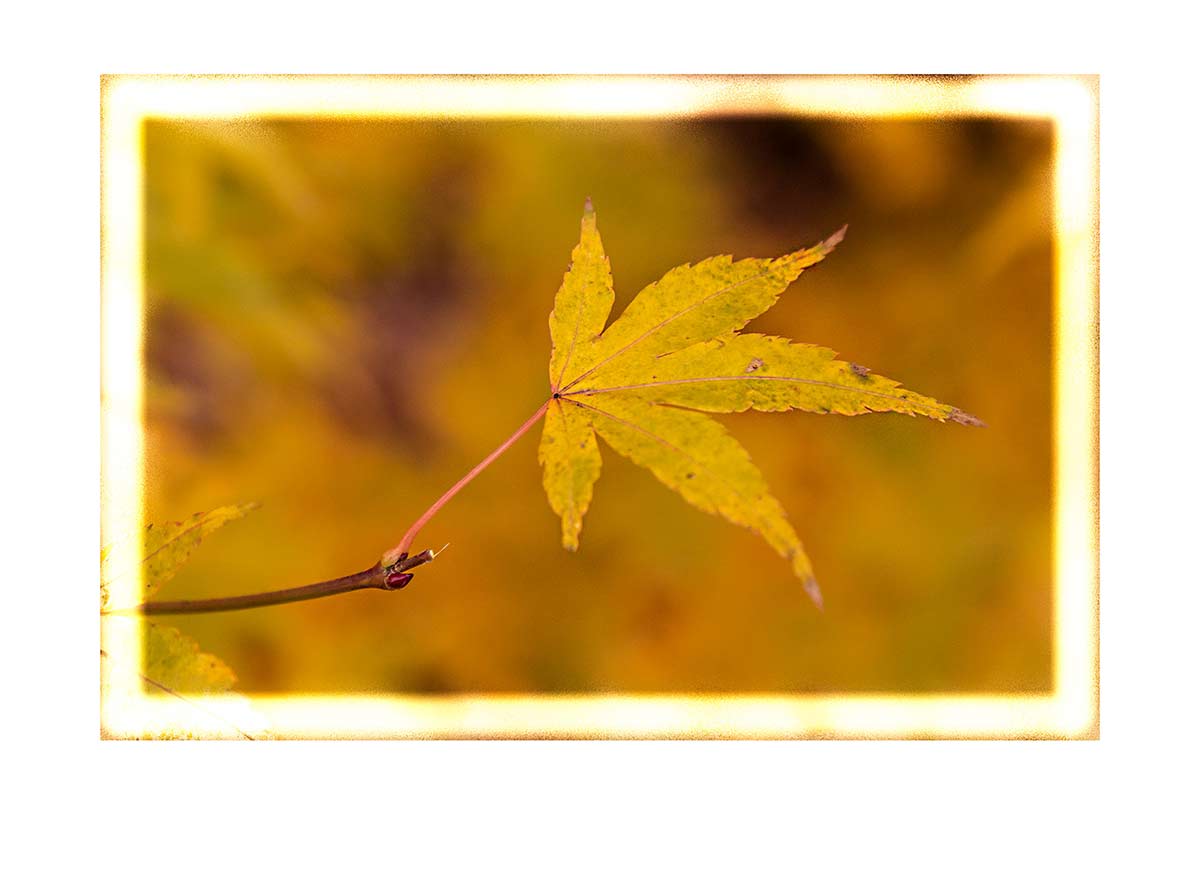
Squared edged border action
This action makes a eroded edge border that has a blocky, square edge feel. Personally I blame Minecraft for making blocks fashionable once again 😉 The Action makes a copy of your photo so the original will be untouched. It also flattens the photo at the end, so if you wish to modify the border press CTRL+Z to undo that step.
The action will work with Photoshop CC, CS6, CS4, CS4, CS3, CS2 etc and will work with Elements11 and older versions, if you can jump through the hoops that older Elements put in place to add actions.
If you create a great photo with my action then feel free to link to it by leaving a comment below.
Usage rules
The action is copyright Gavin Hoey 2013. Use is limited to any personal, non-commercial purposes. Please share the Friday Freebie by linking back to this page. Do not redistribute the original action without my permission.
Download instructions
The direct link to download the actions is https://www.gavtrain.com/free/square-border-gavtrain.zip
No support is provided with the Friday Freebies. If you need help Google or YouTube the question and you’ll almost certainly find the answer 🙂