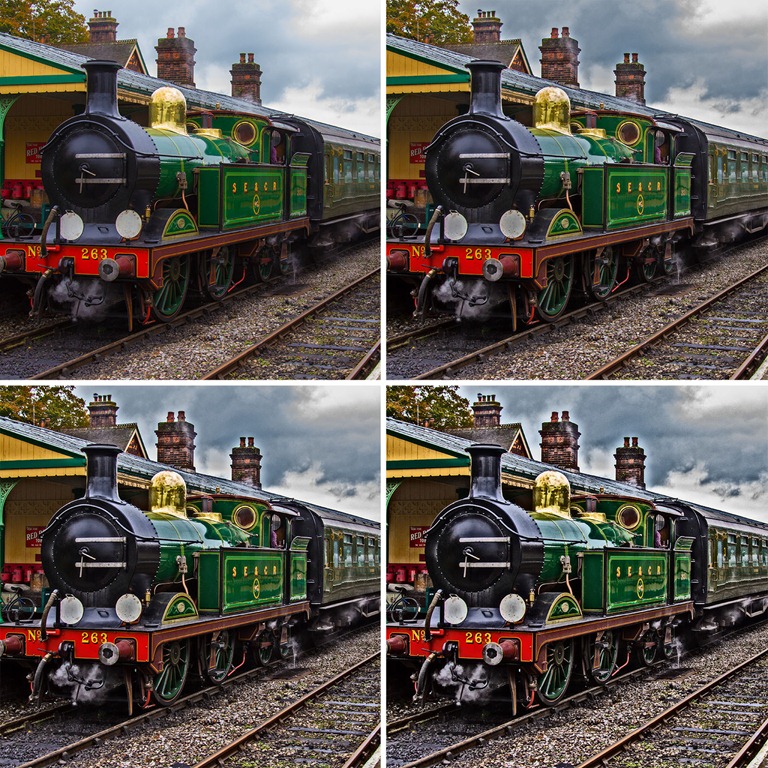
Free brushed border

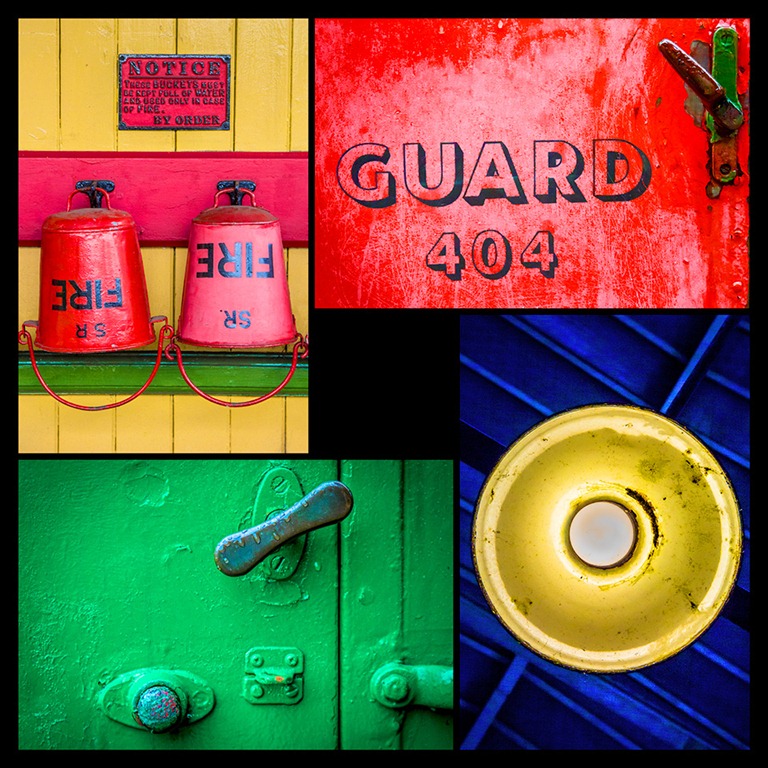
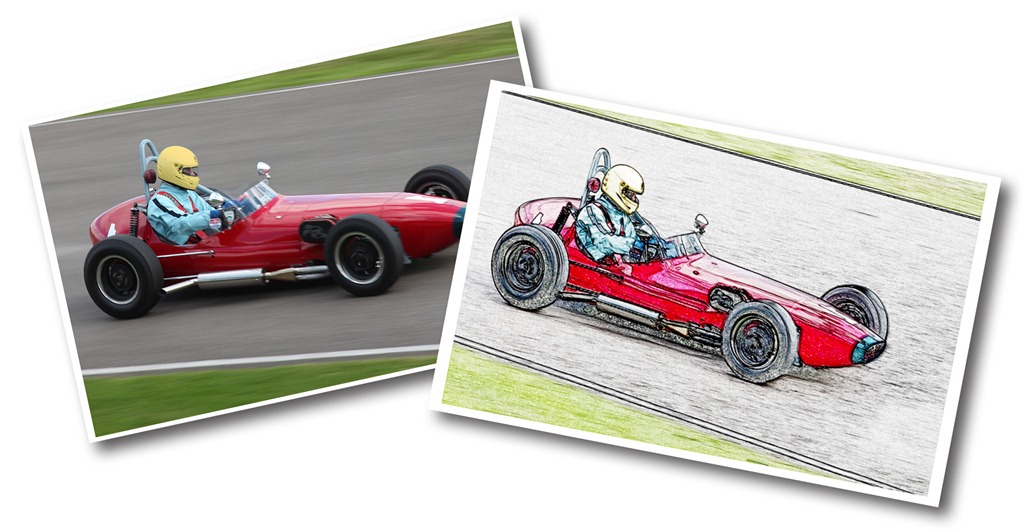
Last week I made a tutorial for my friends over at Tip Squirrel on how to use the mixer brush to create three borders with a painterly feel. You can read the article and watch the video by clicking here to visit tipsquirrel.com
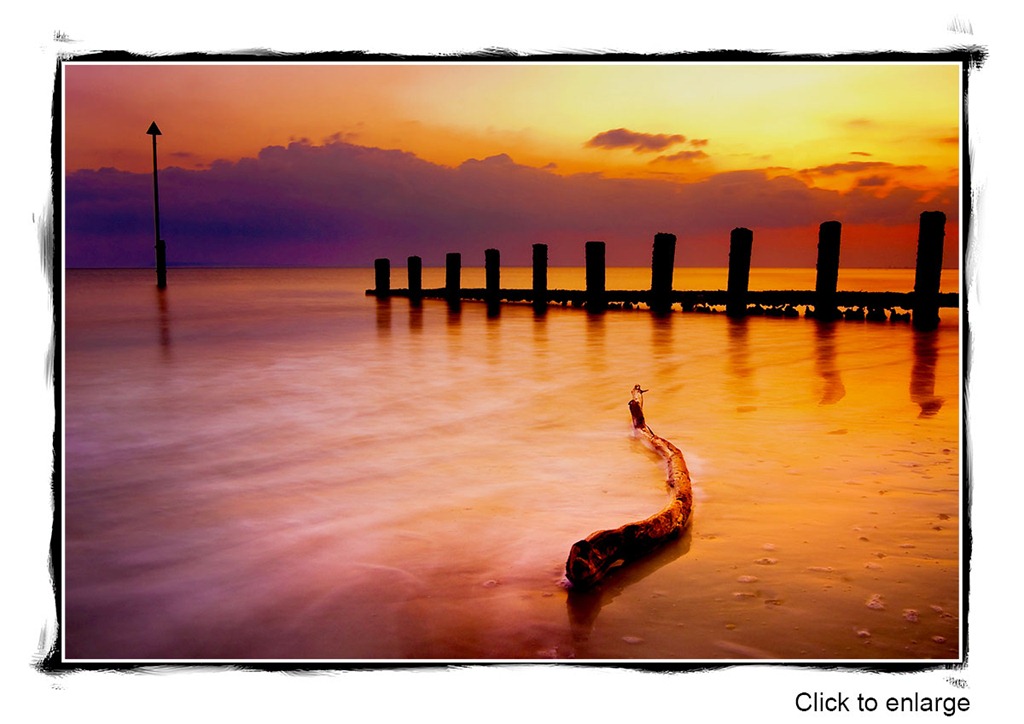
FF-Mixer-Border-finalGreat as the effect is, there is a problem. You’ll need access to the Mixer Brush to make the borders but the Mixer Brush is only available in Photoshop CS5 and CS6. So what happens if you have an older version of Photoshop or for that matter, any version of Photoshop Elements?

The short answer is you’re out of luck but that doesn’t sound 100% fair to me, so I thought I’d share one of my ready made brushed borders in a way that anyone can use.

You can download the border from here:
https://www.gavtrain.com/free/FF-Mixer-Border.zip

It’s a zipped file of around 300kb in size so shouldn’t take too long to download. You can then unzip it and open the jpg border image in either Photoshop or Elements.
Please read the terms of use at the bottom of this post.

How to use the border
To add your own photo, first open the photo you want to add. Then select all (CTRL+A) and copy (CTRL+C) . Now jump over to the border image, select a grey rectangle with the Magic Wand tool and choose Edit – Paste Into (Edit – Paste Special – Paste Into in Photoshop CS5 & CS6)

You can then resize the photo before pressing Enter to committing to the changes.

The space for each photo is just under 4000 pixels on the longest edge, so if you’re using smaller images you might want to resize the border or photo before starting.

Usual rules apply.
The action is copyright Gavin Hoey 2012. You may use it for personal, non-commercial purposes only and please do not redistribute without permission.
Thank you and enjoy.
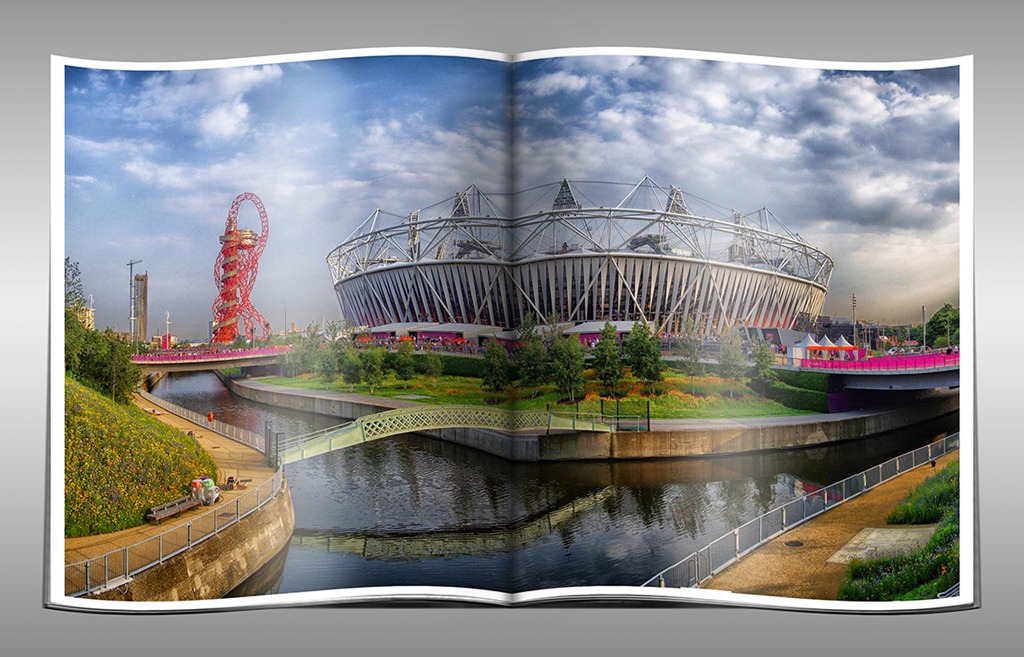
Magazine Page Action ~ Friday Freebie

Ever fancied seeing your work featured in a magazine? Silly question. Every photographer I know would be flattered, honoured or excited to see their photos in print. Well sadly I can’t make that happen for you but here’s the next best thing.

Magazine-PageAs with all actions the strength of the effect will vary according to the number of pixels in the image but this one gives great results with pretty much any sized photo. You’ll need a copy of Photoshop (CS3 or later). This action makes use of warping in Free Transform. It’s a powerful tool but sadly it’s not part of Elements and as a result this action will not work for Elements users.

The action is fully self contained which means you don’t need to do anything other then click the play button. It also makes a copy of your photo (called Magazine Page) so your original image will remain untouched.

You can download the action from here www.gavtrain.com/free/magazine-effect.zip

Usual rules apply. The action is copyright Gavin Hoey 2012. You may use it for personal, non-commercial purposes only and please do not redistribute without permission. Thank you and enjoy Smile

Christmas Template ~ Friday Freebie

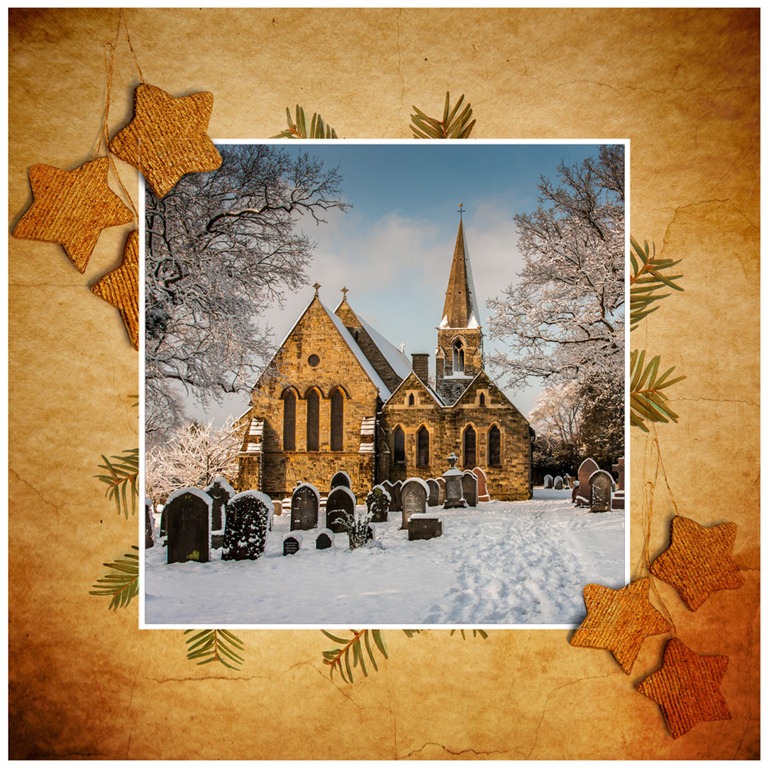
It’s that time of year when people all round the world are sending out Christmas cards to their friends and family. If you’re looking to make your own festive card for the holiday season then this weeks Friday freebie is right up your street.

FF-xmas-finalAs you can see from the example here, the template is a festive border into which you’ll need to add your own Christmas or winter scene. Download instructions are below and once again I’m sharing the full PSD file through my creative cloud page. No sign up is required to get a copy of the template so you’re free to jump in and make your own Christmas card.

Download the Christmas card template by clicking this link 

The photo that goes in the middle I’m leaving down to you.

It’s sized to print at A4, just remember to increase the canvas size by 100% so the card has a back side too. Alternatively you can save the final image as a JPG and turn it into an eCard instead.

Download instructions
Click the link https://drive.google.com/file/d/0B_Mmmm3K1utNd2VLbzZSNzdKMUk/view?usp=sharing

1. Click the Download button download_icon

2. The download should start automatically

How to use the template
To add your own photo, first select and copy the photo you want to add. Then jump over to the template, Click inside the grey square with the magic wand tool and choose Edit – Paste Into (Edit – Paste Special – Paste Into in Photoshop CS5 & CS6)

You can then resize the photo before pressing enter to committing to the change.

If you’d rather not have the two stars that cut into the edge of your photo you can simply switch off the top layer.

Usage rules
Usual rules apply. The action is copyright Gavin Hoey 2012. You may use it for personal, non-commercial purposes only and please do not redistribute without permission. Thank you and enjoy Smile

Art Paper Action ~ Friday Freebie

Last week I made a Photoshop tutorial that showed you a simple way of making an art paper type of texture. If you missed the video you can catch it here.

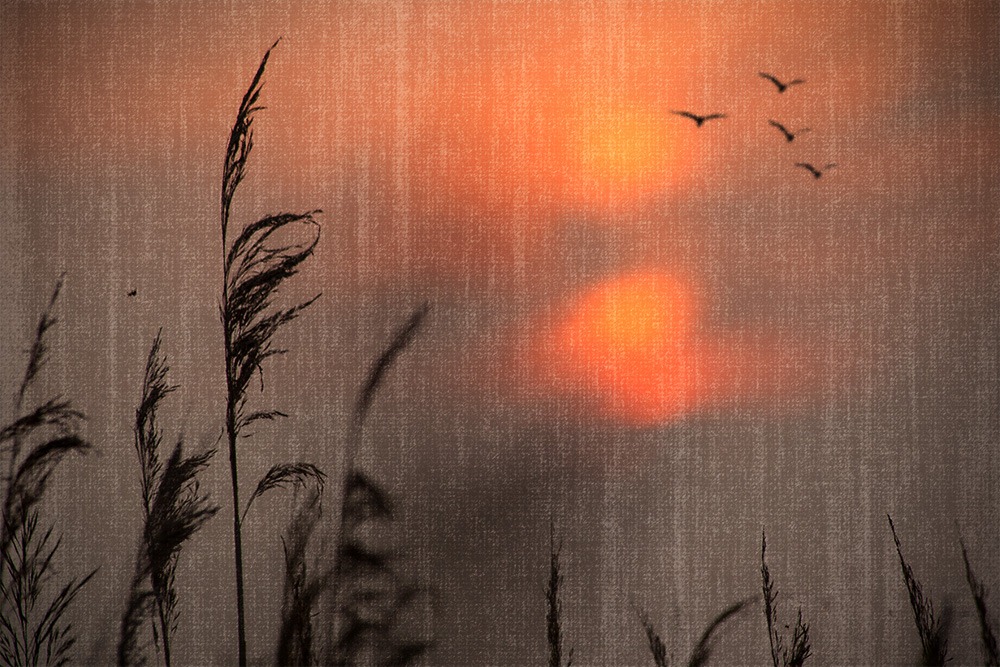
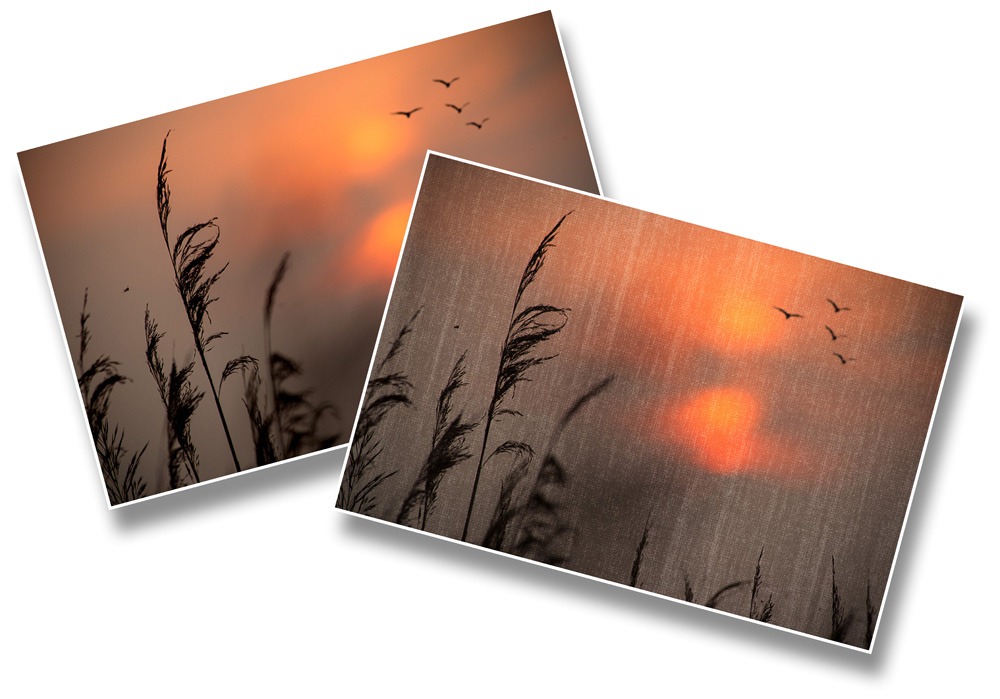
Art PaperIt was pointed out to me that the technique could be turned into a brilliant action. So here it is.

You can download the action here: https://www.gavtrain.com/free/artpaper.zip

This is a one click action, so once you’ve installed it you only need to hit the play button. The first thing the action will do is to make a copy of your photo and it’s the copy that gets the effect, leaving your original photo untouched.

I’ve designed the action so the texture effect is left as a layer that’s independent of the image. So after you’ve run the action, try adjusting the layer blending mode, opacity or adding some colour effects to fine tune the texture.

Artpaper

Usual rules apply. The action is copyright Gavin Hoey 2012. You may use it for personal, non-commercial purposes only and please do not redistribute without permission. Thank you and enjoy Smile

Extract Detail Action

This weeks Friday Freebie is a brilliant little action that pulls out and amplifies the small detail and textures in your photos.

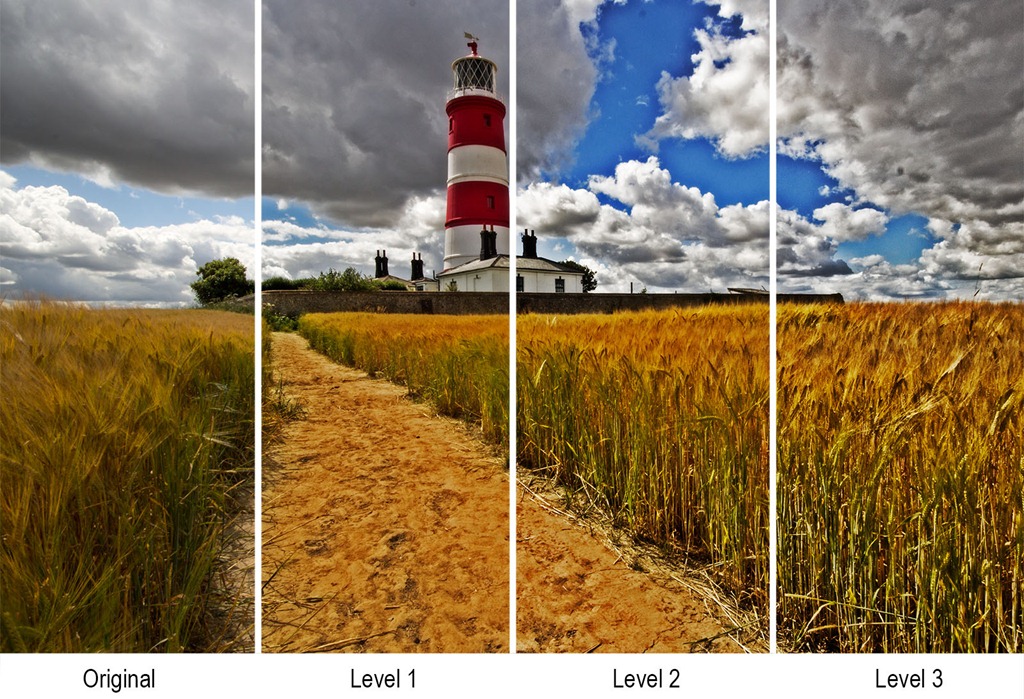
FF-detail-1As with all actions the strength of the effect will vary according to the number of pixels in the image but this one gives great results with pretty much any sized photo. You’ll need a copy of Photoshop (CS2 or later) to make the action work and at the moment it’s untested on Photoshop Elements but should work OK.

Once installed you’ll find there are three actions in the set. They’re level 1, 2 and 3 and basically it’s the same effect with three different strengths.

The action is fully self contained which means you don’t need to do anything other then click the play button. It also makes a copy of your photo (called Extract Detail) so you can copy and paste it back on to your original photo and blend in the effect as you wish.

You can download the action from here www.gavtrain.com/free/extract-detail.zip

FF-detail-2

Usual rules apply. The action is copyright Gavin Hoey 2012. You may use it for personal, non-commercial purposes only and please do not redistribute without permission. Thank you and enjoy Smile

Friday Freebie ~ Sticky Tape Brush

This weeks Friday freebie is a little different as it’s not an action or an image but a Photoshop brush. Of course if you wanted to be technically correct it is an image or at least it started out as an image before I turned it into a brush.

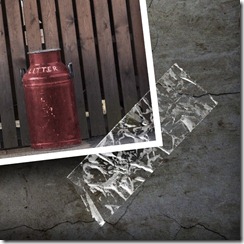
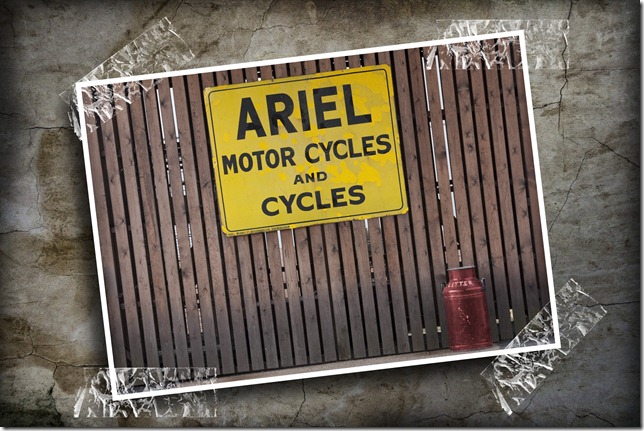
Sticky-tape-smallThis brush makes a line of sticky tape or Sellotape as we call it round here. It’s perfect for all your grungy projects, as a border round an image or in a composite image. Use your imagination and let me know if you found it useful.

You can download the brush from here:
https://www.gavtrain.com/free/Sticky-Tape-gavtrain.zip

It’s around 1mb in size so shouldn’t take too long to download. You can then unzip it and you’re ready to install it into Photoshop or Elements.
Please read the terms of use at the bottom of this post.

How to load the Brush
The quickest way to load a new brush is simply drag and drop the unzipped brush into Photoshop or Elements. Just make sure there are no other images open.Load Brushes

1) Download and unzip the file. You can save it anywhere as long as you can remember where that is.

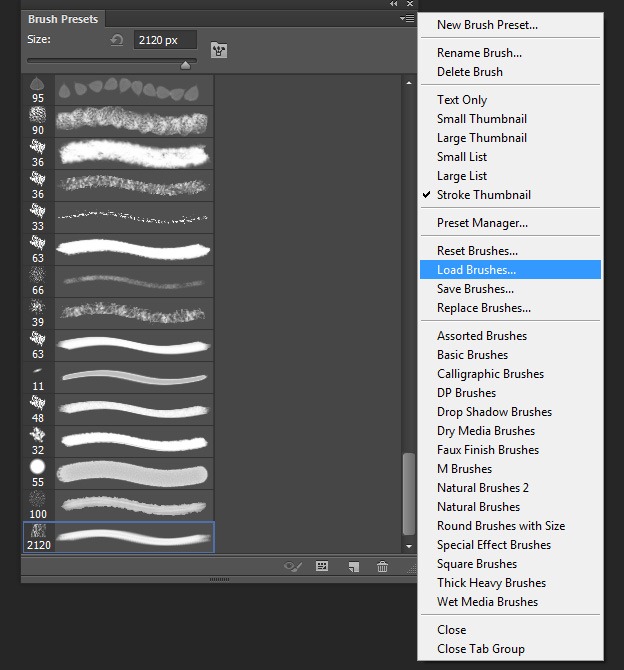
2) Open Photoshop and go to Window – Brush Presets

3) Click the menu icon in the top right corner, it’s the one with a small down arrow and 4 little lines.

4) Click Load Brushes and find the unzipped file you downloaded

NOTE: Do not try and install the zipped file, it won’t work!

How to use the Brush
I know what you’re thinking… It’s a brush, so how hard can it be? The best advice I can give you is to make you paint with white as your foreground colour and paint each piece of tape on it’s on own layer. That way you can twist and resize the tape with Free Transform CTRL+T

Sticky-tape-big

Usual rules apply. The brush is © copyright Gavin Hoey 2012. You may use it for personal, non-commercial purposes only and please do not redistribute without permission. Thank you and enjoy Smile

Friday Freebie ~ 4×4 template

This weeks Friday freebie is my 4×4 template which is super simple to use and gives some pretty amazing results and all you need to get started is four great images and my 4×4 template.

Kingscoat-ColourYou can download the free template from this link:
www.gavtrain.com/free/4×4-template.zip

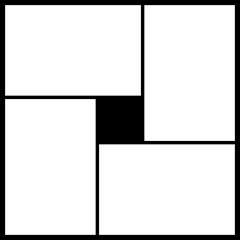
Once you have it opened in either Photoshop or Elements you’ll see that there are four white rectangles. Each rectangle is a holder for a photo and each is in the ratio of 3:2 which is the same as most DSLR cameras.

How to use the template
To add your own photos, first select and copy the photo you want to add. Then jump over to the template, select a white rectangle with the magic want tool and choose Edit – Paste Into (Edit – Paste Special – Paste Into in Photoshop CS5 & CS6)

You can then resize the photo before pressing enter to committing to the change.

You’ll need two images in upright (portrait) format and two images in horizontal (landscape) format. The space for each photo is 4000 pixels on the longest edge, so if you’re using smaller images you might want to resize the template before starting.

4x4-template

Usual rules apply. The action is copyright Gavin Hoey 2012. You may use it for personal, non-commercial purposes only and please do not redistribute without permission. Thank you and enjoy Smile

Friday Freebie ~ Sketchy Action

For this Friday Freebie I thought it would be fun to do another Photoshop Action. If you’re into Photoshop actions then you can still grab my sticker action from a few weeks back.

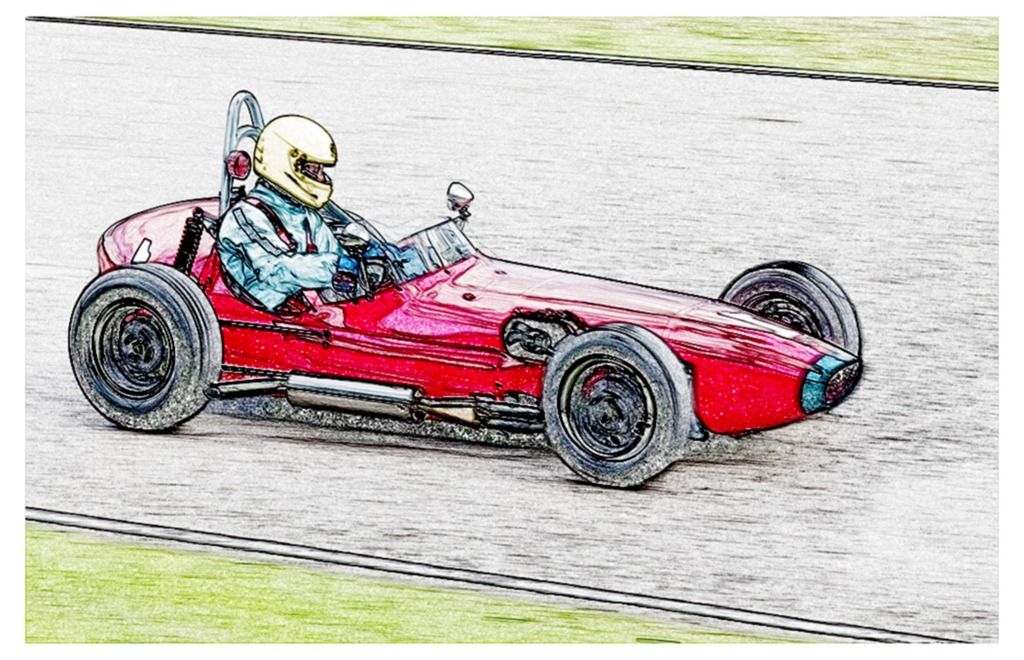
Sketchy-finalThis week the action creates a kind of sketchy effect and although it will work on any image it’s best suited to photos with a strong, graphic subject matter. If you find the effect doesn’t work on one photo just grab another and try again.

At the end of the action you’ll get the option to give the contrast a bit of a kick. This can be a bit hit and miss so if don’t like the contrasty results just press CTRL+Z to undo it. Alternatively click Edit-Fade Brightness/Contrast as soon as the action finishes to blend the effect to any level from 0% to 100%.

You can download the action from here www.gavtrain.com/free/sketchy.zip

The action should work fine with Photoshop CS3, CS4, CS5 and CS6. I’ve also tested it with the brand new Elements 11 and it worked perfectly. Sorry it won‘t work on Elements 10 or before.

As you can see from the image below the effect is quite dramatic.
Sketchy-Before-After

Usual rules apply. The action is copyright Gavin Hoey 2012. You may use it for personal, non-commercial purposes only and please do not redistribute without permission. Thank you and enjoy Smile

Lightroom Preset – Soft Sepia Portrait

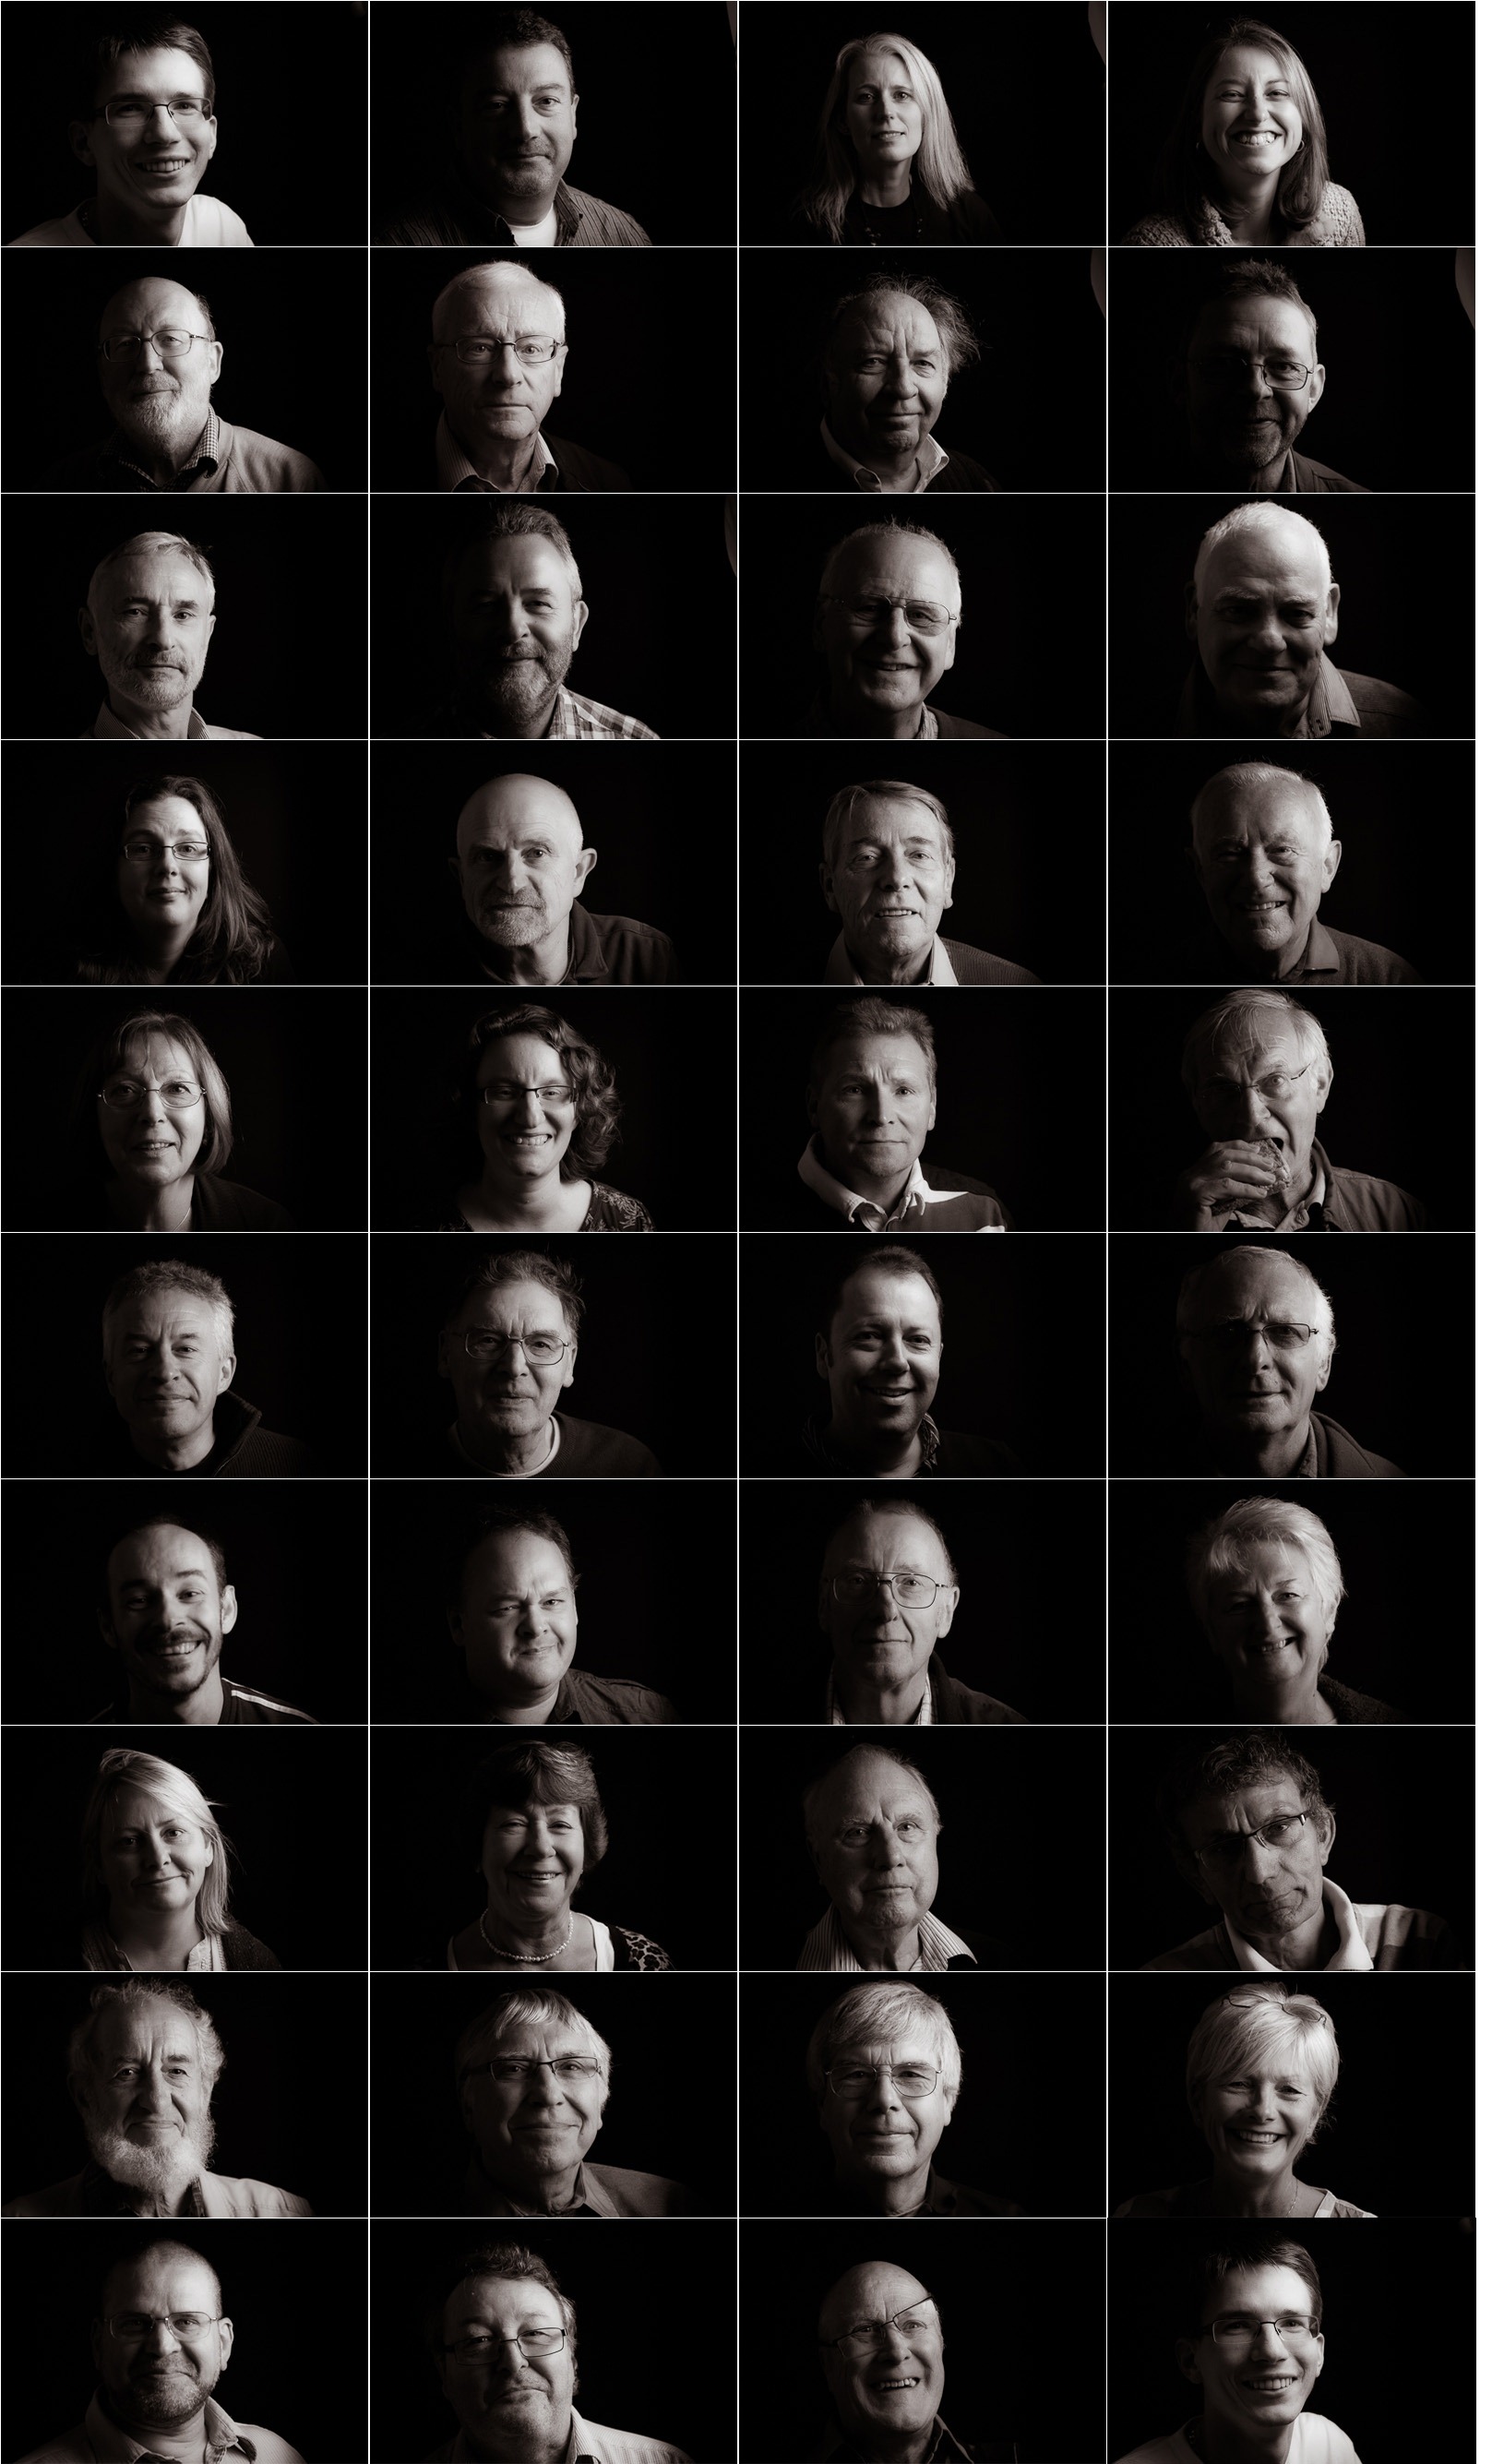
RPS-groupAs part of my talk to the digital Imaging group of the Royal Photographic Society last Sunday I set myself a mini challenge to photograph as many of the attendees as possible during the lunch break. It was a brilliant idea only marred by the fact I hadn’t anticipated that most people would be eating out.

None the less I managed to shoot around 40 portraits in under 30 minutes. That’s not bad but was less then half the audience.

The easy bit was processing the photos which, thanks to the power of Lightroom 4, I was able to do in just a few clicks.

Using Lightrooms sync option I demonstrated just how simple it is to apply the same effect on dozens of photos in one click.

If you fancy trying my Lightroom 4 settings then you can download my Soft Sepia Portrait from here:

www.gavtrain.com/free/soft-sepia-portrait.zip

It works best on a dark or black background.


Click to enlarge image

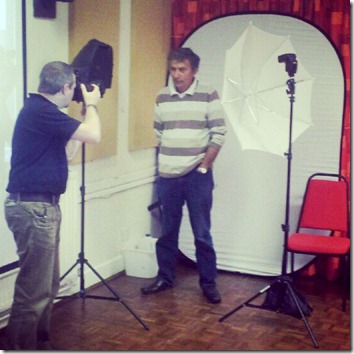
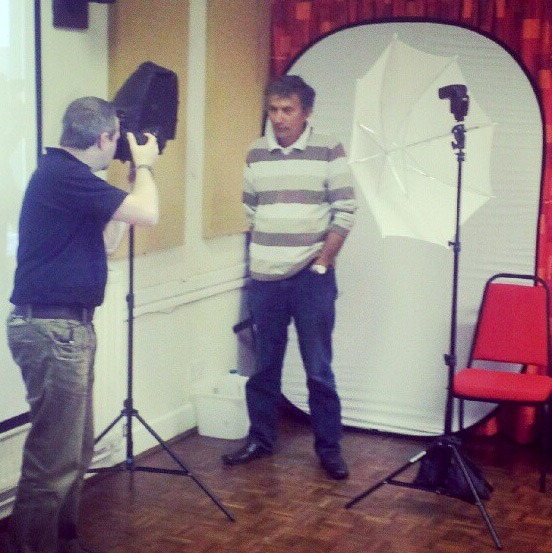
And if you’d like an idea of the lighting set up it was as my super simple single speedlight set up. You can get a fair idea of how it works by looking at this behind the scenes snap. The only difference is the white background was flipped over so I could use the black background.

BTS-RPS

Photo by Will www.willgenix.com

Friday Freebie ~ 10 Polaroid’s

It’s Friday again, which is lucky because I’ve just finished another Friday Freebie exclusive to gavtrain.com.

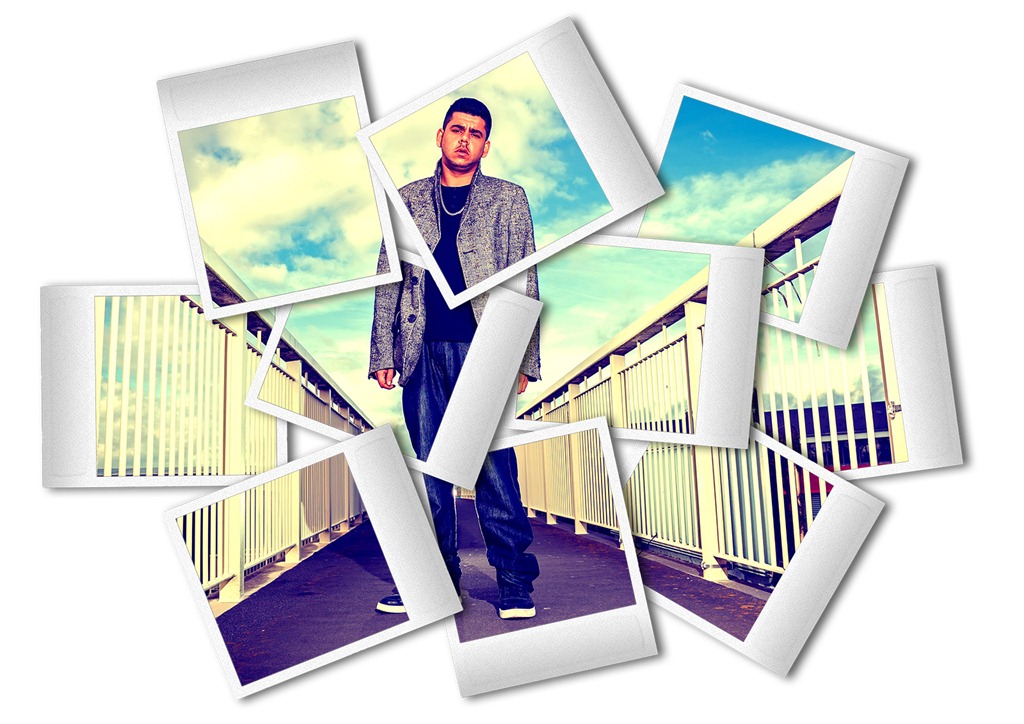
10 PolaroidsThis week it’s a PSD template that has a scattering of 10 Polaroid style frames. Being a PSD template it’s nice and simple to use (see below). It’s also 100% compatible with Photoshop and the more recent versions of Photoshop Elements.

You can download the 30mb high res file from here

Go to the bottom of this post if you need help downloading.

How to use the template:
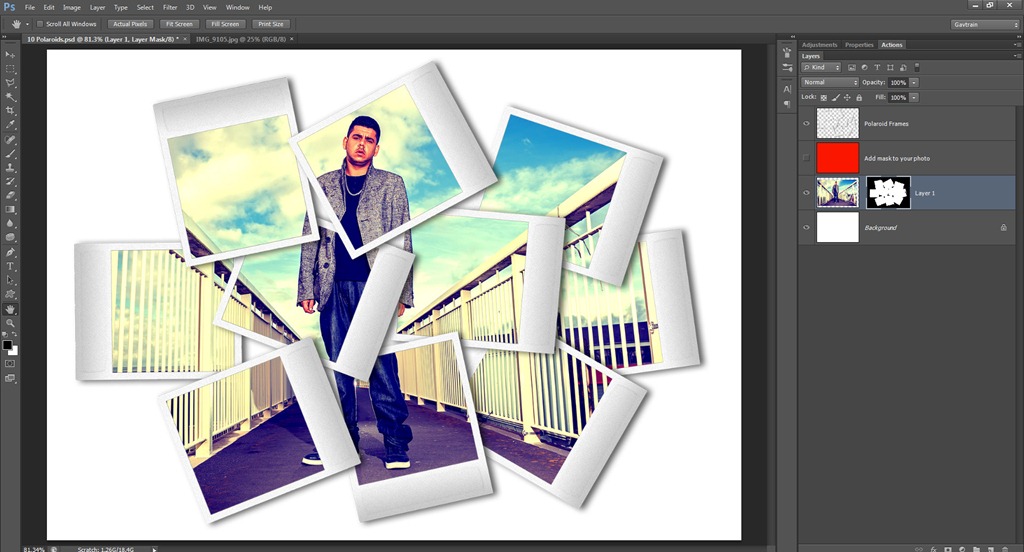
10 Polaroids-HOWTOOpen the template in Photoshop. Open the image you’d like to add and Press CTRL+C to copy it.

Return to the template and press CTRL+V to paste it. Use Free Transform (CTRL+T) to resize the photo so it covers the polaroid frames.

Photoshop:
Drag the layer mask from the RED layer and drop it on to the layer with your photo.

Elements:
Click on the visibility icon of the red layer, then Alt click the mask,
Press CTRL+ A then CTRL+C
Click twice on the visibility icon of the red layer
Make your photo the active layer by clicking the layer thumbnail
Add a layer mask and then ALT click the new white mask.
Press CTRL+V and then click the layer thumbnail for the photo… done!
Thanks to Julie for the tips here

If you do use the template and create an image that you share on Facebook, Flickr, 500px, Google+ etc. then remember to leave the link in the comments below.

Usage rules
The image is copyright Gavin Hoey 2013. Use is limited to any personal, non-commercial purposes. Please share the Friday Freebie by linking back to this page. Do not redistribute the original image without my permission.

Download instructions
Click the link https://drive.google.com/file/d/0B_Mmmm3K1utNR2RyVGE5ajV1aWM/view?usp=sharing

1. Click the Download button download_icon

2. The download should start automatically