Free Nik Software Webinar

Nik-2I’m very excited to announce that I’ll be running a brand new eSeminar hosted by Nik Software.

Thursday 10th May 2012 ~ 7.00pm UK time

The Webinar starts at and should run for around an hour.

The best news is it’s totally FREE! All you have to do is register for the event on the Nik website and you’re ready to go.

At this stage I don’t know what the maximum number guest will be so I recommend registering early.

So what will I be covering? Well, I’ll be starting the webinar in Lightroom 4 and demonstrating how I use it in combination with the Nik Plug ins. Don’t worry if you’re new to Nik Software as I’ll explaining everything as I go along. Nik Software have kindly left the subject matter for this webinar totally open, so I’ll be running through some of my favourite images, showing you exactly how I made them and passing on as many hints, tips and techniques as I can fit into an hour.

Although I’ll be using Lightroom 4 as my host program I’ll be spending lots of time inside my three favourite Nik Plugins.
Nik Color Efex Pro 4
Nik Silver Efex 2
Nik HDR Efex

You can find out more information about those three plugins and even download a 15 day free trial from the Nik Website or you can buy them outright from many retailers like here at Adorama.

See you there!

Big prints & 50% discount

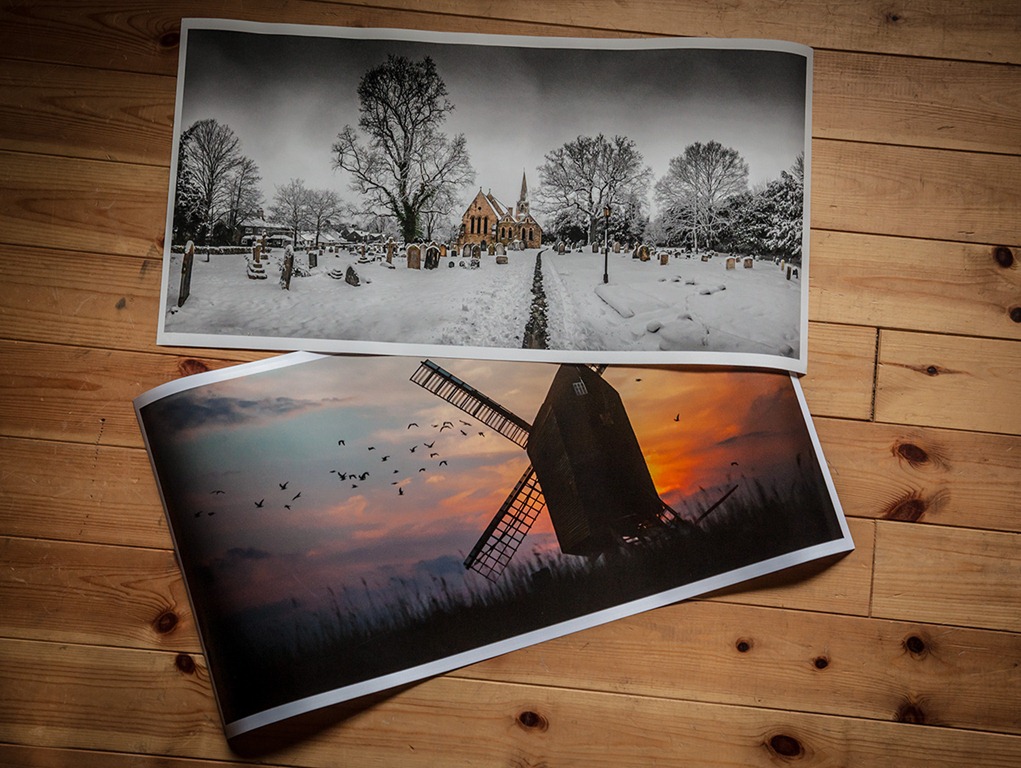
PY-1Like many people I have an A4 printer on my desk. Mine’s a Canon Pixma and is ideal of the odd proof print or two.

A4 is a nice size to print and back in the day of 15” CRT monitors an A4 print looked large. Today however, we’re all used to seeing large images on our large screens, so I want to make my prints bigger then my screen.

A while ago I went looking for a company that could provide me with large prints at moderate prices.

Cheap vs Expensive
First up I tried the same printers I use for my small prints. I started off by sending some files to well known (and cheap) UK internet lab. The photos that came back weren’t amazing but were OK for my needs. So I placed a larger order but the prints I got back the second time didn’t match the colour and contrast of the first set… end result, fail!

Next I tried a pro lab. Their price of a 24” print was many times higher then the cheapo internet lab but the results were excellent. The only problem was I couldn’t get my head past the huge price.

Independent Lab
PY-2Back in January I met a chap call Kevin. We got chatting about photography and it transpired he owned a company called Print Yours who specialise in large fine art prints. I’ve since placed several orders with them and the quality has been outstanding and best of all it’s been consistent. The price isn’t bad either.

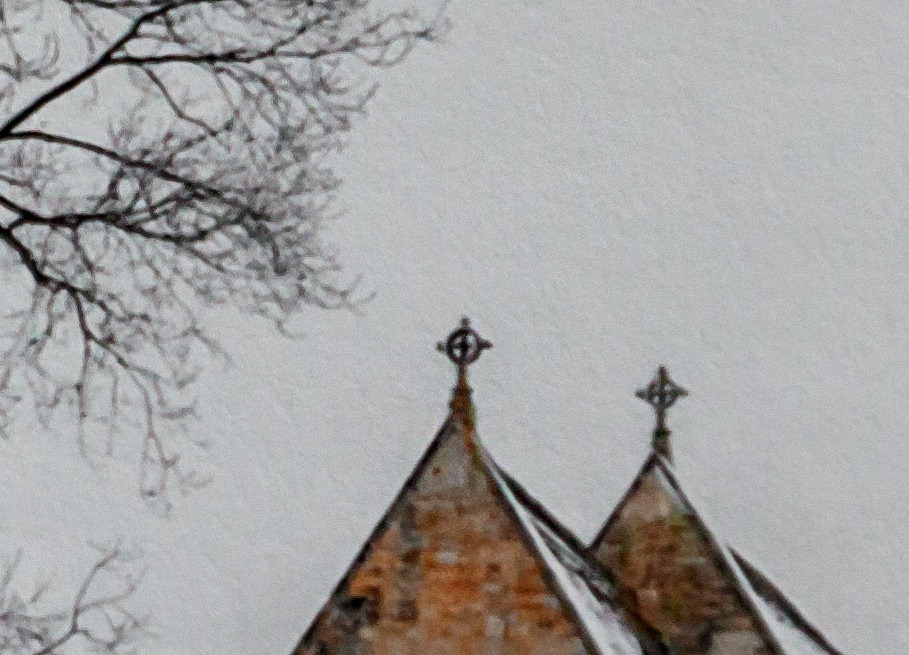
My favourite paper is the cotton rag. It’s a matte paper that has amazing detail and even a slight texture (click the image to see more detail)

Print Yours Offer
OK rather the taking my word for it why not give Print Yours a go for yourself. Kevin has organised a special 50% discount offer for the Gavtrain readers. Make it a weekend project to sort out one or two of your favourite photos and print them BIG!PY-3

Free Photoshop CS6 Border Action

Click here to… Download the Beta version of Photoshop CS6 Beta from Adobe Labs

Tool recordingPhotoshop CS6 has some impressive new features which are grabbing the headlines and quite rightly so. However once you’ve used Photoshop CS6 for a while and dig a little deeper, you’ll discover some very handy improvements which in the fullness of time may well be more useful then things like the new blur filters (not that there’s anything wrong with those of course).

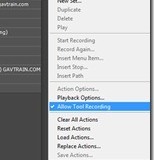
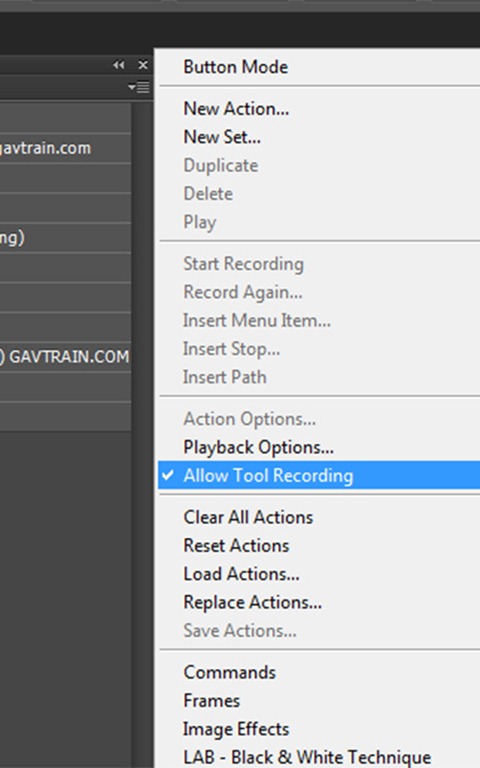
One such thing for me is a little enhancement to Actions called Allow Tool Recording. Actions have always been great, but I’ve always been frustrated that I can’t record any brush actions. That means I’ve always had to find imaginative ways to work round things like cloning, painting and erasing, that is until now.

Allow tool recording is turned off by default, so if you want to try it in your actions head over to the actions flyout menu and turn it on.

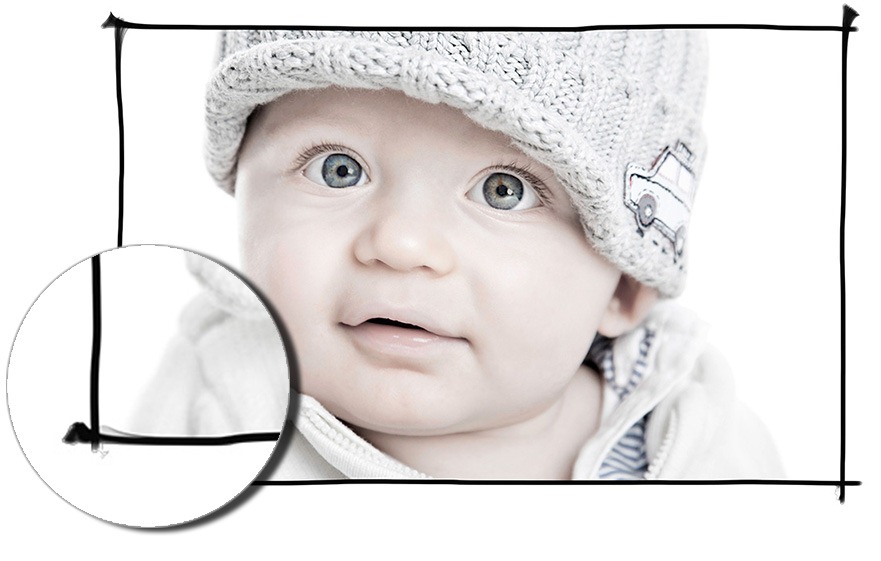
To give you a very quick idea of what it can do, I’m sharing one of my new hand drawn border actions for you to use on your own images. It’s a very simple keyline black border that I drew using a Wacom tablet and uses one of the excellent presets for the mixer brush.

To download the free sample action CLICK HERE    www.gavtrain.com/free/CS6-Demo-Border-1.zip
NOTE: This action will ONLY work with Photoshop CS6

CS6 Border1

Studio Clamps

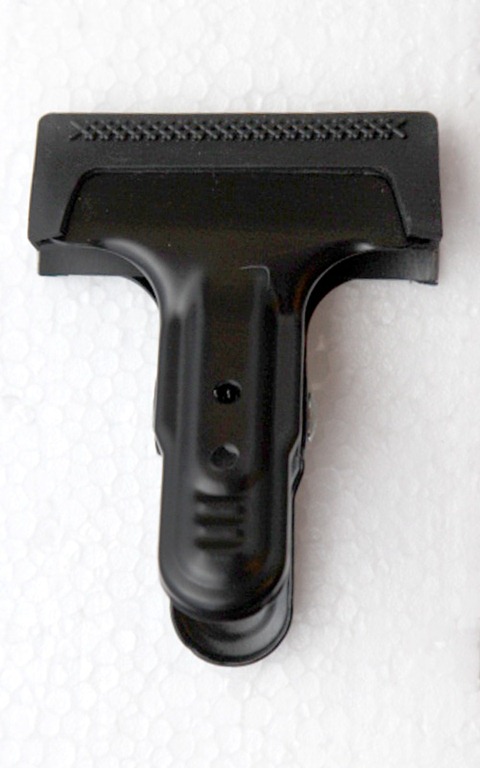
If I asked you to come up with a list of the top 100 gadgets you would buy for a photographic studio, I’m pretty sure the studio clamps would fall somewhere towards the end. Let’s face it clamps are clamps right? All they do is hold things in place, job done.

Well yes that’s true, but that’s not the end of the story. In fact if I had to make a list of the most essential gear you’ll need in a studio, I’d put clamps somewhere towards the top just after lights, backgrounds, and light modifiers. Come to think of it, that might explain why I have so many of them.

So here’s the three types of clamps I use…

DIY store clamps
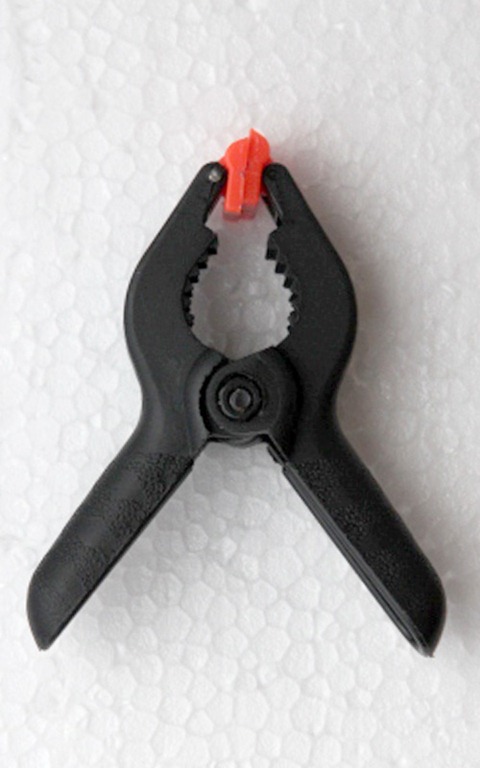
aIMG_5176You can pick these things up almost anywhere. I’ve found them on market stalls, in the local pound shop and even at the supermarket. From my experience, the cheaper they are the quicker those little orange jaws will break off. That said I have dozens of these things kicking around the studio and they’re great. I have giant ones for attaching backgrounds to large poles, medium sized ones for clamping reflectors to light stands and tiny ones for… actually I don’t use the really tiny ones.

Pros: Cheap to buy and readily available
Cons: Don’t expect the cheapo ones to last too long


Gorilla Studio Clamps
aIMG_5182These things are a big step up from the DIY store clamps. First up they’re made of metal, not plastic, so should stand up to years of use and abuse. The clamp action is seriously strong, so watch your fingers when snapping them closed. Each side of the clamp is lined with a rubber, which helps reduce the risk of marking delicate surfaces. These rubber strips can be removed and frustratingly, they do have a habit of falling off at the wrong moment. As the name suggests the gorilla clamps are super strong and I’ll use a couple of them to attach heavy material to a background support pole or as quick way of clamping and object to one of the many supports I have in the ceiling.

I got mine from my good friends at Smick LINK

Pros: Very strong and built to last, with a price that won’t break the bank
Cons: One day those rubber grips will fall off and get lost


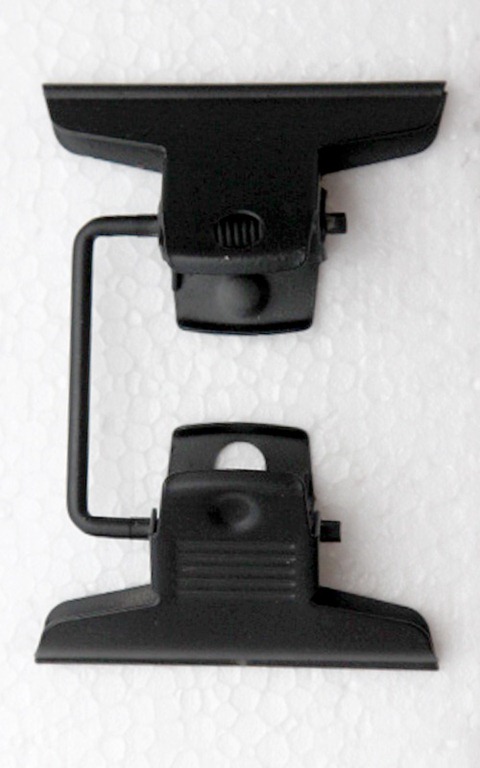
Multi Clip

aIMG_5179It’s a clip not a clamp, so don’t expect this to hold anything too heavy. Even so this has to be the favourite clamp I own. It’s basically a couple of two inch bulldog clips joined together but it’s secret weapon is its ability to move each clip independently. This thing is great for making an impromptu barn door. Simply clip a piece of black card to one end and attach the other to a light stand. I’ll use these clips all the time to stop something wobbling, falling down or blowing away. At around £7 they’re not cheap but they’re so useful, every studio should have one. As before, mine came from Smick LINK

Pros: Small but ever so useful, this little gadget will be used time and time again
Cons: It’s not going to hold anything heavy for too long and the price is fairly high.

April Photo Challenge

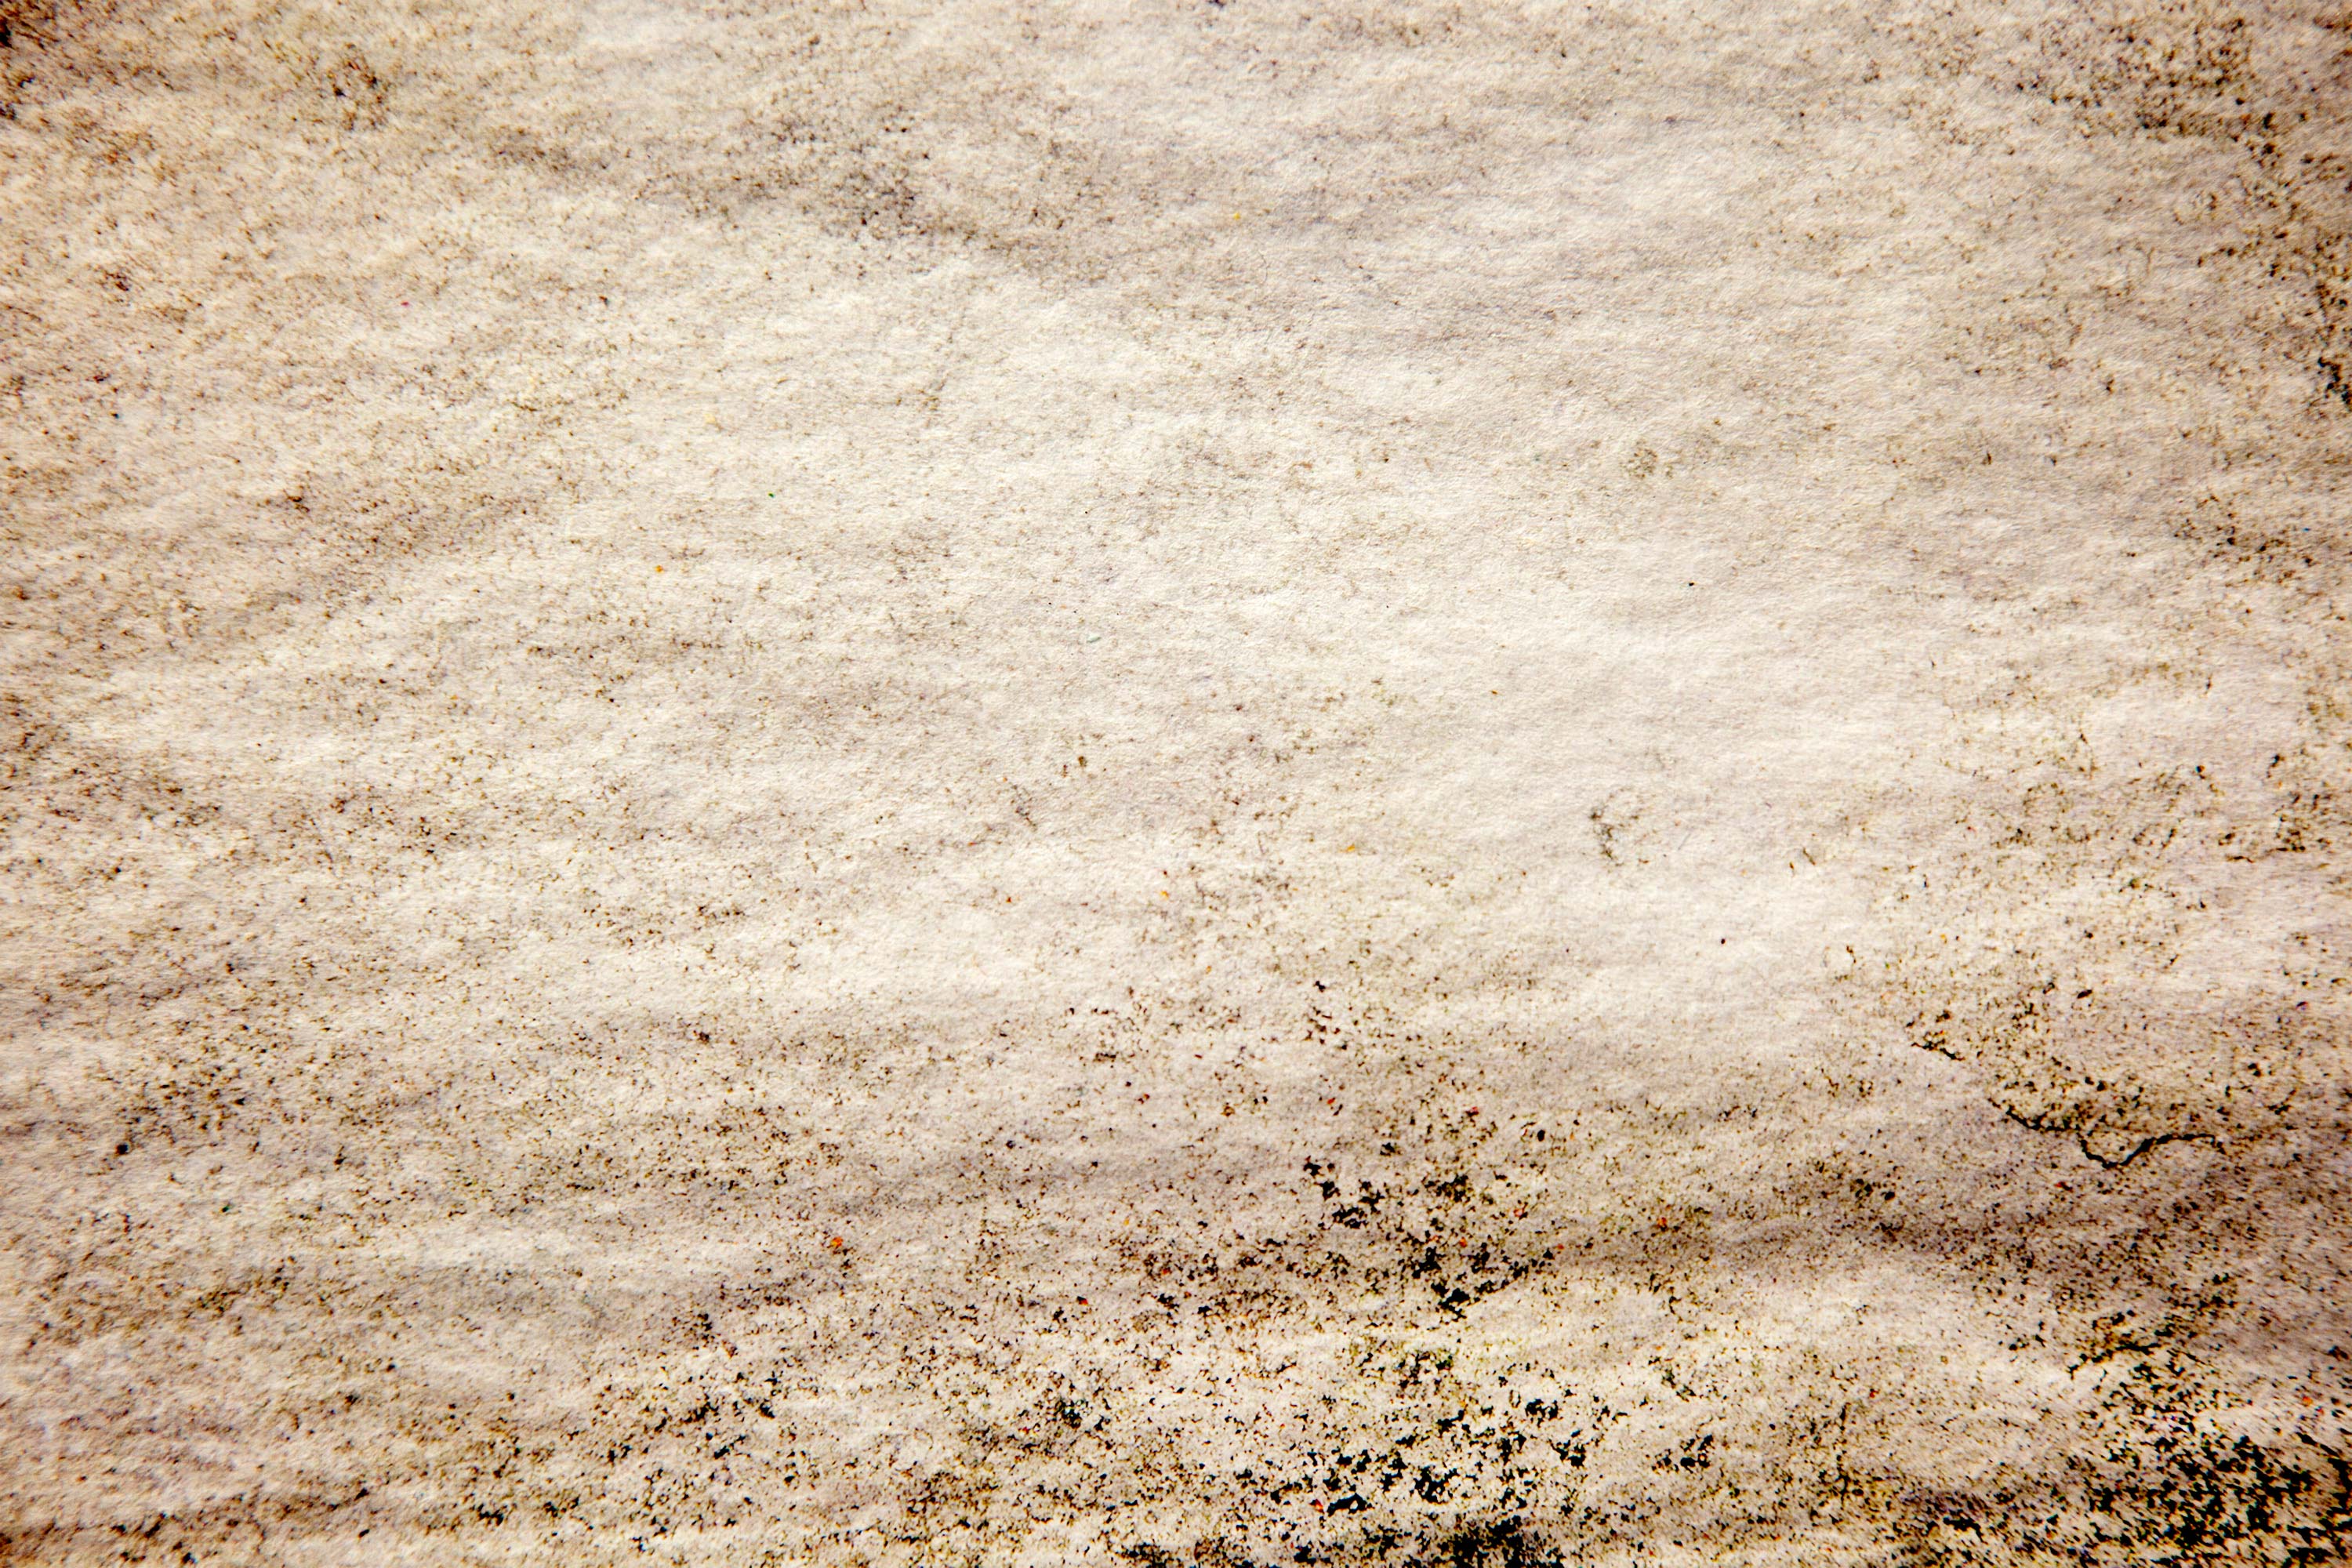
For the April photo challenge I thought we’d do something different. So this month there is NO THEME. That’s right this month you’re free to enter a photo of absolutely anything you want. In fact there’s only one thing your photo must have… Your entry MUST make use of this texture as part of the final shot.

APR-Texture-700

https://www.gavtrain.com/free/APRTexture.jpg
To download the texture, right click the link above and choose “Save As”

How you use the texture is entirely up to you. Perhaps you want to place it over your photo and change the blending mode, or maybe you’re going to use it to create a border effect. I’ve added a couple of my own ideas at the end of this post. Remember to use a bit of imagination and make it eye catching.

Once you have your photo you’ll then need to upload it to the Flickr Group page at http://www.flickr.com/groups/1964708@N23/

I’m very happy to report that the Photo Challenge is once again being sponsored by Print Yours. They are an independent print lab who specialise is creating small run, high quality prints. Check out their web site for more information http://www.printyours.co.uk/

So what will the winner receive? Well Print Yours have generously offered to print the winning entry on their 270gsm Photo Satin paper up to a whopping 24”x16”. That’s an £18 print for FREE! If you’re the lucky winner then all you need to do is send a high res version to Print Yours (via email) and they’ll do the rest.

RULES
One entry per person
Entries must be uploaded to the correct Flickr group by 30th April 2012
The entry must make use of the texture from https://www.gavtrain.com/free/APRTexture.jpg 
The images (including any manipulation or elements excluding the texture) must be the sole work of the entrant
The winner will be selected by By Gavin Hoey and his decision will be final
No alternative prizes are available and only the winning picture will be printed
The winner will be required to email a high res (printable) version of the winning image to Print Yours
The winner will be announced on the Gavtrain Facebook Page during May2012

Good Luck

Texture 3

Texture 2

March Photo Challenge winner

The theme for March photo competition was “Food for thought” which was a little more challenging then either the January competition or the February challenge. As always I left the interpretation of that phrase completely open and I was really pleased to see so many people have a go.

First up I’d like to thank everyone who got into the spirit of the competition. The purpose of these challenges is to get you to go out and take or make an image that fits the bill rather then simply choosing a photo from your hard drive. So if you went out and took a photo just for this challenge then you should be proud of your achievement.

This time round the winner wasn’t chosen by me. Instead I handed that responsibility to Sam, who many of you know is a food writer and photographer. You can see some of Sam’s work over at her website www.samskitchen.net.

Once again the standard of the entries was very high, so I asked Sam to pick one winner and 9 runners up. I think Sam’s chosen a great selection of photos which cover the whole range of interpretations of “Food for thought”

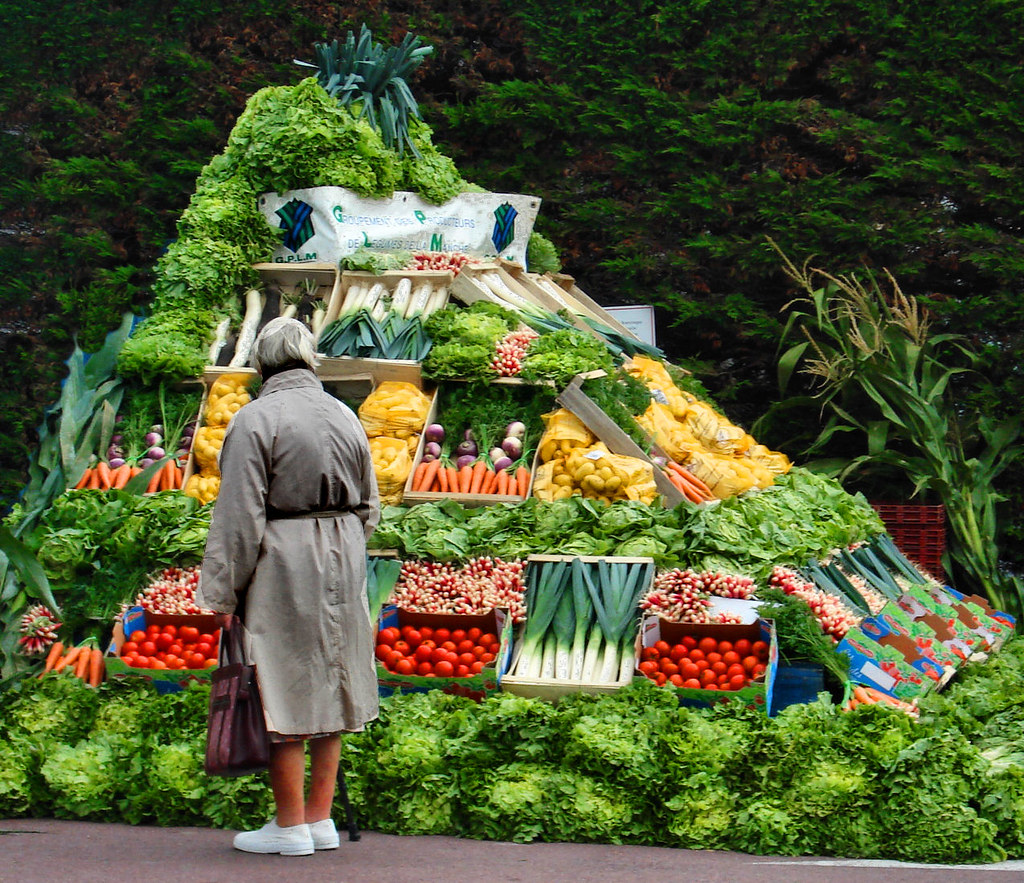
However there can only be one winner and this month the winner is…Five-A-Day By Drag’n’Drop

Drag’n’Drop will be getting a copy of his print made by my good friends over at Print Yours.

Near Misses…
The runners up in no particular order are below. Click on an image to view it large on Flickr. If you didn’t win this time there’s a new challenge running until the end of April. Details coming very soon.

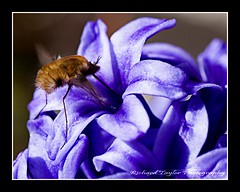
Kiwi Kiwi By Arangan Ananth Insect Food
Insect Food
By Jellymoon Photography
Pasni: A rice feeding ceremony
 
By sukuchha
Schweeeeet!!
Schweeeeet!! By stormer014
Fruit Fairy cake-19
Fruit Fairy cake-19
By Davebozy
Rice and Spice
Rice and Spice By debrasflower
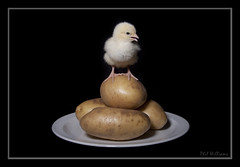
Deconstructed Chicken n Chips
Deconstructed Chicken ‘n’ Chips
By Phil-Williams
Enough is Enough
Enough is Enough 
By teddybearwithatowel
Creme Eggs How to you eat yours
Creame Eggs How to you eat yours
By CrazyDave53

Spring Flowers

It’s just over two weeks until my all day workshop at Borde Hill Gardens and I’ve got some great plans for the day. So yesterday I paid my first visit of the year to the gardens to check out what was growing and to bag a few shots.

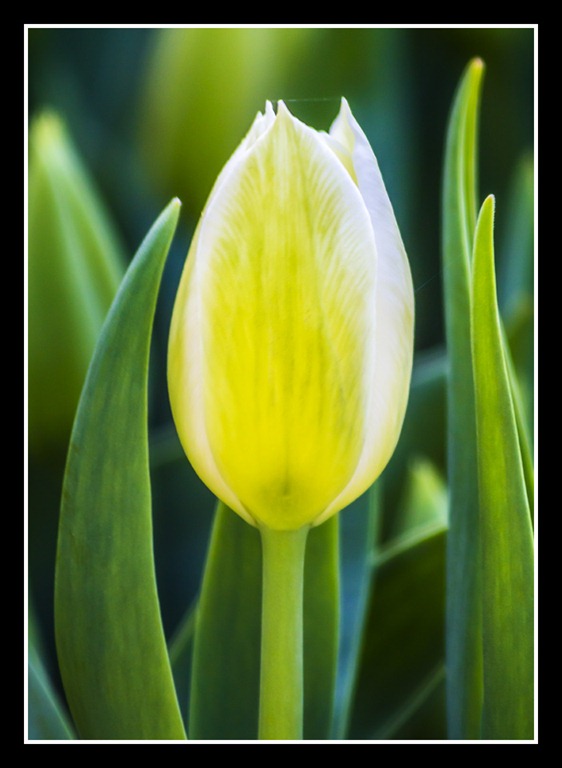
  The first stop of the day was to the Italian garden which has a beautiful ornamental pond surrounded by terracotta pots which are currently stuffed full of tulips. This one caught my eye at it was just coming into bloom. One thing we’ll be looking at during the workshop is the pros and cons of shooting in the shade. Let’s just say it’s easier to add contrast to a photo then it is to take it away.

  Borde-1

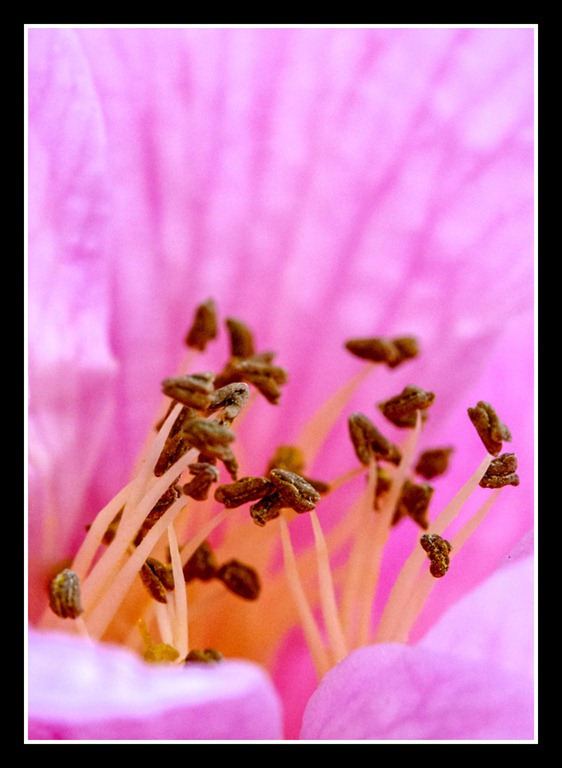
  Next up it was a spot of close up work with my Canon 60mm macro. In an ideal world I’d be using a tripod to keep the shots sharp and the ISO down. Sadly I didn’t have a tripod with me so this is a handheld shot at a fairly high ISO.
Macro photography needs time and practice and it’s not uncommon to get lots of failed shots before bagging one good photo.

  Borde-3
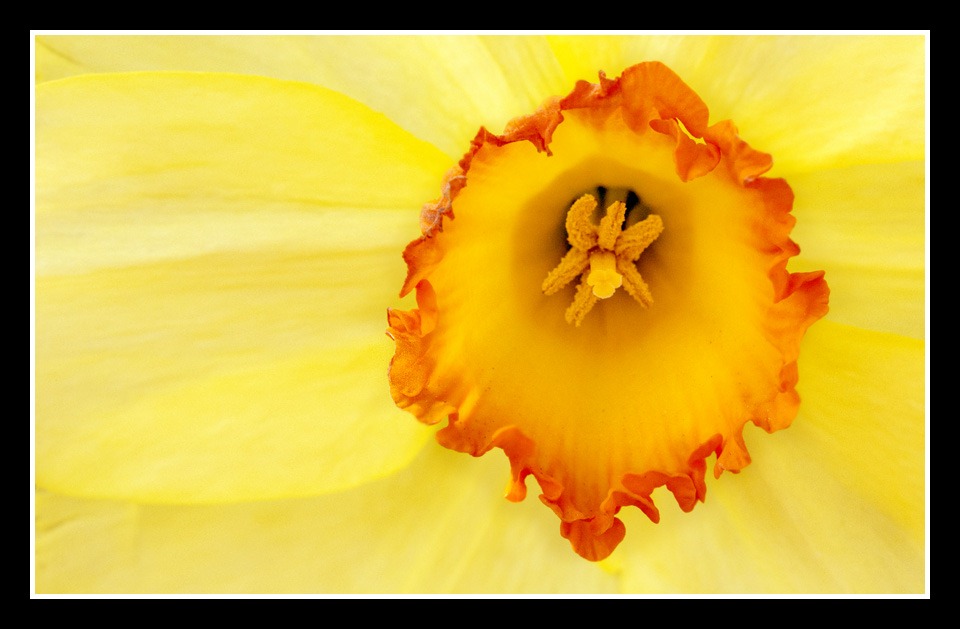
  Borde Hill is currently a riot of yellow as the daffodils are in full bloom. This is a close up isn’t all that it seems. Once again I’m shooting without the aid of a tripod, which required me to use a big the aperture in order to avoid a slow shutter speed and the dreaded camera shake. The downside was the depth of field wasn’t enough to get everything in focus in one shot… so I took two. Each photo was in focus on a different part of the flower and I used Photoshop to automatically stack the two focus points together.   Borde-2  

There are only a few places left on the workshop, so if you fancy coming along then follow this link https://www.gavtrain.com/?page_id=1195

Behind the image – Luke

A few days ago I was presenting an all day digital workshop for Ludshott Photo Club. After a morning of non stop Photoshop tips and tricks I was ready for some photography in the form of a live portrait shoot.

If you’ve ever had a bash at shooting portraits then you’ll understand that it can be one of the more tricky forms of photography to master. Well, imaging trying to do a portrait shoot on stage in front of a large audience with a model pulled from the audience. It certainly challenged me but that’s half the fun.

Luke-Flickr

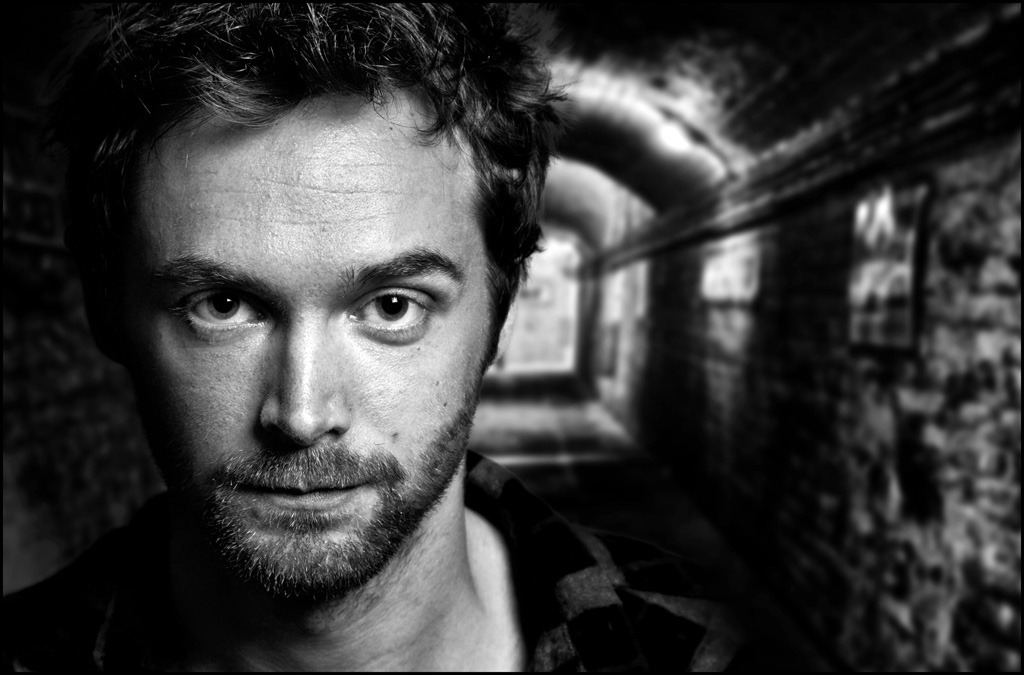
Fortunately I’d spoken to Luke earlier in the day and he was more then happy to stand in as my model for the shoot. As it turned out the shoot went without a hitch, Luke turned out to be a brilliant model and the final image (as seen above) was better then I had hoped.

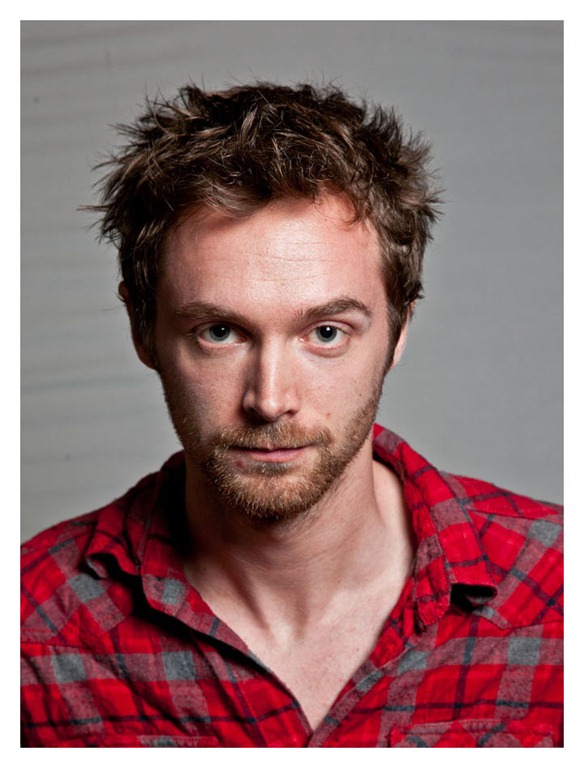
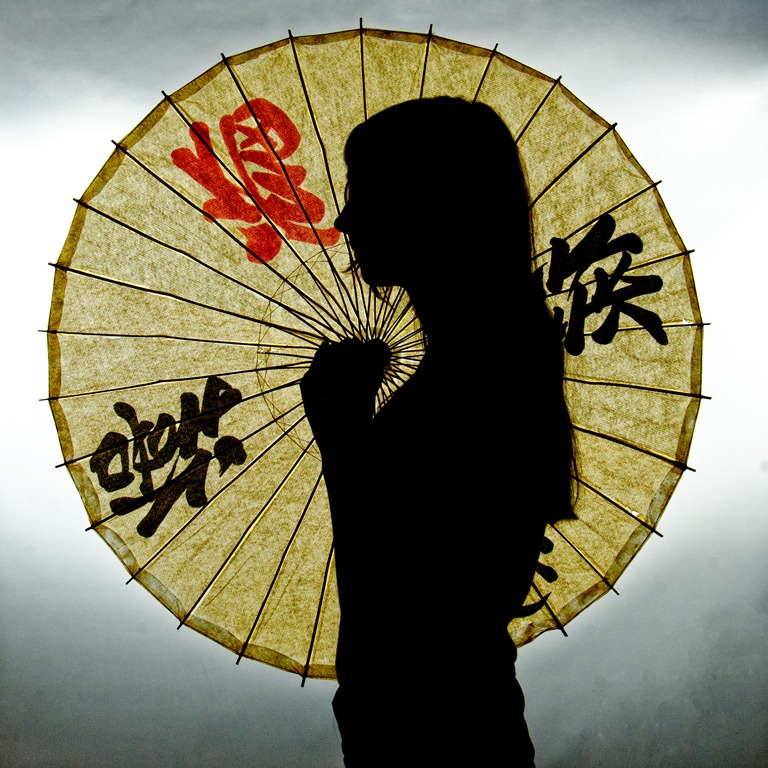
Luke-1So how did I get to the final image? Well it’s a combination of two image. The  shot of Luke was taken during the workshop. He’s lit with a single speedlite fired through a small softbox from Smick. The background is also from Smick is a black/white reversible popup. Without a light to brighten the background it appears grey in the photo instead of white.

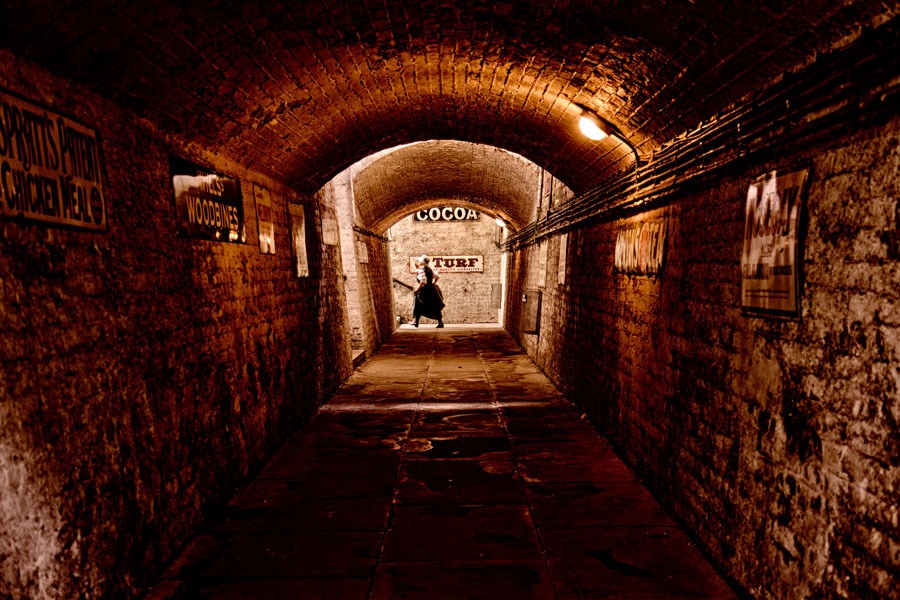
The second photo is one of my stock images. It’s a view down a passenger tunnel at a station on the Bluebell Railway in West Sussex. The grungy effect is a result of processing the original image in Nik Color Efex Pro 4.

Luke-2For the workshop I did a live demo on how to effectively cut out hair. To be honest its a job that’s been made incredibly simple thanks to the amazing Edge Detection found in Photoshop CS5’s Refine Edge. After Luke had been removed from the original background, it was a simple job to paste him onto the new background and apply a Black/White adjustment layer to hide the colour difference. Cop out? Yeah a bit, but hey. it was all done LIVE!

What’s new in Photoshop CS6 Beta

To download your copy of Photoshop CS6 Beta, follow this link http://labs.adobe.com/technologies/photoshopcs6
Please remember this is a BETA which means it’s still a work in progress which may contain bugs, be unstable and may not have a full range of tools. For that reason it is not recommended that you use this software for vital projects.

Photoshop CS5 has been with us for the best part of two years now, so with the launch of Photoshop CS6 Beta we finally get a chance to see what they’ve been up to all that time. Well, the good news is Adobe hasn’t been sitting idle for two years but have made a whole raft of improvements and snazzy new features for us to enjoy.

Dark Interface
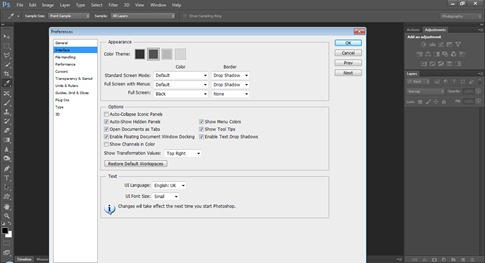
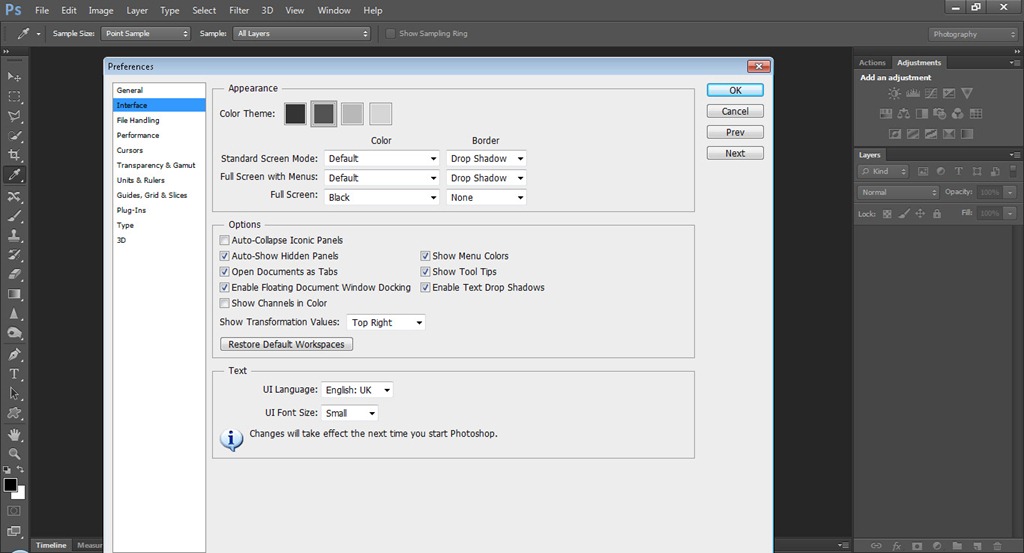
CS6-PB-0So the first thing you’re going to notice is that Photoshop CS6 Beta sports a new dark and moody interface. Lightroom and Photoshop Elements users will be familiar with this look, but this a big departure for regular Photoshoppers.

In the preferences it’s possible to alter the colour of the interface by selecting one of four looks, so if you’re pining for the old look it’s an easy job to switch back. Personally I prefer the dark look and I’m sure with use it will grow on you too.


Content Aware
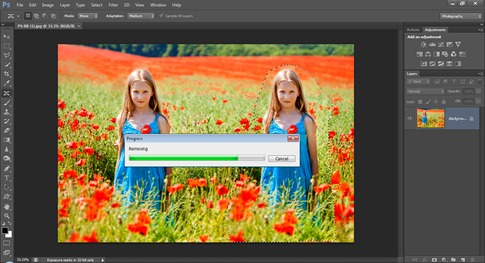
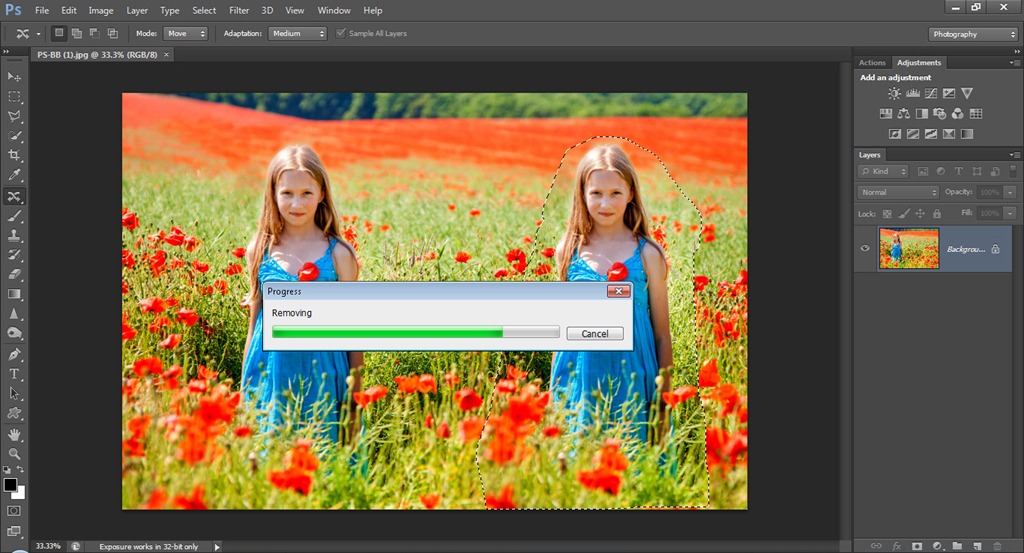
CS6-PB-3The content aware features of Photoshop CS5 were a revolution of me, in fact the spot healing brush is my “go to” tool for cloning. The main problem with the tool is its total lack of control when it comes to selecting where to sample from. The end result is often not quite what you’d have expected.

Photoshop CS6 Beta now has that problem covered by adding content aware abilities to the Patch Tool. Using the Patch Tool allows you to be very specific about which part of an image you sample from and the result is absolutely brilliant!

Not only that but there’s a new tool called Content Aware Move Tool. It has two settings which have a slightly different way of working. Move allows you to reposition objects within the photo and extend allows you to grow objects. With the right images it works like magic.


Crop Tool
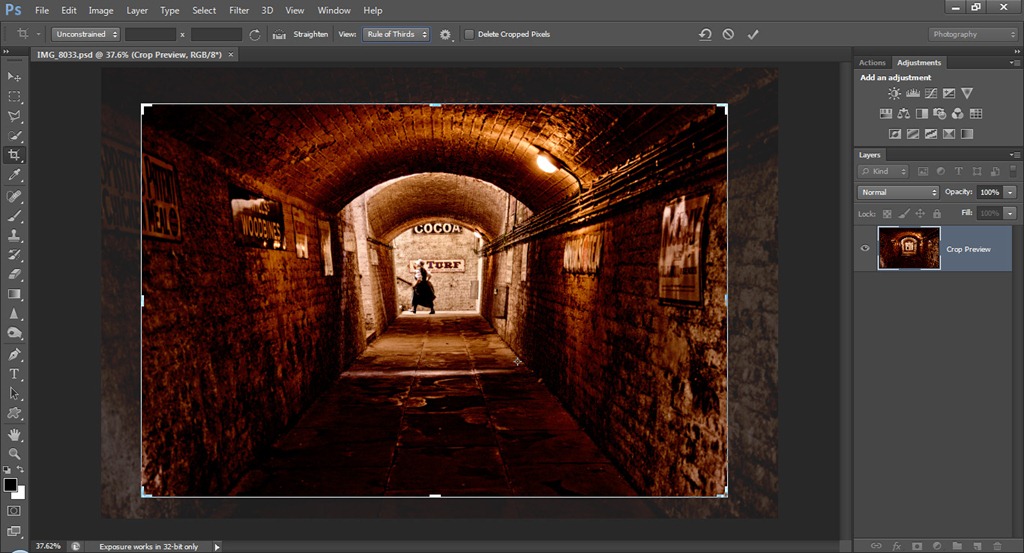
The crop tool is one of those things that most of us use without thinking. Well the people at Adobe aren’t your average user and they’re taken a long hard look at the crop tool and given it a complete redesign.
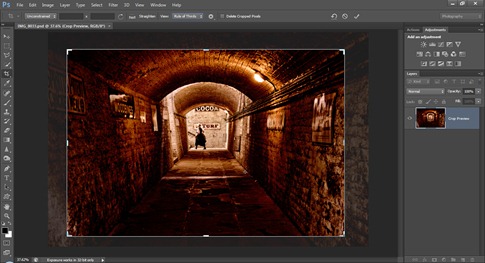
CS6-PB-1The first thing you’ll notice is that the crop tool is always live. In other words simply selecting the crop tool will automatically place a crop on the image. It’s still possible to drag out a crop and you can also choose from the list of preset crop sizes.

The main advantage of the crop tool is the fact that it is now non-destructive. Basically you now have the ability to recrop your image and regain the lost (cropped) areas at any point in the editing process.

Perspective cropping has also changed. Until now the perspective crop was a small check box only visible after cropping but not anymore. Now it’s been promoted and is a tool in its own right.

The crop tool is something you’ll love or hate. Lightroom users will be at home with it, but die hard Photoshop users may need a little longer to learn its new functions. Adobe seems to have realised not everyone likes change, so they’ve also added an option to revert the Crop tool back to its traditional function.


New filters
That’s right filters (plural). There are four new filters in Photoshop CS6 Beta. My favourite is the oil paint filter which is a hand me down from Pixel Bender. There are also three new blur filters.
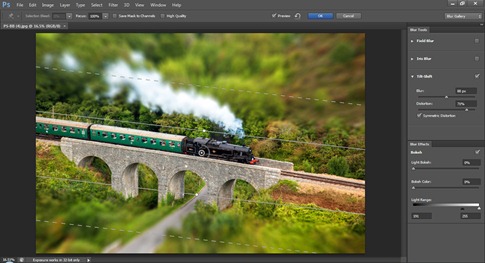
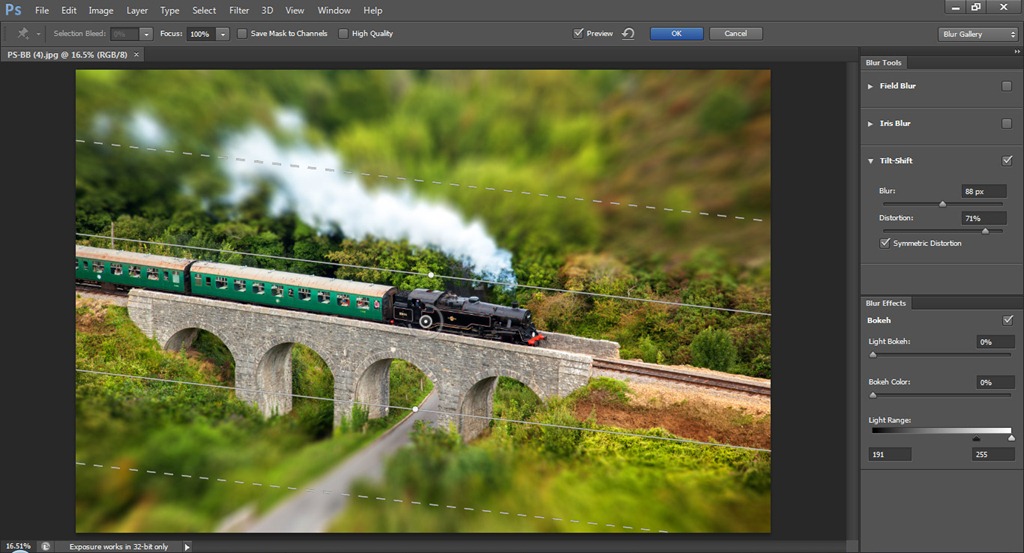
CS6-PB-2Field blur is an alternative to the classic Gaussian blur filter and gives a very nice photo real blurring. Iris Blur is the same as field blur but adds the ability to cut holes in the blur. It reminds me of the classic Cokin centre spot clear filters from my past. Finally Tilt-Shift uses the field blur but this time it slices through the blur to give a very convincing tilt & shift effect.

All the blur filters can be fine-tuned to a high degree and there’s even an option to add some digital “Bokeh”. It takes practice to find the right settings but could be very useful indeed.

All four blur filters are GPU powered which means you’ll need a newish graphics card to get the most out of them. No problem for desktop users, but I can imagine some older laptops struggling a bit.


Video Editing
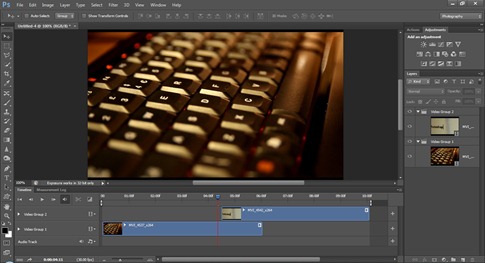
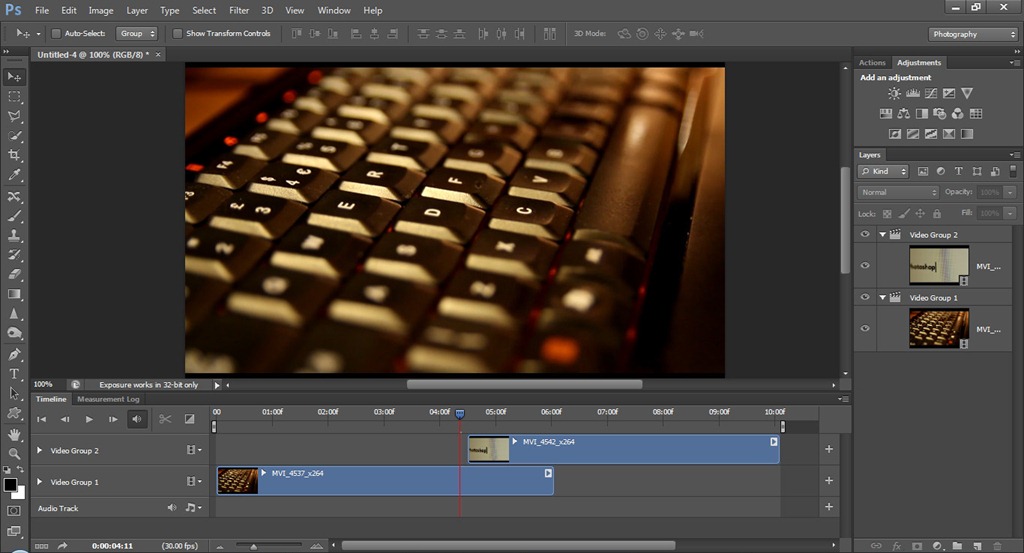
CS6-PB-4OK I know you’re a still photographer, but video is here to stay and increasing numbers of photographers are experimenting with video. If you have Photoshop extended than you may know that it’s already able to handle video files. But in Photoshop CS6 Beta that video capability has been completely reworked.

Now I can edit my video content using the familiar and powerful tools of Photoshop just like I can with still images. I can add cuts, video layers, audio, transitions and fades. Basically Photoshop is becoming a very nifty video editor.


Adobe Camera RAW 7
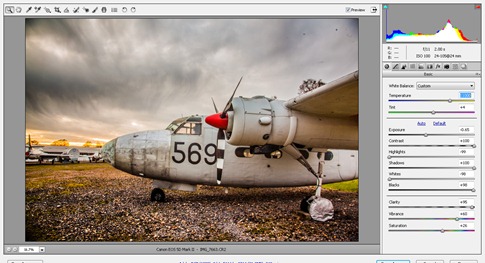
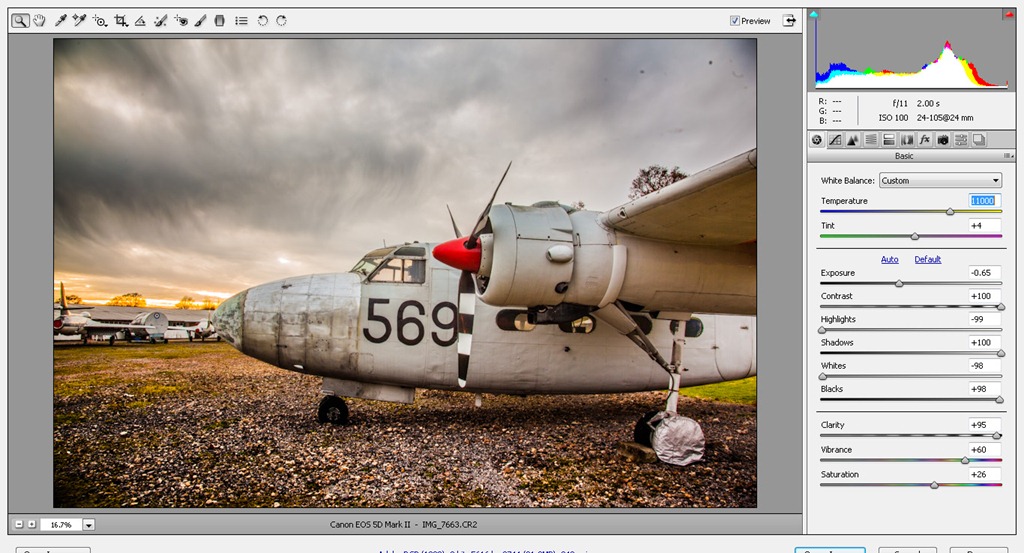
CS6-PB-5Finally (for now) we come to the all-new ACR7 and to be honest I’ve saved the best till last. As someone who spends a lot of my time in Adobe Camera RAW (ACR) I know it’s a hugely powerful photo editing tool and it’s also not perfect. It seems that Adobe agree with me because they’ve dumped many of the old sliders in the basic panel and replaced them with some new ones that work magic on my photos. Let’s just take one example, Clarity. I’m a self-confessed clarity junkie but I always had to rein myself in to avoid getting halos when using it on images with contrast. No more, as you’ll discover when you try the new clarity slider for yourself.

The new tools in ACR7 also extend to the adjustment brush and graduated filter too, so those already powerful tools are better than ever.

That wraps up this first look at what’s new in Photoshop CS6 Beta. I’ve only covered the tip of the iceberg when it comes to new features, so be sure to download it for yourself and see what’s new. There’s plenty of other features like new 3D options, improved HDR, tool recording actions, enhanced mixer brushes, properties panel… the list goes on.
February Photo Winner

The theme for February’s photo competition was Elements, a simple word with many meanings. I left it completely open as to which meaning of the word should be used, so it’s not surprising that there was a big entry with a wide range of interpretations of the theme.
First up I’d like to thank everyone who got into the spirit of the competition. If you went out and took a photo just for this challenge then you should be proud of your achievement.
Choosing a winner proved much harder this time then the first photo contest I ran in January. The standard of the entries was just as high, so I started by narrowing down the entry to those that caught my eye. That helped narrow down the choice a bit but I was still left with a large number of photos, any one of which could have been the winner. So in the end I selected the photos that I felt best fitted the theme.

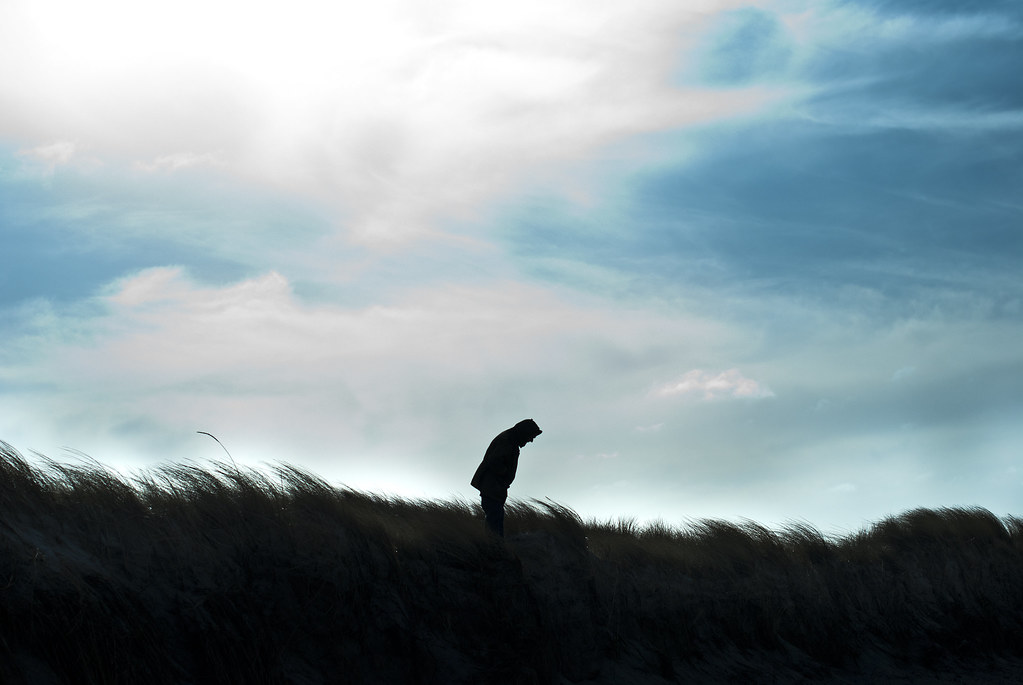
So the winner is…A Breeze By Tem Breum

Tem will be getting a copy of his print made by my good friends over at Print Yours.

Near Misses…
The runners up in no particular order are below. Click on an image to view it large on Flickr. If you didn’t win this time there’s a new challenge running until the end of March. Details are here

 
Raindrops By Baohan Nguyen
 
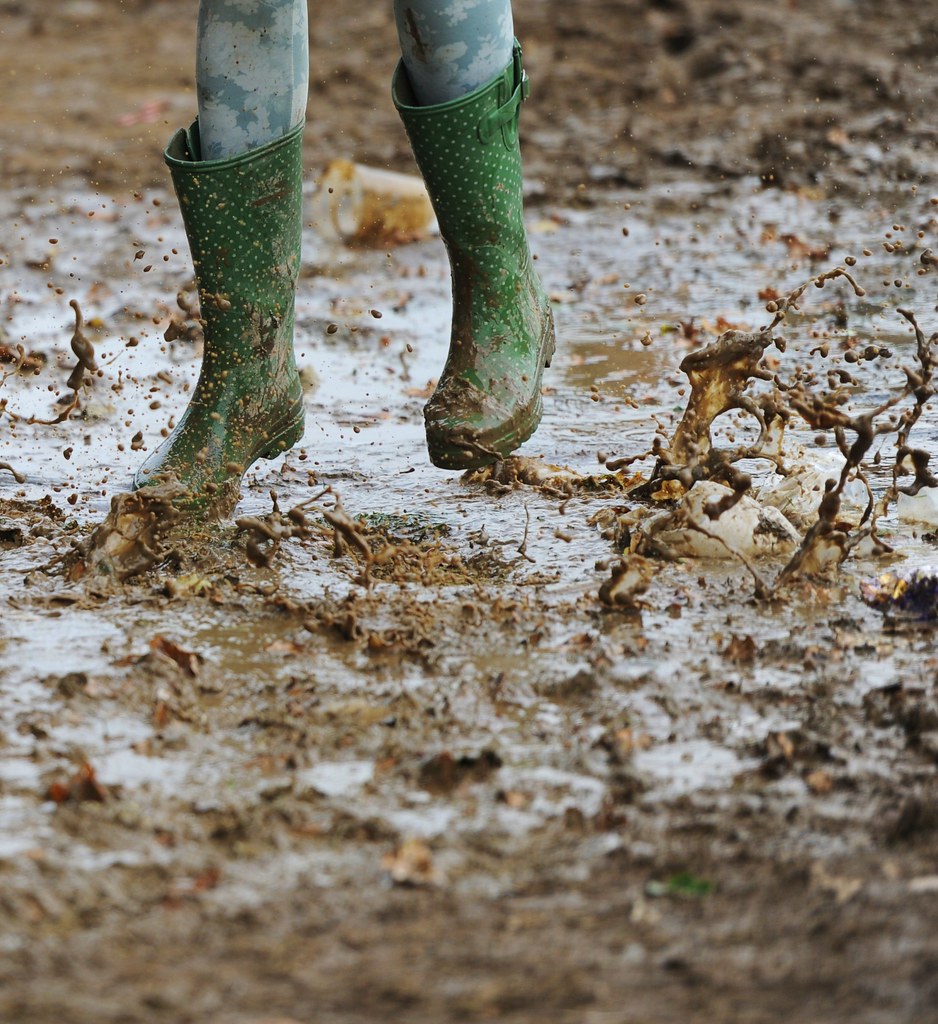
Splash!
By gibocaster
 
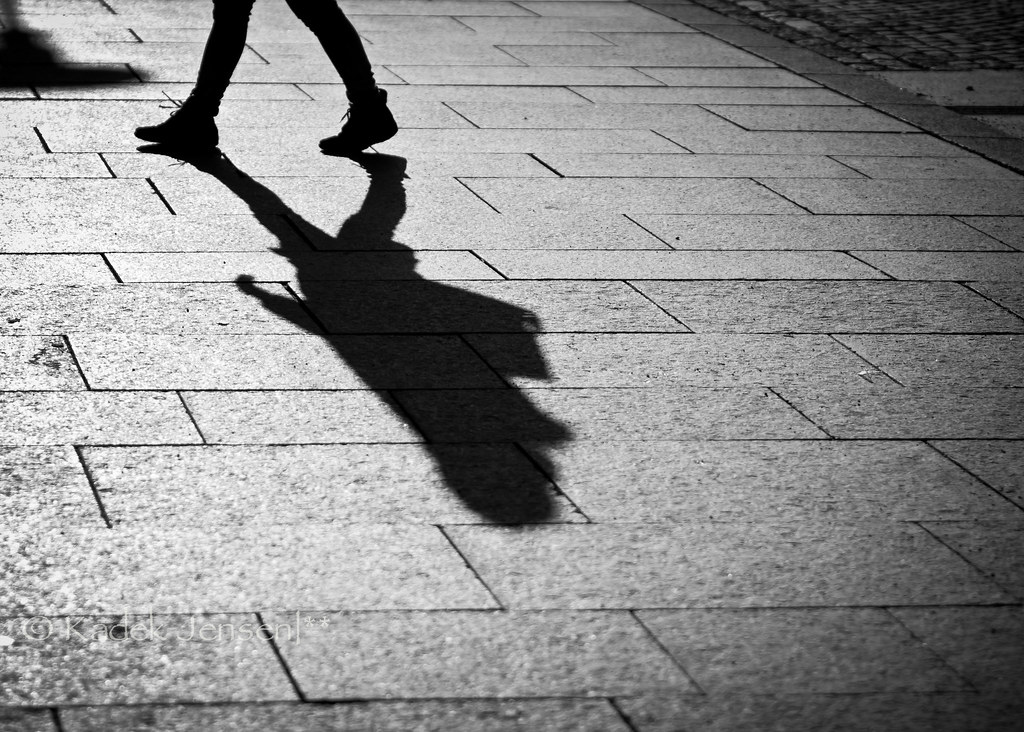
Oslo 0457 By HD love Photography
Agua Ardiendo
Agua Ardiendo By Nela_CroRose
Falling Diamonds..  
Falling Diamonds… 
By Shree Photography
Square of Fire
Square of Fire By Max Habich
Ledge Point 
Ledge Point By damo1275
SYSN1046watercolour 
Watercolour By stevesyson
Boy with torch
Boy with torch By sinnedh