Four Parts Action

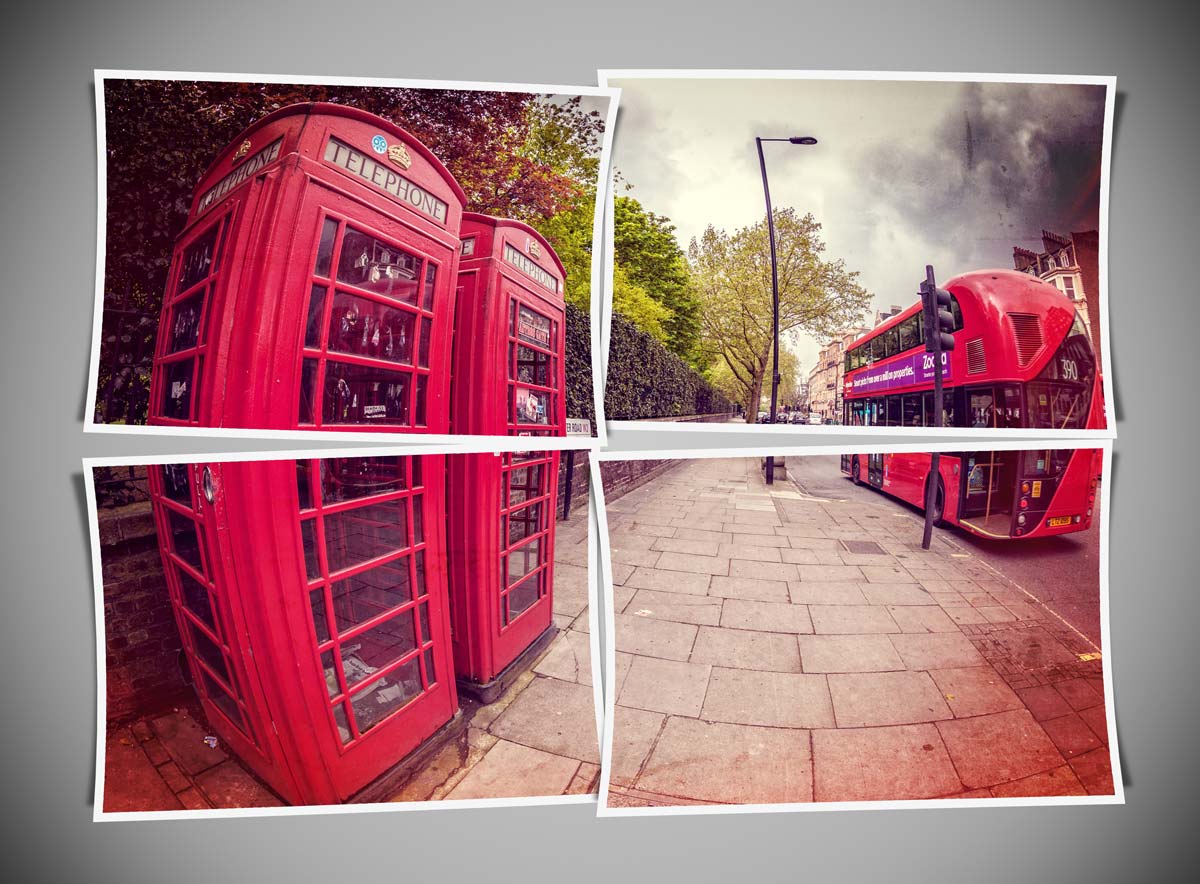
The idea with this Friday Freebie is really simple, take one photo, cut it into four equal parts and give each bit a twist or two. Well that was my plan when I started making this action but I just had to go one step further. So not only do the four parts get a twist but I also added a slight bow and simple shadow to create a feeling of depth. The best part is, all this happens with just one click of the mouse.

You can download the action here: four-parts-gavtrain.zip
Four-Parts---Gavtrain

To use the action, start with the photo you wish to chop up already open in Photoshop and then play the action. The first thing it does is make a copy of your photo so the original will be untouched and safe. There’s a lot of things for Photoshop to do with this action so it may take a minute or two to run through. As with most actions, the size of your image will effect the final effect. The photo above was 3000 pixels on the long edge but you can go bigger or smaller if you wish. The main difference will be the border size, so I’ve left the layer styles open and you can alter the border (Stroke) thickness at the end if you wish.

The action will work with Photoshop CC, CS6, CS4, CS4 and CS3 but WILL NOT work  with any version of Elements, sorry.

Usage rules
The action is copyright Gavin Hoey 2014. Use is limited to any personal, non-commercial purposes. Please share the Friday Freebie by linking back to this page. Do not redistribute the original action without my permission.

Download instructions
The direct link to download the actions is https://www.gavtrain.com/wp-content/uploads/2014/04/four-parts-gavtrain.zip

No support is provided with the Friday Freebies. If you need help Google or YouTube the question and you’ll almost certainly find the answer 🙂

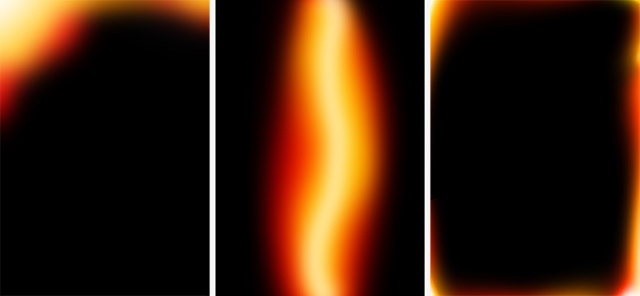
Three Light Leaks

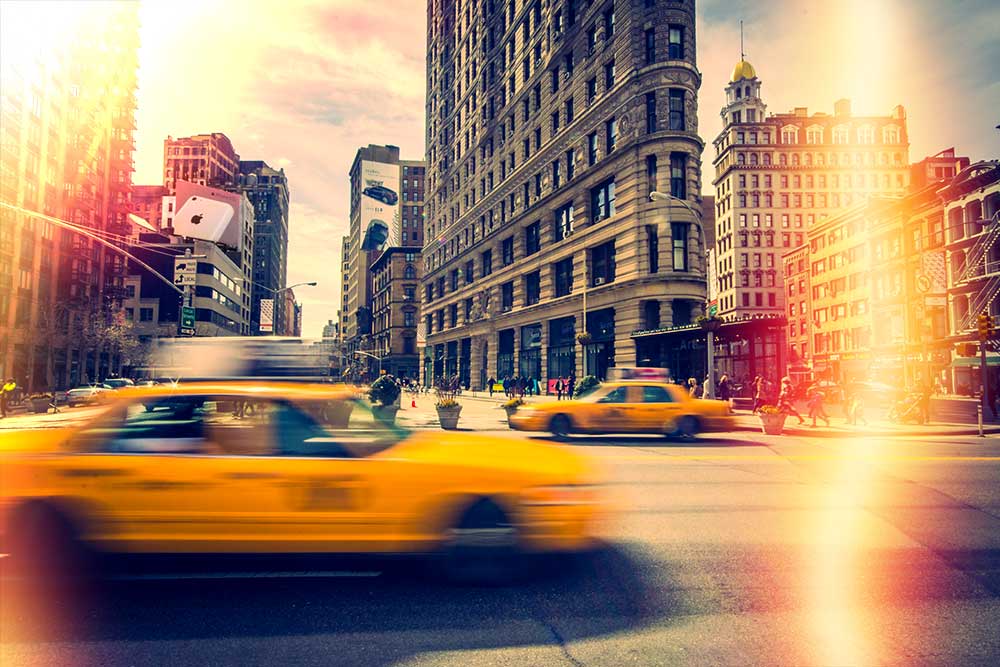
Light-Leak-Samples-NYCHere’s a Friday Freebie for those that love the vintage style photos. Light leaks were always a potential hazard for me back in the days of film photography, especially with my very first Praktica camera. Fortunately it rarely happened but now it’s very in.

Click Here To Download three light leaks

This Friday Freebie is not one, not two but three light leak images that are all ready to be pasted to your images. They’ll work with pretty much any photo but they really look good on vintage style images with a retro or timeless feel. In this case it’s a photo I snapped on a recent trip to New York

To use the light leaks first download them and unzip the file. Open the light leaks into Photoshop or Photoshop Elements and simply copy and paste them on to your image. Use Free Transform to rotate and resize them as much as you need. To blend them in simply change the Layer Blending Mode from Normal to Screen. If you want more light leaks, just paste them in!

Light-Leak-Samples

If you create a photo using the Friday Freebie then let me (and everyone else) know by leaving the link in the comments below.

Usage rules
The template is copyright Gavin Hoey 2014. Use is limited to any personal, non-commercial purposes. Please share the Friday Freebie by linking back to this page. Do not redistribute the original image without my permission

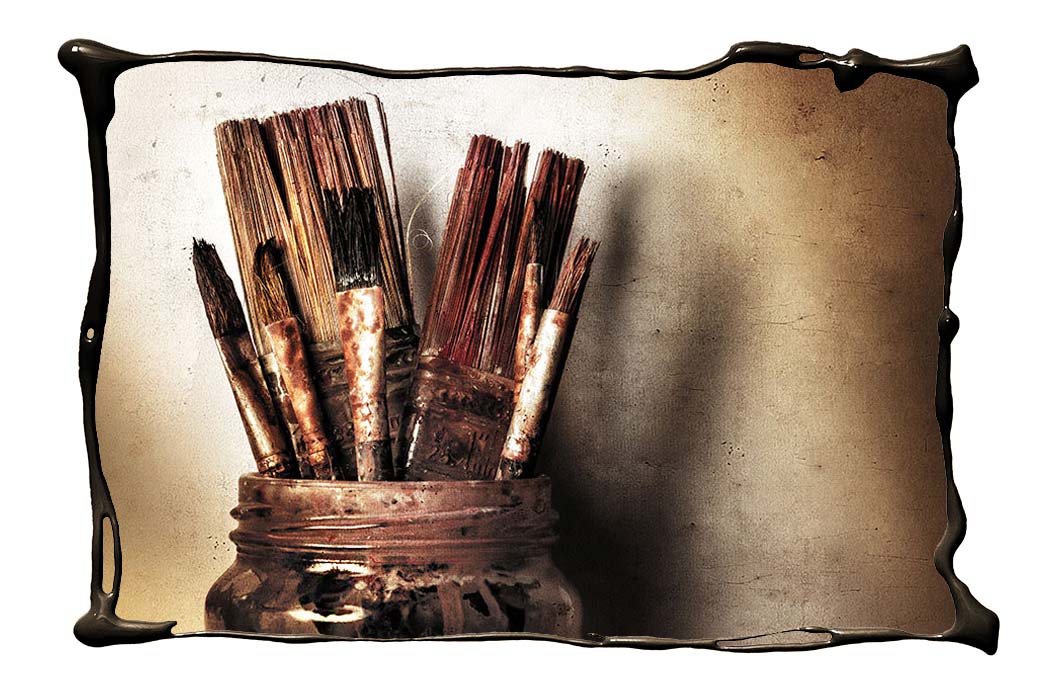
Wet Paint Border

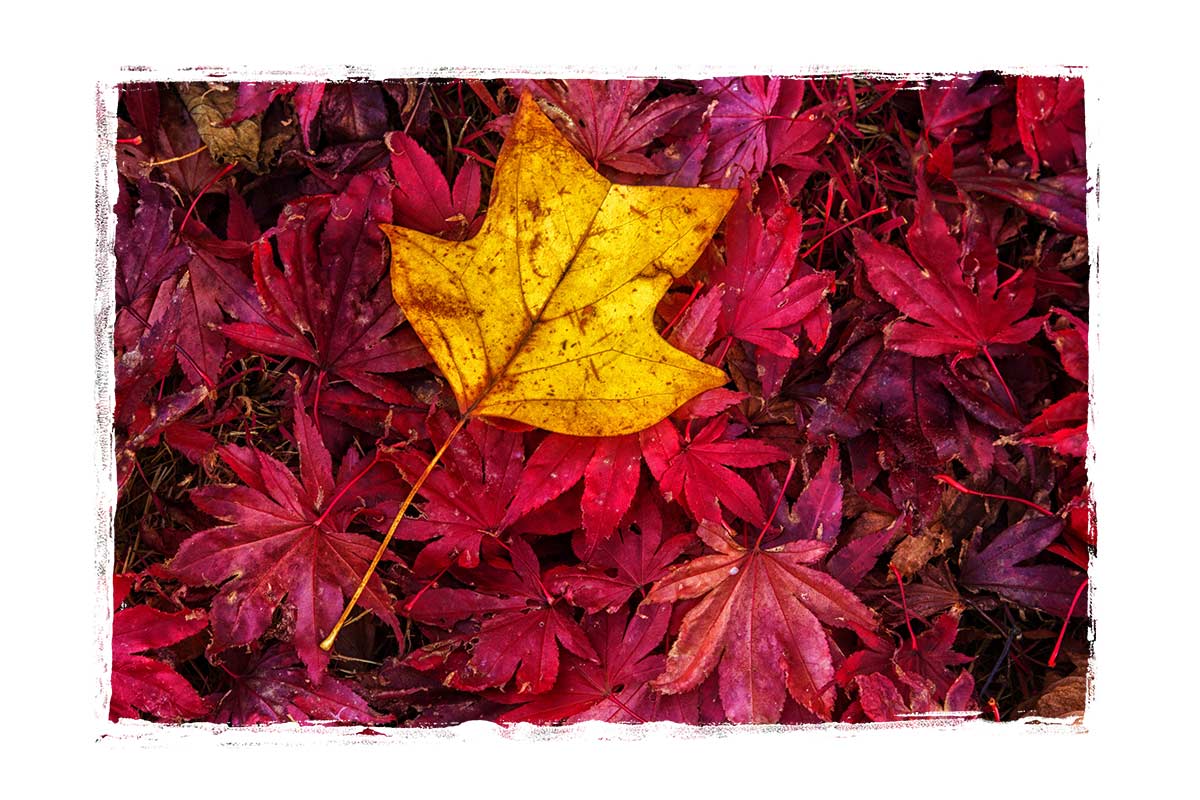
Wet-Paint-Border-finalThe Friday Freebies have had a bit of a break but by popular request, they’re back! So to kick things off here’s a free border that I made by pouring paint to form a photo frame.

Full download instructions are below but you can also
Click Here To Wet Paint Border

I do like getting in a mess with my creations but this one was particularly bad. I created it by dribbling paint from a pot onto white paper in a rough rectangular shape.

To make life for you a little easier I’ve already made the cut out hole, so all you need to do is drop your photo on a layer below the border and resize it to fit.

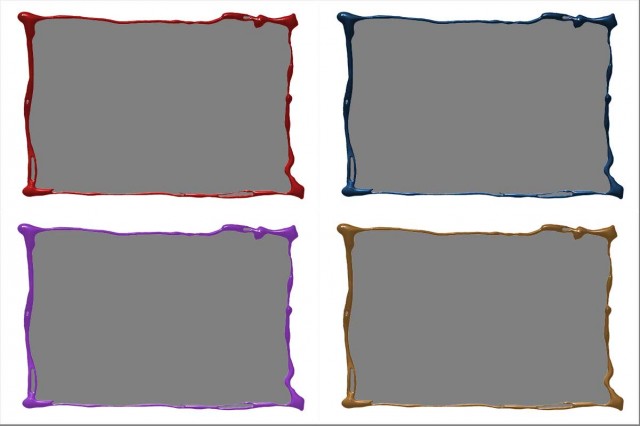
Wet-Paint-Border-examples

Don’t like the colour of the border? No problem. I’ve added a Hue/Saturation adjustment layer that only effects the border. Double click it and alter the Hue and Saturation values to create all these and  lots more too. You can also adjust the Lightness value but it will have to be in the plus range only.

As always, if you create a photo using the Friday Freebie then let me (and everyone else) know by leaving the link in the comments below.

Usage rules
The image is copyright Gavin Hoey 2014. Use is limited to any personal but non-commercial purposes. Please share the Friday Freebie by linking back to this page. Do not redistribute the original image without my permission.

Download instructions

Click the link https://drive.google.com/file/d/0B_Mmmm3K1utNdjB1YjRidjZocE0/view?usp=sharing
1. Click the Download button download_icon

2. The download should start automatically

Christmas PSD Template

Christmas-Template-GavtrainWith Christmas rapidly approaching this weeks Friday Freebie couldn’t come at a better time. It’s perfect if you need to make a last minute Christmas card or simply want to show off one of your festive photos.

Full download instructions are below but you can also
Click Here To Christmas PSD template

If you were one of the lucky few who were in the right place at the right time, then you will recognise this template as the one I photographed whilst testing the new live broadcast facilities in my studio. If you missed it never fear, details of my live streaming events in 2014 are coming soon.

I finished the template using the new Perfect Photo Suite 8 from Onone. The colour and texture were added in one click using the “Nicely Toasted” preset.

With several layers and lots of fine textured detail, this weeks Friday Freebie PSD template comes in at around 76mb. If you’re not on a fast internet connection if might take a few minutes to download.

As always, if you create a photo using the Friday Freebie then let me (and everyone else) know by leaving the link in the comments below.

Usage rules
The image is copyright Gavin Hoey 2013. Use is limited to any personal but non-commercial purposes. Please share the Friday Freebie by linking back to this page. Do not redistribute the original image without my permission.

Download instructions
Click the link http://adobe.ly/1koSnxj

1. Click the Download button download_icon

2. The download should start automatically

3. Save the template to your hard drive

4. Open in Photoshop or Photoshop Elements

5. Paste your photo above the “Your Photo Here” layer

6. Use Free Transform (CTRL+T) to adjust the size of your photo

Spiral bound template

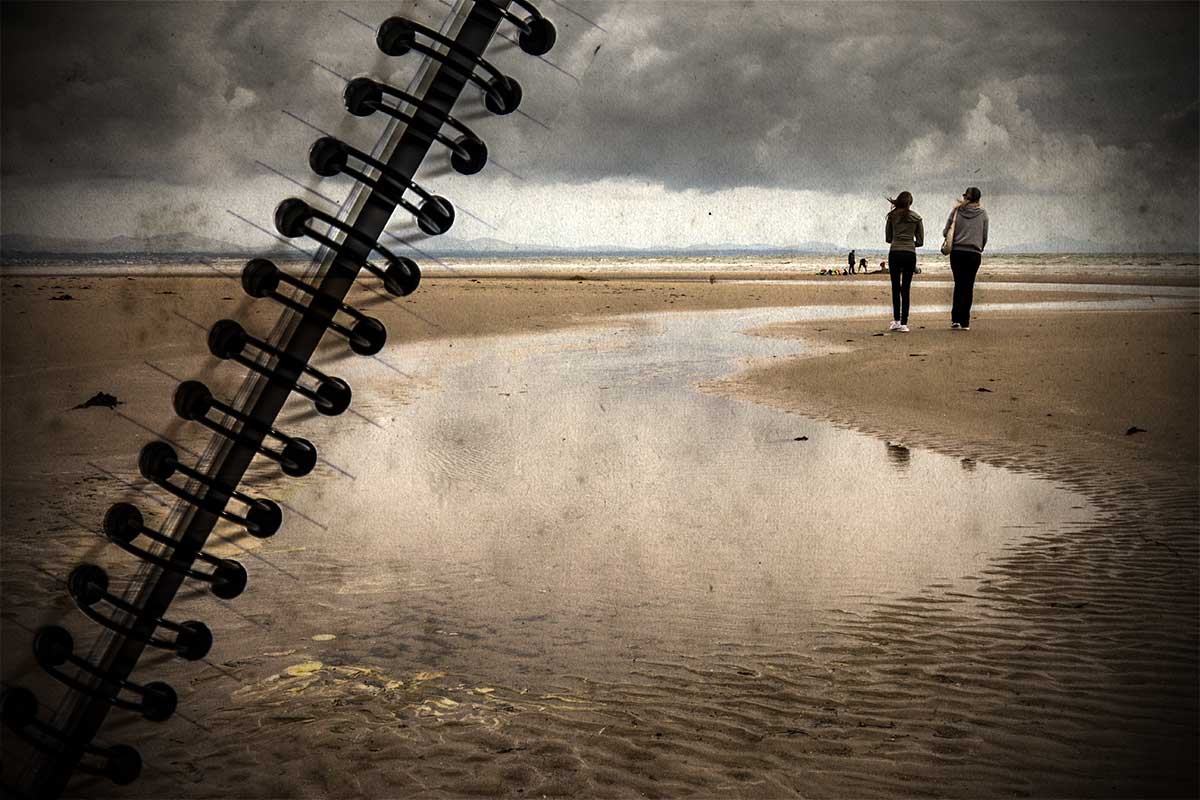
Spiral-Final-BeachWhy is it that the photos that look easy to shoot actually take the most time? This Friday freebie image is a perfect example. It looks like it should have been a quick thing to do but in reality it took the best part of half a day to shoot, and edit… You see, the things I do for you 🙂

I’m really happy with the end result, which of course makes all the effort worthwhile.

Full download instructions are below but you can also
Click Here To Download the Spiral Bound Template

Using the template is as simple as pasting your own photo over the template and changing the layer blending mode to Multiply. Other layer blending modes may well work too so it’s well worth experimenting. You can also try lowering the layer opacity for the photo layer and skipping through some blending mode, you’ll get a different set of results that way.

One thing to note. The Multiply blending mode will always makes your image darker, so I’d suggest adding a Levels adjustment layer above the photo (top of the layers stack) and tweaking the brightness accordingly, if you want to get an final image that matches the original photo.

Usage rules
The image is copyright Gavin Hoey 2013. Use is limited to any personal but non-commercial purposes. Please share the Friday Freebie by linking back to this page. Do not redistribute the original image without my permission.

Download instructions

Download instructions
Click the link https://drive.google.com/file/d/0B_Mmmm3K1utNLTNKNGhEWXhFTm8/view?usp=sharing
1. Click the Download button download_icon

2. The download should start automatically


Heavy Painted Border

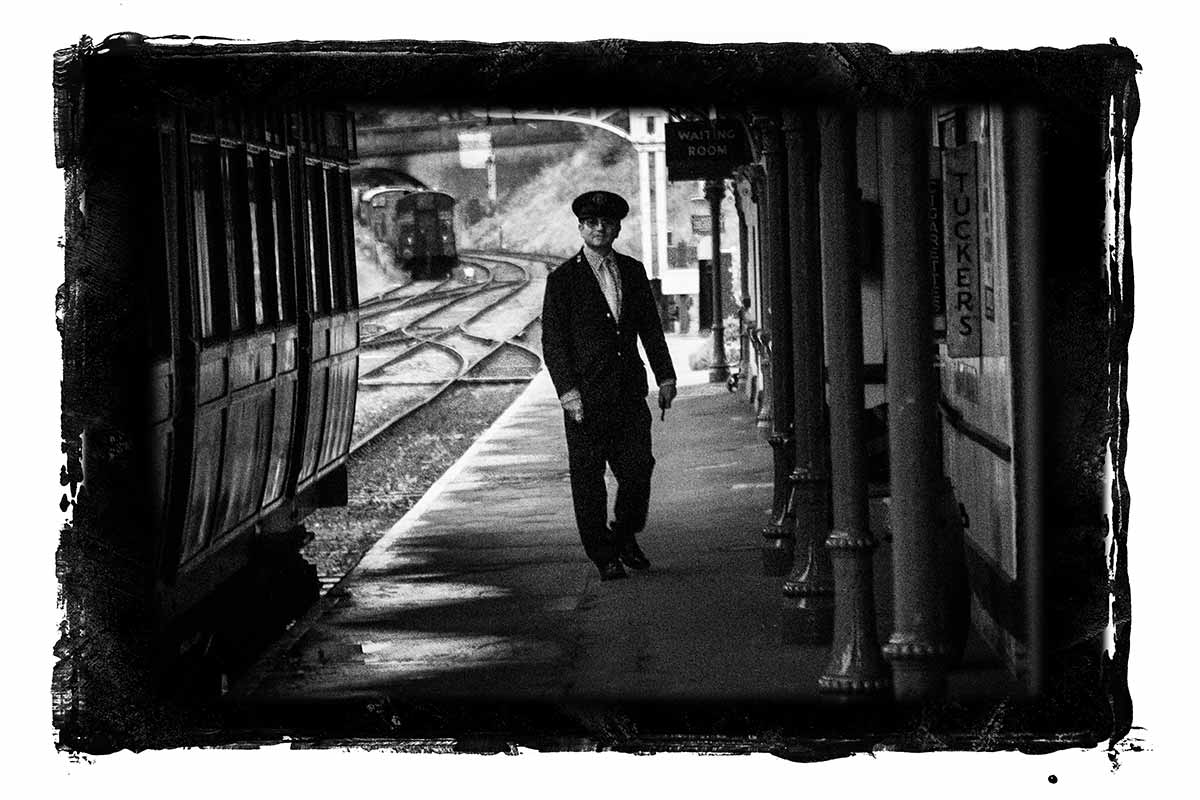
Steam-Train-Border-FFHere’s another amazing border from my recent painting session. This time I’ve gone for a border that surrounds your photo with a wide painted edge.

Full download instructions are below but you can also
Click Here To Download the Heavy Painted Border

I’ve designed this border so it can be used in two ways and it all depends on if you add your photo above or below the border.

Once you’ve downloaded it you’ll find I’ve removed the centre of the border image but left it transparent. S0 to make the image / border combo you see here all you do is drag your photo below the border layer in Photoshop. The centre area has a short fade so it blends in nicely with the photo.

The second option is to place your photo above the border layer. Doing that will give you a hard edge and you can decide how much of the border is seen.

You’ll need to resize your image or the border with Free Transform (CTRL+T). Use the corner handles to drag the image to the size you want and when done press Enter. The border will work with any photo although it’s especially good with black and white images.

If you create a photo using the Friday Freebie then let me (and everyone else) know by leaving the link in the comments below.

Usage rules
The image is copyright Gavin Hoey 2013. Use is limited to any personal but non-commercial purposes. Please share the Friday Freebie by linking back to this page. Do not redistribute the original image without my permission.

Download instructions

Click the link https://drive.google.com/file/d/0B_Mmmm3K1utNa19JQmtESDNVZjQ/view?usp=sharing
1. Click the Download button download_icon

2. The download should start automatically


White Painted Border

Painted-edge---finalThis was fun to make and not just because things got a bit too messy! This Friday Freebie was lovingly hand crafted from nothing but the finest kids paints, most of which seemed to end up on my desk and not the paper. There is a reason that happened and it’s not just because I’m rubbish at painting.

Over the years I’ve made many borders with paint but not always with paint brushes and this is a perfect example. To get the distressed edge effect I “painted” with the rubber edge of an old ice scraper that had been rolling around in the boot of my car for a few winters. I then photographed the edge and straightened in up in Photoshop.

Full download instructions are below but you can also
Click Here To Download the white painted border

Using the border is as simple as changing the layer blending mode to Screen. For the less advanced users that’s done like this…

Download the Friday Freebie and open it in Photoshop or Photoshop Elements, then open the photo you wish to add to the frame. Flatten any layers (Layer – Flatten Layers) and then press CTRL+A to select it all, followed by CTRL+C to copy. Jump over to the frame and press CTRL+V to paste the image on to the frame.

You’ll need to resize the image with Free Transform (CTRL+T). Use the corner handles to drag the image into the photo area and when done press Enter. Finally change the layer blending mode from Normal to Screen to blend the photo with the template.

If you create a photo using the Friday Freebie then let me (and everyone else) know by leaving the link in the comments below.

Usage rules
The image is copyright Gavin Hoey 2013. Use is limited to any personal but non-commercial purposes. Please share the Friday Freebie by linking back to this page. Do not redistribute the original image without my permission.

Download instructions
Click the link https://drive.google.com/file/d/0B_Mmmm3K1utNZnZxWnQxUGc0dHc/view?usp=sharing
1. Click the Download button download_icon

2. The download should start automatically


Distressed Wood Frame

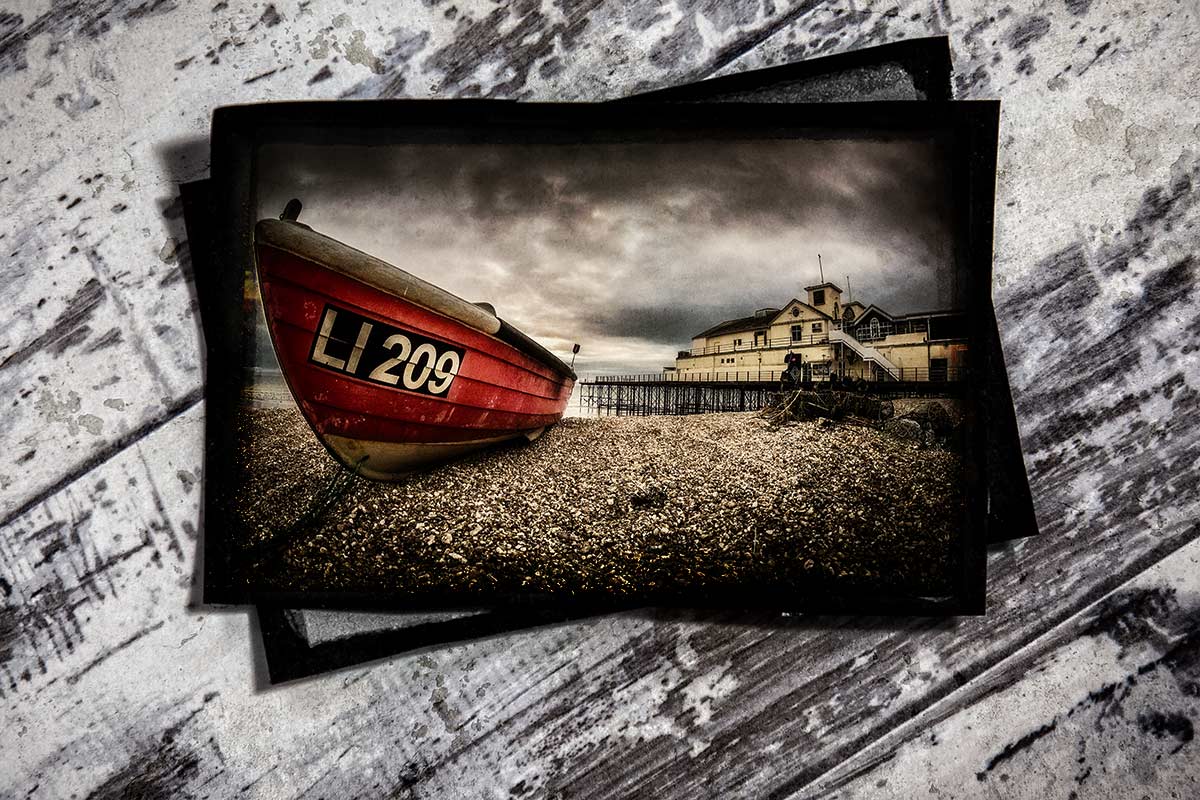
Distressed-Wood-Template-EGThis week’s Friday Freebie is a frame template that has a slightly dark, moody feel. The background is a sample of flooring bought from a DIY store. It has a wonderfully distressed and weathered look to it, making it the perfect compliment to everything from coastal scenes to urban decay. Once photographed and edited in RAW, I gave the final image a light texture effect using OnOne’s Perfect Photo Suite 8 beta, perfect for adding a touch of grunge!

Full download instructions are below but you can also
Click Here To Download the distressed wood frame

To use the Friday freebie download it and open it in Photoshop or Photoshop Elements, then open the photo you wish to add to the frame. Flatten any layers (Layer – Flatten Layers) and then press CTRL+A to select it all, followed by CTRL+C to copy. Jump over to the frame and press CTRL+V to paste the image on to the frame.

You’ll need to resize the image with Free Transform (CTRL+T). Use the corner handles to drag the image into the photo area and when done press Enter. Finally change the layer blending mode from Normal to Hard Light to blend the photo with the template.

If you create a photo using the Friday Freebie then let me (and everyone else) know by leaving the link in the comments below.

Usage rules
The image is copyright Gavin Hoey 2013. Use is limited to any personal, non-commercial purposes. Please share the Friday Freebie by linking back to this page. Do not redistribute the original image without my permission.

Download instructions
Click the link https://drive.google.com/file/d/0B_Mmmm3K1utNSnFEM1UwRjkxa3M/view?usp=sharing
1. Click the Download button download_icon

2. The download should start automatically


Vintage Border and Texture

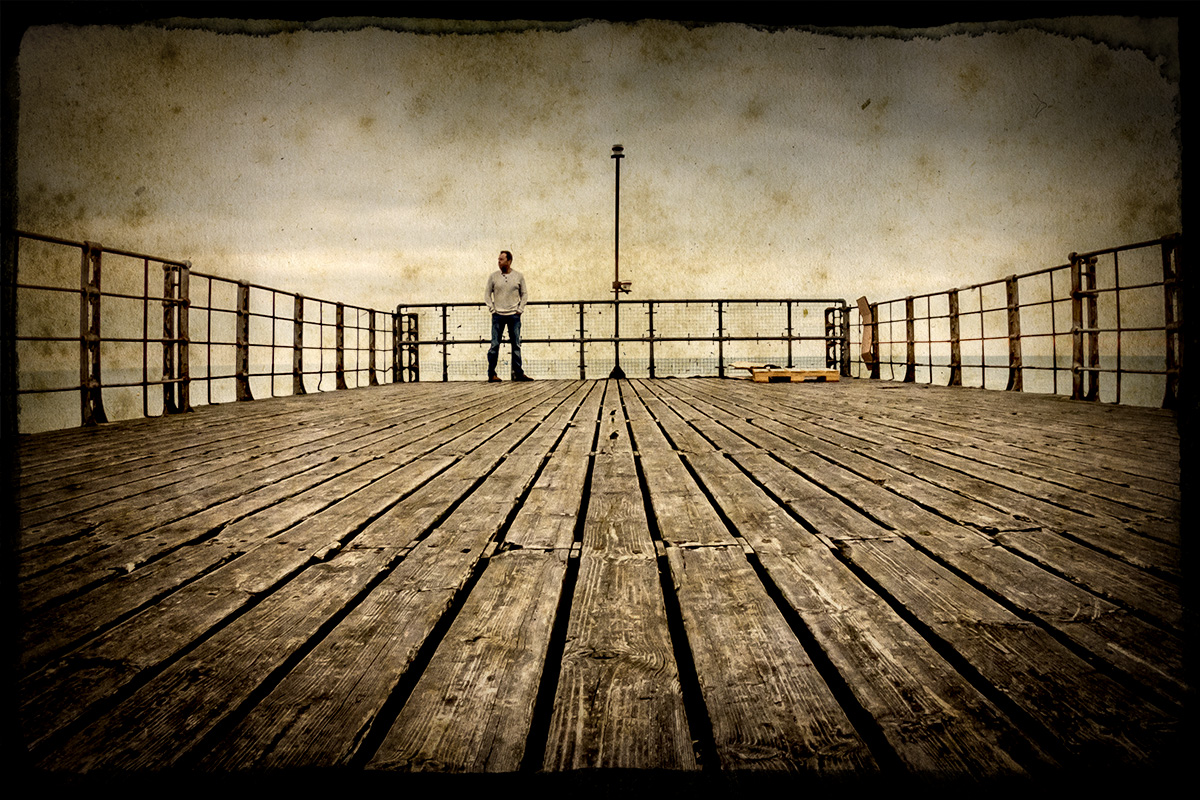
FILM-EDGE+FINALThis week’s Friday Freebie is a vintage border and texture combined into one. It’s a warm tone texture that combines staining and aging with a custom made distressed black edged border. The texture is actually the inside leaf of a very old and rather battered book that Sam picked up at a boot sale. All the blank pages have this amazing textured appearance and I’ll be sharing more of them as Friday freebies soon.

Full download instructions are below but you can also
Click Here To Download the vintage border & texture

As with all textures it works best with photos that have large areas of bright tones such as this one which has loads of bright sky. All you need to do is paste the texture above your photo and set the blending mode. There are loads of different layer blending modes and they’ll all give a different look but I’d suggest Multiply as the best mode to try first.

This is a fairly dark texture and the Multiply blending mode will also make the image less bright. Once you’ve added the texture I’d suggest adding a Levels adjustment layer to either your photo or at the top of the layer stack and moving the middle levels slider to adjust the overall brightness… if required.

If you create a photo using the Friday Freebie then let me (and everyone else) know by leaving the link in the comments below.

Usage rules
The image is copyright Gavin Hoey 2013. Use is limited to any personal, non-commercial purposes. Please share the Friday Freebie by linking back to this page. Do not redistribute the original image without my permission.

Download instructions
Click the link https://drive.google.com/file/d/0B_Mmmm3K1utNaTlfSUdvSjB1b0U/view?usp=sharing

1. Click the Download button download_icon

2. The download should start automatically


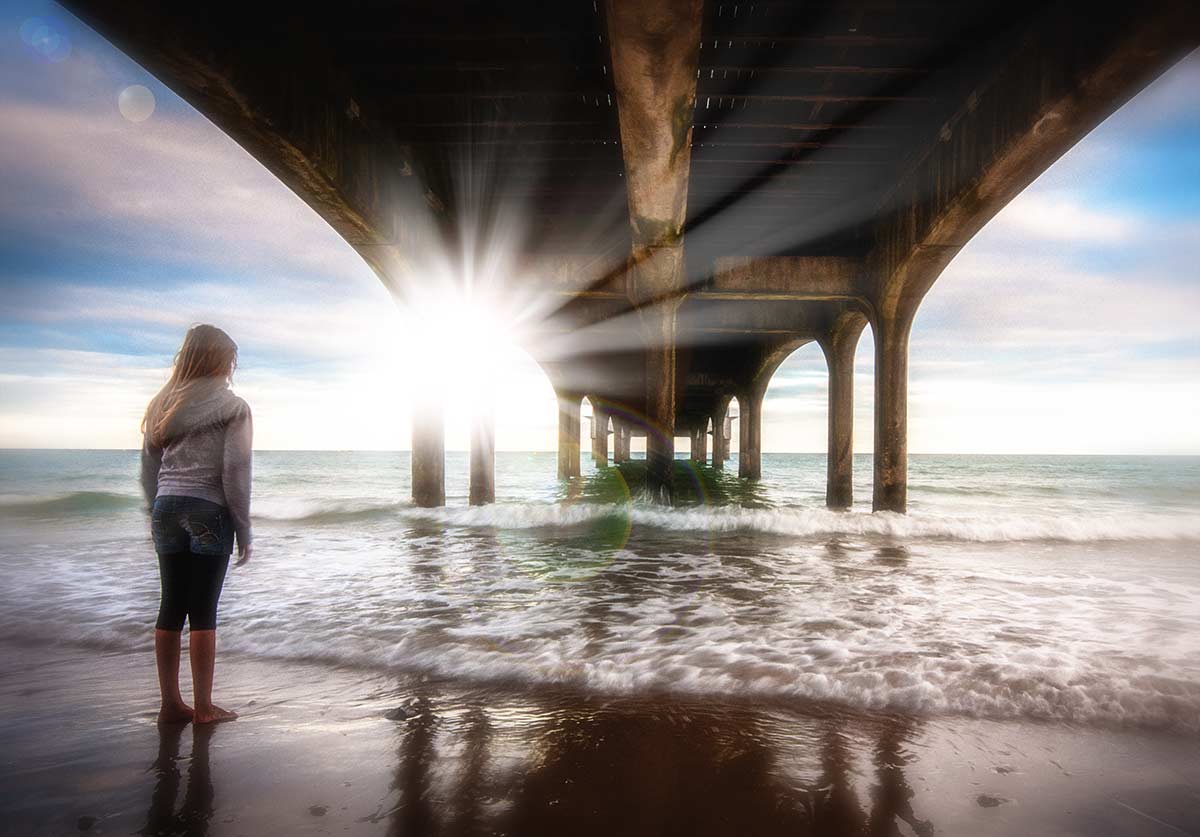
Lens-Flare-(Start)This weeks Friday Freebie is a a high resolution image that adds a light flare to any image. I’ve also added some lens internal artefacts to the
template for that added touch of interest. Best of all it’s unbelievably easy to use and works with any image.

Click Here To download the Light flare template

Once downloaded, the light flare template will need to be unzipped. To apply it to your photo open an image in either Photoshop or Photoshop Elements and then open the lens flare template. Copy and paste the template over the image and change the layer blending mode to Screen. Finally use Free Transform to resize, rotate and reposition the lens flare to suite the image below.

If you create a photo using the Friday Freebie then let me (and everyone else) know by leaving the link in the comments below.

Usage rules
The image is copyright Gavin Hoey 2013. Use is limited to any personal, non-commercial purposes. Please share the Friday Freebie by linking back to this page. Do not redistribute the original image without my permission