Best of 2011

As the year draws to a close it’s the perfect time to look back at my videos from the year.

2011For those of you who like statistics, I uploaded 53 video tutorials to my YouTube channel during the past 12 months, which have had just over 4.75 million views in total this year, which is 13000 views per day. With a mixed bag of Photoshop, photography and review videos, I suppose it;s inevitable that some videos will be more popular then others. So here are the winners and the losers from the class of 2011.

Most watched video from 2011
Standing head and shoulders above everything else is my Fractured image effect Photoshop video. With over 110,000 views and 1260 “Likes” it’s easily my most popular video of the year.

Most Talked about video from 2011
When I say talked about I mean comments left by YouTube viewers. Once again there’s a clear winner, “Timelapse Photography tips from start to end” may not have the snappiest title but it’s had almost 250 comments.

Longest Video from 2011
The shortest video of the year lasted less then a minute, but the longest ran for almost 23 minutes. Many of you might remember I spoke at Photoshop World in Florida earlier in March 2011 and “Photoshop CS5 top 5 new features” was my way of rehearsing a small part of the live presentation.

Most disliked video from 2011
Of course not everyone likes everything I publish and on YouTube there’s a dislike button to anonymously vent your displeasure. A close fought race with 9 dislikes each, the winners are “Fractured image effect” and “Super quick painterly effect”


My favourite video of 2011

Finally I have to choose the one video that I’ve enjoyed the most in 2011. This year that’s a really tough choice as I’ve really enjoyed sharing both my Photoshop and photography knowledge, but it’s the Photography videos that I find I can watch time and again. In 2011 I made videos in some amazing locations… in the sewers of Brighton, at the modern studios of Hassleblad and even whilst relaxing on my holiday in Norfolk.

So which was my favourite? Gatwick Aviation Museum – 15 Minute Photo Challenge. Why? Well it was a bitterly cold day, so cold that the batteries failed on both the video camera and audio recorder. The weather was terrible for photography with flat lighting and blank grey skies. None the less the location was so amazing that I saw great photos everywhere I turned.

New for 2012
So what’s coming up next year? More 15 Minute Photo Challenges, more Photoshop, more Lightroom, more Elements… I hope you keep watching Smile

Using a Grey Card in Lighroom

imageColours can be a very subjective thing, I might process a picture and push the colours towards the warm side, where as you might process the same picture but process the colours a bit cooler. On their own both pictures will look perfect, but viewing them side by side will highlight the colour difference.

Now you might ask the question, does that really matter? To which my answer would often be, no. If you’re happy with the colour then that’s fine. However there are certain times when getting the correct colour is absolutely vital.

Perfect colour rendition is vital if you’re a record photographer shooting, for example, a painting for a catalogue. But how many of us do that? No, the place I need perfect colour is shooting portraits and that’s why I use a grey card.

In my last blog post I reviewed the WhiBal card from Michael Tapes Design. In this post I’ll show you how I use the card in my Lightroom workflow.

WhiBal Grey card ~ Review

Col2When it comes to getting very accurate colours in your photos, you’ll need to start with a known colour reference. That’s where a grey card comes into it’s own.

I’ve used several grey cards in recent years, but the WhiBal from Michael Tapes Design USA is my current favourite. The WhiBal cards come in several sizes ranging from Studio sized 8”x10” sheets, right down to the dinky keyring sized Whibal Card. They’re all made from plastic which means they’re waterproof and fairly durable, although I suspect the keychain version would get scuffed up quite quickly.

It’s worth noting that these are the sort of grey cards that are used for getting perfect colour balance rather then the kind of grey cards that are used for getting perfect exposure. As such the WhiBal cards are all light grey in colour, although to be technically accurate they have no colour at all, as they are certified colour neutral.

Colour Accuracy
Col1So how does the WhiBal perform?  Like all good tools these things make a mundane, everyday task, simple and predictable. In this case it’s job is  to get the colours accurate and to that end it’s faultless.

You might not be able to see much difference in the photo opposite (click it to enlarge) but trust me, when it comes to something like skin tones, the difference between getting the colours almost right and getting the colours spot on is vast.

Added bonus
IMG_7786All the WhiBal cards have a couple of nice touches… a ruler scale along the edge, Black and white patches and a star burst shaped target. Now personally I don’t find most of these that useful, but I’m sure others will. However the star burst target is a great way to check and remove lens chromatic aberrations.

In the next blog post I’ll show you exactly how I’ve integrated the WhiBal into my studio workflow.

Prices & availability
At $20 for my favourite “credit card” sized WhiBal card, these things aren’t disposable but unless you loose it, I’m sure it will last for a very long time. Sadly the WhiBal cards are a US import only, although mine arrived within a week and without any problems with customs charges. Details and prices can be found on the Michael Tapes Design website.

Christmas Photoshop Quiz

Photoshop-XmasIf like me you love a good quiz at Christmas then here’s 10 questions that will put your Photoshop knowledge to the test.

They range from quite easy to very tricky and all the answers are multiple choice.

Getting the answer to a question right first time will increase your percentage score, so choose wisely.

REMEMBER… Having Photoshop running to check your answers or Google-ing the question isn’t in the spirit of the quiz.

Good Luck and Happy Christmas

[mtouchquiz id=1]

One Light, Three Portrait Styles

A4514753Earlier in the year I had the chance to spend a day at the Hasselblad studios in London. I got some hands on time with their top of the range H4D-50 camera and shoot some photos. I also squeezed in some time to record a couple of videos. The first was on getting the perfect white background and this video is all about getting three looks from just one light.

When I first started studio lighting I made the classic mistake of buying four lights, opening all the boxes and setting all of them up at once. It was roughly at that point I realised that lighting was clearly much harder then I had first thought. There were lights pointing everywhere and despite several attempts, getting any sort of balance to the light was just to much for me to figure out.

So that’s why now, when I’m training photographers in studio lighting, I always start with just one light. From experience I’ve found that one light works wonders for learning the essentials of studio lighting and as you’ll see in the video below, there’s still plenty of creative options to be had.

If you’d like to learn more about studio lighting I run one to one (or small group) training sessions at my studio in West Sussex.

Welcome to Facebook

379827_323382834338396_111530145523667_1311774_1373258528_nCasual visitors to my Facebook page may notice something a little different right now. A few days ago I added a welcome page to my facebook site. If you’re not “liked” my page this is where you’ll land but if you have “liked” the page you’ll be directed to my wall, so here’s the link you’ll need https://www.facebook.com/gavtrain?sk=app_190322544333196

So why would you want to visit my welcome page? Well the first and frankly only reason to visit is to get the chance to watch an exclusive photography and Photoshop tutorial on painting with light.

Remember you’ll to have “liked” my facebook page to see the video.

Goodwood Slideshow

Untitled-1
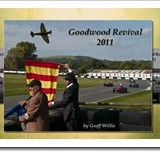
Back in September 2011 I held a camera training session at the Goodwood Revival. If you missed it, check out my blog post here.

I was guests of Geoff & Dan who were kind enough not only to arrange entry for us all, but also access to the reserved display area. That meant we could get up close and personal with some amazing cars.

Recently both Dan and Geoff sent me a load of their images, so I’ve thrown them together to make a short slideshow created with Proshow Producer.

If you watch closely you’ll see a slightly strange photo of me, Geoff & Dan (and no, we’re not the ones wearing the blue skirts)

Using Color Range in Photoshop – Video

383902_317212828288730_111530145523667_1295422_167075679_nThere are many ways to turn a colour photo into a mono masterpiece in Photoshop, but in this tutorial I aim to keep some of the original colour and bring back through the black and white effect.

To achieve the final image I’ll be using the Color Range, which is an often overlooked selection tool that’s been around in Photoshop for a very long time. So if you’ve never tried it before, now’s a great time to give it a whirl.


Shutter Failure

err99They say nothing lasts forever and so it is for my much loved Canon 40D. It’s with much sadness that I have to report that my trusty war horse has taken it’s last shot. Over the past 4 years my Canon 40D has been in my camera bag for every shoot I’ve been to, it’s been the star in many of my photography videos and is my “go to” body when shooting sports.

So what’s caused the sudden demise on my 40D? The shutter has failed which causes the dreaded error99 every time I press the shutter.

However even with it’s last gasp the 40D didn’t disgrace itself. It could have failed on a pro shoot or whilst I was on holiday, but luckily the failure occurred during a practise session in my studio.

According to Canon the shutter on a 40D is expected to last (on average) for 100 000 photos. Now I knew my 40D has taken a large number of photos but had it exceed 100K? No, not even close.

In fact Canon 40D shutter failed after 61800 actuations… I’m not impressed.

shuttercountIs your number up?
So how many photos has your Canon taken? To find out you’ll need to grab a free copy of EOSinfo from Astrojargon. Plug your Canon camera into your computer via the USB cable and switch it on.

Paste your shutter count in the comments below. Can anyone beat my count? I really hope so.


UPDATE: Further testing has shown all is not lost as I can still shoot in Live View mode. A repair is also possible but at around £250 with no guarantee that something else won’t fail next week of course.

Building a Photoshop Power PC – Part 3

This is the third and final part of my PC build (subject to some horrible disaster befalling my PC) so if you missed part 1 in which I listed the parts I used or part 2 which I described my experience of the build, then it might be a good idea to jump back and catch up.

A77JTOperating System
So after my Photoshop Power PC was built, I just had to install an operating system. Let’s be honest there’s not much choice when it comes to operating systems. There’s Microsoft Windows and err that’s about it. So Windows 7 Home Premium 64bit is what I installed.

Once the PC was up and running it was really tempting to jump on the internet and check my Facebook page, Twitter account and emails, but no. First thing to do is download the latest drivers and updates for things like the motherboard chipset, graphics card and not forgetting the endless updates to Windows 7 which required constant restarting of the PC. Fortunately the SSD really comes into it’s own when it comes to shutting down and starting up the PC, which it can do in under 45 seconds.

niniteEssential Software
The next thing to do was to install my list of essential software. Now this could be a long and boring task, especially as most installers need you to agree to its terms and decline the bloatware, but I had prepared for this moment by selecting my software on http://ninite.com/ using my old PC.

Basically Ninite allowed me to select the programs I needed from its list of software. I could then create a single web link that would download and install everything I needed with just a couple of clicks. It saved me a tonne of time and comes very highly recommended.

By the way, top of my list of downloads was anti virus software. Better safe then sorry.

Need for speed
So how does my budget power PC perform? It’s simply awesome!

I’ve not run any accurate performance tests but from the moment I switch it on the speed increase is clear. Windows starts up and is ready to use in under 30 seconds, something that used to take a good few minutes or more on my old PC.

Photoshop runs with a silky smoothness that makes it a pleasure to use. If you’ve ever used the HDR Pro feature of Photoshop CS5 then you’ve probably watched your PC grind to a halt, especially if like me, you work with large RAW files. Well those days are behind me as I can fire up HDR pro with 5 RAW files from a Canon 5D mark2 in just a few seconds.

Video files render at least twice as fast as my old PC and perhaps even faster. I can also scrub through my video previews in Premiere in real time, rather then the 3 or 4 frames per second I used to struggle along with.

Final thoughts
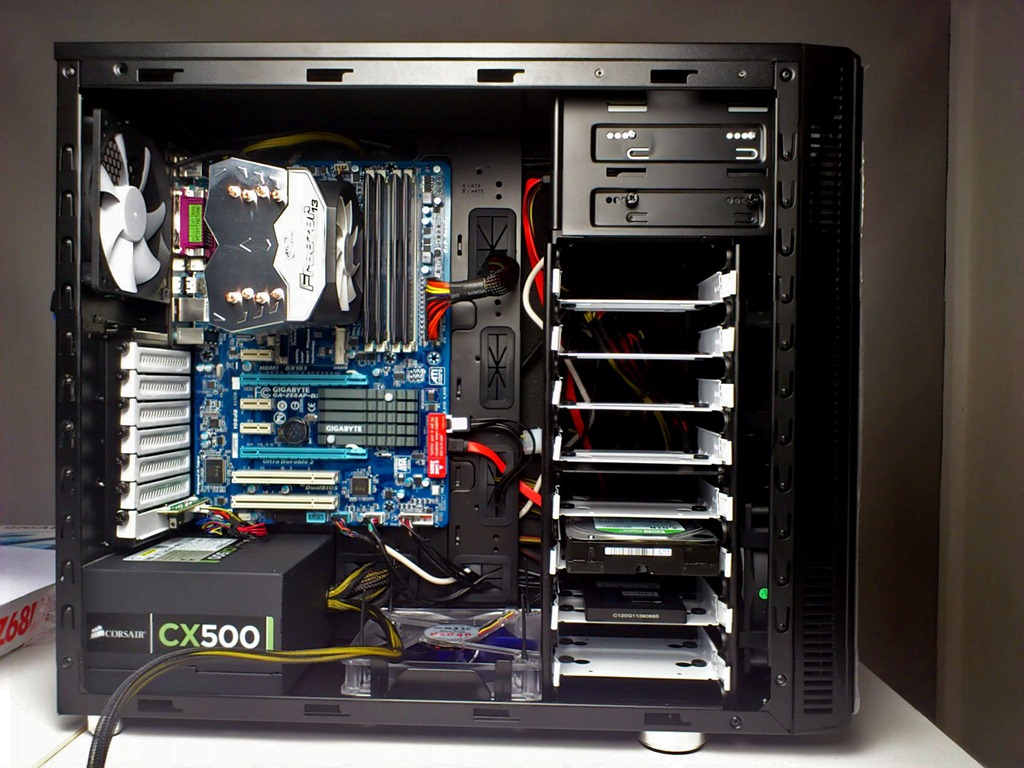
Since I started writing about my PC build I’ve had many people contact me. Some have given me help and advice which I’ve been grateful to receive. Others have told me they’re building their own PC based on my spec and in that case I’m really pleased I helped.

The stars of the show are the SSD drive and the 16GB or RAM (in that order) both of which have made a huge improvement to performance.

The whole experience has taught me a lot and demystified the inner workings of a computer, which can only be a good thing.