
 In the first episode of Creative Lightroom, my new 10 week series, I have a great light leak technique which looks amazing on vintage and retro styled images.
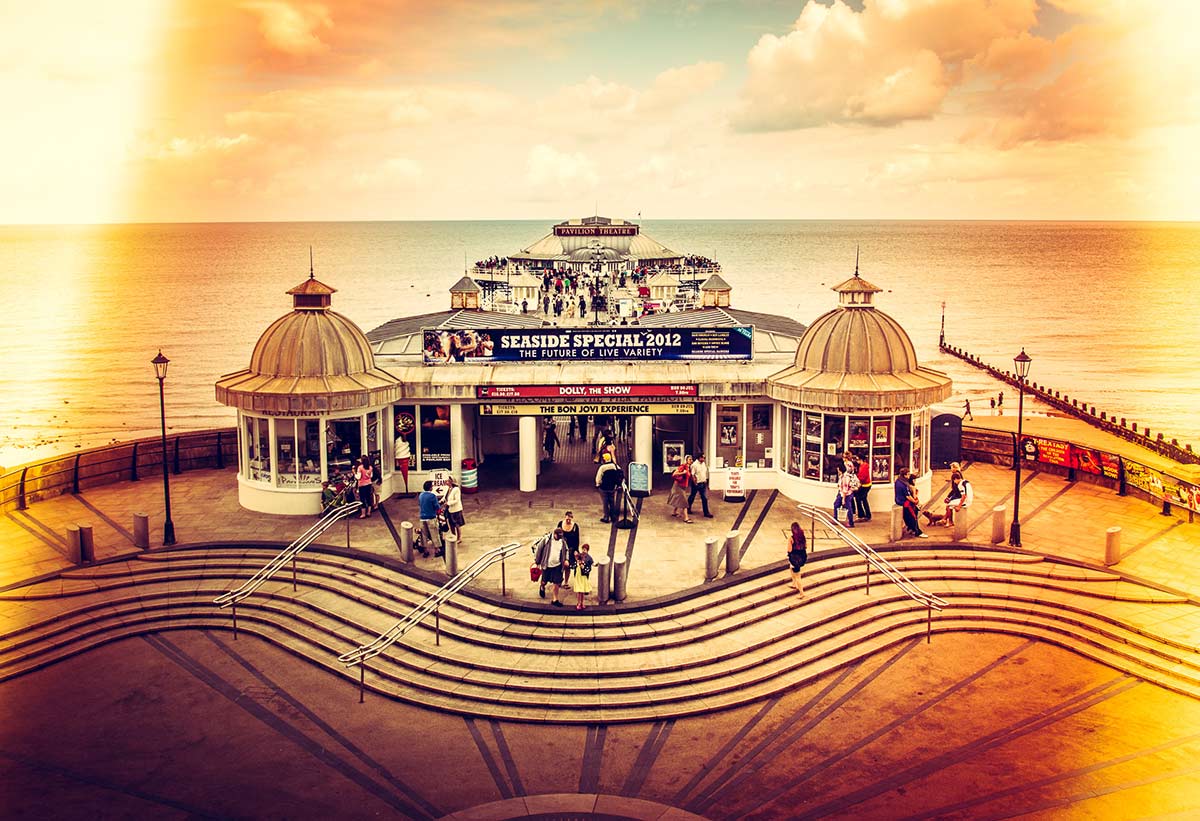
Light leaks were origianlly a problem that affected film cameras and often resulted in a ruined photo. On the rare occasion a light leak would occur which actually enhanced the photo. Using Lightroom it’s very easy to choose which photos would benefit from a light leak and how big it needs to be. On the right photo light leaks will look amazing.
It’s worth mentioning that if you’re a Photoshop user rather then Lightroom user then remember EVERYTHING I show in the video is the same as Adobe Camera RAW in Photoshop CS6 and Photoshop CC.
[youtube]http://www.youtube.com/watch?v=YQzIgb9G6Bs[/youtube]
Thanks Gavin, clear and concise as usual.
Thank you gavin brill as always
Hi Gavin, I’ve just installed Lightroom 5 so any tutorials are a great help! This was very clear and easy to follow. Brilliant, looking forward to the next ones. Thank you.
Excellent as always
good stuff mate keep them coming
I really appreciate your effort in share your knowledge, thank you!
Brilliant Gav as always
Thank you.
I have to be honest though, I can’t see how I would do the radial effect in RAW – but the straight line one works a treat just following your exact settings
Just need to take a photo now which lends itself to this!
Thanks again
Nice technique, thanks Gavin. A suggestion … at the end of the Lightroom videos it would be helpful to say that these techniques can be replicated in Photoshop’s Adobe Camera Raw with the equivalents being PS6 ACR = LR4 and PS CC ACR = LR5 just so those without Lightroom know that they can still achieve the same results.