
 When I first started to learn about lighting I focused all attention on the complexities of flashes first and foremost. Of course whilst lighting is the cornerstone of great portraits, so is an ability to get the best from your model and trust me on this, that can be a lot harder to master.
One way to practice portraiture is shooting a self-portrait project. It’s a great way to practice and perfect various lighting arrangements without the need of a model, subject or assistant.
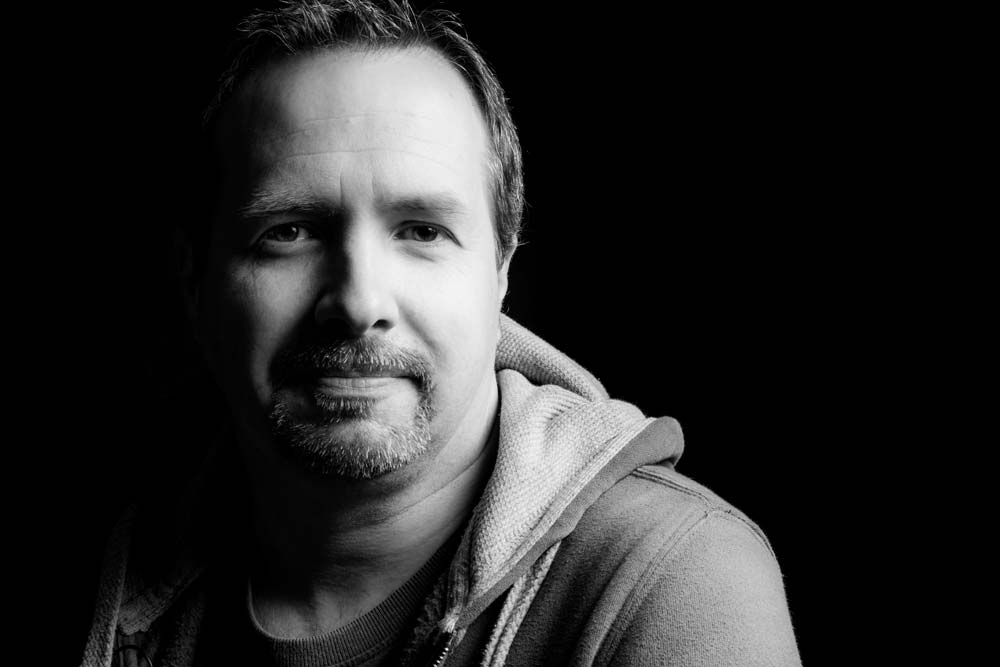
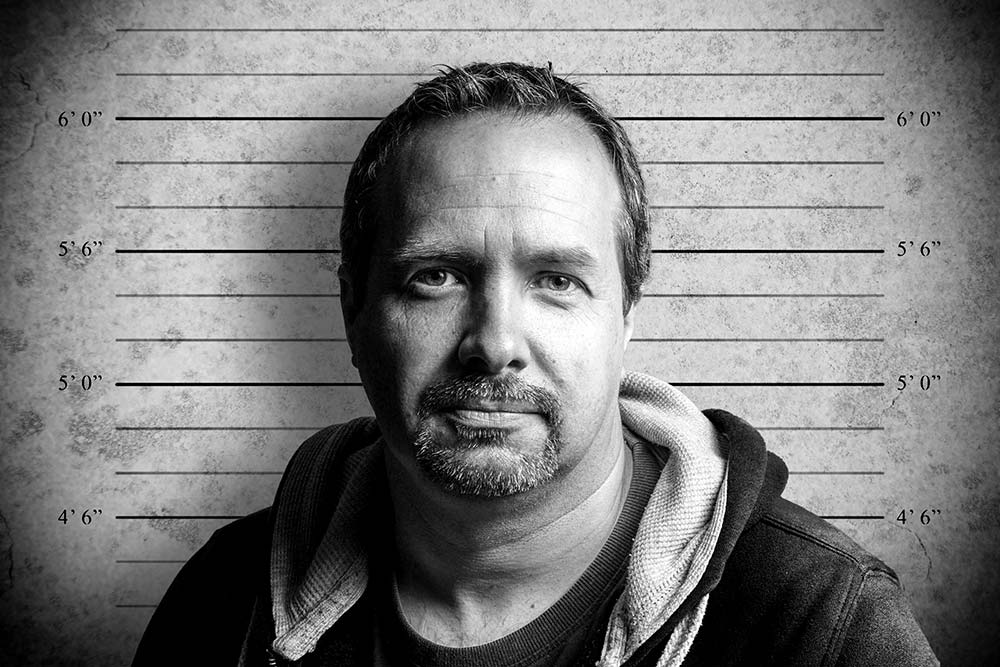
In this video I’ll show you how to shoot two very different self portraits but remarkably, the lighting will be identical for both. The only thing that will change is the background.
Why change the background, you may ask. Well, the first shot has a black, low key background and the second set of photos has a grey background, which is much simpler to remove and replace with a new background in Photoshop, as you’ll see in the video.
[youtube]http://youtu.be/C2b61bZ-J44[/youtube]
If you can’t see the video Click Here

Gear used in this video
Interfit Collapsible Double Sided Background, Black / White
Vanguard Alta Pro 263AT Tripod
Interfit air cushioned light stand
(All links go to Adorama, who sponsor all my videos)
Another great tutorial!
Question:
I see that even though you use a tripod to put the camera on, you leave the lens stabilizer on “on” .
I’ve always been told to switch the stabilizer off when using a tripod, because the lens stabilizer would try to compensate for movement, thus causing unsharp pictures.
So, I would; like to now if this is true or not?
Thanks,
Kurt.
Some lenses are tripod aware Kurt, which means the IS is only active when it’s needed. Basically I leave my IS at all times and my photos are just fine but if you’re worried, turn it off. Just remember to switch back on again at the end 😉
Thank you for the reply.
Mug shot of the year .
Excellent tutorial Gavin, made it look simple and fun, as always. Dying to try this out at home. Brilliant, keep up the good work!
One quick question, do Adoroma post to UK??
Hi Gavin, Thanks some good pointers there, can’t remember you being over 6′ tall though!
I was standing on a box Terry 😉
Great tutorial Gavin! I am going to try this out over the weekend.
May I ask where you found your “mug shot” backround?
Thanks…Dick
The background was all my own work Dick 🙂
Excellent!
Great video tutorial. Am looking forward to trying that out.
Are you able to supply a link to that height background image by chance??
Check back next Friday and you may well find it 😉
Hello from Slovenia!
I just bought an ancient Minolta SRT 101 just for fun. Maybe an idea for a video. Matchup between DSLR and ancient Camera. Print quality without post procesing. What do you thing?
G.
this is awesome thank you for sharing!
Nice tutorial Gavin. You didn’t mention what power setting the flash was set to? Was it in manual or were you using TTL?
Hi Wayne. The flash was in ETTL mode throughout the video.
Excellent.. I did a mug shot setup with one light for Movember at our office (40 people). I made the background from scratch using old 54 white inch background paper. I was always concerned with the shadow I was getting on the background until I saw your video.
Thanks
Your tutorials are great, mind if I ask where did you get your background (the one with the height measurements).
More power to you!!!
It’s one I made myself and will be sharing very soon 😉
I have the same flash and camera. But I don’t see any what I can get the camera to fire off the flash without a pocket wizard. How did you DO that!!!????
Pat its in the menu under flash settings. you have to enable the wireless setting and set the camera to only fire the speedlite. The on camera has to be open inorder for it to work. It is also in your manual and it gives a little better description of what I just did. Good luck.
Also, you need to make sure that the batteries are good in the flash or it will not receive the signal from the camera.
Not having the umbrella, how can we improvise and get this smooth light?
Can you please please have the subtitle on which will make it easier for me to understand. I dont see any thing that says *CC* Please please Please have it turn on when you do your video. That will help alot of others who has problem with hearing loss just like mine. Hope you reply quickly. Thank you!!! I am one of your fan on facebook. 🙂
Hi Gavin
Great video but when I try this I can’t seem to get the shadow as the built in flash and speedlite fill the whole picture with light when using a black backdrop.
Any suggestions welcome 🙂
Thanks
Dan
Hi Gav, great video as usual, are you going to FOI this year?
Thanks for the great tutorial Gavin
Here is my result
http://www.flickr.com/photos/okvalle/8496821680/
I watched this video on Youtube and I just loved it. Simple, yet very effective, what more to ask from a little photo session 😉
Hi can I use a shooot thru white umbrella instead of a reflective umbrella… Any changes to the camera settings used here ?
Hi Gavin,
As a newbie to photography, I was wondering what sort of ambient lighting you had around the set of the photoshoot as my attempts at this tutorial were very harsh and well amateur looking
The ambient light was a couple of big video lights but the thing about flash in the studio is the ambiant is almost always to weak to be seen but the camera.
Hard light is usually a product of a bare flash. Try softening it by bouncing or use a shoot through brolly / softbox.
Practice and experimentation is the answer 🙂