Building a Photoshop Power PC – Part 2

DSC_0255A few weeks ago I wrote Building a Photoshop Power PC – Part 1 in which I went through the rather enjoyable process of choosing components for my power PC. I used a couple of different companies to supply the parts for my PC which saved me money but cost me a bit of time as everything didn’t arrive together.

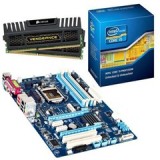
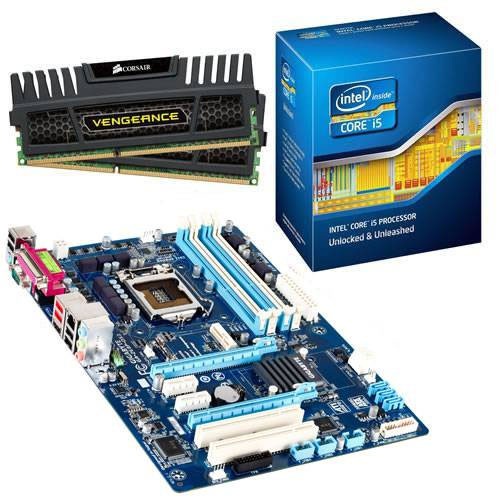
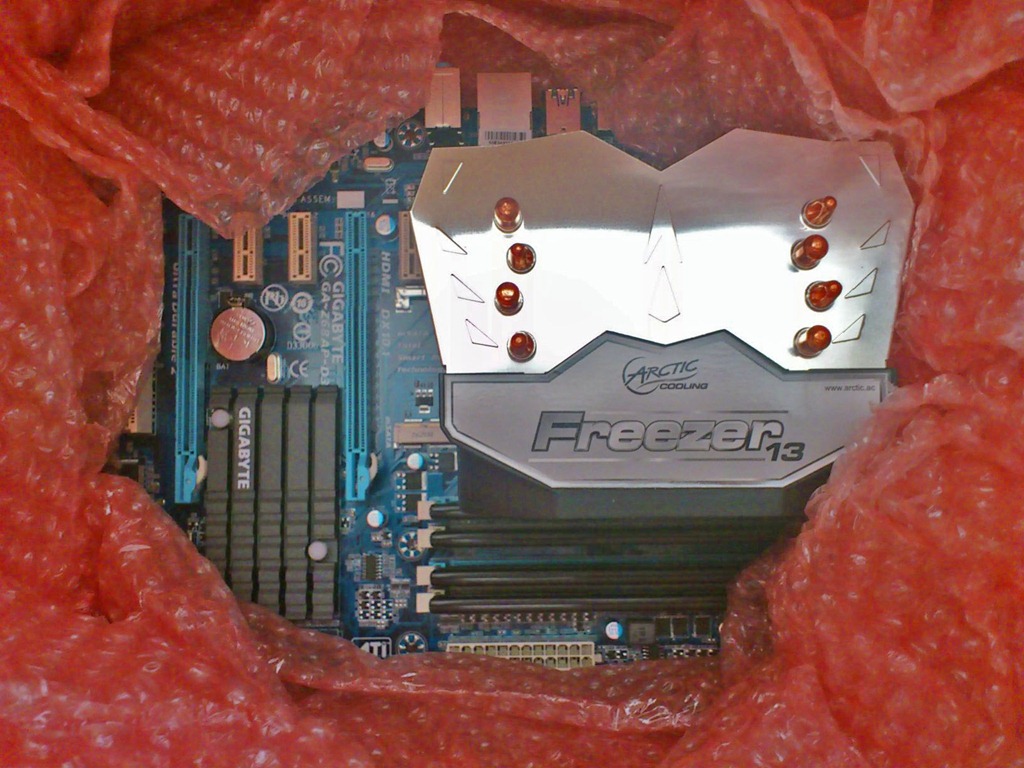
The last thing to arrive was the most vital. I ordered my CPU, Motherboard and RAM as a complete bundle. The advantage of a bundle was it’s made to order, overclocked to increase speed and tested before being dispatched. It arrived heavily wrapped in bubble wrap, which is always good to see and was ready to install and use.

Before launching myself into the unknown of my first ever build I armed myself with a little knowledge courtesy of an excellent how to build a PC video from new egg. It’s a long one, but packed full of useful build tips.

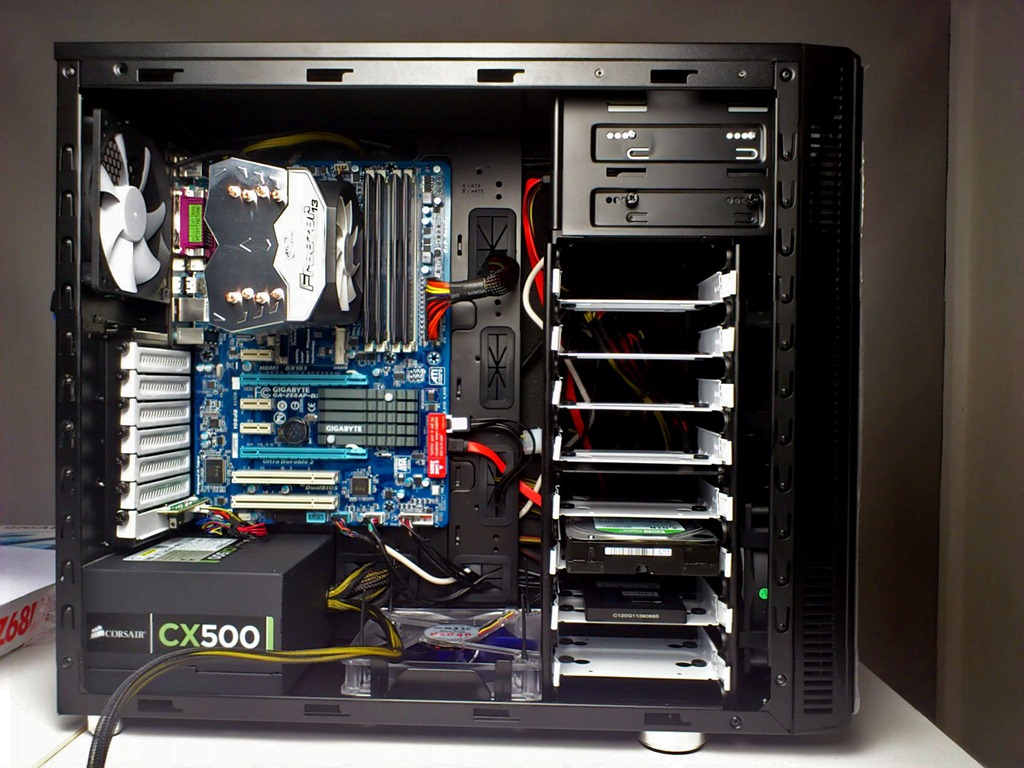
DSC_0265Despite my lack of experience at PC building, I completed the build without any problems in around 3 hours. The real star of the build was the Fractal R3 case which turned out to be a real boon when it came to keeping the masses of cables tidy. The R3 case has a 2 cm gap between the case and the back panel. It may not sound much, but it’s just wide enough to hide cables and keeping cables out of the case gives better airflow, which in turn means a cooler PC.

So there you have it, a shiny new PC is built. Unfortunately building the PC isn’t the end of the story. There’s the small matter of installing an operating system, adding all the software I need to do my work and moving my files from my old PC to the new.

That’s what I cover in Building a Photoshop Power PC – Part 3 (coming soon)

How to photograph Fireworks

Fireworks-1Tomorrow night is the 5th of November and here in the UK, that means it’s bonfire night. For those that don’t know Bonfire Night it’s also known as Guy Fawkes night which celebrates the failed attempt by a group of plotters to blow up the houses of Parliament in London 400 years ago.

Leaving aside the politics of 400 years past, bonfire night is really just our excuse to let off a load of fireworks and have a bit of a party. It’s also a great photo opportunity, so here’s my top 5 tips on capturing your best firework photos ever.

1 Be Prepared
Preparation is the key, so be ready BEFORE the display starts. Check you have a fully charged battery in your camera, a clear memory and the front of your lens is nice and clean.

2 Rock Solid Support
The most important piece of equipment you’ll need (after a camera) is a tripod and the sturdier the better. To really capture the spectacular shapes and colours of the fireworks you want the shutter to be open for a few seconds or longer and that’s far longer then you can handle without a tripod.

Fireworks-23 Manual Metering
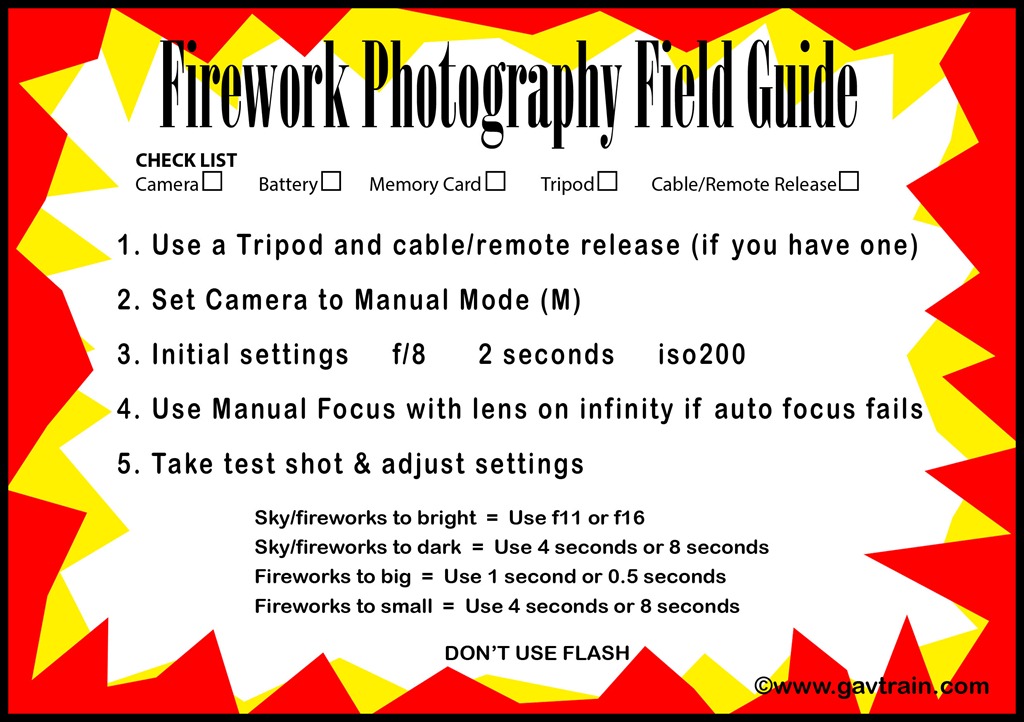
Forget the auto and semi auto modes all that black sky is going to totally confuse your cameras meter. That means it’s up to you to take control and that means switching the camera to manual mode (M). Start by enter an aperture of f8 a shutter speed of 2 seconds and ISO 200. It’s not an exact science and factors like light pollution and personal taste may well dictate a change of settings (see 5)

4 Aim for the stars
You’re ready to take pictures, so point your camera to where the fireworks will be and wait.

5 Fire at will
As the fireworks start going off take a shot or two and review the results. If the sky or fireworks are too bright use a smaller aperture (f11, f16 etc.) If the firework trails are too small use a longer shutter speed (4 seconds, 8 seconds) but remember to reduce the aperture (bigger number) to stop the image getting too bright.

OK there you go. Follow the five steps above and you’ll get great firework photos every time. If you’ve mastered the basics then here’s three more useful tips…

Bonus Tips
A cable release is very handy for this work. It stops you touching and therefore moving, the camera which can cause blurred images.  If your camera is having trouble focusing switch to manual focus and set it to infinity. Don’t use flash.

To Help you remember, print off my handy Firework Photography Field Guide by clicking the image below.

Fireworks Guide

HDR Winchester

As I mentioned in my last post, I recently paid a visit to Winchester to present a photo talk. Of course I couldn’t pass up the opportunity of spending a few days in this incredibly beautiful and historic city. Despite the British weather doing it’s very best to interfere with the photography, I still managed to bag some great shots.

Of late I’ve been spending a lot of time shooting HDR images and I was able to loads of HDR in Winchester. Why HDR? Because on the 1st December I’ll be running an eSeminar for Adobe UK and the subject is… You guessed it, HDR.

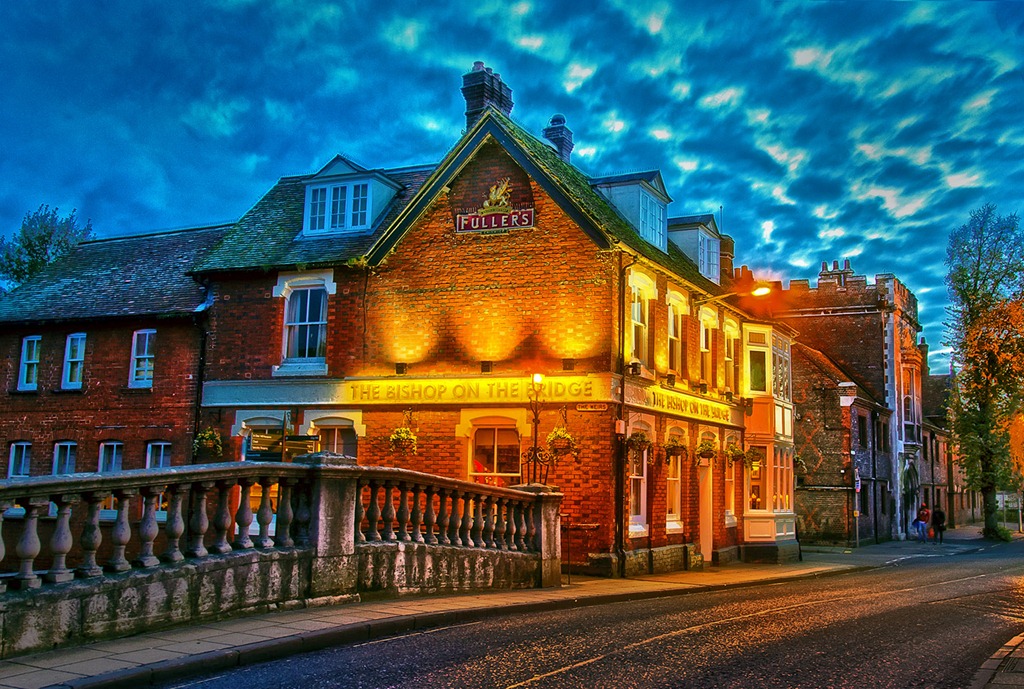
Here’s one of my favourite HDR’s from Winchester. Although many of my HDR’s have a subtle look, I know lots of people prefer the more processed look for their HDR’s and in this case, so do I.

Winchester-HDR

I used three RAW images shot two stops apart. I then used Merge to HDR pro in Photoshop CS5 to combine and enhance the image. I then applied a few other tweaks in Photoshop, but to see those you’ll need to watch the eSeminar… details to follow.

Building a Photoshop Power PC – Part 1

PC-1Every computer I’ve ever owned has had one thing in common and I’m not talking about the fact that they’ve all run a version of Windows. Whenever it’s been time to replace a PC I’ve always ended up buying one straight off the shelf and usually from a high street retailer.

Well now it’s time to upgrade again but this time I’ve decided to do things differently by building my own PC. Why? Well first it should save me a few pennies and second I can choose exactly the parts I want (within my budget) to tailor make a real Photoshop power PC.

As this is my first PC build I’ve spent the past few weeks researching what makes Photoshop run faster and which components I can afford on my £800 budget.

CPU & Motherboard
The CPU processor which is the brains of the computer. After a bit of research I ruled out the cheaper AMD processors as the latest Intel processors are far faster. The Intel i7 is the current top processor on the market, but it’s outside my budget, so I opted for the Intel i5 2500K. I ordered mine for Scan Computers who are also assembling the CPU, cooler and motherboard.

PC-Build-1Overclocking
To make up for the lack of an i7 I’m having my i5 “overclocked” Basically this means the clever chaps at Scan are increasing the speed of the stock processor by around 20%.

RAM
Photoshop loves RAM so you’ll need lots and lots of RAM. My first PC had a tiny 16mb or ram, but for the new PC I’ve ordered 16GB which is roughly 1000 time more RAM then 15 years ago. I was chatting about RAM to an Adobe engineer a few months back and apparently if you increase your RAM from 4gb to 8gb and you’ll only see a small improvement in Photoshop speed. However going from 4GB to 16GB should double the speed of Photoshop.

Solid State Drive
SSD’s are the new “must have” add on for any power PC. An SSD is like a large memory card which runs at super fast speeds. So in theory with the SSD drive set as Photoshop’s scratch disk, things should run smoother and faster.

Hard Drive
I’ve opted for a 2TB hard drive for my main storage. It’s one of the newer SATA III drives which has a fairly fast data speed I’ll also be installing the hard drives from my old PC.

Graphics Card
If there’s one place you can scrimp a little, it’s on the graphics card. I’m not planning to do any “gaming” on the new PC and as Photoshop doesn’t really need anything special in the graphics department, I’m reusing my existing 1gb Radeon HD 4650 graphics card from my current PC. It’s about a year old and still has plenty of life in it.
(UPDATE: If you’re planning on using Photoshop EXTENDED and using it’s 3D tools then a decent graphics card should be on your shopping list)

Case
OK, so the case isn’t going to make Photoshop run faster, but I’ll be looking at it every day, so it’s important.
For my case I’ve opted for the Fractal R3. It’s a low noise case which should reduce the background hum I sometimes get in my videos.

Here’s a list of all the parts I’ve ordered.

CASE: Fractal Designs R3
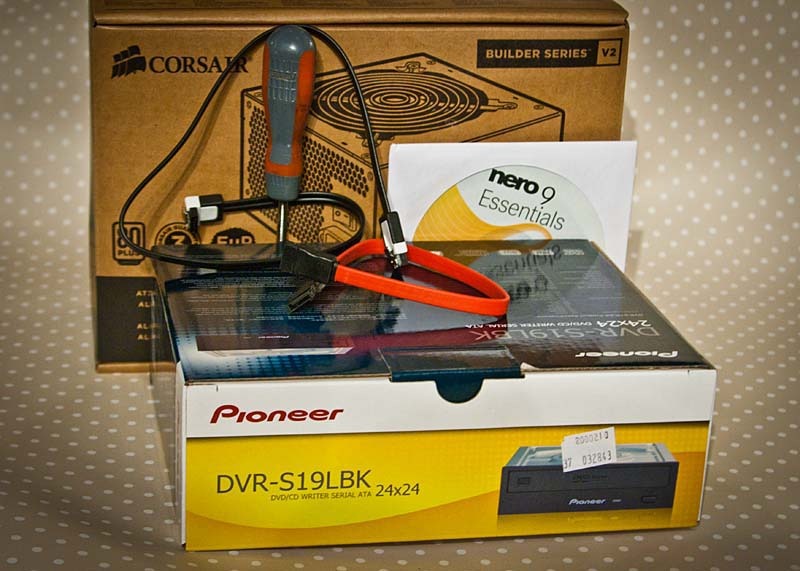
PSU: Corsair builder 500w
DVD drive: Pioneer DVDRW
Card Reader: Akasa AK-ICR
CPU: Intel i5 2500K overclocked to 4.5Ghz
Motherboard: Gigabyte GAZ68AP-D3
Cooler: Arctic Cooling Freezer 13
Ram: 16GB Corsair Vengeance DDR3 1600Mhz
Hard Drive: 2TB Western Digital
SSD: Corsair Force 3 120GB
Operating System: Windows 7 64bit Home Premium
TOTAL COST £830 inc VAT & Delivery

My office is now starting to fill up with components, but with a few key parts still to arrive the new build will have to wait. I’ll keep you informed about my progress

Recovering lost images

Disk-recovery-SGHopefully you’ll never need this information…

Most photographers understand that images stored on computer hard drives are not 100% safe. I know many photographers that have some sort of back up plan in place. It varies from making DVD copies of images, right through to high end robotic back devices such as Drobo’s or Raid arrays.

But what happens if a memory card fails before you get a chance to back up the images but after you’ve done a shoot? Never going to happen you might say, but that’s exactly what happened to me last week.

To cut a long story short, I did the shoot on location and the client had a quick review of the photos via the cameras LCD. All was OK and I went back to the office to process the photos. Unfortunately when I went to copy the images from the card the PC refused at read the data.

My first thought was the card reader must be faulty, so I swapped it for my slower/older spare. End result, same problem! I put the card back in the camera hoping that it would show me the photos… it didn’t.

Not fancying the idea of reshooting the photos at my expense and probably loosing a client along the way, I put my faith in image recovery software.

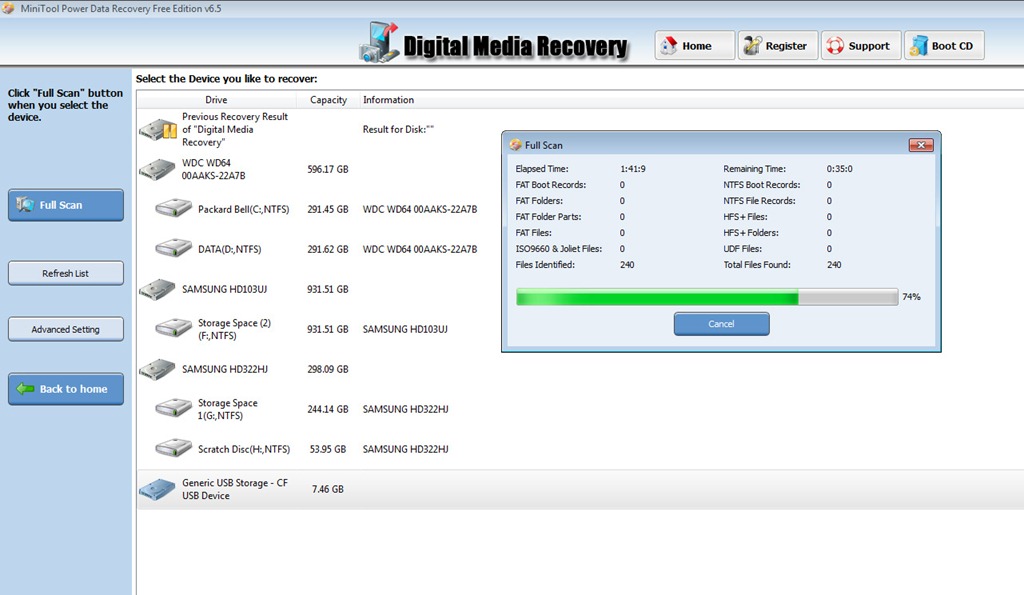
Step forward MiniTool Power Data Recovery and PC inspector Smart Recovery. Both of these small download programs are free for home users (or small fee for pro use) and both proved up to the job of recovering my lost images and saving the day.

Data recovery of an 8gb compact flash card took around 3 hours, but it was time well spent.

Yongnuo ST-E2 first look

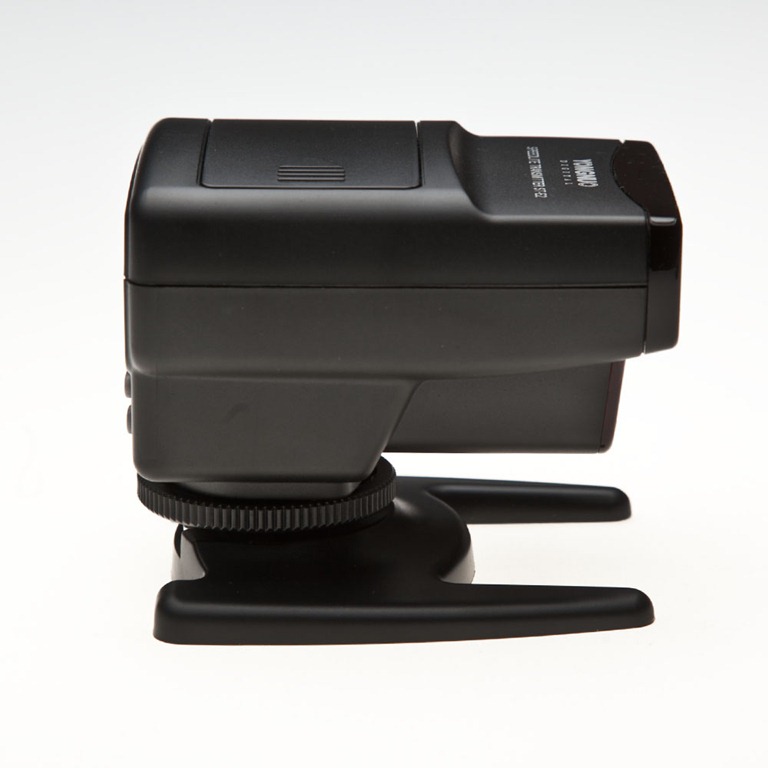
ST-E2 (1)It seems that Canon have been rather slow in seeing the advantage in off camera flash. Until the introduction of cameras like the Canon 7D and 60D, if you wanted to fire an off camera speedlite and still enjoy the benefits of ETTL you’d need a second flash attached to the camera or a very long flash sync cable.

As I really don’t like cables being attached to my Canon 5D MK2 camera, I’ve always used an on camera Canon 580ex flash to fire my second 580ex flash, off camera. That makes it a very heavy and pretty expensive way to shoot pictures.

Sometime ago Canon came up with a solution. It was called the ST-E2 and effectively it’s a mini flash that only fires near infrared light, which can be seen by the 580ex (and other flashes) and maintains full ETTL. But there were problems with the ST-E2. First, it wasn’t exactly cheap, second, it used a non standard battery and third, it didn’t rotate and as the ST-E2 requires line of sight (outdoors) that rules out flashes being placed behind the camera.

Earlier this year Yongnuo produced a “copy” of the original ST-E2 which, they claim, address the failings of the Canon, so ordered one to see if they really had. Slightly confusingly, they also named their new trigger ST-E2.
ST-E2 (2)First Impressions.
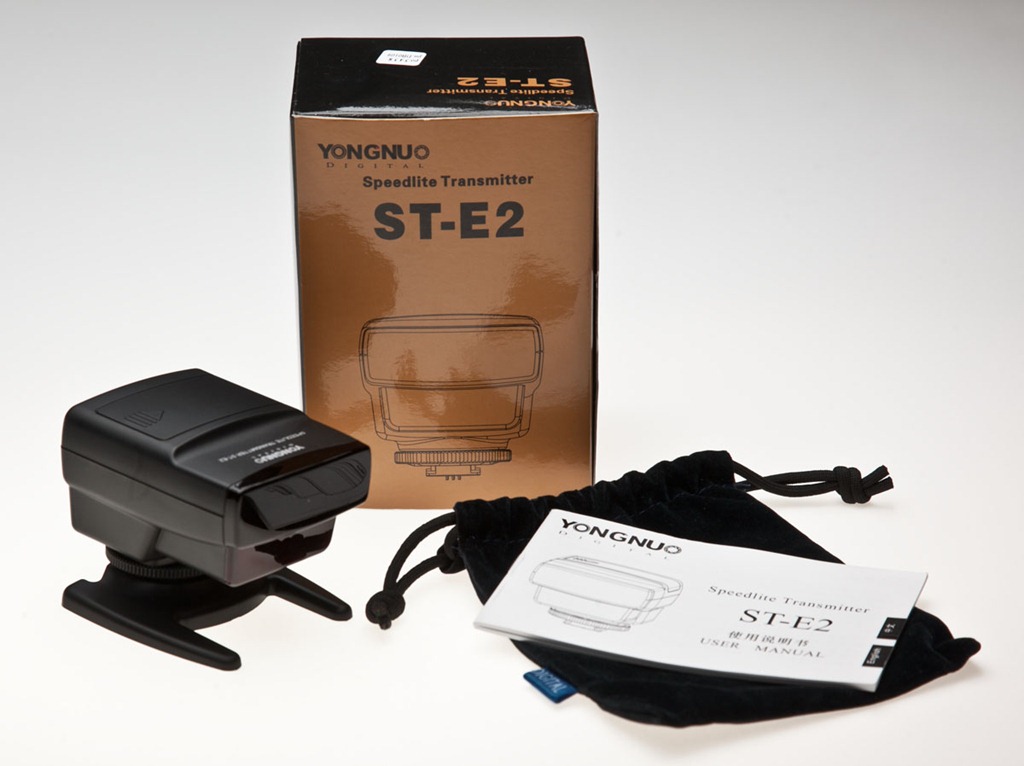
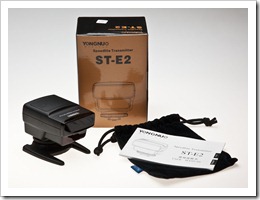
Once I opened the shiny gold box I was very pleased with what I found inside. There’s an instruction manual that’s written in almost readable English, you get a handy soft carry pouch and a support foot that has a decent metal tripod thread.

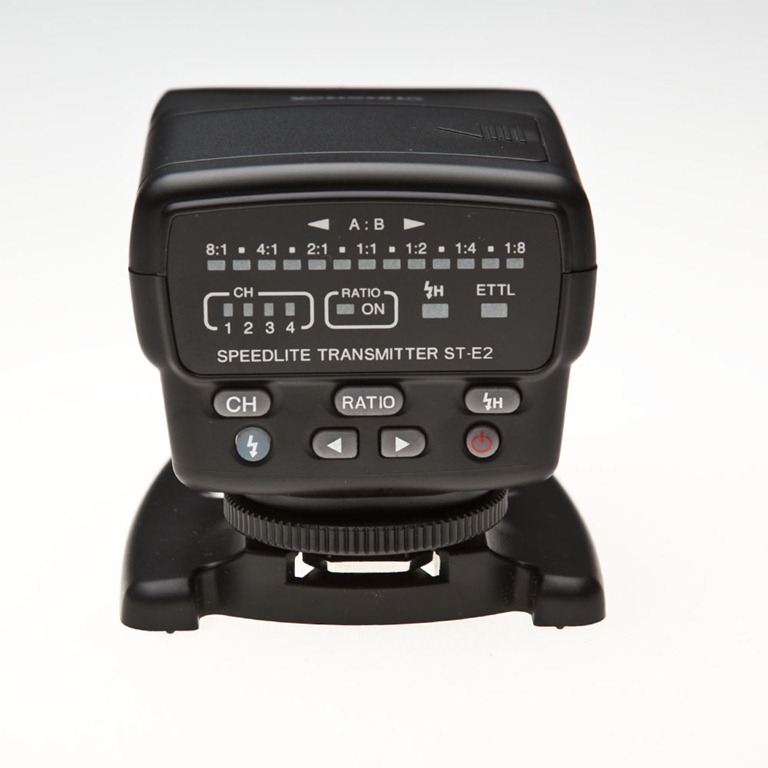
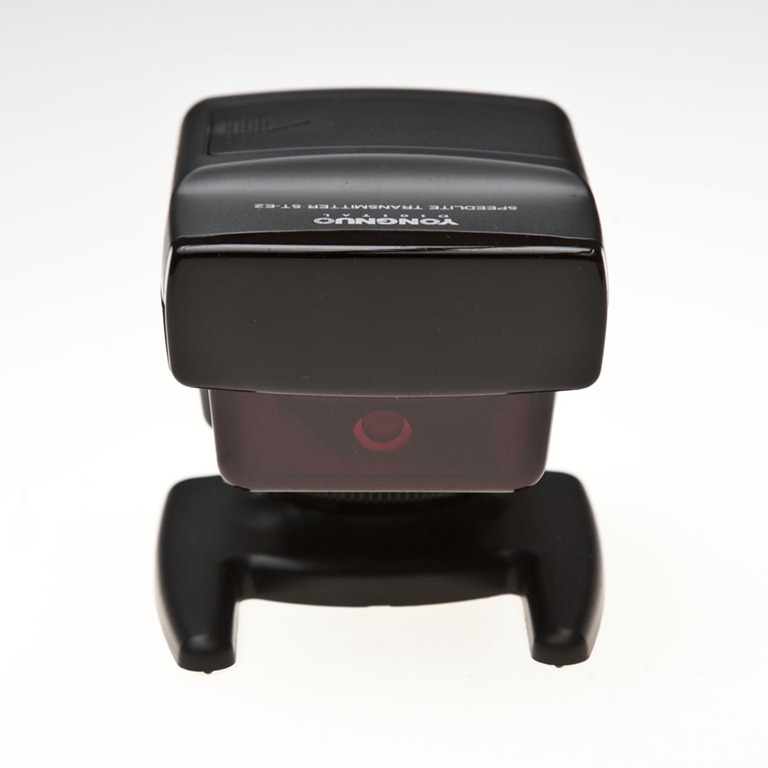
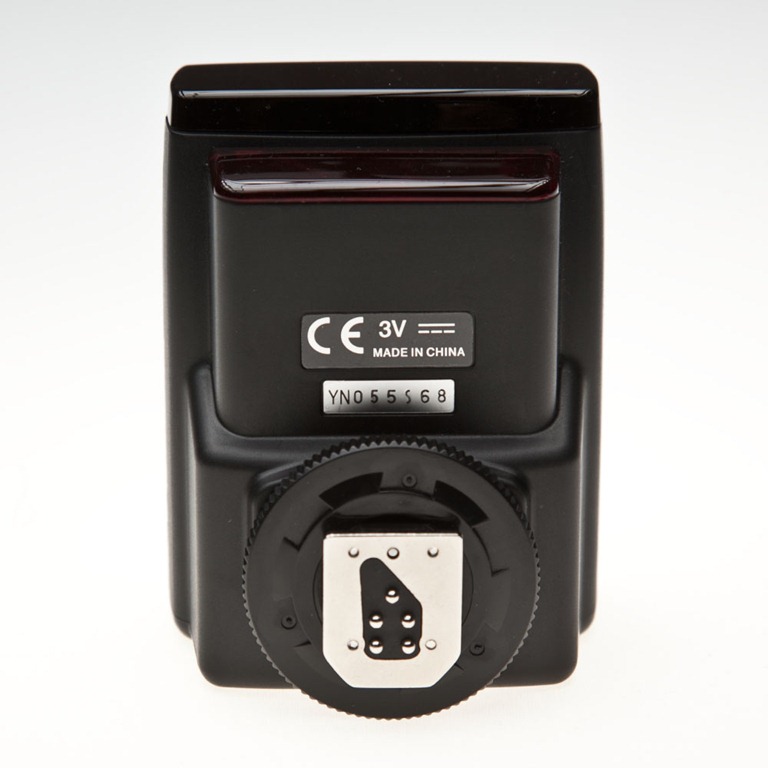
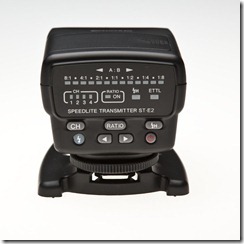
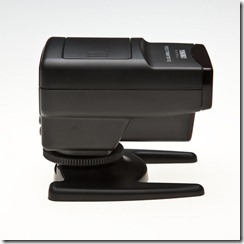
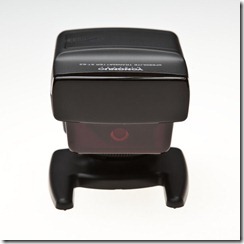
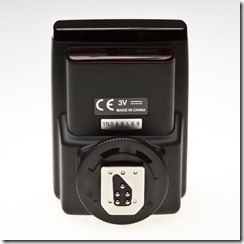
The Yongnuo ST-E2 unit has an almost identical look to the Canon version it copies. The build quality is also almost identical and certainly good enough for me. The control panel on the back of the unit is slightly different to the Canon original, but everything you need is there.

Improvents
Yongnuo have changed and improved a few things that were a pain in the original Canon ST-E2. First off at around £80 it’s far cheaper then the Canon alternative. Yongnuo claim the range of their unit is greater then Canons, but I’ve not been able to test this yet.

Once you use the ST-E2, the first thing you notice is the batteries. The Yongnuo sticks to good old AA’s, which is handy as I always have these lying around the studio. The Canon used a CR5 battery I think.

Attach the ST-E2 to the camera hot shoe and it can be turned 135 degrees in either direction. No fiddly buttons to push, just a firm twist will do. To be honest it feels a bit weird just turning the unit and it requires the use of a little too much force for my liking, but it may loosen up in time.

Does it work?
Put simply… yes. The Yongnuo ST-E2 does exactly what it claims. The ETTL works like a charm. The high speed sync works right up to 1/8000th sec and the ratios settings do what you would expect. Press the depth of field preview button on the camera and the speedlite will buzz like a demented bee, producing a rather handy modelling light.
ST-E2 (3)The downside
OK, so it’s not all good news. There are several issues that may or may not be a deal breaker for you.

Let’s start with size. It’s hardly what you’d call discreet, but at least it’s light in weight. However if space is limited in your camera bag then it’s size is worth noting.

Recycle time is SLOW. Unless I’m missing something, I can’t get the Yongnuo ST-E2 to trigger the flashes more the once every 1.5 seconds (approximately) so it’s no use if you need to shoot with bursts of flash.

Finally the focus assist beam is truly terrible. When you’re shooting with flash you’re often in low light situations. To "help” lock focus, the ST-E2 will fire three thin beams of red light, but they’re only vertical lines and not one of them is anywhere near my focus points. It’s a major failure in my view and one that could make the unit unusable to SOME photographers.
ST-E2 (4)               ST-E2 (5)

On balance I’m actually loving the Yongnuo ST-E2 and will post back a long term review after further testing.
Instant JPEG from RAW

ijfrYou may or may not know that RAW files contain a hidden Jpeg files embedded within the RAW data. You see it when you review your images on the cameras LCD screen, which is all well and good, but why would you want to retrieve it?

Well if, like me, you need a quick way to turn a folder full of RAW images in to useable files for a client (on any non Photoshop user), then batch processing in Lightroom 3 is a painfully slow way to go. Trust me I know…

Step forward “Instant JPEG from RAW”. This free Windows/MAC program allows me to access and create JPEGS from a single RAW or an entire folder simply by right clicking and hitting Instant JPEG from RAW.

It’s super quick (think 60 seconds for around 500 images) and best of all it’s free. Just fill in the form at http://michaeltapesdesign.com/instant-jpeg-from-raw.html and they’ll email you the link instantly. I’m not sure how I managed to work without it.

Portrait Retouch LIVE

I’m pretty sure many of you know of my friend Jared Polin from Fro Knows Photo. Jared is an amazing photographer and his passion for photography is undeniable.

A few days ago Jared asked if I’d like to have a stab at editing one of his portrait photos and whilst I was very short of time I decided it would be a great distraction. In fact at the time I was so busy I didn’t spend anytime rehearsing or planning what I was going to do.

So this is effectively a live recording, without pauses, restarts or any of the editing polish I normally apply.

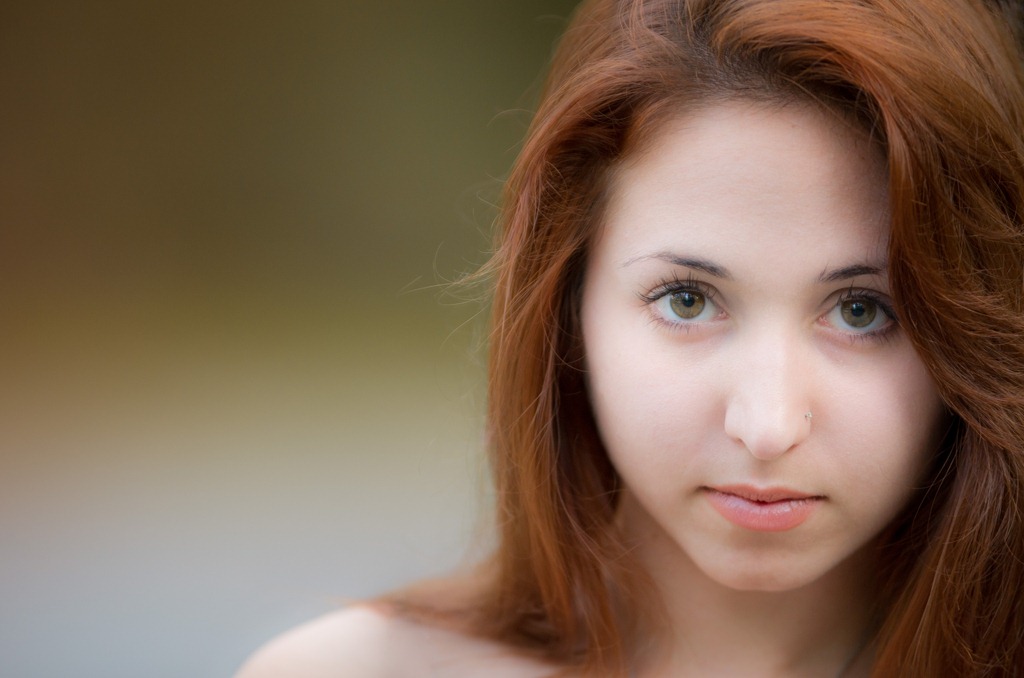
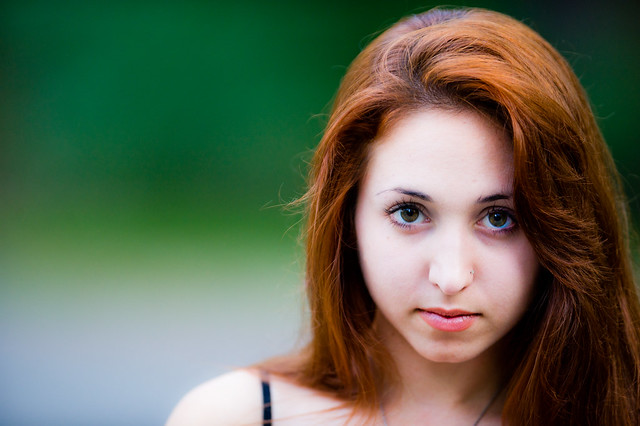
Here’s my final image. Given time I’d improve it a little more. The cloning on the shoulder wasn’t brilliant and could be better. The skin also needs a little more work, but for a 10 minute edit, I’m happy with the result.

Gav-Final-JPD_8556

Below is Jareds edit of the same RAW file. As you can see we both had rather different results and each is good (and bad) in it’s own way.

Jareds Edit

You can find out more about Jared Polin and see the rest of the edits of this photo on the Fro Know Photo web site.

A visit to Gatwick

Rich-0Last Saturday on a very unseasonably hot and sunny October day, I was back at the amazing Gatwick Aviation Museum with my student for the day, Rich.

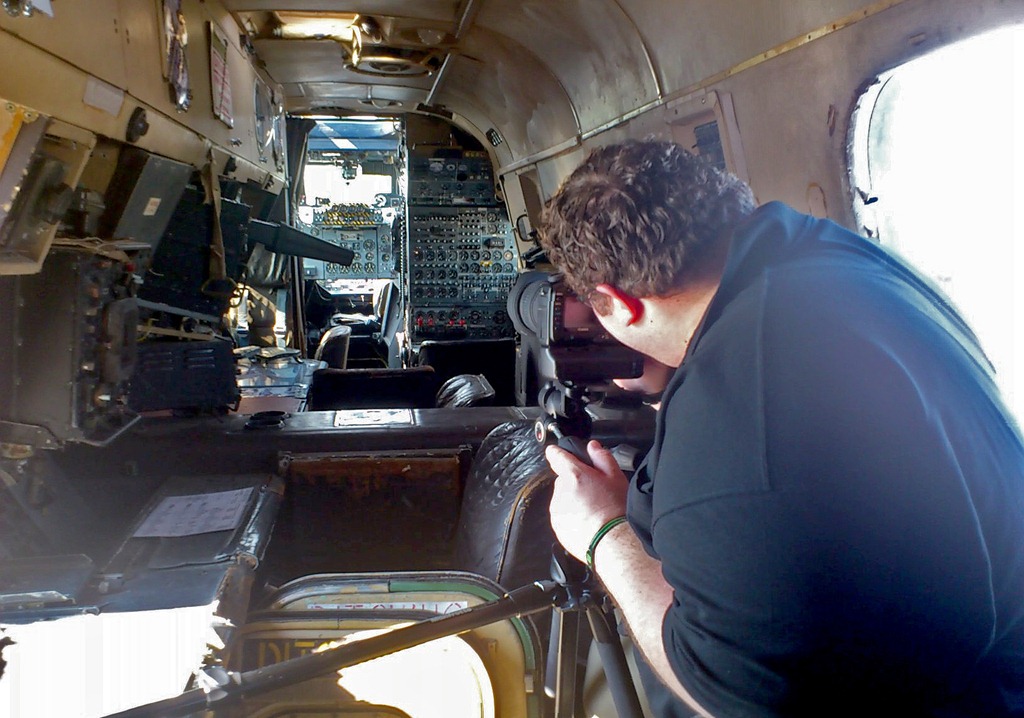
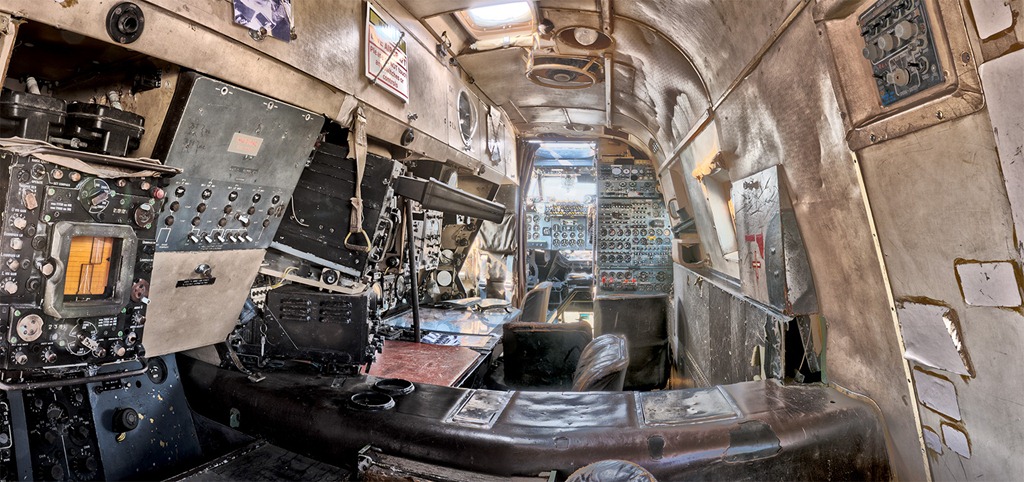
After Rich and I had tackled a couple of my “photo challenges” we moved onto the highlight of any visit to the aviation museum, which is a visit inside of the Shackleton plane. Once inside, you quickly realise that the space is very tight as it’s packed full of old radar and radio equipment. Add to that a pile of camera equipment, a tripod and a two photographers and you can understand why a one to one session is the best way to get great shots.

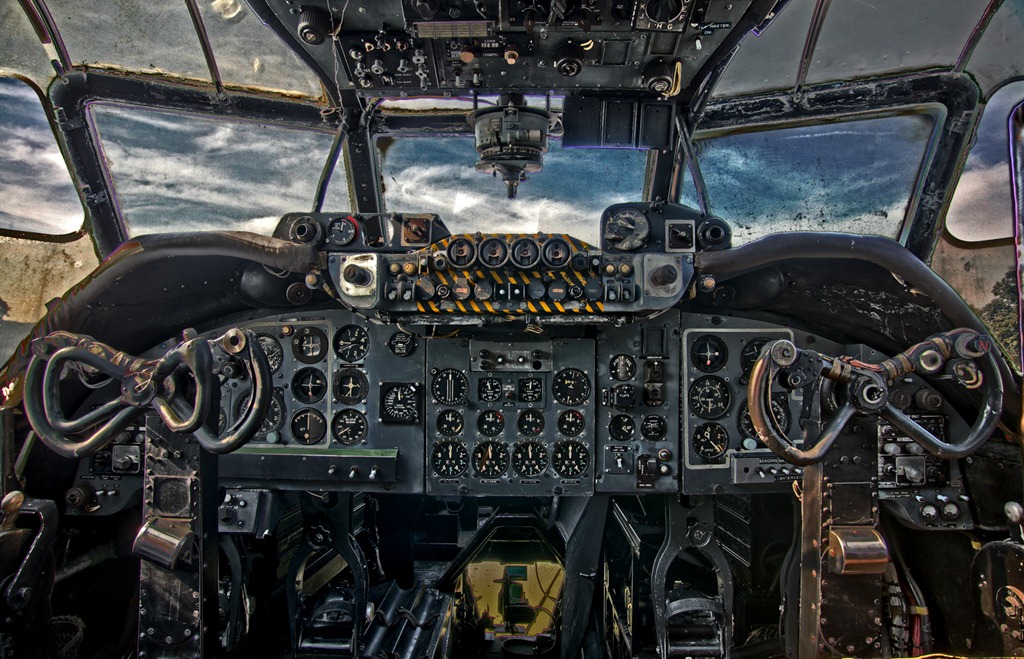
Due to the really high contrast in lighting conditions between the windows and the cabin, HDR is the way to photograph. Now HDR can either lead to a photo real image or a super real image. Both Rich and I favoured the over the top look that HDR can lead to, so that’s what we did with the post processing.

Rich-HDR-PanoThis is actually two HDR shots joined together to make a very wide panorama. Each of the two shots were made from 5 RAW files each shot at 2 stops apart. The software used to make the HDR and join them together was Photoshop CS5.

Rich-HDR2
This is the classic shot of the Shackleton cockpit. Rich had packed a 20mm lens for his Canon 5D body and it was an excellent choice here as he could get a single image of pretty much the entire cockpit. No mean feat, as it’s pretty small once you get to the pilots seat.

I must thank Rich for allowing me to use his photos in this post and sharing them with everyone.

eSeminar recording

eseminar5Firstly a huge thank you to everyone who attended the live eSeminar yesterday, it’s always great to see that some familiar names are in the room. I must also thank Adobe UK for hosting and organising the online event.

I’m pleased to report that the seminar went without a hitch and early results are, it was the best attended eSeminar that Adobe UK have run so far.

I know many of you wanted to attend but due to one thing or another, you missed it. Well there’s some good news as it’s now available to watch at your leisure. The link is below… enjoy!

http://eseminars.adobeconnect.com/p3cjy0p2oyl/
Photoshop for wedding & portrait photographers.