Photoshop Action (with Color Efex Pro 4)

If you have Color Efex Pro 4 from Nik Software installed on Photoshop, you’ll know it has some pretty amazing features. Of the many filters and recipes that are in Color Efex Pro, I really love the Image Borders. In fact I like them so much I’ve incorporated them into a special set of actions.

Web Ready 960px-test

You can download the action set here: https://www.gavtrain.com/swpp/nik.zip

Once you unzip the download and install the action set in Photoshop you’ll find there’s not one, but four actions to choose from. Each action will create a duplicate of your current (on screen) photo, resize it to the perfect size for Facebook and add a border from Nik Color Efex Pro 4 (assuming you have it installed). Then the best bit. It will also and the words Photography By Your Name. Just double click the “Your Name” layer to change it.

The last action allows you to choose your own border style. With 14 border types and 9999 variations of each to try,  that’s a lot of choice.

Wireless Flora Lightbank ~ Review

Back in September 2011 I reviewed the Flora Light Bank from Linco and found them to be excellent for video work and not so bad for photography too. Now the people at Linco have come up with a new wireless version. So lets find out if the addition of a remote control is a revolution or just a gimmick.

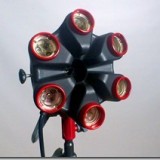
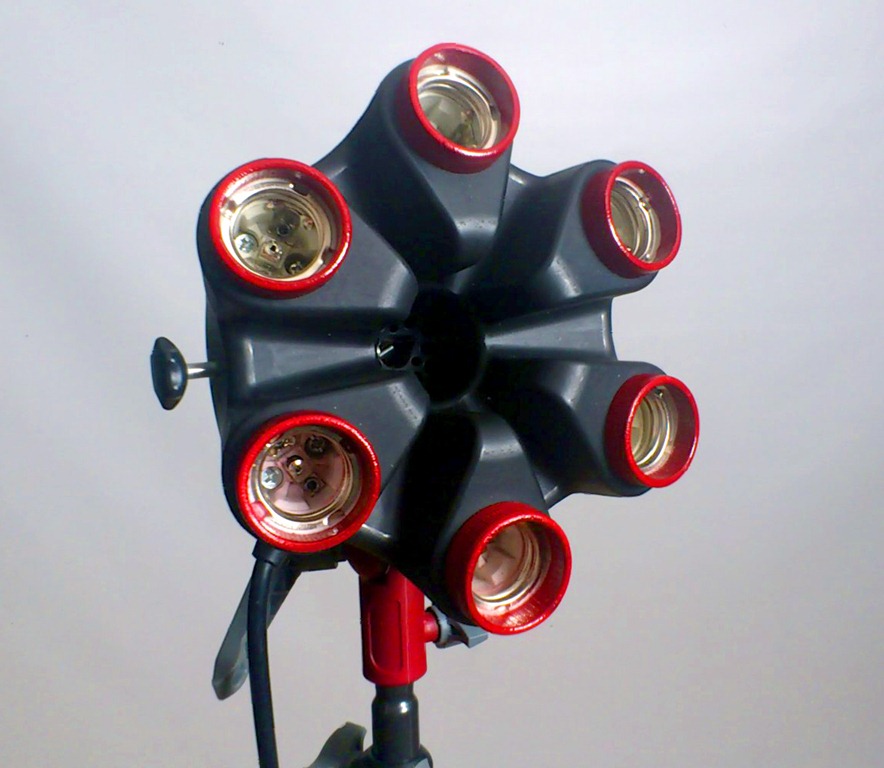
Flora1The most obvious change from the old Flora to the new is snappy new colour scheme. White and green have been replaced by black and red, which looks very smart indeed. The colour may have changed but the design has not. The Flora was and still is a well designed and well built piece of equipment. The main body is made from flame proof heavy duty plastic and the lamp holders are ceramic.

In fact the only significant improvement that I could find was the addition of a foam handle that doesn’t fall off, a marked improvement from the original

So if you’re in the market for a Flora Light then the question must be do I need the wireless feature?

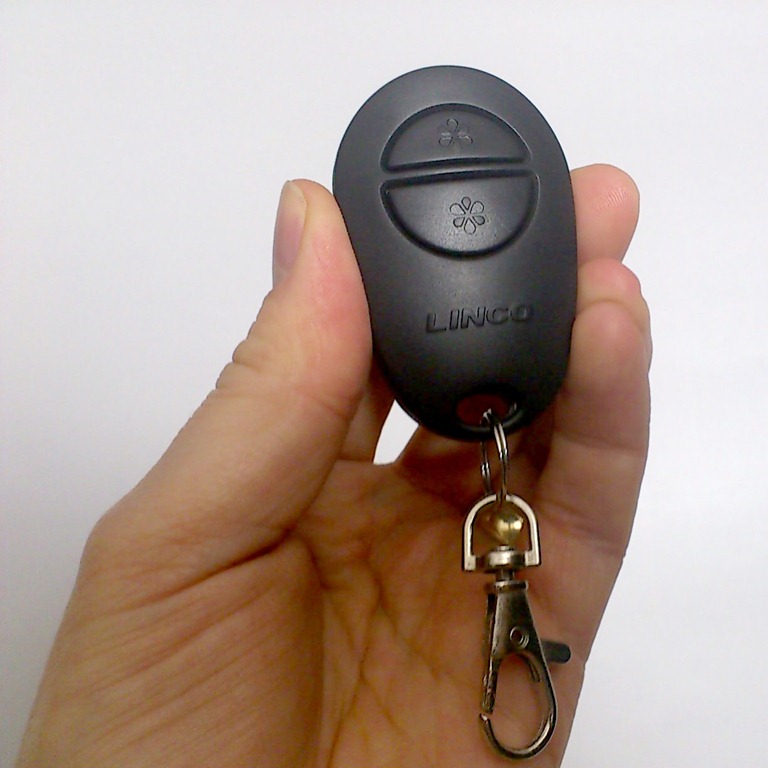
You get two remote controls with each light bank. Each remote has the same two buttons and each button switches three of the six bulbs on or off. They work even if the main switch on the back of the Flora is turned off.

Linco 2Personally I would have liked to have seen the ability to switch on the bulbs one at a time, via the remote. This would give a lot more control over the lighting for us photographers and I dare say for videographers as well.

Perhaps the biggest issue you might have with the remotes is that they’re tied to the light bank they came with. The idea being that you can separately control multiple light banks. However if you lose or break the remotes then you’re stuck. Also if you have multiple lights you’ll need to carry around multiple remotes which all look the same, but only operate one light bank.

So which would I recommend, wireless or original? For me in my little studio with just one or two lights the original light bank is best suited. However if you have a video setup with the lights in less accessible heights, then I can see the sense in going wireless.

Flora Light Banks are available from www.lincostores.com Linco ship to US addresses only.

January Photo Challenge

New-cloudJanuary here in the UK is often cold and wet so to make sure my photography doesn’t dry up I’ll often set myself a photographic challenge. So now it’s your chance to get involved and take up my January Photo Challenge.

The theme for January is Something New and all you need to do is take or make a photo that fits with that theme. How you interpret the theme is up to you. It could be a photo of something new that you got for Christmas or a new place you visited this month or even a new Photoshop technique you’ve come up with… Use a bit of imagination and make it eye catching.

Once you have your photo you’ll then need to upload it to the Something New Flickr page.

At the end of the month I’ll review all the images and pick my favourite. There’s no prizes, but by undertaking the challenge your photography is bound to benefit.

There’s really only one rule… only one entry per person.

Best of luck!

WhiBal Grey card ~ Review

Col2When it comes to getting very accurate colours in your photos, you’ll need to start with a known colour reference. That’s where a grey card comes into it’s own.

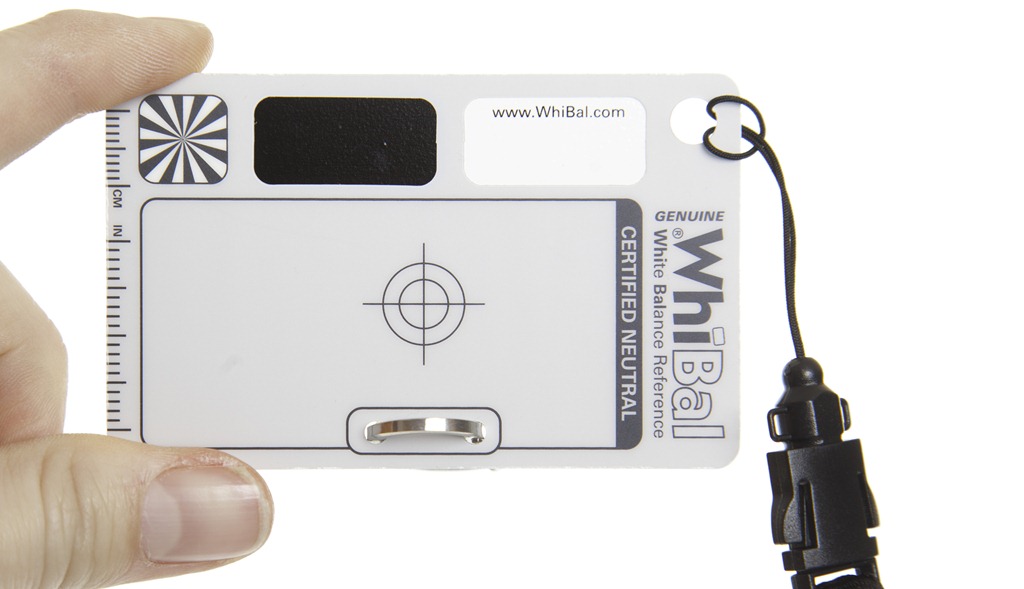
I’ve used several grey cards in recent years, but the WhiBal from Michael Tapes Design USA is my current favourite. The WhiBal cards come in several sizes ranging from Studio sized 8”x10” sheets, right down to the dinky keyring sized Whibal Card. They’re all made from plastic which means they’re waterproof and fairly durable, although I suspect the keychain version would get scuffed up quite quickly.

It’s worth noting that these are the sort of grey cards that are used for getting perfect colour balance rather then the kind of grey cards that are used for getting perfect exposure. As such the WhiBal cards are all light grey in colour, although to be technically accurate they have no colour at all, as they are certified colour neutral.

Colour Accuracy
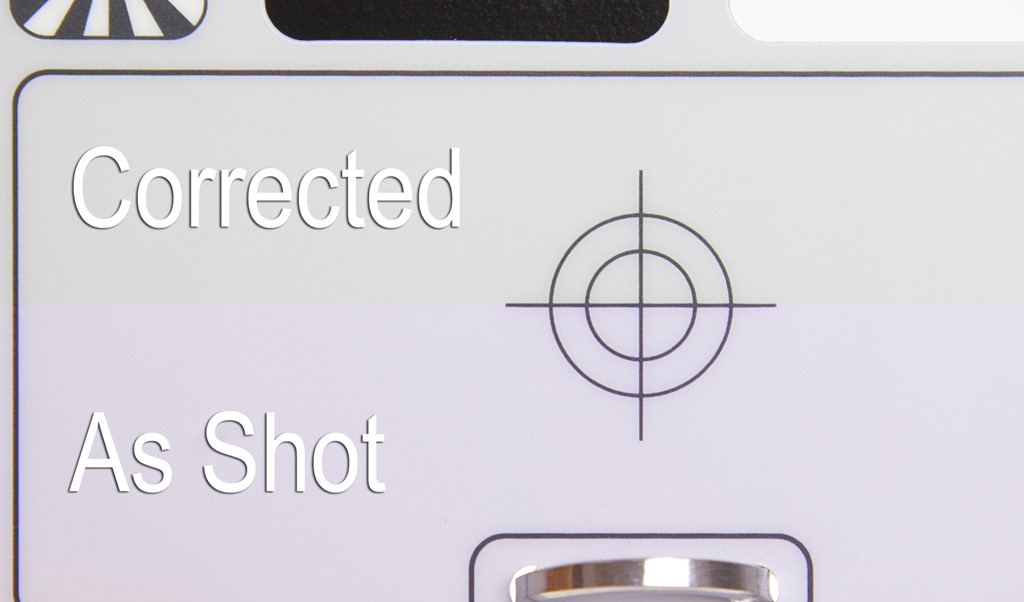
Col1So how does the WhiBal perform?  Like all good tools these things make a mundane, everyday task, simple and predictable. In this case it’s job is  to get the colours accurate and to that end it’s faultless.

You might not be able to see much difference in the photo opposite (click it to enlarge) but trust me, when it comes to something like skin tones, the difference between getting the colours almost right and getting the colours spot on is vast.

Added bonus
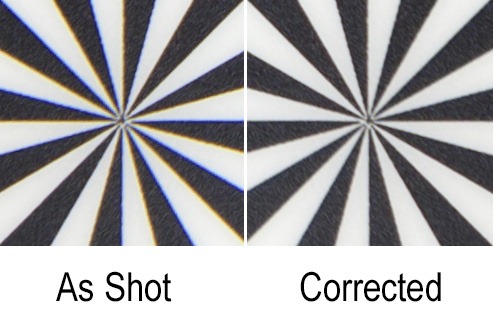
IMG_7786All the WhiBal cards have a couple of nice touches… a ruler scale along the edge, Black and white patches and a star burst shaped target. Now personally I don’t find most of these that useful, but I’m sure others will. However the star burst target is a great way to check and remove lens chromatic aberrations.

In the next blog post I’ll show you exactly how I’ve integrated the WhiBal into my studio workflow.

Prices & availability
At $20 for my favourite “credit card” sized WhiBal card, these things aren’t disposable but unless you loose it, I’m sure it will last for a very long time. Sadly the WhiBal cards are a US import only, although mine arrived within a week and without any problems with customs charges. Details and prices can be found on the Michael Tapes Design website.

Christmas Photoshop Quiz

Photoshop-XmasIf like me you love a good quiz at Christmas then here’s 10 questions that will put your Photoshop knowledge to the test.

They range from quite easy to very tricky and all the answers are multiple choice.

Getting the answer to a question right first time will increase your percentage score, so choose wisely.

REMEMBER… Having Photoshop running to check your answers or Google-ing the question isn’t in the spirit of the quiz.

Good Luck and Happy Christmas

[mtouchquiz id=1]

Welcome to Facebook

379827_323382834338396_111530145523667_1311774_1373258528_nCasual visitors to my Facebook page may notice something a little different right now. A few days ago I added a welcome page to my facebook site. If you’re not “liked” my page this is where you’ll land but if you have “liked” the page you’ll be directed to my wall, so here’s the link you’ll need https://www.facebook.com/gavtrain?sk=app_190322544333196

So why would you want to visit my welcome page? Well the first and frankly only reason to visit is to get the chance to watch an exclusive photography and Photoshop tutorial on painting with light.

Remember you’ll to have “liked” my facebook page to see the video.

Shutter Failure

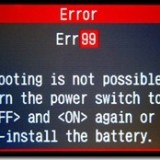
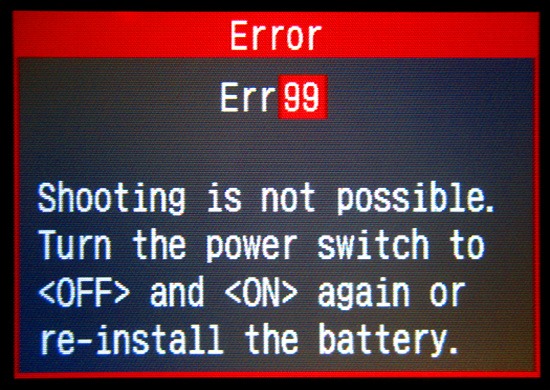
err99They say nothing lasts forever and so it is for my much loved Canon 40D. It’s with much sadness that I have to report that my trusty war horse has taken it’s last shot. Over the past 4 years my Canon 40D has been in my camera bag for every shoot I’ve been to, it’s been the star in many of my photography videos and is my “go to” body when shooting sports.

So what’s caused the sudden demise on my 40D? The shutter has failed which causes the dreaded error99 every time I press the shutter.

However even with it’s last gasp the 40D didn’t disgrace itself. It could have failed on a pro shoot or whilst I was on holiday, but luckily the failure occurred during a practise session in my studio.

According to Canon the shutter on a 40D is expected to last (on average) for 100 000 photos. Now I knew my 40D has taken a large number of photos but had it exceed 100K? No, not even close.

In fact Canon 40D shutter failed after 61800 actuations… I’m not impressed.

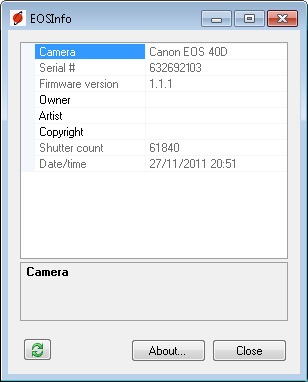
shuttercountIs your number up?
So how many photos has your Canon taken? To find out you’ll need to grab a free copy of EOSinfo from Astrojargon. Plug your Canon camera into your computer via the USB cable and switch it on.

Paste your shutter count in the comments below. Can anyone beat my count? I really hope so.


UPDATE: Further testing has shown all is not lost as I can still shoot in Live View mode. A repair is also possible but at around £250 with no guarantee that something else won’t fail next week of course.

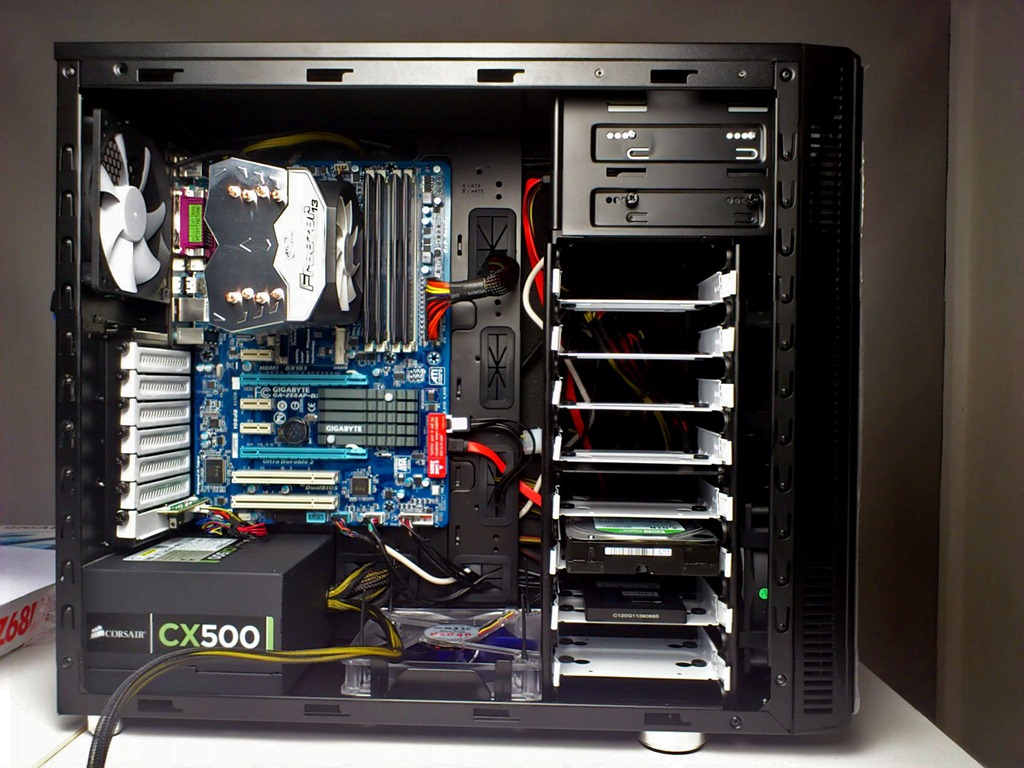
Building a Photoshop Power PC – Part 3

This is the third and final part of my PC build (subject to some horrible disaster befalling my PC) so if you missed part 1 in which I listed the parts I used or part 2 which I described my experience of the build, then it might be a good idea to jump back and catch up.

A77JTOperating System
So after my Photoshop Power PC was built, I just had to install an operating system. Let’s be honest there’s not much choice when it comes to operating systems. There’s Microsoft Windows and err that’s about it. So Windows 7 Home Premium 64bit is what I installed.

Once the PC was up and running it was really tempting to jump on the internet and check my Facebook page, Twitter account and emails, but no. First thing to do is download the latest drivers and updates for things like the motherboard chipset, graphics card and not forgetting the endless updates to Windows 7 which required constant restarting of the PC. Fortunately the SSD really comes into it’s own when it comes to shutting down and starting up the PC, which it can do in under 45 seconds.

niniteEssential Software
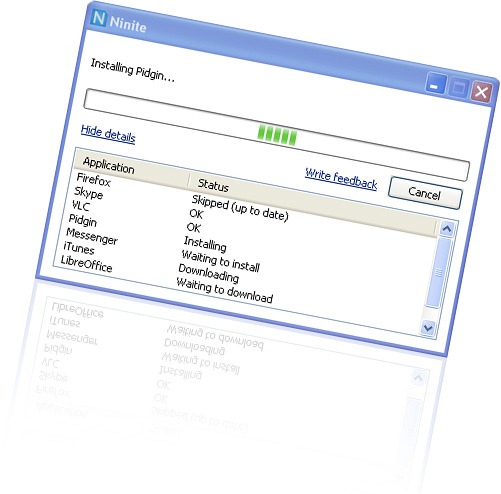
The next thing to do was to install my list of essential software. Now this could be a long and boring task, especially as most installers need you to agree to its terms and decline the bloatware, but I had prepared for this moment by selecting my software on http://ninite.com/ using my old PC.

Basically Ninite allowed me to select the programs I needed from its list of software. I could then create a single web link that would download and install everything I needed with just a couple of clicks. It saved me a tonne of time and comes very highly recommended.

By the way, top of my list of downloads was anti virus software. Better safe then sorry.

Need for speed
So how does my budget power PC perform? It’s simply awesome!

I’ve not run any accurate performance tests but from the moment I switch it on the speed increase is clear. Windows starts up and is ready to use in under 30 seconds, something that used to take a good few minutes or more on my old PC.

Photoshop runs with a silky smoothness that makes it a pleasure to use. If you’ve ever used the HDR Pro feature of Photoshop CS5 then you’ve probably watched your PC grind to a halt, especially if like me, you work with large RAW files. Well those days are behind me as I can fire up HDR pro with 5 RAW files from a Canon 5D mark2 in just a few seconds.

Video files render at least twice as fast as my old PC and perhaps even faster. I can also scrub through my video previews in Premiere in real time, rather then the 3 or 4 frames per second I used to struggle along with.

Final thoughts
Since I started writing about my PC build I’ve had many people contact me. Some have given me help and advice which I’ve been grateful to receive. Others have told me they’re building their own PC based on my spec and in that case I’m really pleased I helped.

The stars of the show are the SSD drive and the 16GB or RAM (in that order) both of which have made a huge improvement to performance.

The whole experience has taught me a lot and demystified the inner workings of a computer, which can only be a good thing.

Lexar USB 3 Card Reader ~ Review

USB-3-3Hopefully every photographer reading this already knows that the best and fastest way to get your images from a memory card to your computer is via a card reader. For the past few years I’ve been using either the internal card reader fitted to my PC or an external Compact Flash card reader. Both have been great, but all of a sudden they’re out of date!

So what’s changed? Well my new PC is fitted with the a couple of USB 3 sockets and on paper USB 3 is up to 10 times faster then USB 2 which powers my existing card readers. Now the important words in that last sentence were “on paper" and “up to” because as the saying goes… results may vary.

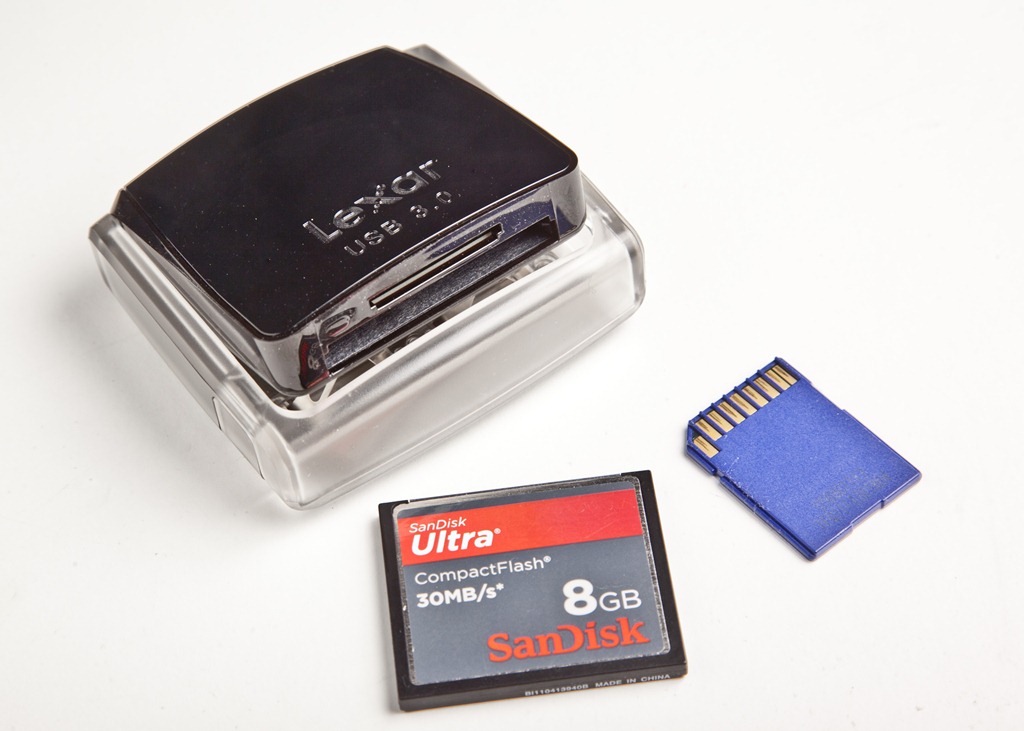
I really wanted to test the speed claims for USB 3 so I bought a Lexar USB 3 card reader, but before I get to the speed test, lets take a closer look at what I bought.
USB-3-1Lexar USB 3
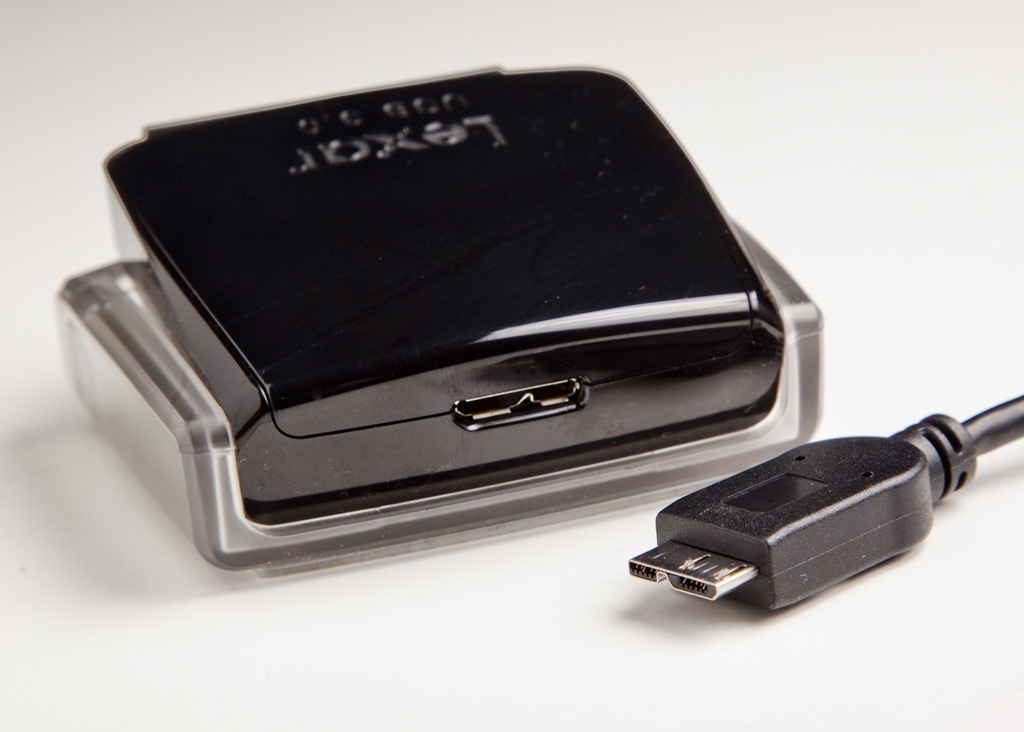
There’s loads of card readers on the market, but the Lexar caught my eye for a couple of reasons. First up it’s a true USB 3 reader, so it should be fast. Next was the build quality, which from previous experience of Lexar readers I hoped would be excellent. Finally at £25 it’s sits nicely in the middle of the price range for card readers.

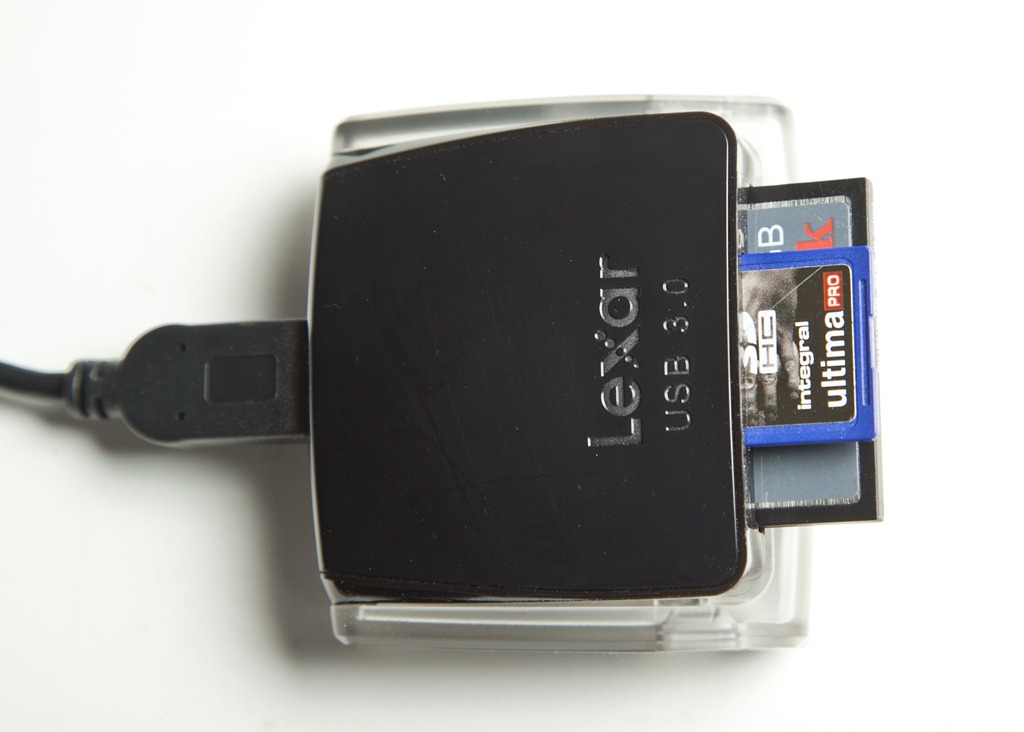
OK, I admit it’s hard to get excited about a card reader and the Lexar isn’t going to change that fact. For the record it’s a duel card reader accepting all types of SD and Compact Flash cards. It features a pop up design which Lexar says is to stop dust getting onto the contacts… Hold on, dusty contacts. Really? Marketing hype aside, the pop up / snap shut design is a nice fun touch.

It might just be me, but I’ve broken loads of Compact Flash card readers and the problem is always the same. Bent / broken pins.  The good news here is The Lexar USB 3 is more like a DSLR in as much as it keeps the pins deep inside the unit. It makes pushing the card in at an angle almost impossible, so the pins won’t get bent. That may not sound like a big thing, but trust me it is.
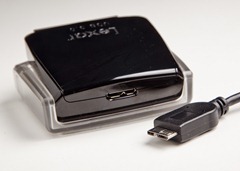
USB-3-2The USB Cable
I found two areas of concern and frankly neither is that bad. First is the use of shiny black plastic, which looks great of course, but it’s a dust and fingerprint magnet. Mind you half the gadgets I own have exactly the same problem. One day the matte finish will become fashionable again… I hope.

Then there’s the USB cable. At roughly 1 meter in length, it’s a bit short for me, but it also features a strange new connector. OK so the end that plugs into the PC is a normal USB plug but the end that connects into the reader is unique amongst my collection of cables (see update below). Not a problem unless like me, you’re planning to travel with the unit and you tend to lose cables.

UPDATE: It appears the cable is a new mini USB3 standard fit, so as this become more common losing a cable should be less of a problem.

Speed test
So I started this review by talking about speed and lets face it that’s why I bought the darn thing in the first place. As this is a USB 3 device you’ll need a USB 3 socket to take advantage of the increased speed. I should point out that it’s backwards compatible so will work on USB 2 but at a slower speed.

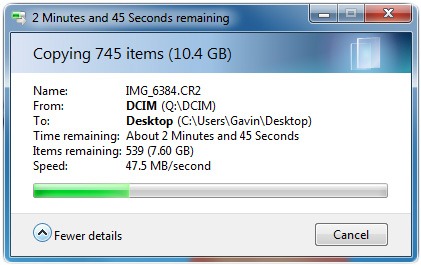
I tested the unit with a SanDisk 30MB/s card which is the fastest I own and represents the most common type of card I see photographer use.
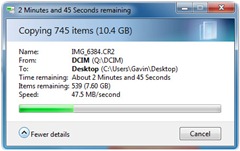
USB-3UBS 3 Read speed (Ave.) 48 MB/s (megabytes per second)
UBS 3 Write speed (Ave.) 30 MB/s 
UBS 2 Read speed (Ave.) 24 MB/s 
UBS 2 Write speed (Ave.) 21 MB/s 

As you can see using the USB 3 socket halved the time it took to get my photos off the memory card. Pretty impressive considering the card isn’t expected to go that quick. Writing times were less impressive, but then that’s not something I do very often.

By the way my internal card reader (USB 2) only averaged 17 MB/s moving the same files, so even on a USB 2 PC there was a small speed benefit

Summery
The Lexar USB 3 is a great bit of kit, well designed, well built and I’d recommend it to anyone wanting a new external card reader.

However if you want the “speed” of USB 3 then you’ll need the right type of memory card such as UDMA Compact Flash and SDXC SD memory cards.


All New RAW to the Core T-Shirts

The original RAW to the Core T-shirts have been around for less then a year, but they’ve proved incredibly popular. In fact we expanded the first order by adding two extra colours and sizes, many of which have now totally sold out.

So I decided it was time to revamp the RAW to the Core t-shirt and after many hours works and several failed attempts I came up with a design that keeps the original RAW to the Core message but blends it into a design that’s a little more easy on the eye of the non photographers out there.

More details are here

The new design is available right now in the Gavtrain store, but please be aware that the stock is very limited.

If you’re after the original design RAW to the Core T-Shirt you can find them here. Many sizes and colours are totally sold out, but you might get lucky Smile