
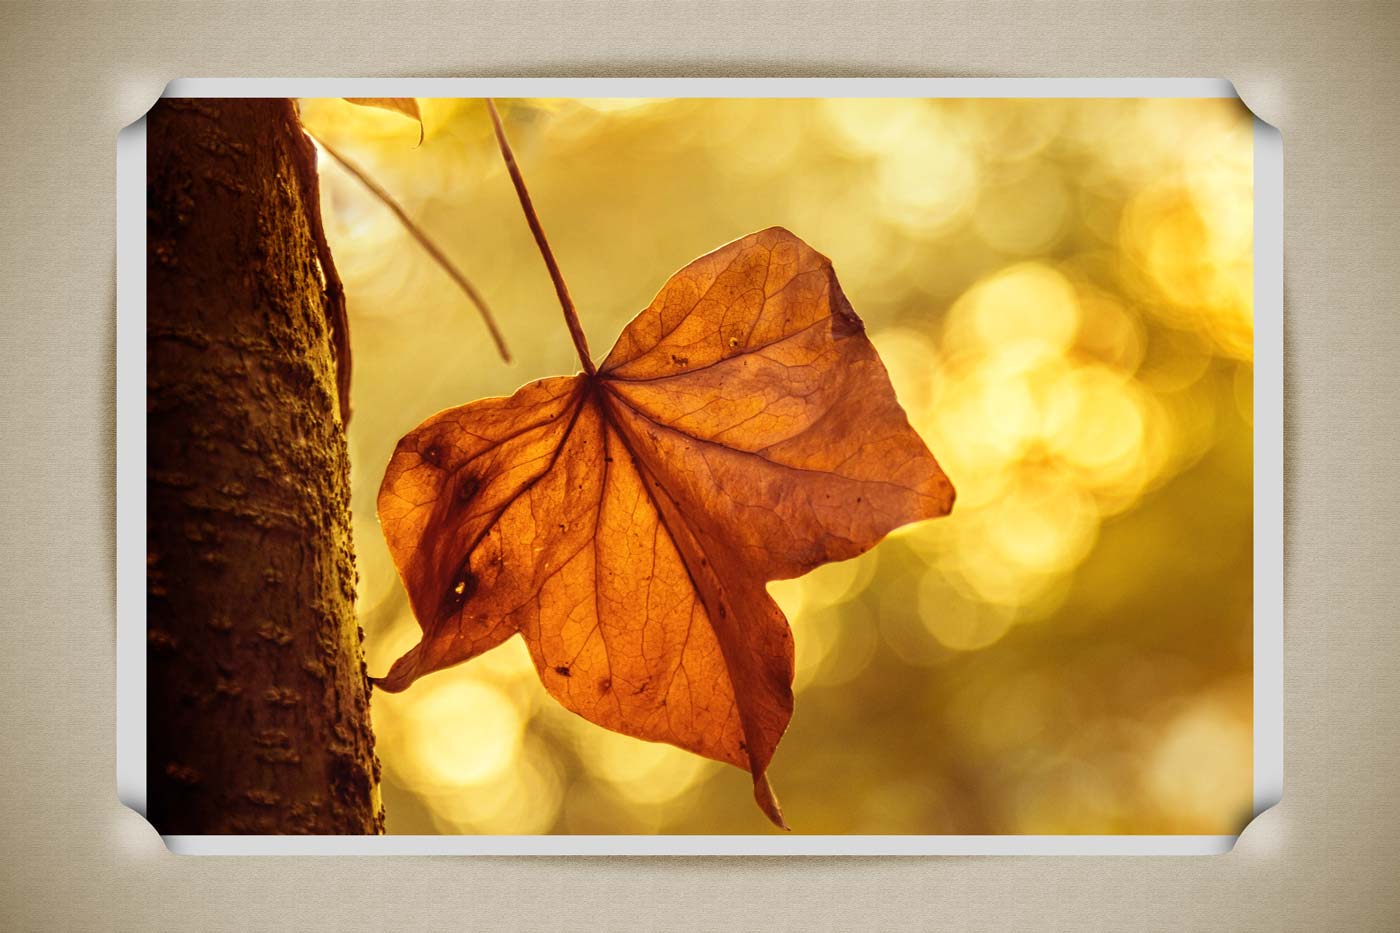
You know how some ideas sound easy until you try and make them happen, well this Friday Freebie Photoshop action really ticks that box. All I wanted to do was make a photo look like it was slotted into the corners of a vintage photo album page. My first test worked really well but recreating a similar result within the confines of a Photoshop action took a lot of working out and many, many hours of trial and error (mostly error). However I think you’ll agree that the end result was worth the effort!
You can download the action here: Cut Corners – Gavtrain
To use the action, start with the photo you wish to use already open in Photoshop and then play the action. The first thing it does is make a copy of your photo so the original will be untouched and safe. There’s a lot of things for Photoshop to do with this action so it may take a minute or two to run through. As with most actions, the size of your image will effect the final effect and I’d suggest starting with a photo 3000 pixels (longest edge) or bigger.
The action will work with Photoshop CC, CS6, CS4, CS4 and CS3 but because it uses “Warp Transform” it WILL NOT work with any version of Elements, sorry.
Usage rules
The action is copyright Gavin Hoey 2014. Use is limited to any personal, non-commercial purposes. Please share the Friday Freebie by linking back to this page. Do not redistribute the original action without my permission.
Download instructions
The direct link to download the actions is https://www.gavtrain.com/wp-content/uploads/2014/05/Cut-Corners-Gavtrain.zip
No support is provided with the Friday Freebies. If you need help Google or YouTube the question and you’ll almost certainly find the answer 🙂
Hi Gavin.
Pessimistic about your work? 😉
Less than 25 seconds on a Nikon D800 nef image, full size.
Marco
Thanks for all the great Friday Freebies, Gavin!
Your’re welcome Larry 🙂
Oooh can’t wait to try this. Thank you Gavin,
watching your videos has taken away the fear of photography. Thanks for sharing your expertise and knowledge.
Works like a charm and the results are lovely. Thanks Gavin!
Hello from Norway!
The effect looks awsome, thank you Gavin 🙂
Thanks again for the freebie Gavin. Here’s my effort.
https://www.flickr.com/photos/73302176@N04/14143627141/
Very nice, thank you!
Hi, i loved this action but my fram looks so strange! It´s not a beige colour, it´s PINK! How come? Can I change it? How?
A bit of Image – Adjustments – Hue/Saturation should do the trick. Just make sure you’re on the border layer 😉
I tried that but it effected the whole image, even when I was on the boarder layer! When I choose hue/sat I will get o new layer.
G’day Gavin.
All your hard work in creating this action has really paid-off. Having used other actions which do similar things I can say, without any hesitation, that this is the easiest one I have tried. Excellent results, I will use this action a lot. Very pleasing. Thank you very much for creating this for us.
Barry in Tassie
Thanks for sharing your expertise and knowledge.
This is great,just tried it out,thanks for all these great actions Gavin.
Glad you liked it 🙂
cheers Gavin for a great Friday Freebie … my attempt:
https://www.flickr.com/photos/7wishes/14357845394/
Hi Gavin, Thanks for all your hard work, I have learnt heaps through your videos and enjoy leaning through you. I hope you like my pic with the cut corners.
https://www.flickr.com/photos/11135123@N03/14826252193/in/set-72157646057141936
Very nice, thank you!
Gavin thanks so much for share your tips with that great attitude and smile. I have learn so much from you. Thanks again
Hey Gav…. Have watched your tutorials for a few years now… Thanx for always sharing.. 🙂
Thanks for the kind words Annie 🙂
Great Actions I would like to some more how can I?
i am new one all are your tutorials are great very easy to understand thanx a lot
g.r. murugan
Thank you for this I have to say it did work in Elements 2018 with a couple of errors at the end but the end result is perfect