Extract Detail Action

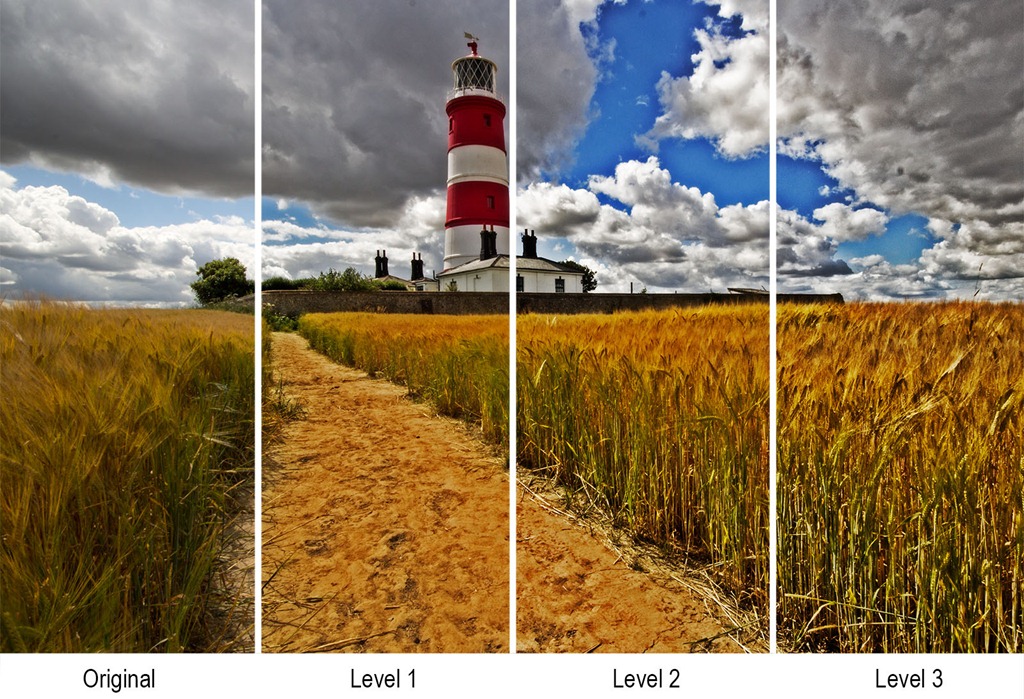
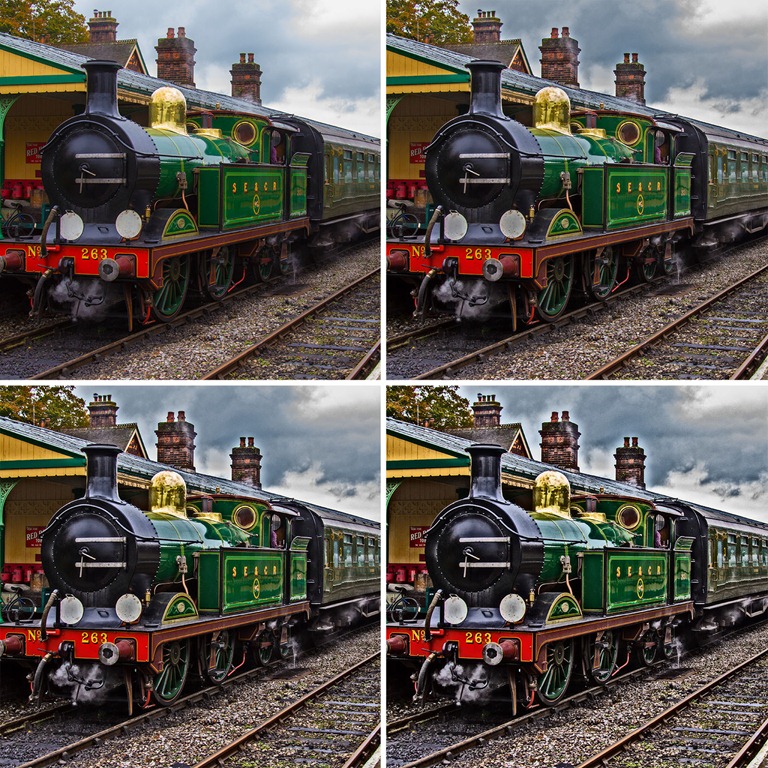
This weeks Friday Freebie is a brilliant little action that pulls out and amplifies the small detail and textures in your photos.

FF-detail-1As with all actions the strength of the effect will vary according to the number of pixels in the image but this one gives great results with pretty much any sized photo. You’ll need a copy of Photoshop (CS2 or later) to make the action work and at the moment it’s untested on Photoshop Elements but should work OK.

Once installed you’ll find there are three actions in the set. They’re level 1, 2 and 3 and basically it’s the same effect with three different strengths.

The action is fully self contained which means you don’t need to do anything other then click the play button. It also makes a copy of your photo (called Extract Detail) so you can copy and paste it back on to your original photo and blend in the effect as you wish.

You can download the action from here www.gavtrain.com/free/extract-detail.zip

FF-detail-2

Usual rules apply. The action is copyright Gavin Hoey 2012. You may use it for personal, non-commercial purposes only and please do not redistribute without permission. Thank you and enjoy Smile

Paint Splash Photography

I’ve photographed water drops on many occasions and I’m always amazed by the stunning images that something as hum drum as a drip of water can create. The only problem with water is it’s transparent nature. That’s fine if you want a dark background but a real problem if you’re after a white background.

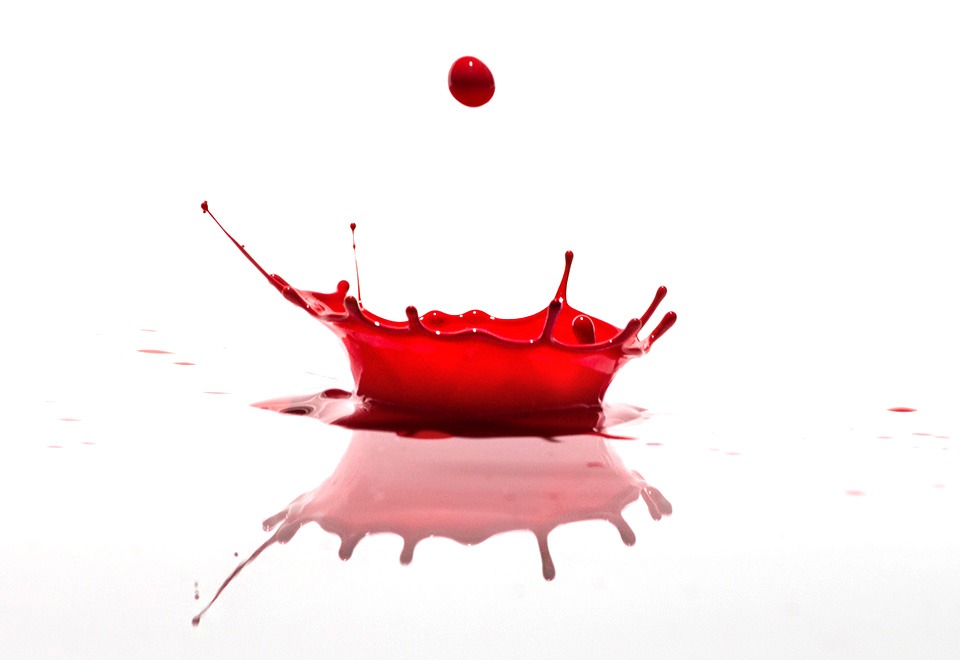
Paint-Adorama-FinalFor a white background you’ll need an opaque liquid to photograph and after a bit of trial and error I found the best thing to use was paint.

If you fancy having a go yourself, there’s a couple of extra tips I can pass on as well as the video below.

Water and paint
The paint I used was a ready mixed water based paint that’s made for children. That’s important as it really does go everywhere, fortunately water based paints can be cleaned up with a damp cloth even when its dried. I also watered the paint down a lot. It was roughly 10 parts water to one part paint. That created big splashes but maintained the all important opaque property of the liquid.

Burst Mode
I used the camera’s pop up flash to trigger the main flash. It worked well but I had to wait for the pop up to recycle before I could take the next shot. However if you have a set of Pocket Wizard radio triggers (or any other make for that matter) then you can shoot in continuous shooting or burst mode making bagging the perfect splash much MUCH easier.

Here’s a list of the equipment I used in the video.
Canon 60D
Canon 70-300m USM
Light stand + Boom Arm
Canon 580 EX II Flash
Flash bracket
Canon Remote Switch
Manfrotto 190 pro Tripod
Adobe Photoshop CS6

3 Questions to ask before buying a camera

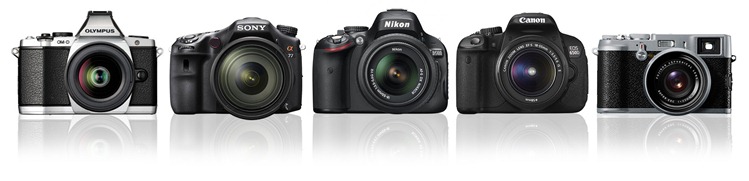
What camera should I buy? With the huge and confusing choice of cameras on the market today, it’s a question that I’m asked time and again. I may be wrong but I get the feeling that most people who ask me that question want a short answer like… “You want to buy Camera X” Sadly it’s not that easy so here’s three tips to help you choose wisely.
Which CameraWhat are you going to photograph?
This should be the first thing you ask yourself before going any further. Sports or wildlife photographers will want different features then portrait and wedding photographers. The dream of one camera fits all is getting closer but it’s not here yet.

Things to consider might include:
Are you photographing moving subjects? If so then look for a camera with good autofocus and a fast frames per second (FPS) count.

Are you going to be shooting in low light? If so then a full frame sensor camera might be for you as they generally have much lower noise at higher ISO settings

Do you mostly shoot with long zooms? If you need to get close to your subject (from a distance) then a crop sensor camera will magnify the focal length of your lenses by around 1.5 times.

Do you need an SLR camera? If you’re shooting street photos or simply prefer to travel light then one of the new breed of mirrorless cameras might well be perfect for you.

What’s your brand?
This one’s really simple… If you currently have a Canon buy another Canon. The same rule applies for Nikon, Sony etc. Yes I know it seems like that other brand has all the best features but if you own more than two lenses you’re looking at a very big bill to swap brands.

So what if you’re new to photography, have had all your gear stolen or you only owned the kit lens that went with your old camera. What brand do you buy now?

That’s easy too. Buy whatever brand of camera your friend, colleague or neighbour has. That way you can swap gear and share knowledge with someone you trust.

How much do you have to spend?
At the end of the day it really is all about the money. Cameras are not cheap items so you want to buy the best one you can.

Before you rush out with your credit card let me remind you there is a big difference between the “best camera” and the “most expensive camera”.

Set yourself a budget which will include the things that aren’t in the box. Things like:

  • Memory cards (lots of them)
  • Spare Battery
  • Camera Bag
  • A lens or two

That last one is important. A new camera body may last you three years, maybe five if you’re lucky. A decent lens should last you 10 years or if you’re lucky it might last a lifetime. Invest in lenses whenever you can… but that’s another story.
Friday Freebie No.2

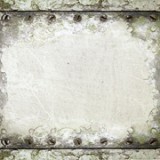
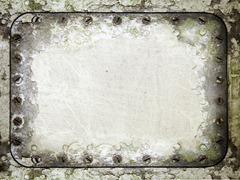
grunge-border-2I know a lot of you enjoyed using the Friday freebie grungy frame I uploaded a few weeks back, so I’m going to give away another one.

This time the grungy border has a more industrial feel with peeling paint and screw heads. The centre of the image has a smoother painted look which makes it perfect for for blending with other photos.

If you like your photos to have grungy feel you’ll love this grunge photo frame. This is a very high resolution file of 4666px by 3500px in size, which makes it perfect for print use or down sampling for use with your web based images.

IMG_8713

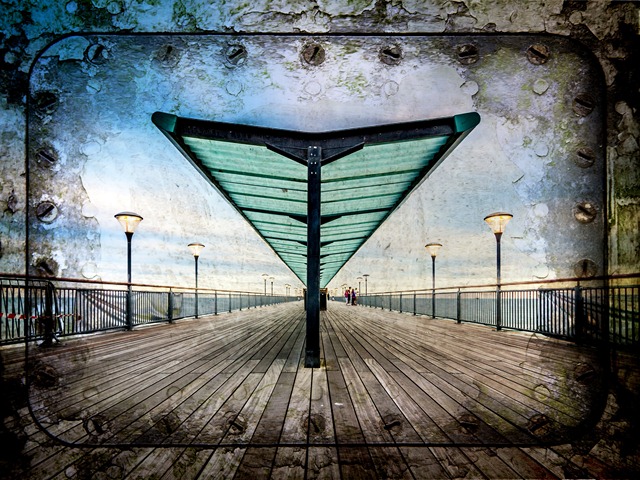
In the photo above I added a colour image as a new layer above the grunge border. Combining the two images is as simple as changing the layer blending mode to Multiply. You might need to use the dodge and burn tools and a levels adjustment layer at the top of the layer stack might be a good idea.

I’d also suggest using images which have lots of sky, large areas of simple colour/tone or lots of nice blurred parts in the photo. Basically a photo with lots of fine detail tends not to blend so well with a textured template like this.

If you create a photo using the Friday Freebie then let me (and everyone else) know by leaving the link in the comments below.

Usage rules
The image is copyright Gavin Hoey 2013. Use is limited to any personal, non-commercial purposes. Please share the Friday Freebie by linking back to this page. Do not redistribute the original image without my permission.

Download instructions
Click the link https://drive.google.com/file/d/0B_Mmmm3K1utNZEx4MEdDNEJldkU/view?usp=sharing

1. Click the Download button download_icon

2. The download should start automatically