Photoshop DeBlur Sneak

Adobe-deblurAdobe are usually pretty tight lipped about the future features that might appear in it’s next version of Photoshop, its very existence isn’t usually talked about and even it’s name is open to speculation. For the sake of argument let’s call it Photoshop CS6.

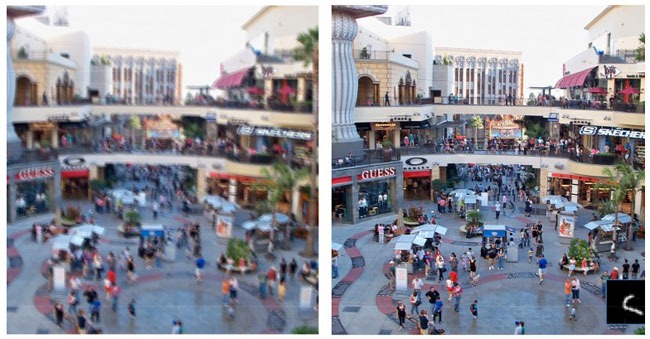
However Adobe also have a habit of showing off what they like to call “sneaks” of new technology which may (or may not) appear in a future incarnation of Photoshop. So when it came to last weeks Adobe MAX convention there was a lot of anticipation about what Adobe might show. Fortunately Adobe didn’t disappoint with a stunning demo of image deblurring.

Deburring or focusing and blurred image is the holy grail for many digital photographers. For as long as I can remember, I’ve been telling photographers that a blurred image is a lost image. Something tells me that that advice isn’t going to change any time soon, but if Deblurring is real and if makes it into Photoshop CS6 and if it’s half as good as the demo, then Adobe may have just shifted the goal posts.
Brighton Sewer – Photography Challenge

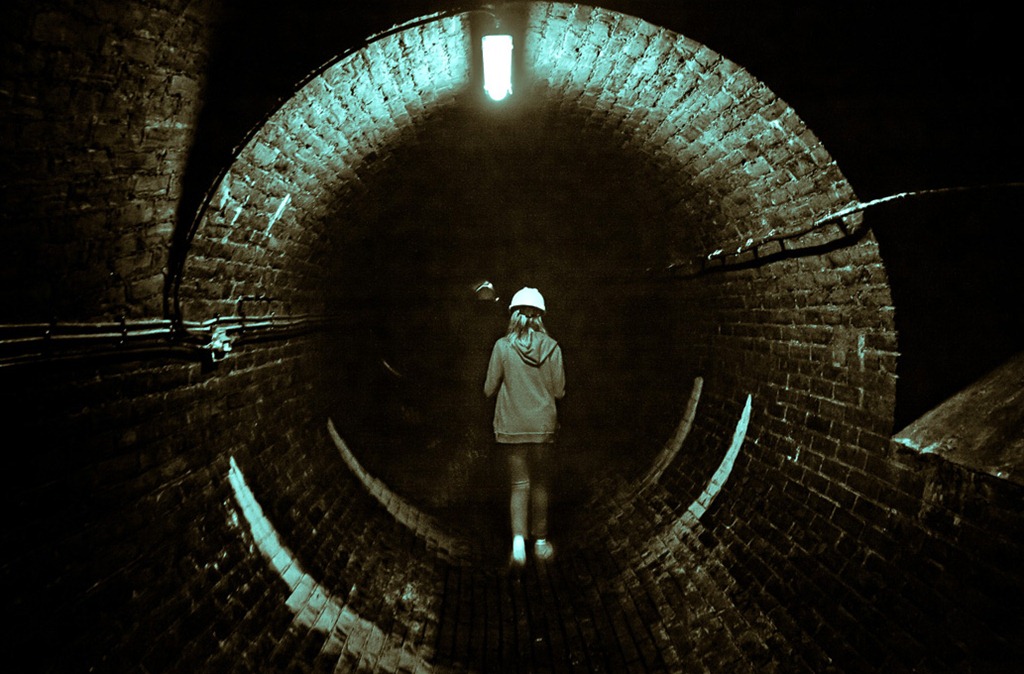
IMG_7493Sometimes photography can take you to some very unusual places and nowhere is more challenging then going into the maze of Victorian sewers that crisscross beneath the feet of the people of Brighton. It might have been easier if I had advanced warning of my visit, but the whole thing was arranged by Sam as a mystery location challenge. All I knew was that I was going to Brighton and I’d need to wear old clothes.

I’m sure there are a lot of questions to answer, but here are the first ones that come to mind.

Was it smelly?
Well surprisingly it wasn’t too bad. Yes there was a slight odour but nothing like you might imagine.

Surely if can’t be safe?
You get well briefed before going on the tour. Everyone wears gloves and a hard hat and there are comprehensive washing facilities at the end of the tour. That said you only go in walkways or sewers that handle surface water, so although you do see (if you want) the nasty stuff, it’s kept well away.

Wouldn’t a faster lens be more useful?
If I had time to research where I was going I just might have taken my 50mm f1.8 lens. However it really was a mystery visit so that wasn’t an option. Besides my 24-105L lens has image stabilisation equal to three stops and the f/4 aperture gave me a slightly bigger depth of field.

What happened in the middle of the video when it went black?
It was a power failure. One moment the lights were on the next it was pitch black. Fortunately the power came back on a few seconds later.

Are the images noisy at 6400 ISO?
Yes, but Photoshop CS5 has an almost magic ability to subdue noise in RAW photos.

What’s with the colour scheme?
In previous challenges I’ve come in for criticism for “over processing” my images. That’s a very subjective thing to say, but for these Images I decided to give them all the same look and do very little Photoshop work. The split tone look was applied in Photoshop CS5 (Adobe Camera RAW)

Would you recommend the tour for photographers?
I’d whole heartedly recommend the tour, but not as a photographic venue. Go and learn about the history and modern use of the sewer system, but don’t expect to come out with lots of photos.

Watermark your Photos

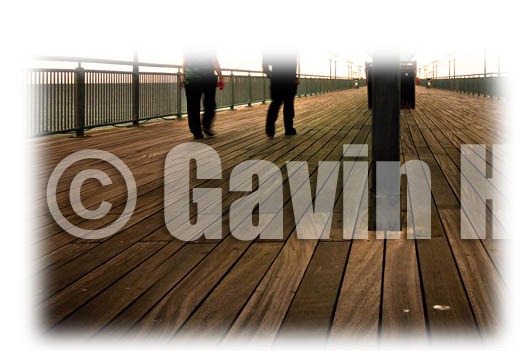
watermarkFor a lot of people the need to protect their images with a watermark is very real. The reasons can vary from downright image theft to the more subtle uses such as someone passing off one of your photos are their own work. Whatever the reason adding a watermark is a skill every photographer should have.

In Lightroom 3 watermarking is built in. In Photoshop CS5 you can download a free watermark panel from Adobe’s own Dr Russell Brown http://russellbrown.com/scripts.html In Photoshop Elements you’ll need to make your own watermark and that’s what I’ll show you in this video.

Of course once you’ve made your watermark, you can save the watermark text layer as a PSD file and paste it directly onto future images you wish to protect. That should speed up the process for future use.

Interview for Adobe Photoshop

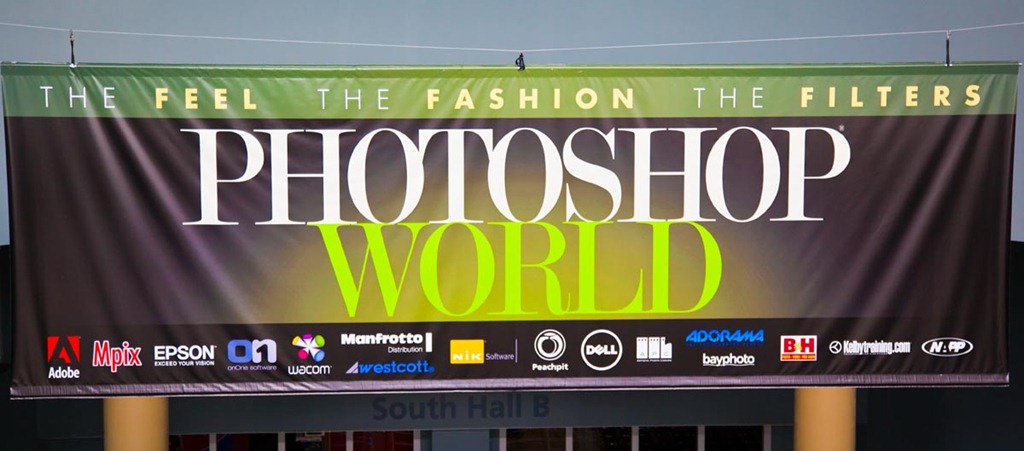
PSW-bannerA few months back I was a guest of Adobe at the massive Photoshop World convention in Florida, USA. Three days of non stop Photoshop and photography was both exciting and exhausting but I came back with loads of new ideas and met some pretty incredible people too.

How did get to be a guest of Adobe? Well I did it by winning a competition to create a two minute Photoshop video tutorial for Adobe’s “Next Photoshop Evangelist Competition”

Of course being the guest of Adobe I had to earn my keep. Was well as the convention, Photoshop World runs a pretty decent expo which features all the major software names as well as a host other camera related companies. Adobe had a pretty big stand and ran a rolling seminar programme of which I was a small part.

On the second day I was asked to do a short interview about how I earned my experiences of Photoshop World and other questions. Expecting to be given some time to prepare I happily agreed and was handed a list of question. I had a very quick look through them and that was my preparation time finished!

As it turned out that was probably the best way to do it. Watch the video below to see the results…

Perfect pure white background – Studio lighting tutorial

As you might have noticed from my previous blog posts, I was invited to test out a very expensive Hasselblad camera a few weeks back. The location was the Hasselblad studios in London and whilst I visiting I couldn’t resist recorded a couple of lighting videos.

In this first video I revisited the pure white background tutorial I made several years back. Since that original video I’ve refined the technique which now contains more accurate and useful information for anyone looking for the perfect white background.

Raw Double Process – HDR Effect

Ever since I posted the last 15 minute photo challenge video I’ve been constantly receiving questions like… How did you make the images look so good, what did you do in Photoshop, are they all HDR… and so on.

Now, normally I don’t show the Photoshop techniques I use to create the photos from the 15 minute challenge photo challenge. Please understand, that’s not for any reasons of secrecy, I just think you would be very disappointed at how little I actually do to the images. On the few occasions I show people they often end up saying… “and that’s it!”

However such was the lighting at the Gatwick Aviation Museum, where I filmed the photo challenge, that Photoshop played a much bigger role in the image creation. So here’s a short video demonstrating one of the techniques I employed.

And here’s the final image:

Gatwick Aviation Museum (9)

Out of bounds effect made simple – Photoshop

It’s high time I made another Photoshop video tutorial. After a few minutes scratching my head thinking what I should do, I took a quick look back through your Quick Shot Questions. One Photoshop question kept coming up which was this… “How did you make that pop up image at the end of the abstract background tutorial?”

The technique is known as out of bounds and as the name suggests the idea is to make part of the image poke out from the frame.

Despite appearances the technique is fairly straight forward when it’s broken down into a few simple steps as you’ll see in this video.

Gavin & Jared – Photo hook up

It’s all well and good working on your own as a photographer. I’m my own boss, I work the hours I want (unless someone is paying me of course) and I get to have lots of time with my family. Now, good as that all is there is one major down side. In a word it’s Creativity

When you’re the only ideas guy there’s no one else to brainstorm with, no one to push your creativity and no one to compete against that understands and thinks with the same photographic mind as you

So get around this I like to spend time with other photographers. I use training days, trade shows and photo walks to recharge my creative batteries as well as networking opportunities.

So when the chance to hook up with Jared Polin from Fro Knows Photo came along I said yes. Unfortunately the 3500 mile distance between us made a physical meet up rather tricky, but thanks to the wonders of Skype and video calls that problem was removed.

So in the end what happened was I took the photos and sent them to Jared to process. U unfortunately for Jared, the image out of the camera was a little to good and didn’t need much adjustment, none the less Jared did a great job.

Best of 2010

With 2010 drawing to a close I though it might be a good time to look back at some of the videos I’ve made this year. I’m not 100% sure exactly how many Photoshop tutorials and photography tips videos I made this year but for the purposes of this posy I’ll stick to the publicly available content on my YouTube Channel.

So from the 28 videos I uploaded to you tube here are the top videos in various categories…

Longest video – The 10 minute Emergency Christmas Card Photoshop Technique

Made for my friends at tip squirrel.com I originally planned to call this the 5 minute Christmas card technique, but I quickly realised it was going to take much longer then I had planned hence the name


Shortest video – Star Rotation Effect – Photoshop CS5 New Action.

This was a video I made for the Next Photoshop Evangelist competition. Part of the entry requirements was the video had to be less then 2 minutes long and feature the concept of twenty. See if you can spot it!

Most Commented – Grey background lighting tips and tricks — Quick Shots 08

Another studio/portrait tutorial but this time I demonstrated three lighting tricks with one grey background cloth.

Most Viewed – How to shoot an unusual self portrait.

Me, myself and I get together to make a very strange self portrait. The opening minute was great fun to make and was a learning curve on how to use Adobe Premiere Elements to creatively edit videos.

And finally my favourite video of 2010

To be honest I’ really happy with almost all of my videos, but there are a few that stand out.

Of the 15 minute challenges my last video of the year, filmed at Winchester Cathedral, is high on my favourites list. It produced some of the best images I’ve taken this year and was a location I intend to return to later in the year. The 15 minute challenge in Kens Field was a real tough challenge photographically, so coming back with anything worth showing is a success.

Teaming up with Jared Polin from Fro Knows Photo was a fun thing to try and may be repeated again in 2011 either with Jared or other photographers / Photoshop experts.

But if I had to pick just one video it would be Long exposure technique. It combines some useful photography tips with a bit of fun and produced a stunning photo. Incidentally there is an extended version of this video on the Photo Beach Teach DVD which includes the part where my cable release fell into the water!

So that’s it for 2010. Look out for more Photoshop videos, more Photography tips videos, more review videos and more 15 minute photo challenges videos in 2011.