Flash Exposure Compensation

A few weeks back I wrote a blog post about exposure compensation. If you missed it it’s well worth checking out before continuing with this post. It’s very easy to confuse exposure compensation with flash exposure compensation and although they both work on the principle of overriding exposure, flash exposure compensation (or FEC for short) is a little more tricky to master.

Flash Exposure Comp2If you’re lucky you’ll have a flash exposure compensation button on your camera. Look for the lightning bolt symbol which differentiates this button from the standard exposure compensation. If there’s no button then you’ll need to dive into the cameras menu to make the adjustment. If you’re using a speedlight then you can make the adjustment directly on it’s LCD panel and you’ll often get a wider range of compensation settings that way too.

It’s all about flash
As the name suggests, flash exposure compensation only affects the flash where as regular exposure compensation effects the ambient light. 

Flash photography, also known as strobist photography, has become much simpler recently thanks to the TTL technology built into speedlights. Of course any TTL system is prone to errors from time to time and that’s where flash exposure compensation kicks in. Basically flash exposure compensation tweaks the flash power and produces more or less light to suit your requirements.
Flash Exposure Comp-2

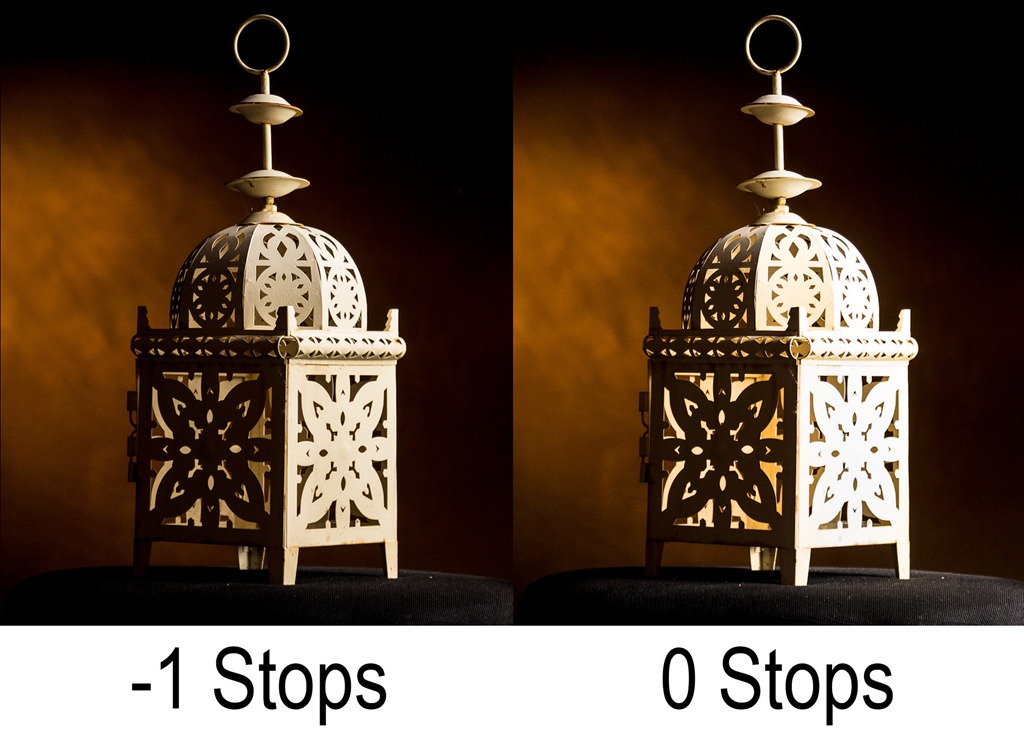
Take a close look at this photo. Left to it’s own devices (photo on the right) the flash produces a little too much light and detail in the metal is lost. By dialling in minus one stop of flash exposure compensation (photo on the left) I retain the all important highlight details.

Compensation in action
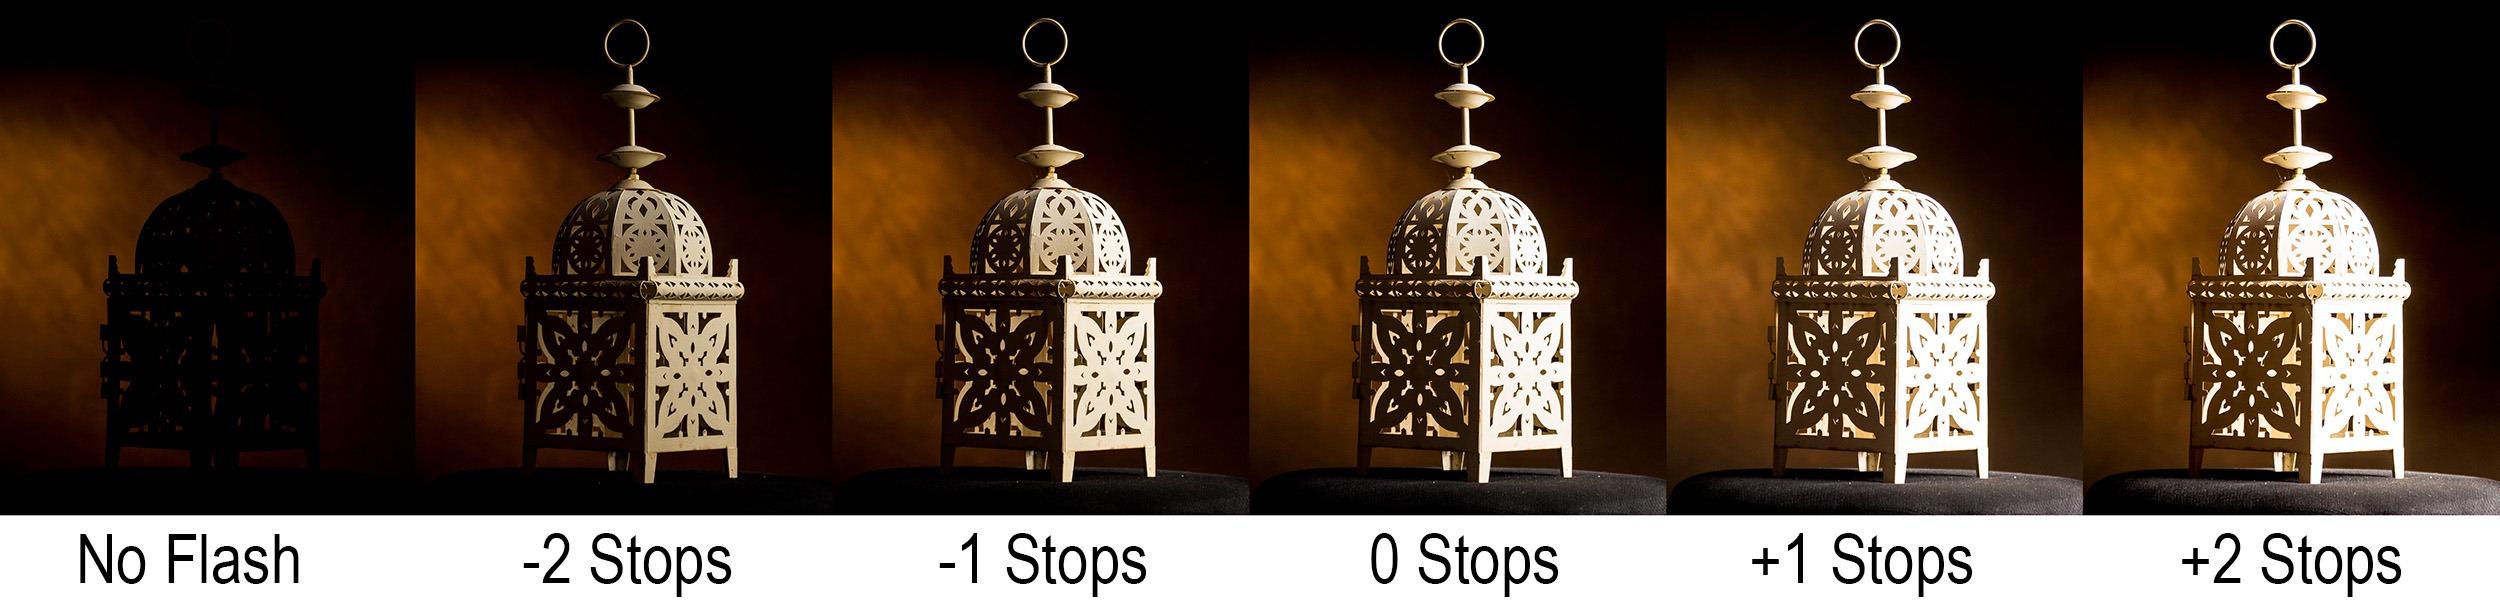
If you move the flash exposure compensation to the left (minus numbers) you’re lowering the flash output and your photo will be darker. This is great when you want to do some fill flash photography or when the flash part of the photo is simply too bright.

Moving exposure compensation to the right (plus numbers) makes your flash brighter, perfect for when the flash lit parts of the photo are a little dark, although it should be noted that if your flash was already firing at maximum power adding positive flash exposure compensation will not make it any brighter.
Flash Exposure Comp
Click to enlarge

The photos above used off camera flash to light the white lantern from the side, the background was lit by the ambient light in the room. It’s worth noting that changes to the flash exposure compensation made a difference to the lantern but no difference to the background. Look closely and you’ll spot a slight lightening of the background at the +2 stops which is caused by the super bright flash bouncing around in the room and contaminating the background a little.

If you shoot TTL flash, learning how and when to use flash exposure compensation is vital. Once mastered you can get perfect fill flash when shooting outside or use it to get correct exposure when shooting in a studio. Of course you could set your flash to manual only, that way you can avoid the need for flash exposure compensation but you’d have to figure out the correct flash power for each and every shot.

August Photo Competition ~ The Result

The theme for the August photo competition was “Beach and Sea”. If you’re a regular blog reader, you’ll be aware that it’s been some time since I ran one of these and this time I only gave you just under two weeks instead of the usual month.

None the less you lot really pulled out the stops with a whopping 134 photos being entered and I’d like to thank everyone that got into the spirit of the competition. You can view all the entries by going to the Flickr group page.

As always I looked at all 134 entries very carefully and over the course of a few days I whittled down the number. Usually the first photos I reject are those which are several years old as the idea is to encourage you to go out and take a photo for the competition, not upload an old favourite. However due to the short time scale I gave you I didn’t do that this time round.

There were so many amazing photos it all came down to personal taste (mine in this case), so I selected my favourite photos and the best of those made it into the top 10 as seen below.

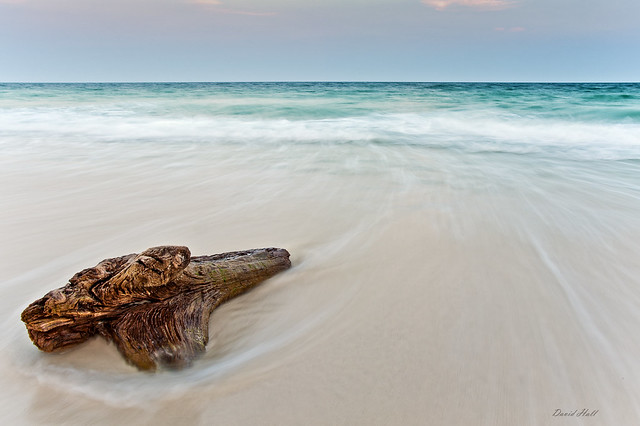
To be honest there were several photos which could have easily taken the top spot as I think they’re outstanding. However there can only be one winner and this month the winner is…Untitled By PhotoPcola

DSC_6925-Edit

David will be getting a copy of his print made by my good friends over at Print Yours.

Near Misses…
The runners up in no particular order are below (keep scrolling down to the find the photos). This time I’ve made a short video looking at why the top 10 are where they are, I hope it helps and remember all the opinions are mine so I don’t expect everyone to agree, especially if you took the photo Winking smile

Click on an image to view it large on Flickr. If you didn’t win this time there will be a new challenge. Details are coming soon.

How fast is Photoshop?

speed-actionOver the next few weeks I’ll be posting some tips on how to squeeze more speed from your computer to make Photoshop run faster. Of course you may not be aware that your computer could run faster or even what the benefits are. In which case let me put it this way… The faster Photoshop runs the more enjoyable it is to use.

I use two PC’s on a regular basis. Now I wrote about upgrading my main PC a while back and its speed is unbelievable. My second computer however, is a small laptop that I use on locations and at talks. Recently I’ve had to use it quite a bit but compared to my regular PC it was painfully, frustratingly, annoyingly slow. Working with even medium sized images showed up its lack of power making using Photoshop a bit of a chore.

The Speed Test
Of course that was just my perception of speed so what I wanted was hard facts. Is Photoshop on my laptop really slow or am I impatient? So to put Photoshop through its paces I’ve created an action that will push it hard.

If you fancy testing you’re Photoshop then you can download my Speed Test action, grab a stopwatch close any images and run the action.

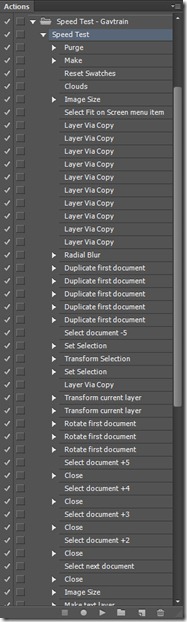
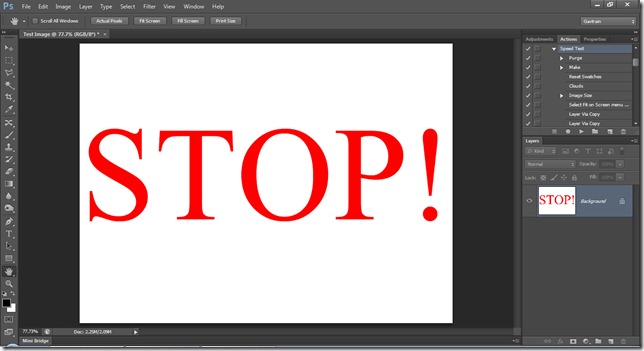
You can get an idea of what the Speed Test Action does by looking at the screen grab. Basically it creates an image, up samples, applies a few transformations, creates layers and fills Photoshop with data to really make it work hard. It will stretch the system RAM and scratch disc before tidying everything up and saying STOP! The faster your computer the quicker the action will play through.

The Results
I ran the speed test a few times and then averaged out the results. Adobe claim Photoshop CS6 is faster then CS5 so I also wanted to put that to the test, so I ran the same speed test in both versions.

Laptop:   CS5 = 157.5 Sec           CS6 = 139.5 Sec
Intel i5 with 8GB Ram

Desktop: CS5 = 36.5 Sec             CS6 = 27 Sec
Intel i7 with 24GB Ram and SSD scratch disk

OK so Adobe were right, Photoshop CS6 is faster then Photoshop CS5 but I was also right, my laptop is much slower then my main PC. So I’m left with three choices…

  1. Accept that’s the way it is and get on with life
  2. Upgrade the hardware where possible
  3. Retire my laptop and buy a new one.

Option 1 isn’t my style and option 3 is tempting but expensive. Stay tuned to see how well I get on with option 2.

If you’ve run the speed test on your computer add your results to the comments below. I’d love to know PC or Mac i3 i5 i7, how much ram and of course the time.

Speed Test

Exposure Compensation ~ Basics

expo compIn my book there are two fundamentals to what makes a photo good or bad and they are proper focus and a perfect exposure. Get either of these things wrong and you’re fighting an up hill battle from the off.

In this post I’ll look at exposure compensation which allows you to override the camera’s suggested exposure and make your image lighter or darker as you require. Although the name may vary a bit, almost all cameras have this function. You’re looking for a button that has a half white, half black square and has the plus minus symbols… Basically something like the image on the right.

Why compensate?
In this modern age of digital everything you may be wondering why the cameras exposure wouldn’t be right all the time. By now some boffin must have figured out a way to get the perfect exposure, right? Well that’s nearly right and every new camera that comes out gets better and better at nailing the exposure but there are two problems. Firstly all metering systems start with the theory that the world (on average) is a mid grey, That’s great most of the time except for the times when it’s not, like when photographing snow or someone wearing black.

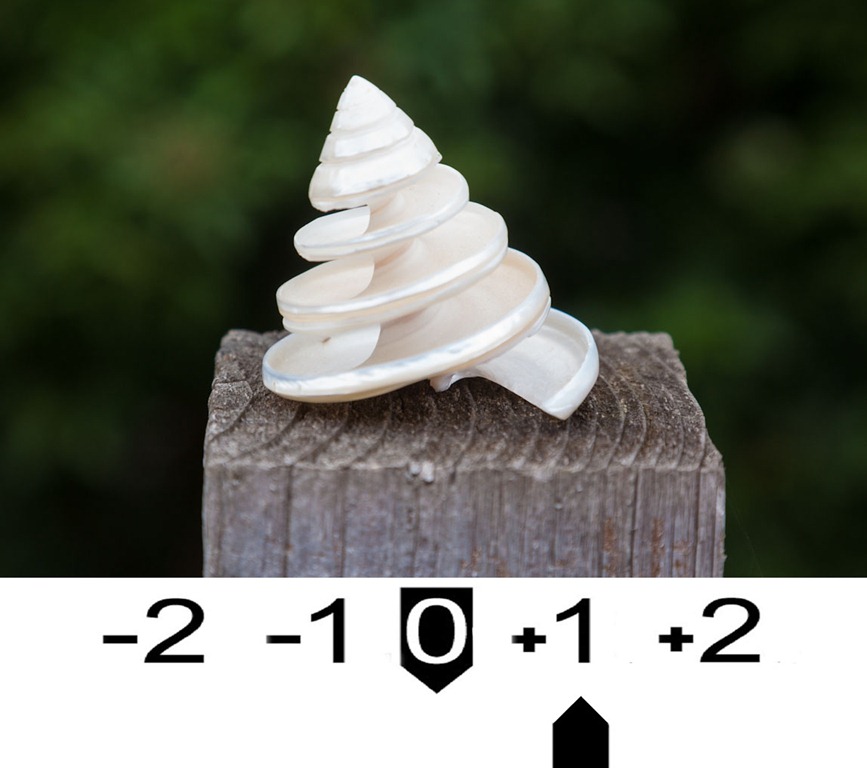
0 stops    1 stops
The white shell in the centre of the frame has caused a small amount of under exposure.
Dial in +1 stop of exposure compensation and the exposure is correct.

The second problem is exposure is often open to interpretation. A scene where the exposure is biased to highlights will look very different to one where it’s biased to the shadows.

Compensation in action
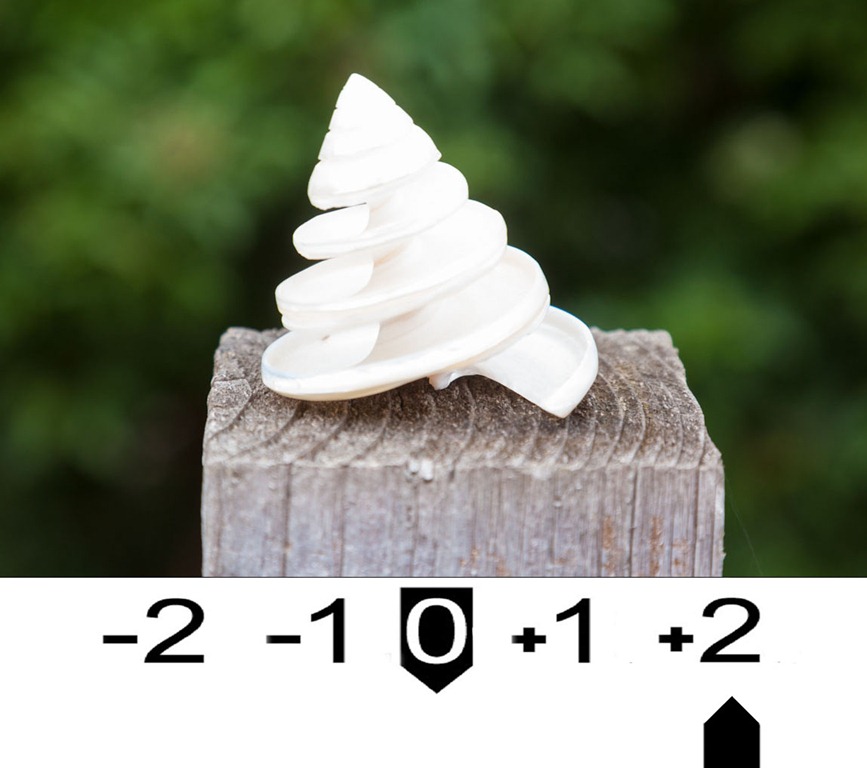
If you move the exposure compensation to the left you’re adding negative exposure and your photo will be darker. This is great when photographing dark subjects or when you want to capture highlight detail.

Moving exposure compensation to the right makes your photo’s brighter, perfect for photographing light things like snow, sandy beaches and backlit scenes.

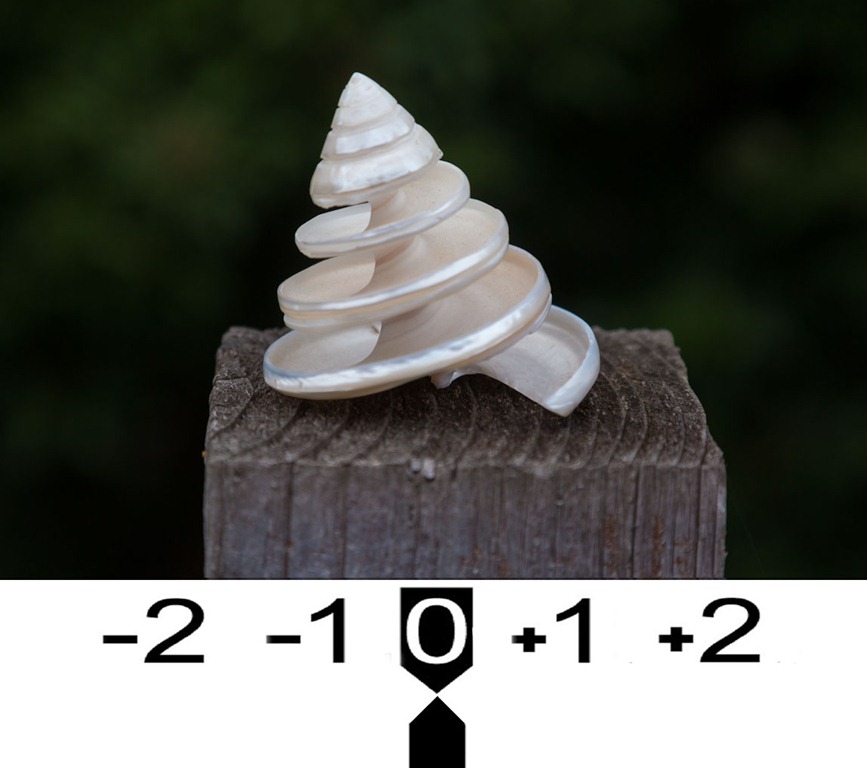
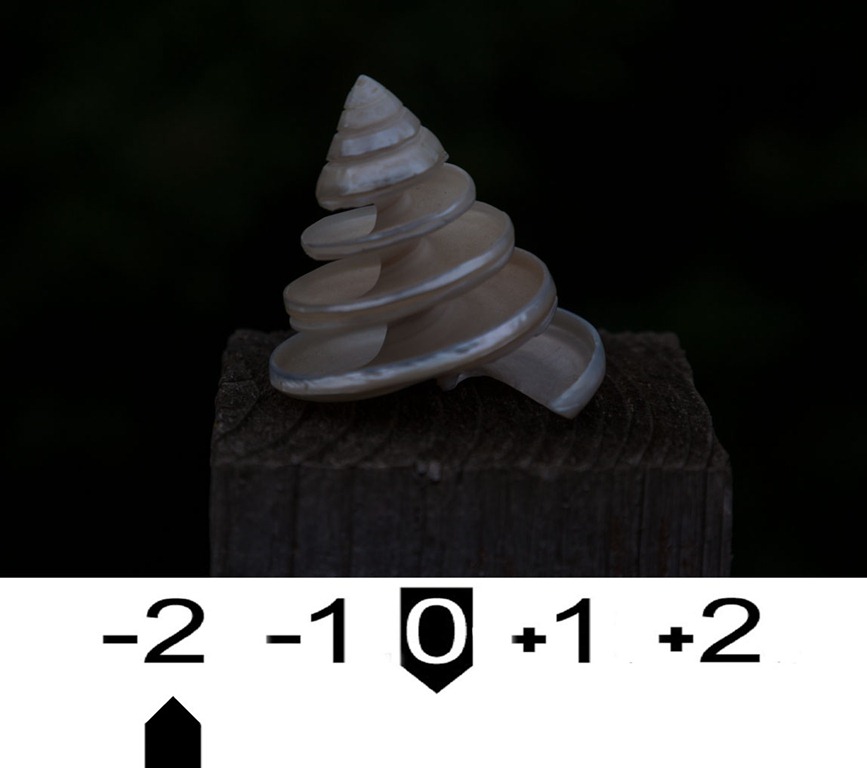
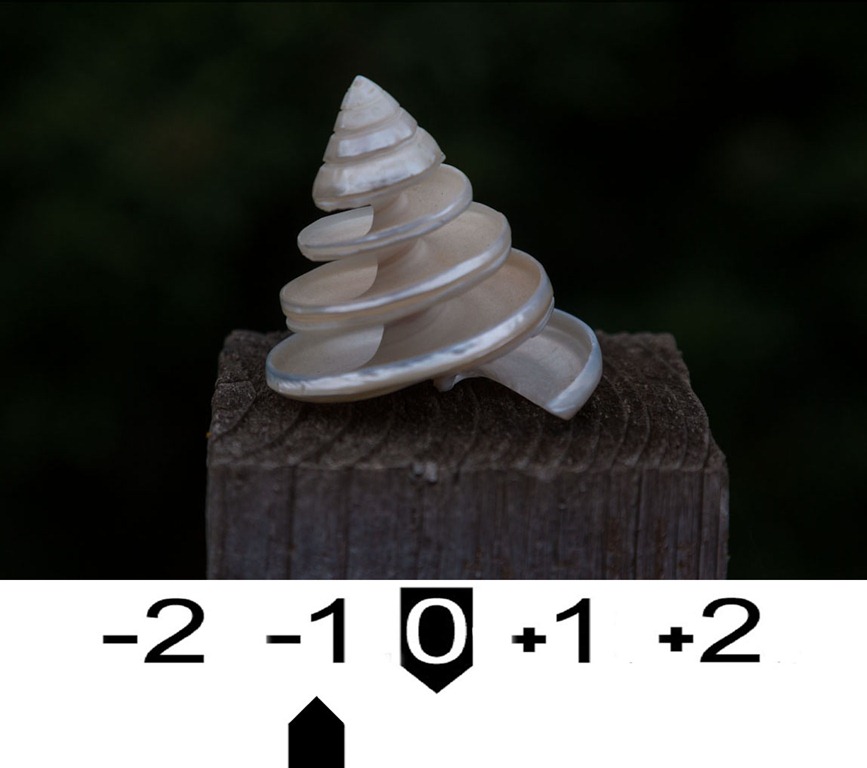
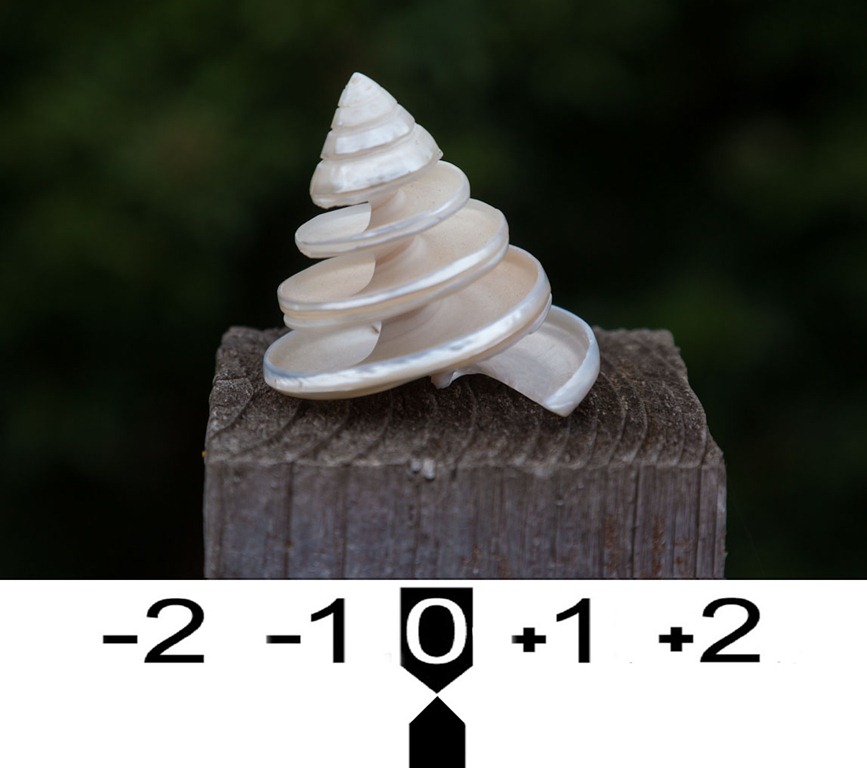
-2 stops-1 stops0 stops 1 stops 2 stops
Click on an image to enlarge

When in doubt try taking the photo at a couple of different exposures but always remember once you’re done with exposure compensation reset it to zero.

Fix it in Photoshop
I love Photoshop but fixing exposure in Photoshop isn’t a long term plan you should stick with. Yes I know the RAW format gives you latitude of exposure you don’t get in JPG but adjusting exposure AFTER you’re taken the image will slow your workflow down and degrade the image. Both of these things may be slight but they add up. More over getting the image right in camera helps you to see the photographs not just take them.

How fast is your memory card?

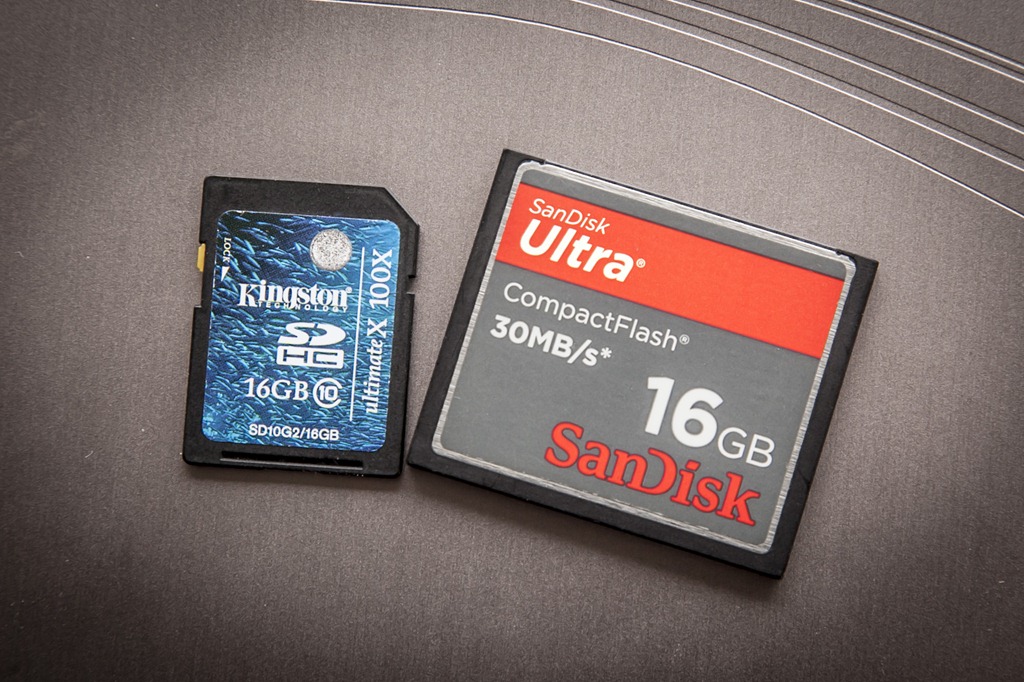
Card-speedsThe other day whilst I was running a lighting training session one of my students filled up his memory card. Fortunately he’d packed an older spare card so we swapped to that and carried on shooting.

So what’s so unusual about that you may ask. Well, nothing. But what happened next got me thinking.

He was shooting in RAW+JPG and when we inserted his memory card into my card reader the JPG’s opened fine but every RAW file was corrupted. How could this be? Put simply the memory card couldn’t keep up with the RAW data and the images corrupted.

The need for speed
So how fast a memory card do you need? Well if you’ve using a modern DSLR camera and shooting RAW then there’s a lot data to move. Although pretty much any card from a respectable brand will work just fine, using a faster card means less buffering time and quicker file transfers to your computer.

As a very rough guide a RAW image is a bit over 1MB per million pixels, so something like my Canon 5D Mk2, which has 22 million pixels, will produce a 25MB file for each RAW image.

X-Speed vs MB/S 
When buying memory cards you’ll find their speed is listed in one of two ways. It’ll be either Megabytes Per Second (e.g. 30 MB/S) or X speed ratings (e.g. 100X). This throws up a bit of confusion, which is faster.

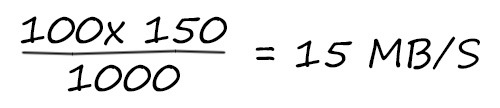
Fortunately there is a formula for converting X speeds to MB/S.

One speed is 150 Kilobytes per second (KB/S), so a 100x speed memory card is 15000KB/S or the same speed as a 15MB/S memory card.

Untitled-1

So if maths isn’t your strong point you may find this table helpful when comparing cards.

Common X – Speed

Megabytes Per Second MB/S

40x 6 MB/S
60x 9 MB/S
100x 15 MB/S
133x 20 MB/S
166x 25 MB/S
200x 30 MB/S
400x 60 MB/S
1000x 150 MB/S

It’s worth noting that memory card speeds relate to their write speed not their read speed. Read speeds are often different and usually faster then the write speeds.

Faster isn’t always better
It’s worth noting that simply having a faster card doesn’t mean it will work faster. Camera’s, card readers and computers will all play their part when it comes to speed. If your device isn’t able to work at the fastest speed your card offers, you won’t see the benefit. A prime example of that is using a high speed card in a USB2 card reader.

August Photo Challenge

beachI know, I know! It’s far too long since the last photo challenge and my inbox has been filling up with question like, “What’s the topic for the next photo challenge?” and “When will the next photo challenge be starting?” Well the good news is it starts right now, the bad news is you have less then two weeks to get your entry in.

For the August photo challenge your theme is…

Beach or Sea

How you decide to interpret that theme is entirely up to you. Perhaps you’ll want to take it literally and enter a photo of a some pebbles, a sand castle or people enjoying being at the coast. Maybe you’ll try something a little more abstract like looking for sand patterns or a long exposure to smooth out the waves.

Once you’ve made your photo you’ll then need to do three things…

1. Check your entry meets with the rules at the bottom of this post.
2. Upload your image to the Flickr Group page at http://www.flickr.com/groups/2025164@N25/

I’m very happy to report that the Photo Challenge is once again being sponsored by Print Yours. They are an independent print lab who specialise in creating small run, high quality prints. Check out their web site for more information http://www.printyours.co.uk/

So what will the winner receive? Well, Print Yours have generously offered to print the winning entry on their 270gsm Photo Satin paper up to a whopping 24”x16”. That’s an £18 print for FREE! If you’re the lucky winner then all you need to do is send a high res version to Print Yours (via email) and they’ll do the rest.

RULES
One entry per person
Entries must be uploaded to the correct Flickr group by 3rd September 2012
Entrants agree to the use of their image on the Gavtrain webpage / facebook page solely for the purpose of announcing the results
The image (including any manipulation or added elements) must be the sole work of the entrant
The winner will be selected by Gavin Hoey and his decision will be final
No alternative prizes are available
Only the winning picture will be printed
The winner will be notified by Flickr direct message.
The winner will be required to email a high res (printable) version of the winning image to Print Yours by
30th September 2012
The winner will be announced on the
Gavtrain Facebook Page during September 2012

Good Luck

Olympic Park Photos

The Olympic and Para Olympic games of 2012 have finally begun in London this week and I’ve been lucky enough to be part of it, all be it in a very small way. I’ve been working in the Pro Photo Centre answering questions and offering advice on post processing.

I met many pro sports photographers and got to see some amazing photo gear go past but sadly I’m not one of the 1500 officially accredited photographers who’ll be attending the Olympics over the next few weeks. However although I couldn’t get access to any of the venues, the practice events or the opening ceremony rehearsal, I was able to wonder around the Olympic Park photographing whatever I liked.

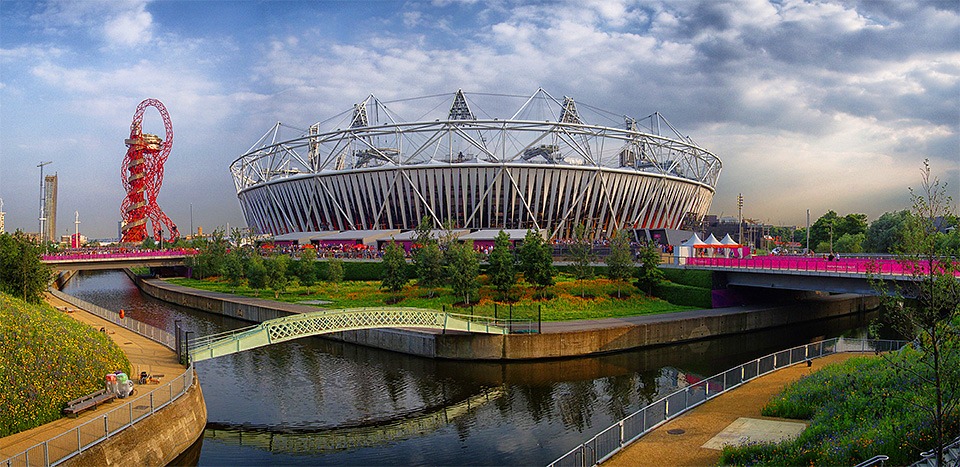
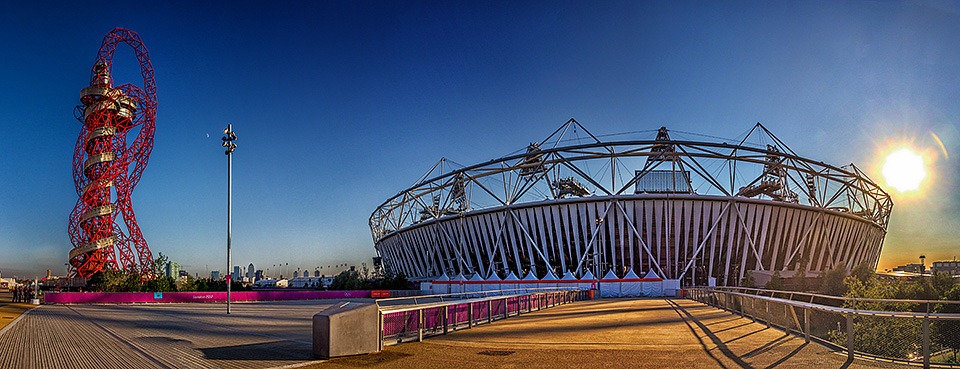
Being the Olympics I decided to shoot giant sized panoramic images of the venues. Here’s three of my favourites.

olympic-pano-FB

I think this might well become the iconic view point of the London Olympic Park. The red structure on the left is an art work called Orbit which is also a viewing platform.

Olympic-4-FB

This is the Coca Cola beat box building. When I went past the staff were hard at work rehearsing their song and dance routines.

Olympic2-FB

This is the widest pano I shot. At almost 180 degrees the full resolution file is a whopper and crammed with detail. Usually I avoid getting the sun in my panoramic photos but this time there was no choice. Good job I’m RAW to the core!
Skyline Lightroom 4 presets ~ Review

sky-3When it comes to editing my photos, I love anything that can speed up the process whilst at the same time maintain the quality I’m looking for. That’s why I love creating actions in Photoshop. In Lightroom the processes of automation is called a preset and once you’ve discovered the power of presets there’s no going back because they’re a huge timesaver.

But that’s only half the story, because not only can Lightroom presets reduce your editing time, they can also give you access to new techniques, styles and effects that you might otherwise never have tried. It’s as easy as clicking a button.

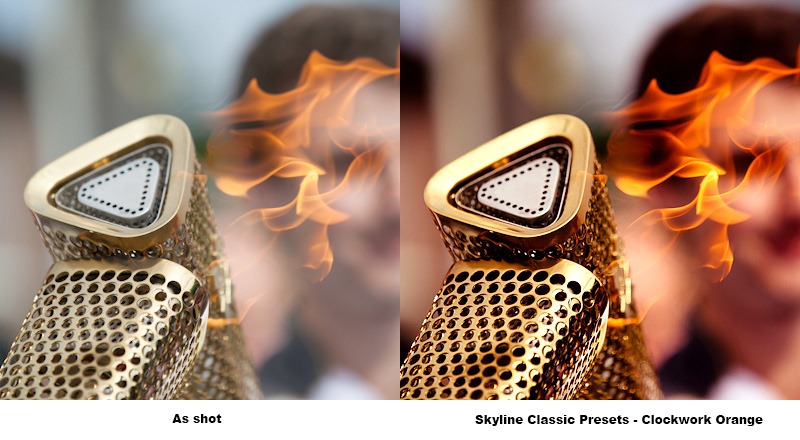
Recently I tried some new Lightroom presets from Skyline Media. These are commercial presets but at prices that really won’t break the bank. In fact my favourite preset pack (The Classic Preset pack) is just £7.99 and has over 45 different effects to choose from.

Installing
Installing Lightroom Presets can be a bit challenging, even for those of us who are fairly clued up on computers. Thankfully Skyline Media included an idiot’s guide to installing Lightroom presets along with the download. By following the instructions I had my new presets working just minutes after downloading.

Using the presets is super simple. Just head over to the develop module, open up the preset list and click on the effect of your choice. With most preset packs I’ve tried, clicking from one preset to the next is the best way to discover what they do. The Skyline presets are no different in that respect and although the differences between the presets is sometimes fairly small, it does mean that you can be very selective about the strength of the effect.
sky-2Of course the results will vary from picture to picture but I quickly found some of the effects suited my style of photos better than others. For example, I like stronger effects which may explain why I was drawn so strongly to the Classic Preset pack. Names like 80’s pop, B+W Superpunch and Clockwork Orange should give you a good idea of what to expect.
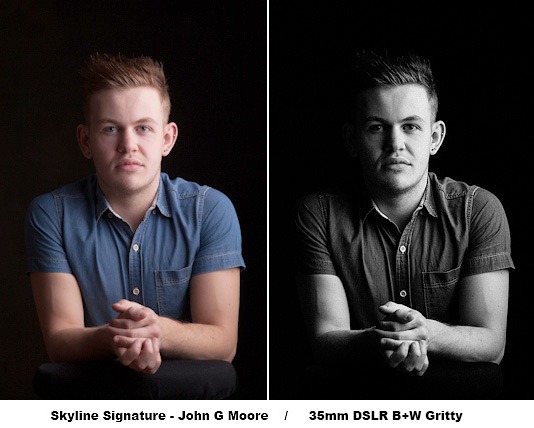
Skyline Signature
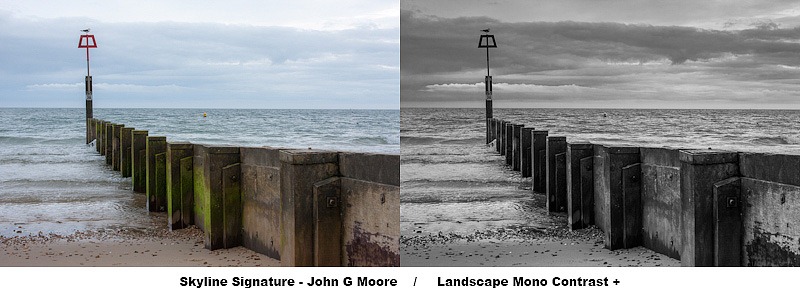
These two preset packs are from John G Moore and Colin Prior, two of the UK’s top photographers in the field of portraits and landscape. Both preset packs had a very comprehensive collection of effects. Colin’s seem to focus more on film and camera types where John’s offered a wider range of looks.

sky-1

I’m no landscape photographer but using the Skyline signature presets made a big improvement to my images and set me on the right road to getting the look I was after. The only problem is, I’ll now have revisit some of my older photos, just so I can run the presets on them. Who knows how many great photos I may have missed.

Conclusion
You might look at the results from any Lightroom preset and think ”… but I could do that myself” which is possibly true but it’s also missing the point. Presets give you ideas, inspiration and the freedom to experiment in ways which you almost certainly would not normally do. With an almost never ending range of preset effects and local adjustment presets there’s something for everyone in the Skyline presets packs.

Not all the preset packs are the same and some I found better (for me) then others, so I recommend looking closely to choose the pack (or packs) that best fit your photography. However… When you add into the mix their sensible real world pricing, the Skyline presets represent unbeatable value for money.

For more example visit the Skyline media website

Take & Make ~ Episode 2

564333_443504822326196_2005761400_nIf it’s not the most asked photography question I get, it’s pretty close to the top. So when I was drawing up the initial list of videos I wanted to shoot for Adorama, “How to shoot a decent panorama” was a must.

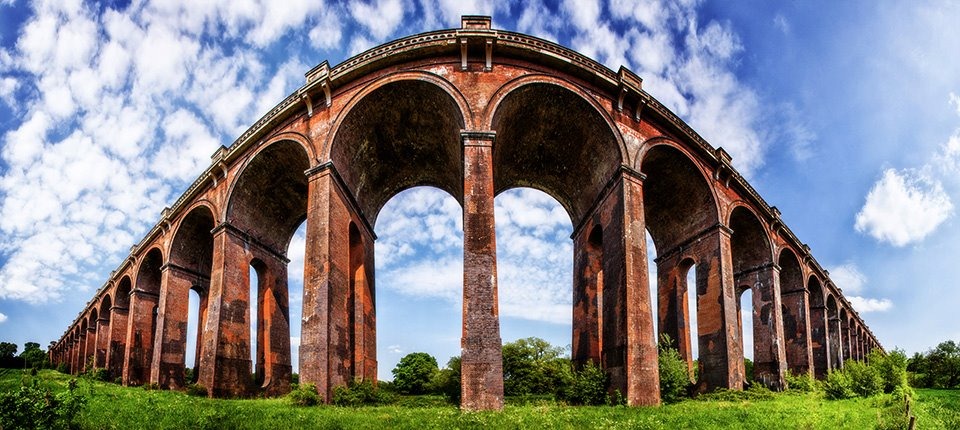
In this video I get to visit one of my favourite locations. Balcombe Viaduct (also know as the Ouse Valley viaduct) is a stunning landmark that spans the Sussex countryside. I’ve lost count how many times I’ve been there over the years and no doubt I’ll go back again before too long.

Olympic torch photos

Olympic-Copthorne-1-FBWith 10 day left before the Olympics kicks off here in the UK, the news is full of stories about the games, both positive and negative. So far I’ve not really got into the whole Olympic hype thing but today I had a small taste of how much excitement can be generated when people really do get into the Olympic spirit.

For the past few weeks the Olympic flame has been winding it’s way through the UK and today it passed through my little village. Obviously there was no way I was going miss the chance to be part of the event but I wasn’t sure if it was going to be a photographic opportunity. After a bit of indecision about the merits of taking my big serious camera gear or going light and taking snaps, I decided to take my 5D and 70-200 f/2.8 IS. It was a great decision. Not only did I get some great shots but it’s amazing how waving a big white lens around gets you to the front of crowds.

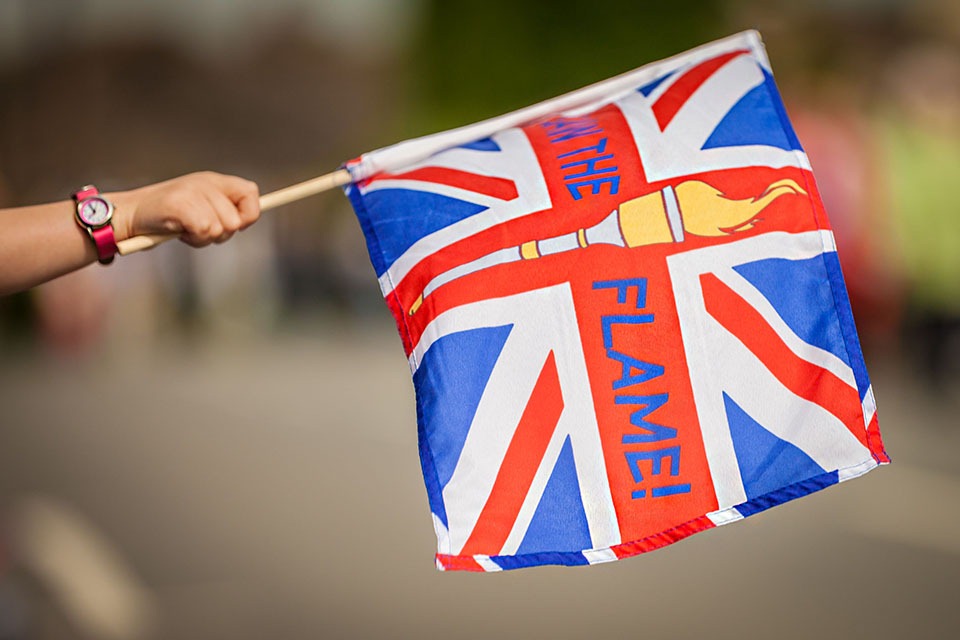
olympic-cop-2-FBThe crowds staring arriving long before the torch arrived and lots of people were ready with their Union Jack flags.

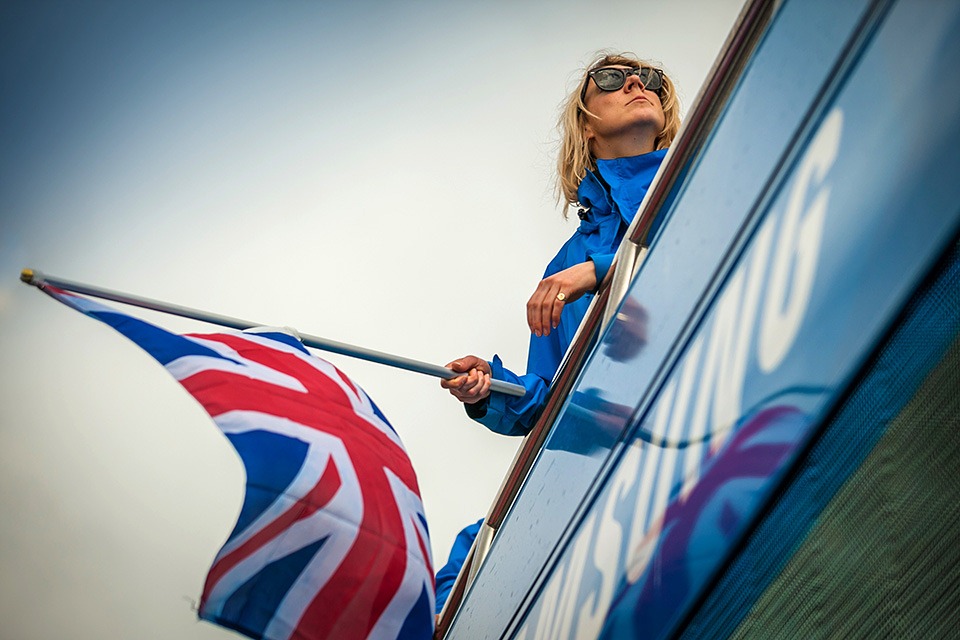
olympic-cop-3-FBJust before the torch passed by there were a couple of busses. This one almost ran me over!

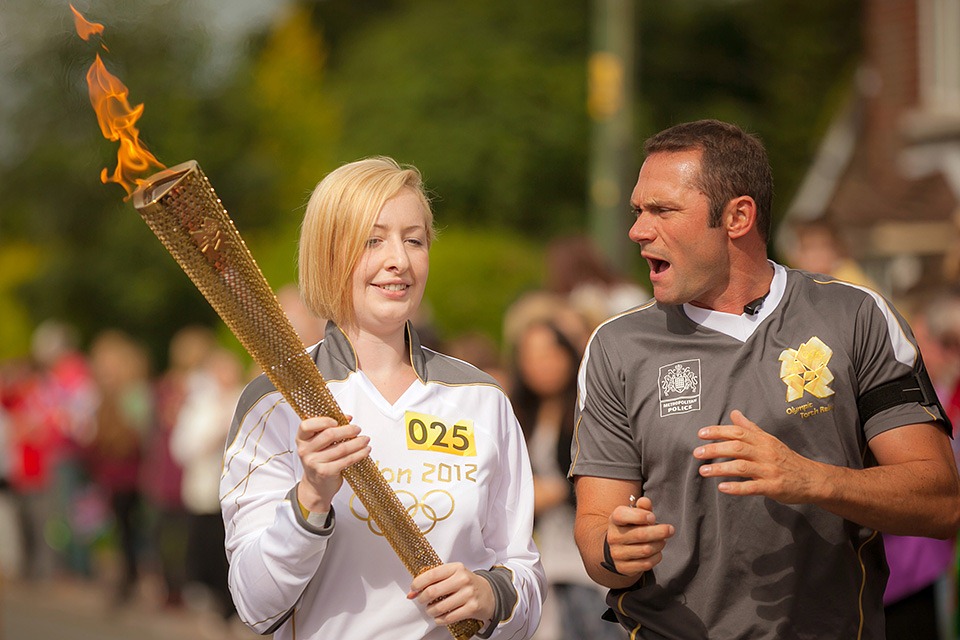
olympic-cop-4-FBOut of nowhere Amy Ambrose-Zillwood, the first torch bearer, appeared. I grabbed a couple of shots of her running towards the hand over point with one of the officials giving her a “motivational speech”

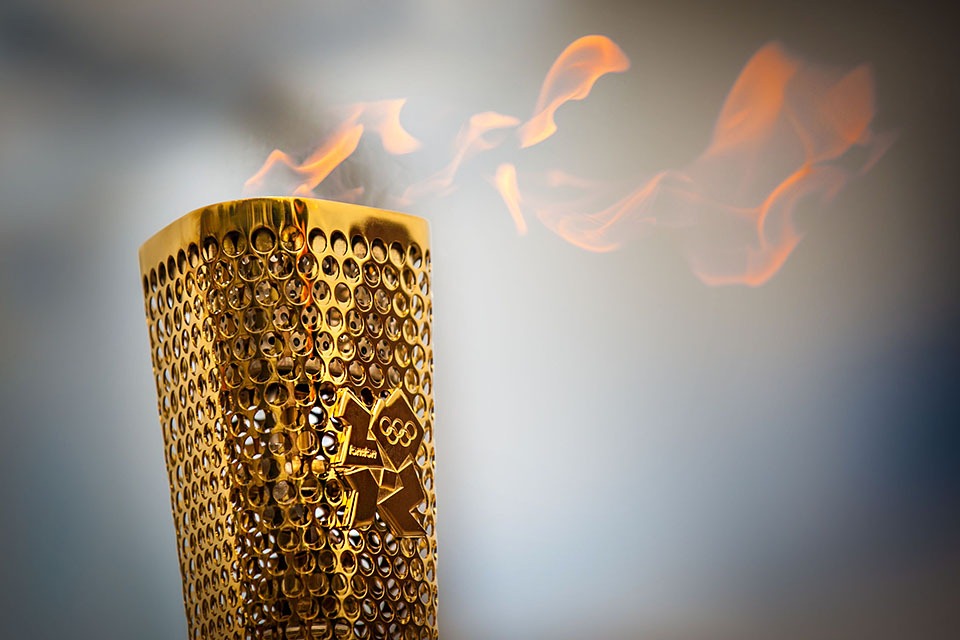
Olympic-Copthorne-1-FBThis is my favourite photo. It’s the moment when the flame is handed on to the next torch bearer, which was Ben Marshall in this case.

olympic-cop-5-FBJust time for one last snap as the flame moved on down the road.


Untitled-1It all happened in a flash. In fact you can watch the hand over by following this link.
http://www.bbc.co.uk/torchrelay/day60#pid=p00t6995&t=9h42m12s 

Look out for me, the guy in blue with the big white lens (No, not the one who’s blocking the road and getting moved on by security)