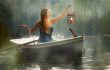
Day to night in a flash
Shoots at night can yield some stunning photos but the lack of light has a bunch of problems that can easily trip you up… literately. However if you have a little bit of flash know how, it is possible to do a portrait shoot and make day turn to night in just a few steps. Here’s how I did it in four steps
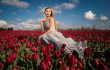
Step 1 – Underexpose the ambient
Unless you live in the Polar regions night time is usually associated with a lack of light, so the first thing I had needed to do was convince my camera to see less light. One way to do this is by using exposure compensation and dialing in a negative amount but because I was going to use flash to light the model I took a different route.
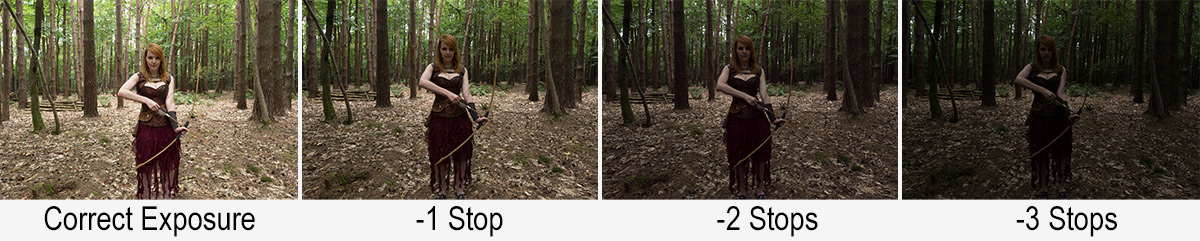
Flash and Manual mode go hand in glove, so switching to manual is the way to go. After setting the aperture to f/4 and the ISO to 200 the correct shutter speed turned out to be a feeble 1/10th second. By halving the shutter speed to 1/20th I underexposed the ambient light by 1 stop. 1/40th second gave me another stop and finally 1/80th second underexposed by three stops and gave a shot that was dark but not black.
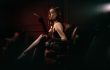
Step 2 – Set the flash
1/80th second gave a nice dark background but also underexposed the model, that’s where flash comes in. With the key light in place all I had to do was set my flash meter to match my camera (1/80th sec, 200 ISO) and adjust the flash power until I hit f/4 on the meter.
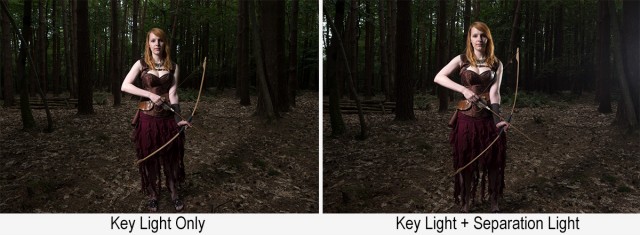
So now I’ve got the flash power to match my camera setting and giving a perfect exposure on the model, however the same camera settings are under exposing the background keeping it dark.
Once the key light was in I added a second light to separate the unlit side of the model from the dark background.
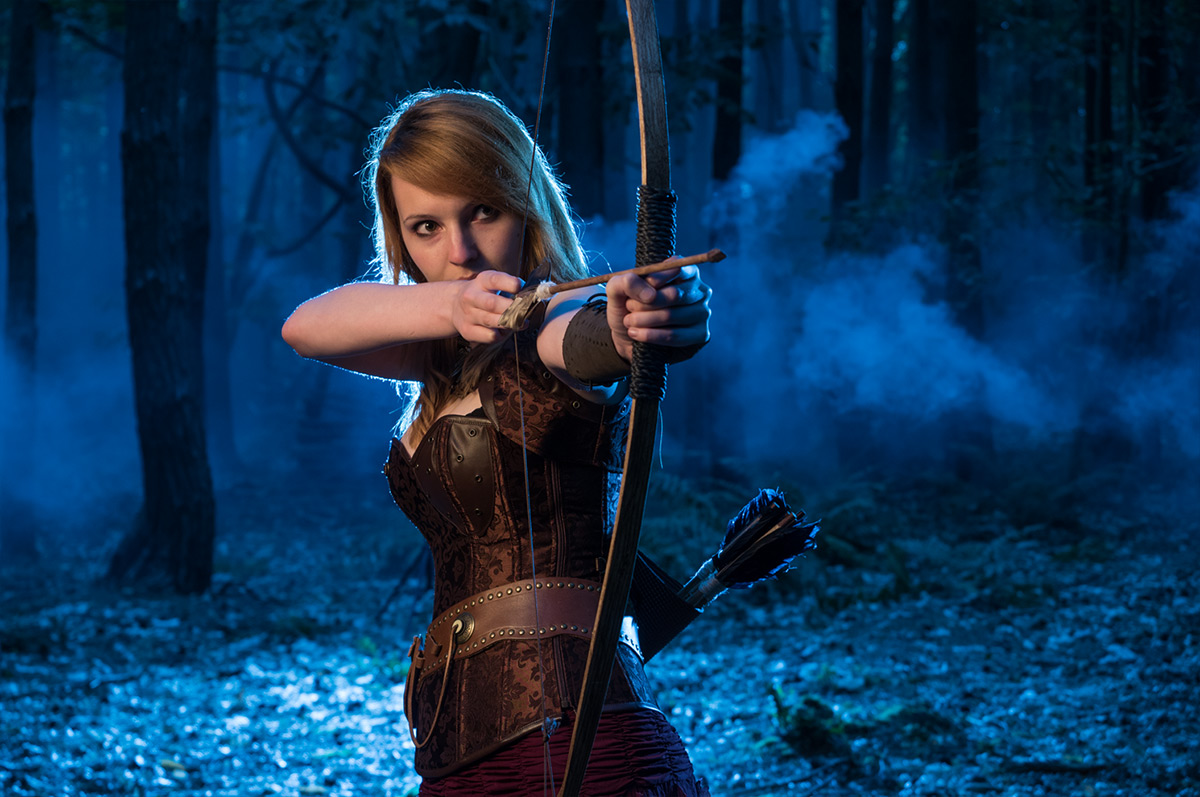
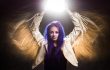
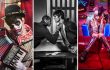
Step 3 – Moon light
Thanks to Hollywood we assume that the moon always comes out at night and it produces blue light. Of course neither is true but let the dream live I say. Turning the warm afternoon light blue is as simple as setting the wrong white balance. Switching to Tungsten or Incandescent white balance will do the job in camera or it can be changed in Lightroom / Photoshop Camera RAW.
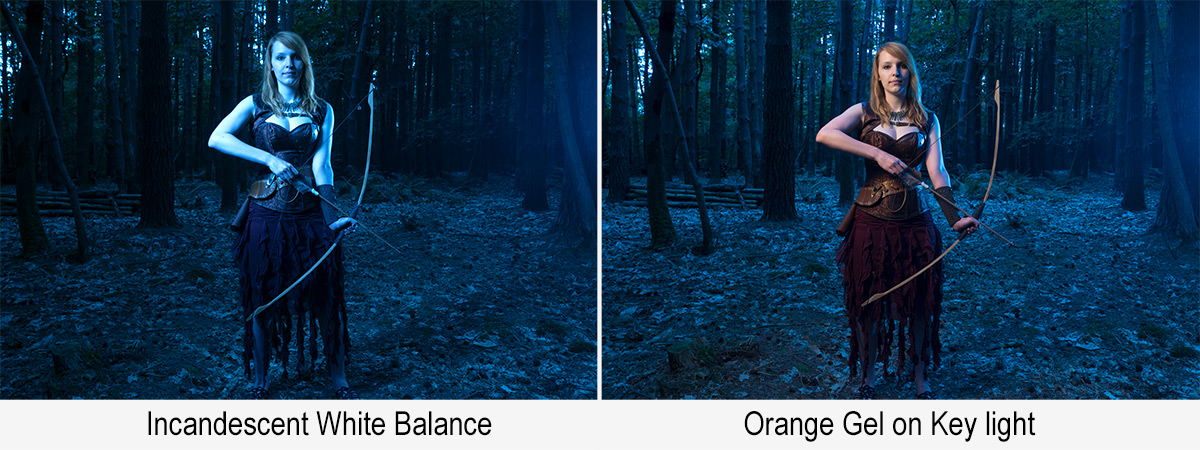
The blue looks great on the background but a bit odd on the model, so to warm her up I added an orange gel to the main flash. There are gels marked as CTO (Colour Temperature Orange) which should perfectly balance out the white balance but I don’t have one. Luckily Lightroom / Photoshop Camera RAW can easily fine tune the colours, especially if you do the same as me and shoot a gray card in the same light.
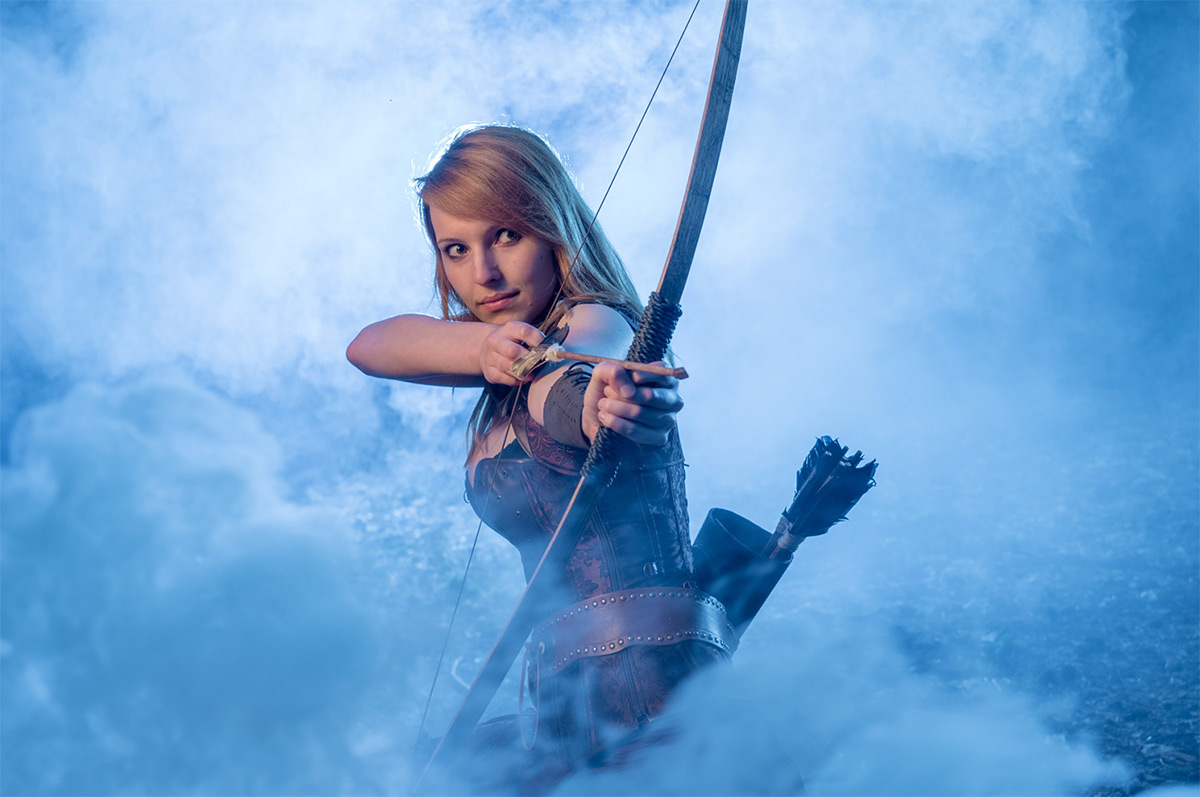
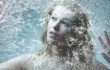
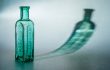
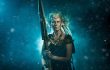
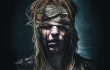
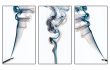
Step 4 – Moody Mist
This is the fun bit. Again I’ve got the movies to thank for this but adding a little bit of mist seems to sell us the whole night feeling. It also helps to cover up anything distracting in the background and by adding a third light right behind the model (and the smoke) adds a splash of light to an otherwise dark scene.
There are many ways to make smoke. Being a long way from a power supply I opted for smoke grenades. You’ll find them at your local paintball / airsoft park and whilst they’re not cheap, they do offer a safe and reliable source of smoke. I used two Enola Gaye smoke grenades which gave around 90 seconds of smoke each. Yes after all that setting up the whole shoot was over and done in under three minutes!
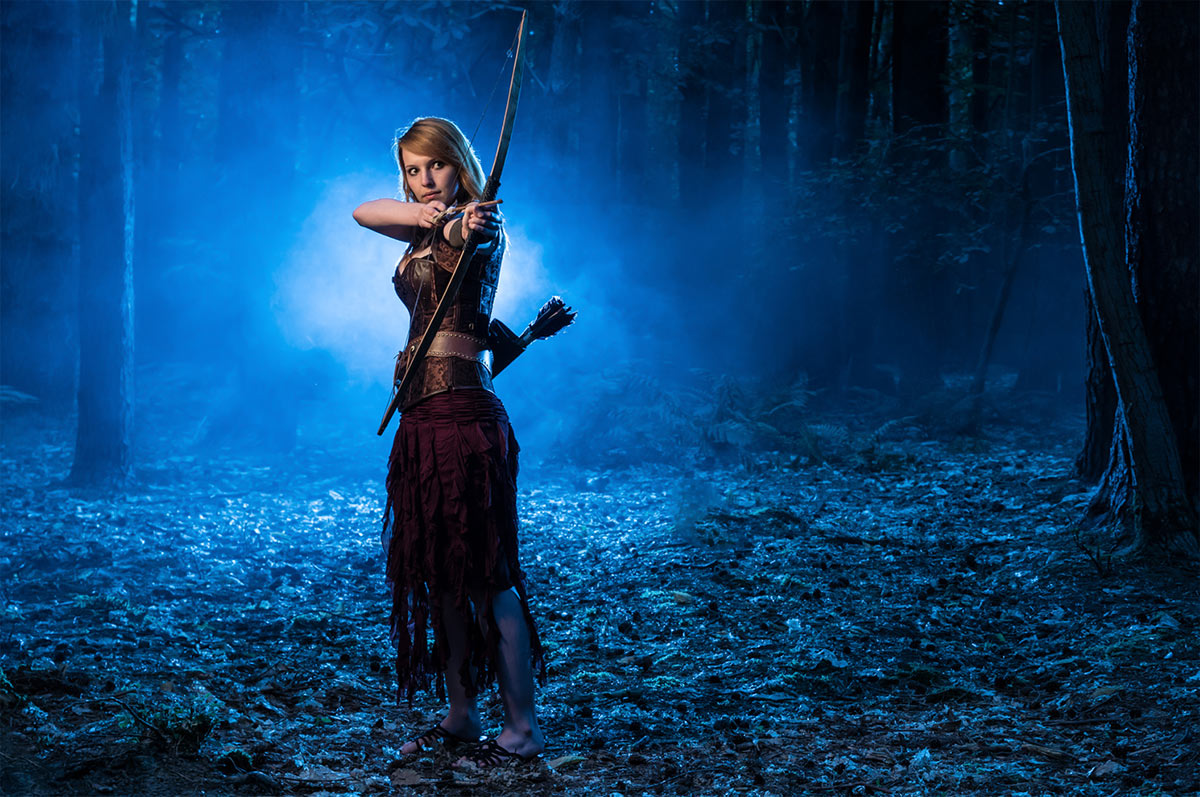
So there you have it, day to night is perfectly possible and whilst the results are very different from really shooting after dark, they look pretty darn good to me.


Every time you explain it is easy for us to understand – you make photography so much fun. I enjoy here every time I look to your Clips and it always gives me a boost. 🙂
We enjoy watching and learning from you !!! I finally got back into my photography thanks to you ! You make it understandable ! I am a photoshop (and other programs) fanatic, I love playing around with the photos ! 😉 Thanks again !
Hi Gavin.
Just to say these pics are truly amazing, and that you are one of the best online teachers around. Long time reader, and is nice to see you keep up motivated and delivering such great articles.
Cheers.
Hernan
Obrigado por compartilhar seus conhecimentos. Vejo sempre seus vídeos pelo YouTube , onde aprendo sempre ! Pena que aqui no Brasil , os equipamentos de fotografia estão muito caros , mas graças às suas dicas estou fazendo milagres com os que possuo!! Muito obrigado!!
This was awesome ❗️I want to try this shoot, where do you get the smoke bombs from ?
We get our through a local PaintBall park.