Home Studio Essentials – Episode 2
Speedlites and flash units are great but after a while the hard light they produce can become a bit limiting. In part 1 of my home studio essential skills I used a bare flash but now it’s time to add an umbrella. It’s almost certainly the first light modifier you’ll buy and for good reason. They’re very versatile, quick to set up and fold down nice and small which makes them perfect for mobile and small home studio set ups.
Umbrellas come in two basic types, ones you bounce light into (reflective) and translucent umbrellas that you shoot light through. Whichever you use they soften the light by increasing the size of the light relative to the size of the subject. In other words, the bigger the umbrella the softer the light and the closer you get it to your subject the softer the light.
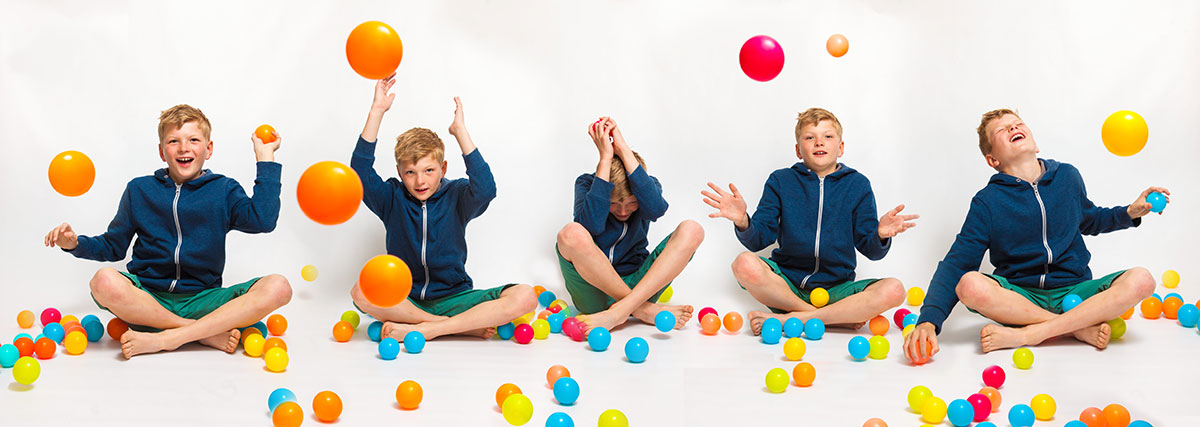
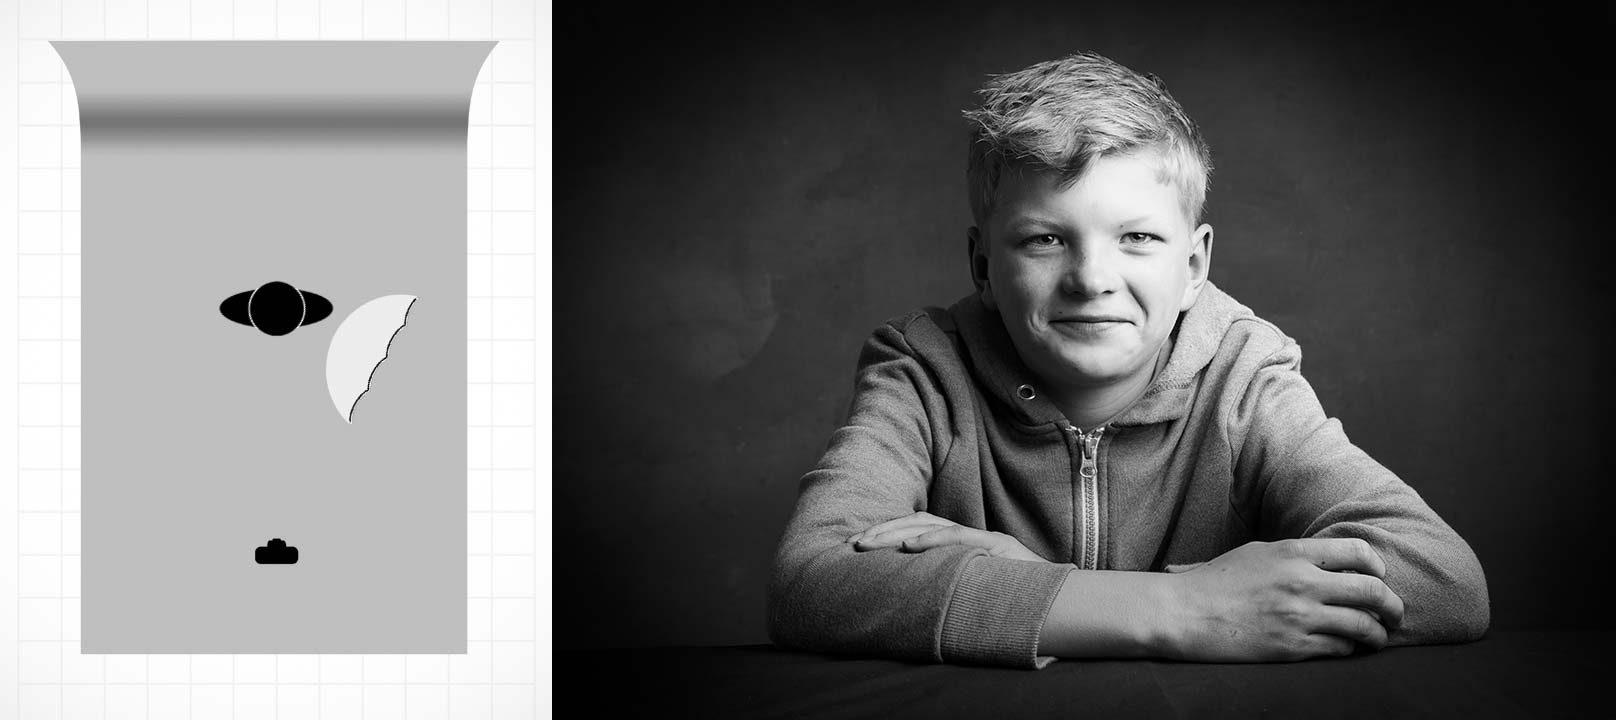
In this video I use a shoot through umbrella to create two very different looks. The first is a moody low key shot but it’s the second, more evenly lit shot that I love and it took lots of balls to make… about 50 colourful plastic balls to be precise!
For this series of videos I want you to do more then just watch it, I’m hoping you’ll get your camera and take a photo based on the ideas you see in the video. That might be the lighting set up, the models pose or the Photoshop post processing. If you do (and you’re on Facebook) then please add them to Adorama’s Facebook page. I’ll be checking it regularly and giving constructive feedback on as many as possible
Gear used in this video (Links back to Adorama)
Flashpoint StreakLight 360 Ws Creative Collection (Includes flash, battery, trigger, boom etc)
If like me you like to keep a visual record of you’re lighting set ups then this image should come in very handy.


G’day Gavin.
Thank you for showing us how to achieve this effect. I have seen it and often wondered how it was done. At my first opportunity, availability of grandson being the main consideration, I will have a go. Thanks for sharing this with us.
Barry in Tassie
Hi Gavin,
I really enjoy your stuff. Especially the practical use of basic equipment and environments.
On another note, what sort of backdrop are you using in this series (the dark grey one) and where did you get it?
Thanks
Anderson
Great video and I am going to try it with my son. Just a one question about how did you turn the background in to the pure white. I saw there were different shades of white in each image, but the final image has nice white background. Could you please send the trick to turn it to white? Thanks.
Cheers gav want some